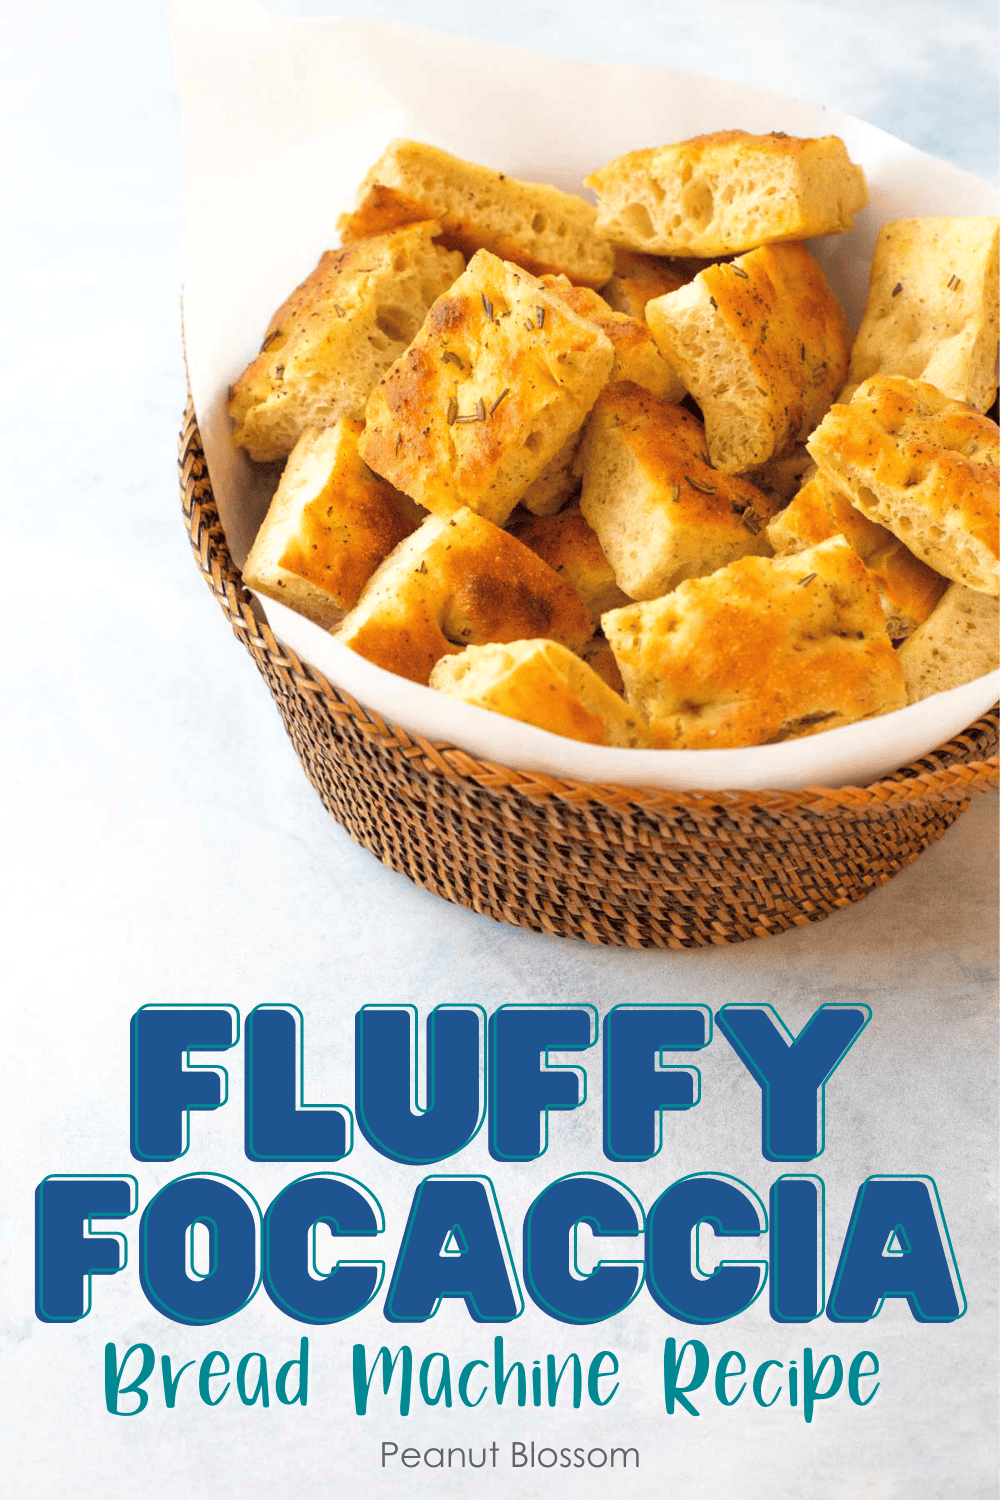
Bread Machine Focaccia
If making dough in your bread maker and baking it in the oven worries you, this bread machine focaccia recipe is the perfect place to start with because you simply pat the focaccia dough out into a pan and bake it -- no roll forming required!
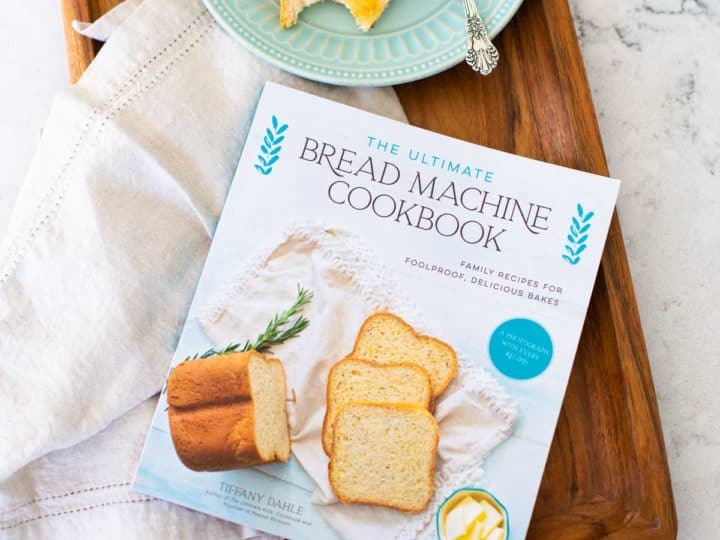
This recipe is featured in The Ultimate Bread Machine Cookbook.

One of my favorite ways to use a bread machine is making super-easy bread dough.
Every bread maker we tested while writing The Ultimate Bread Machine Cookbook has a special program option for making dough for homemade dinner rolls, pretzels, cinnamon rolls, and so much more.
Just 5 minutes of prep and the press of a button and absolutely perfect dough is ready for you to bake in your oven!
If you've never made homemade dinner rolls before, you might feel intimidated by forming the dough into the proper shapes.
In that case, this bread machine focaccia recipe is the perfect place to start. Use your hands to pat the dough out to the proper shape on a baking pan and rub it down with olive oil. That's it!
It allows you to learn the Dough program on your bread maker with a foolproof recipe you can then bake in your oven.
Want an even easier bread to shape? Don't miss my ciabatta bread machine recipe. It is very similar to this focaccia but has an even heartier texture.
Jump to:
Why This is the Best Recipe
I love each of these delicious bread machine recipes but I think this is the best bread machine focaccia bread because:
- Easy Prep: With just a few minutes you can have the focaccia dough ready to mix by the bread maker. Let it do all the work!
- Fun and Different: If you've used your bread machine for a while, you're probably looking for something a little more fun than a loaf. This focaccia is the perfect next step.
- Crispy and Perfect: Once the dough is ready, you just have to bake it in the oven for that golden brown crispy edge.
Ingredients
This simple focaccia recipe has one of the shortest lists of ingredients!
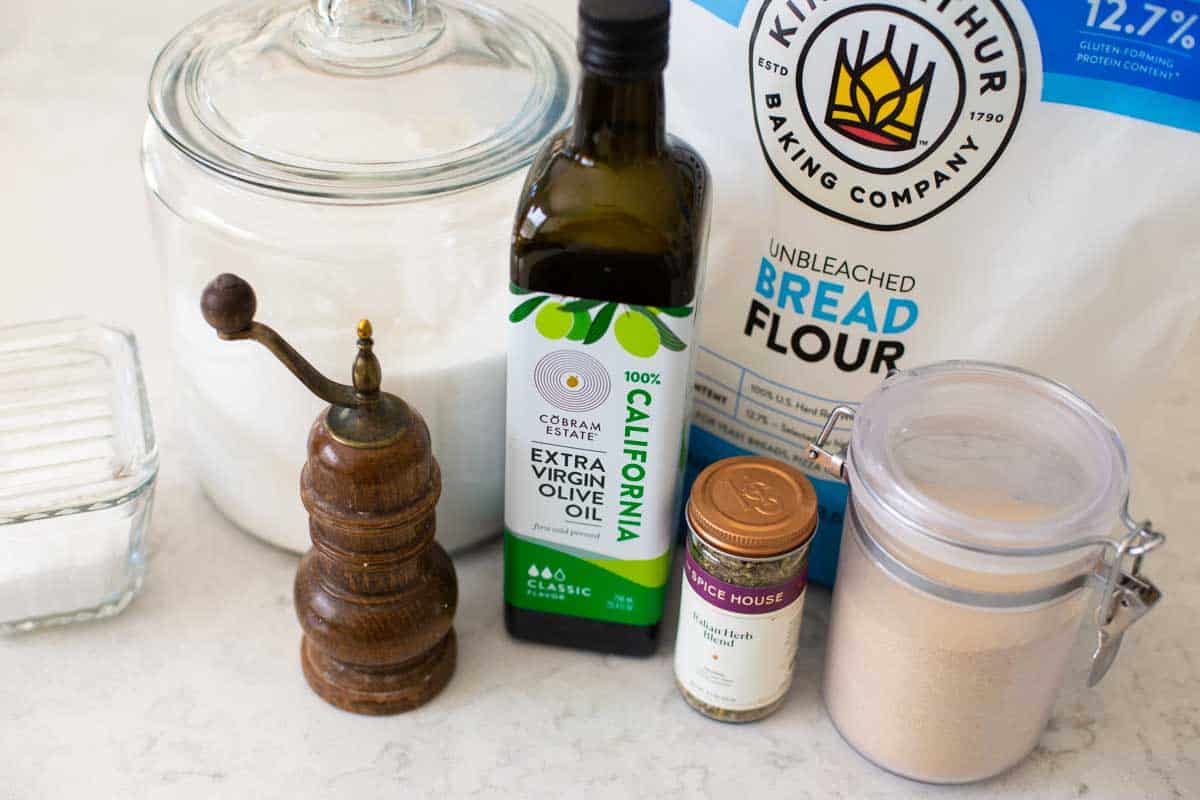
- Bread flour
- Olive oil
- Sugar
- Water
- Italian herb blend
- Salt & Pepper
- Instant Yeast: Instant or Bread Machine Yeast
See recipe card for quantities.
Instructions
The focaccia bread starts just like all other bread machine recipes:
Add the liquid ingredients to your bread pan fitted with the paddle attachment.
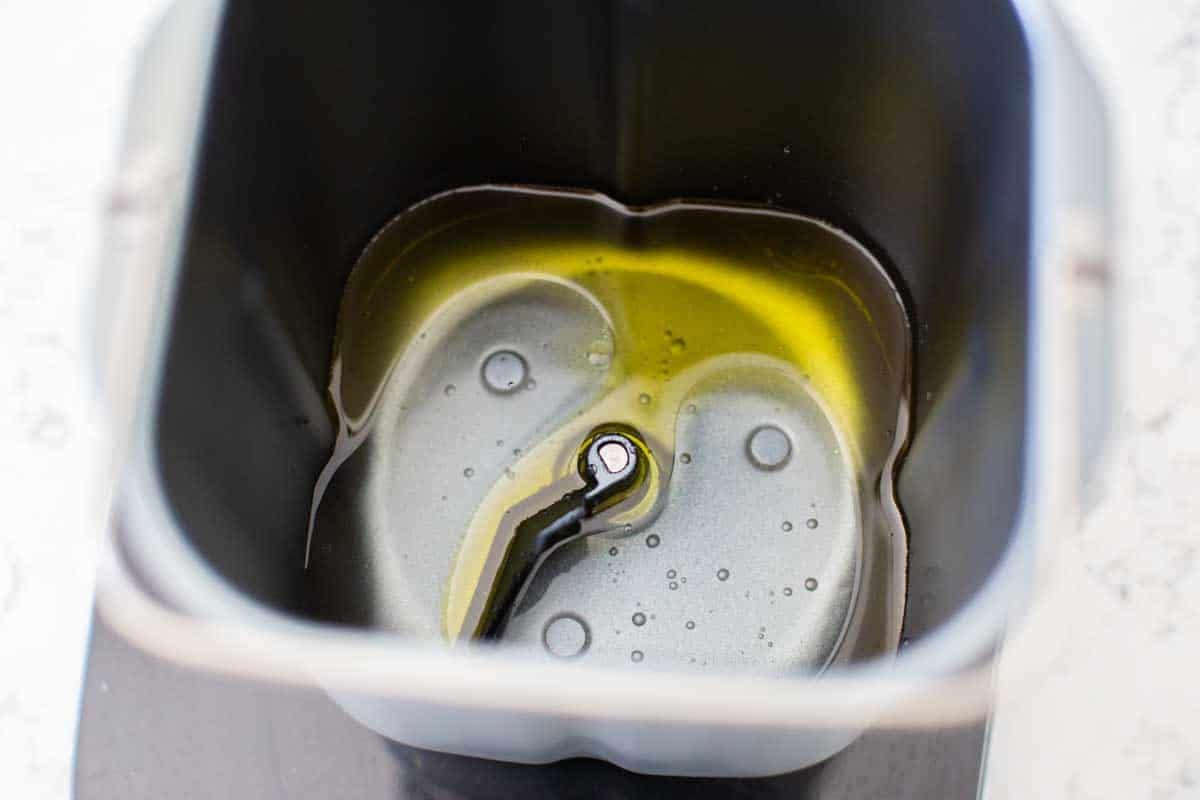
In this case, all you need is room temperature water and olive oil.
It's a great dairy-free bread recipe if your dinner guests need that accommodation.
Next, add the dry ingredients to your bread pan:
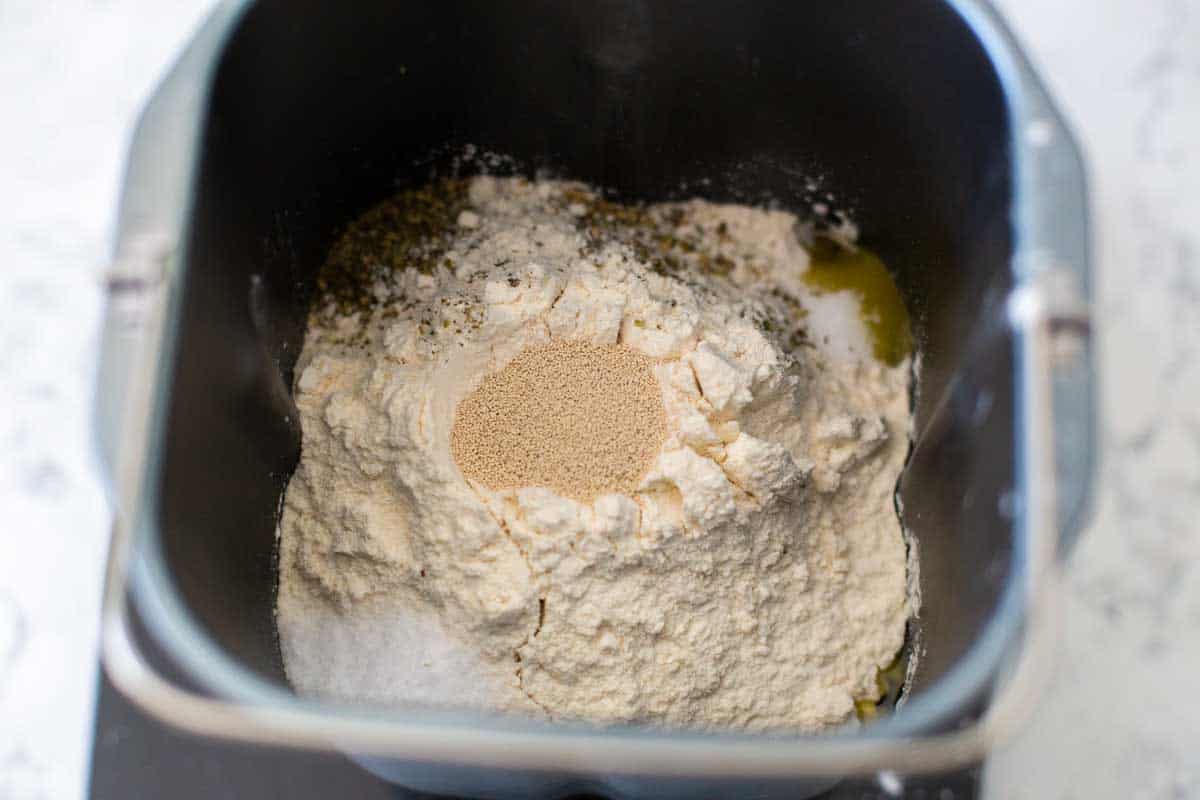
Add the flour, sugar, Italian herb blend, and salt right on top of the wet ingredients.
It is a best practice to sprinkle the sugar and salt around the perimeter of the bread pan so you can keep it away from the yeast until just the right time.
Use a spoon to make a well in the center of the flour, place the yeast in the well.
Place the bread pan back inside the bread machine and then:
- Select the DOUGH program
- Press START
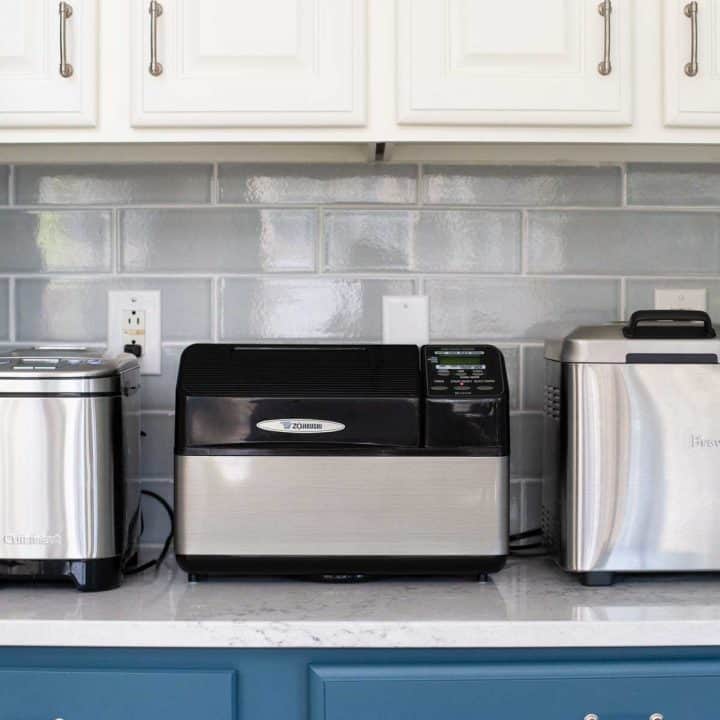
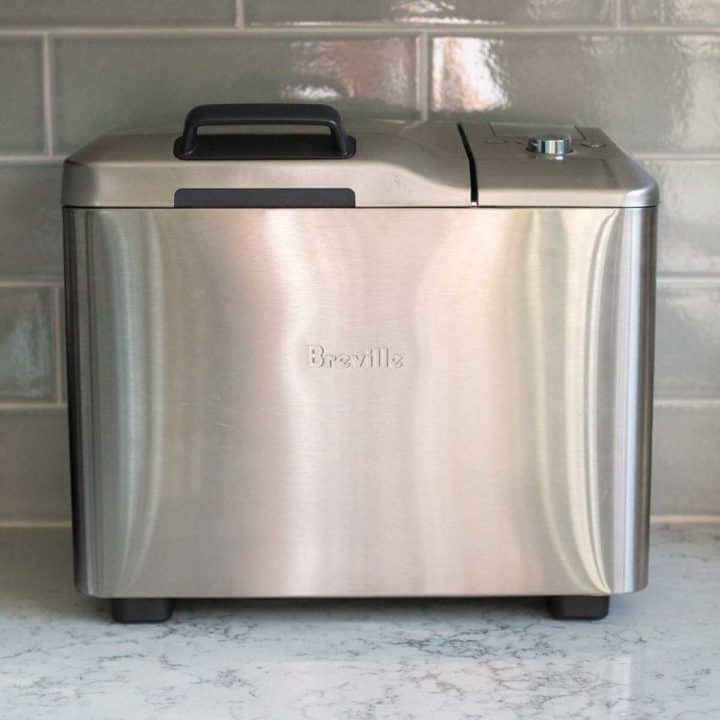
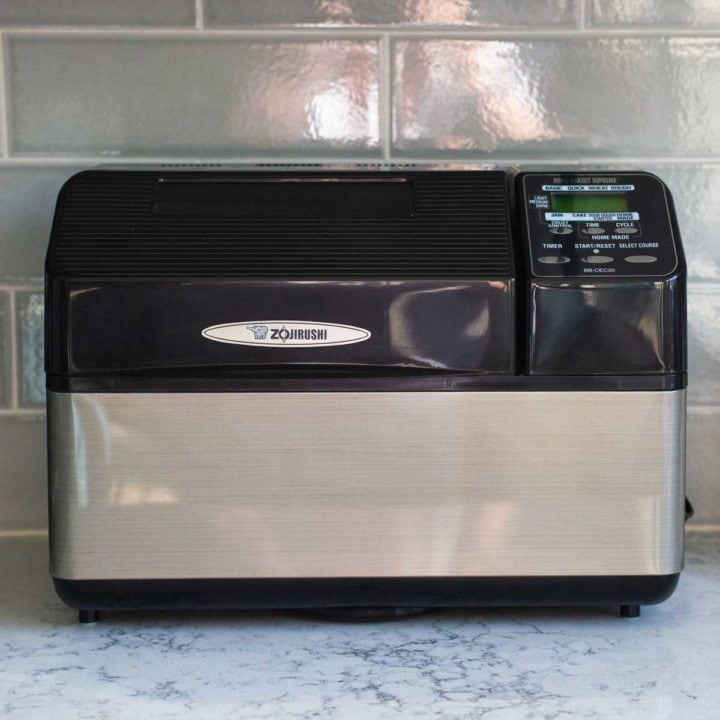
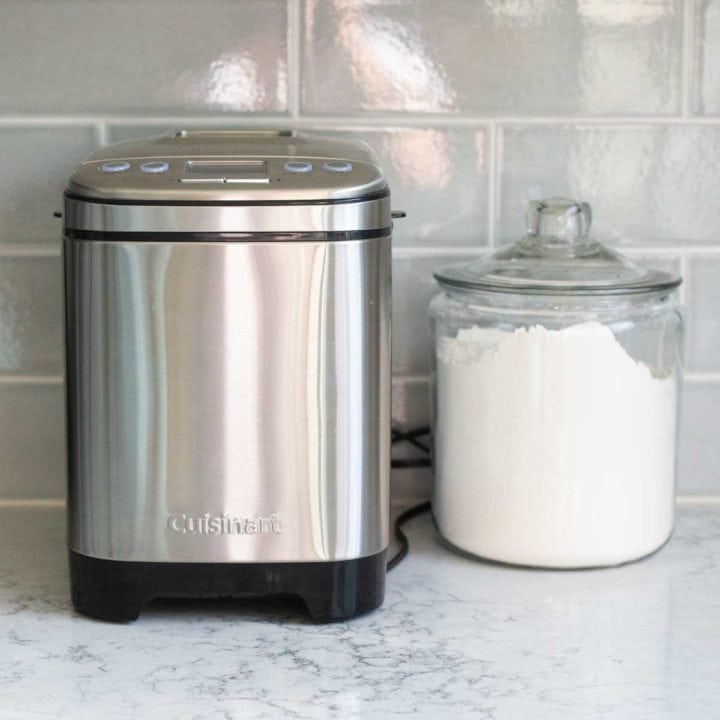
The five bread machines we tested all took about an hour and a half to knead and rise the bread dough. You can read about the best bread machines for beginners here.
To be honest, my favorite machine for making bread machine dough is the Cuisinart bread maker. I love how the shape of the bread pan helps dough ingredients get mixed together quickly and easily with very little supervision.
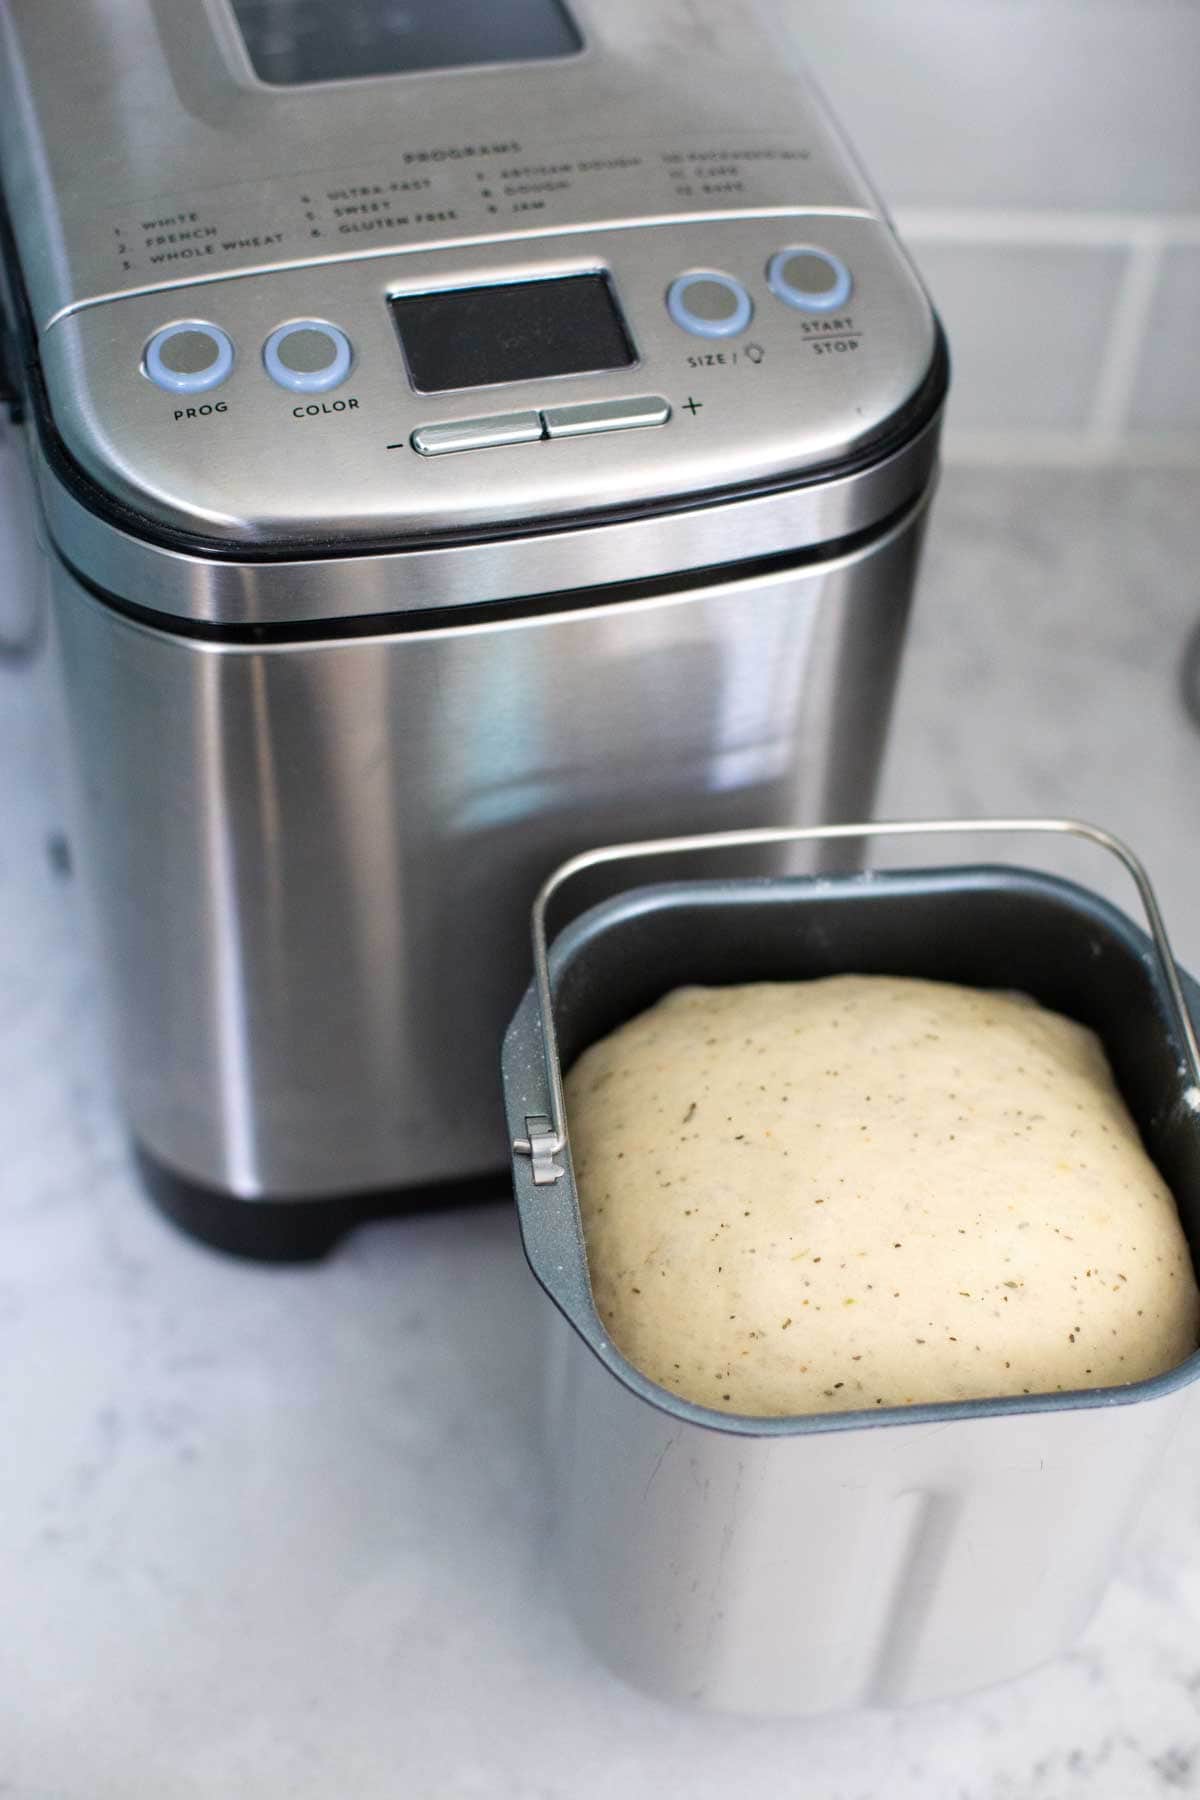
Once the dough program is completed, it's time to pat out the focaccia.
Brush a 9 x 13-inch rimmed baking sheet with olive oil.
Turn the focaccia dough out onto a lightly floured baking mat.
Punch the dough down and let it rest for 10 minutes. Yes, that's exactly as it sounds--firmly punch the ball of dough to form a flat round disc and let it rest.
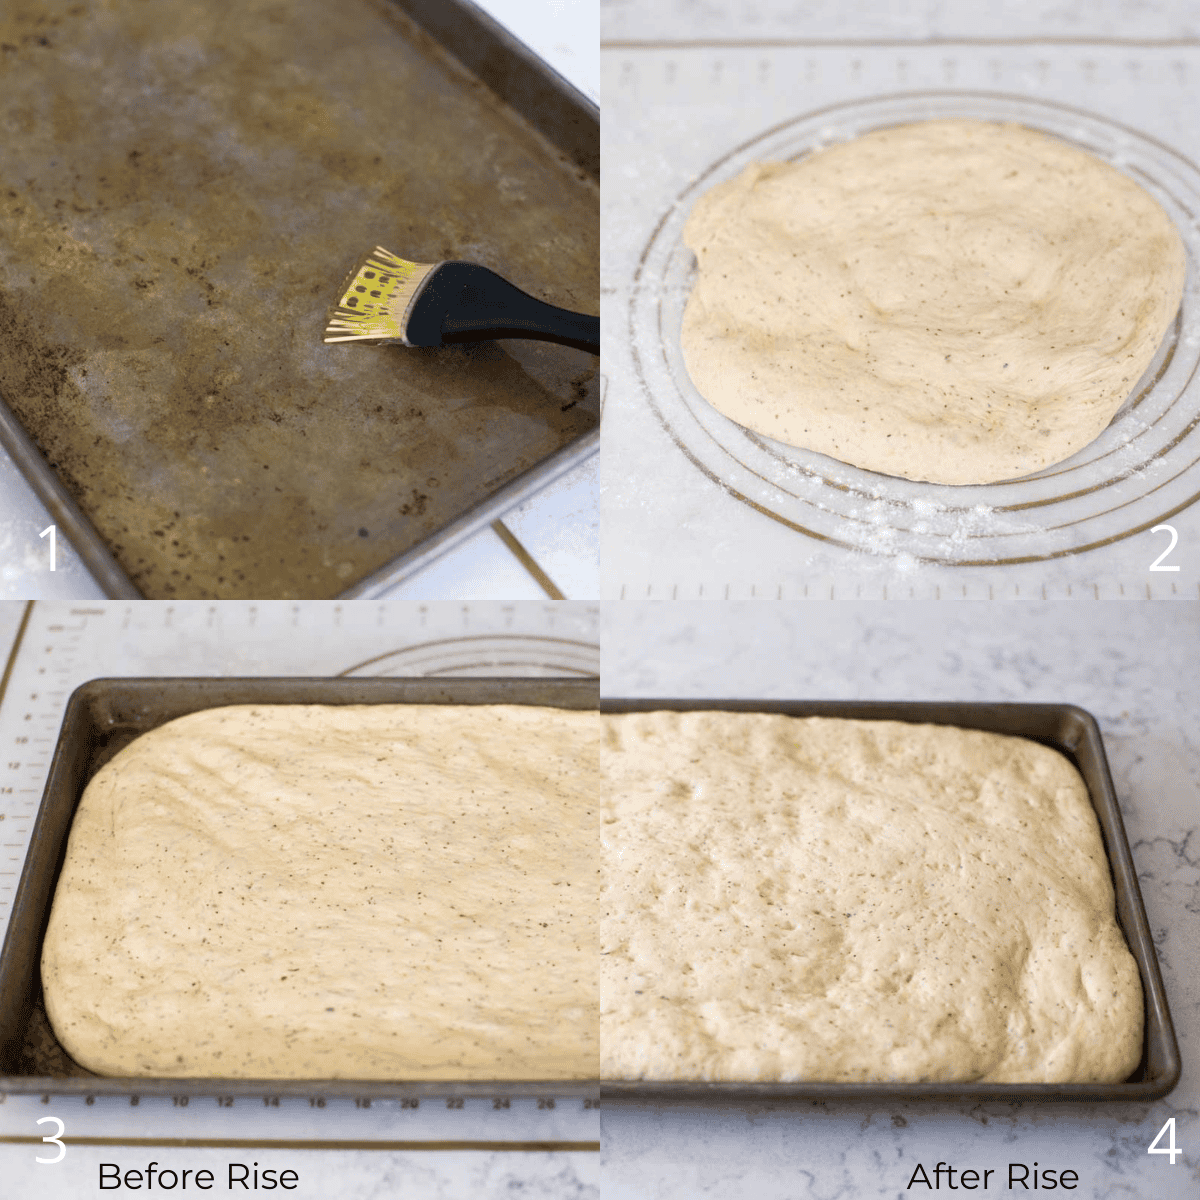
Once the dough has rested, pat it out into a 9 x 13-inch shape. You might find it easiest to do right on the baking pan so you don't have to measure.
If the dough keeps shrinking back, give it a few more minutes to rest and try again.
You can also read more about my tricks for rolling out pizza dough here. I use similar methods with my hands for the focaccia.
Once the dough is in place, cover it with plastic wrap and let it rise for 40 - 50 minutes or until it is evenly puffy all across the top.
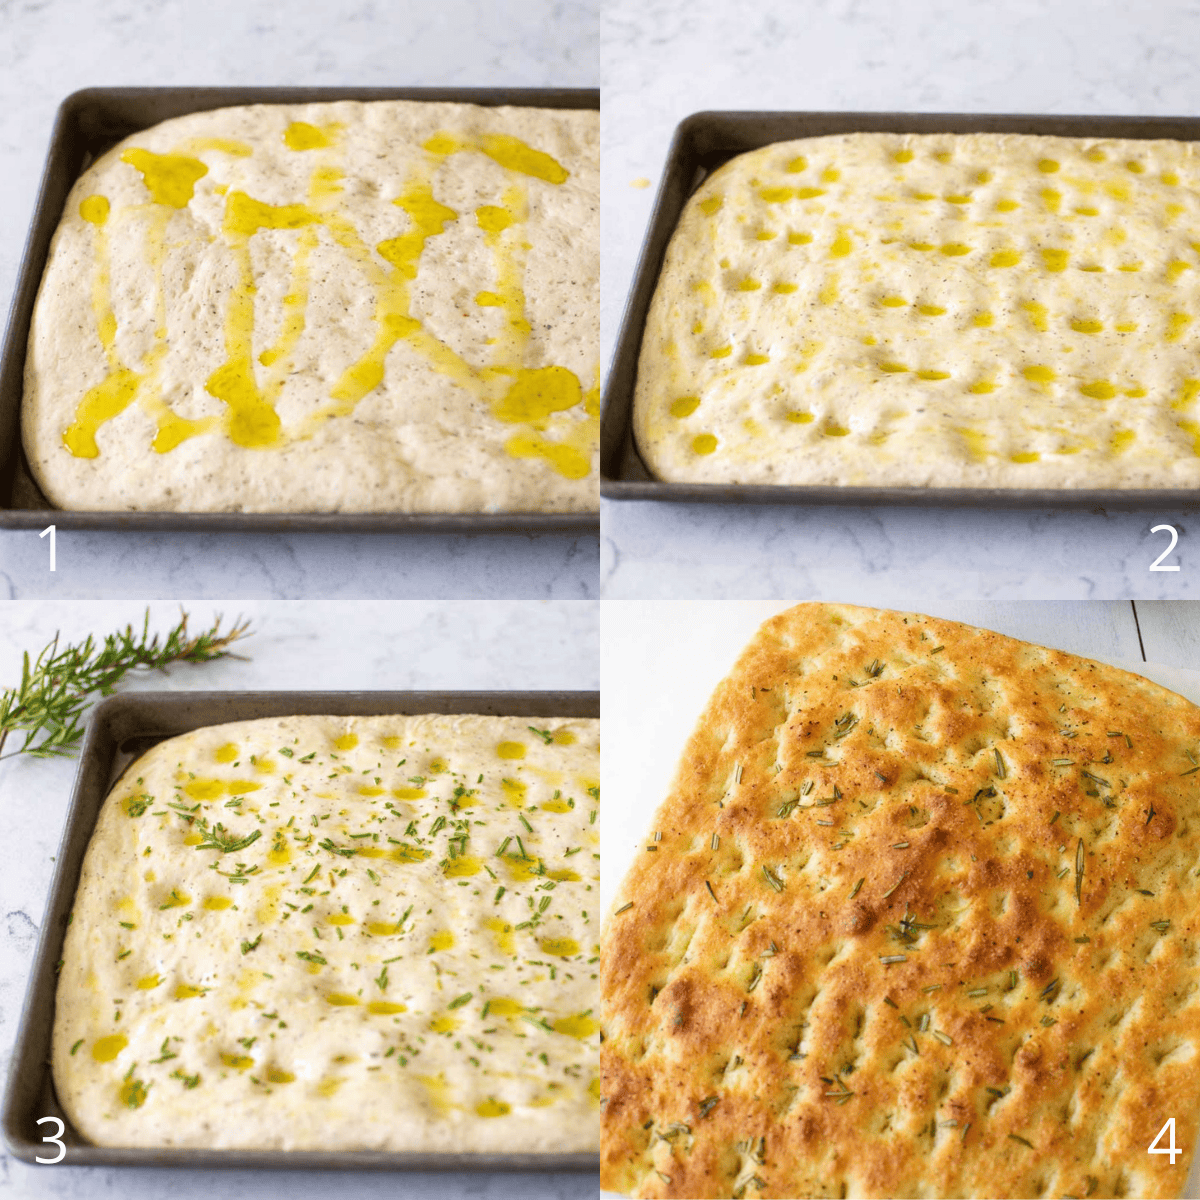
When you're ready to bake, preheat the oven to 450°F.
Peel the plastic wrap off the pan and drizzle 2 - 3 tablespoons of olive oil over the top.
Use your fingers to spread the oil all over the top and then gently press indentations with your finger tips across the surface.
Sprinkle chopped fresh rosemary and black pepper over the top and bake for 13 - 15 minutes or until the focaccia is golden brown.
Hint: With all that olive oil, the focaccia can get overdone quickly at the end. Keep an eye on it for the last 2 - 3 minutes so it doesn't get too dark.
To serve it, cut it into squares or thin dipping fingers of bread.
Or just dig in like my daughter tried to do! ?
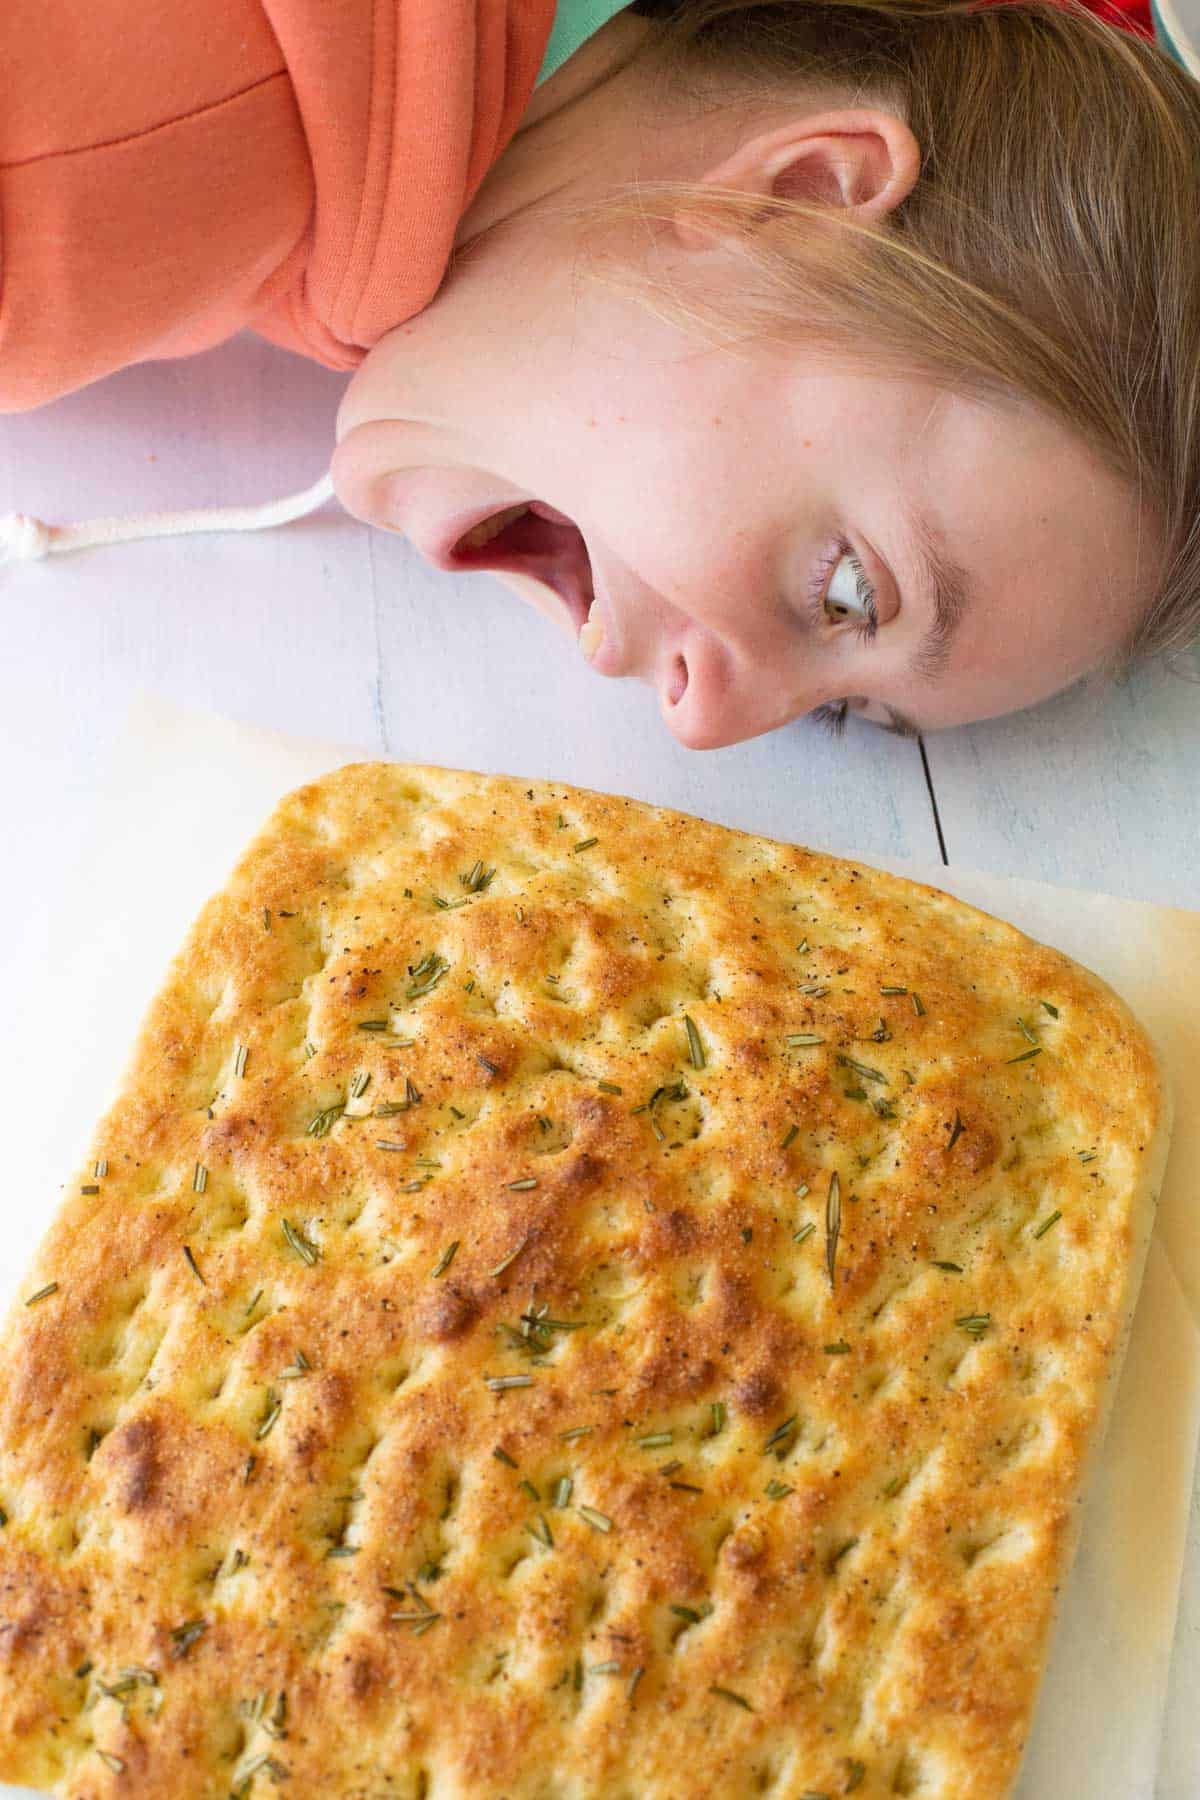
Fun Fact: My peanut insisted that this should be the cover of The Ultimate Bread Machine Book. She feels it truly encapsulates her feelings towards the recipes.
Equipment
This is a bread machine recipe and will require a bread maker to make it. If you don't have one, read our thoughts on whether a bread maker is worth it here.
Want to get a bread machine? Here are the reviews we did of the bread machines we tested while writing the best bread machine cookbook:
Storage
This bread is best served the day it has been baked, warm out of the bread machine.
You can also freeze the bread, just be sure to cool it completely before freezing and thaw it with the bag open to let moisture escape and prevent soggy bread. Heat it on a pan in the oven at 350°F for a couple of minutes to freshen it up and serve.
Serving Tips
My kids both think that the focaccia would make a fine meal all by itself. But it has appeared on our dinner table as part of several fun family Italian dinner menus.
Cut it into squares for dipping into rich tomato sauces or any of these delicious pasta and Italian soup recipes:

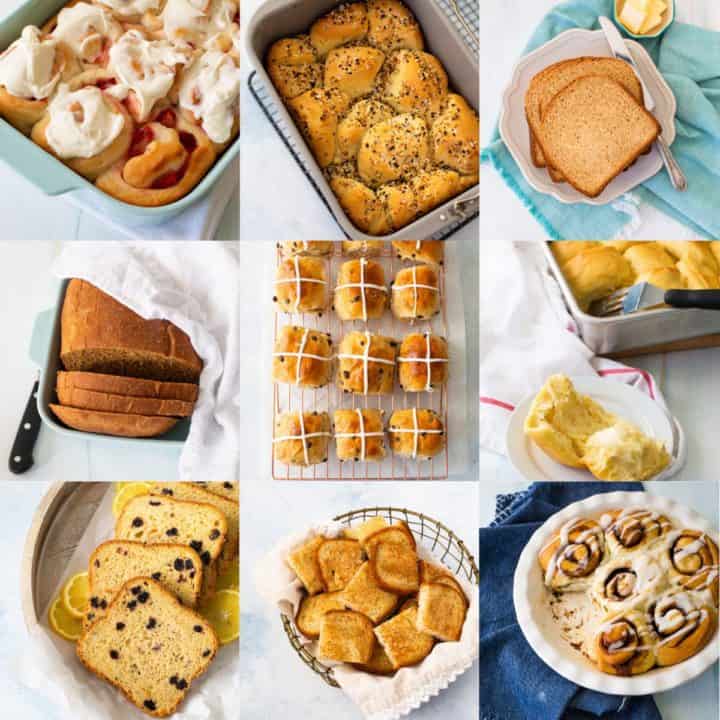
More Bread Machine Recipes
Looking for more easy bread machine recipes? You can find all my favorites here:
📖 Recipe

Fluffy Focaccia
Ingredients
- 1 cup + 2 tbsp water room temperature
- 2 tbsp + 1 tsp olive oil
- 3 cups + 2 tbsp (428 g) bread flour
- 1/2 tsp sugar
- 2 tsp dried Italian herb blend
- 1 tsp kosher salt
- 1 1/2 tsp yeast
TOPPINGS:
- 4 - 5 tbsp olive oil divided
- 2 tbsp fresh rosemary chopped
- Sprinkle of fresh cracked pepper
Instructions
- Add the ingredients to your bread machine's baking pan in the order listed, starting with the water and ending with the yeast.
- Choose the Dough program on our machine and press Start.
- When the dough cycle is finished, remove the dough from the bread pan and place it on a lightly floured baking mat. Remove the paddle and puch down the dough to deflate it. Let the dough rest for 10 minutes.
- Meanwhile, brush a 9 x 13-inch shallow rimmed baking pan with 2 tbsp of olive oil.
- Roll the dough out to a roughly 9 x 13-inch shape and transfer it to the prepared pan. If the dough keeps shrinking back into a smaller shape, let it rest for a few minutes and try again. You may find it easier to pat it into place directly in the pan.
- Cover it with plastic wrap and let it rise for 40 - 50 minutes. It should puff up evenly but not quite double in size.
- Pour a generous 2 - 3 tbsp of olive oil over the top of the dough and use your fingers to rub it all over the surface. Gently press your fingertips into the top to make 1/2-inch deep indentations roughly 1 inch apart, all across the top.
- Sprinkle the fresh herbs and pepper evenly over the top.
- Preheat the oven to 450°F. Bake for 13 - 15 minutes or until lightly golden brown. Be careful--it can overcook quickly so it needs to be watched for the final minutes.
Recipe Notes
Save This Recipe to Your Recipe Box
Find this delicious recipe next time you visit by saving it to your very own recipe box on my site. All your favorites stored in one easy place!
The grams are same for flour in the recipe for 1 or 2 x the recipe.
Made exactly according to recipe. Texture was great, but lacked flavor.
Loved this! Baked it in a stoneware jelly roll pan greased with olive oil and it was AWESOME. Only possible downside is if you want more traditional chewy texture, this is fluffier than traditional. I don't know if replacing some of the flour with durum or semolina might help.
My family loved this. I had some homemade spaghetti sauce that I needed to use up, and I put it on top before baking. I will definitely be making this again!