How to Roll Pizza Dough with Your Hands
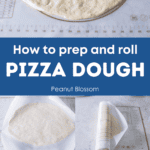
Whether you made your own pizza dough with your bread machine or you picked up a fresh dough ball from the grocery store, learn just how to roll pizza dough into a delicious homemade pizza for your family. These simple tricks will get perfect results every time.
You don't need to toss your pizza dough over your head like you see in the movies in order to have a delicious homemade pizza crust. Rolling out a pizza is so much easier than they make it look!
You can use your hands to get simply perfect results but a rolling pin is always a great back-up to get things started. Either way, I hope you enjoy the smell of fresh baked pizza for dinner soon!
My family absolutely loves this pizza dough bread maker recipe because it is so easy to make, so easy to work with, and it bakes up crispy and perfect every time.
Tools You Need to Make This:
Making homemade pizza doesn't require very much:
- One Batch of Homemade or Store Bought Pizza Dough:
Our Classic Bread Machine Pizza Dough
Sourdough Pizza Dough
Whole Wheat Pizza Dough - A baking mat: I love our silicone baking mat with measured marks for shaping crust. If you don't have one, you'll need a ruler to measure the 12-inch diameter of the pizza crust.
- A pastry scraper: This helps easily divide the dough. If you don't have one, you could also use a kitchen knife or pizza wheel, but just be extra careful that you don't harm your counters or ruin your baking mat with their sharp edges.
- Parchment paper: This is one of the things that will help you transfer the pizza in and out of the oven and makes it easy to move the pizza around your kitchen as you prepare it.
How to Roll the Dough:
Our favorite pizza dough recipe makes enough for 2 12-inch pizzas. Assuming you've used our recipe, the first step is to divide the dough in two.
Place the dough on your baking mat on the counter. Use a pastry scraper (or knife or pizza wheel) to cut the dough in half:
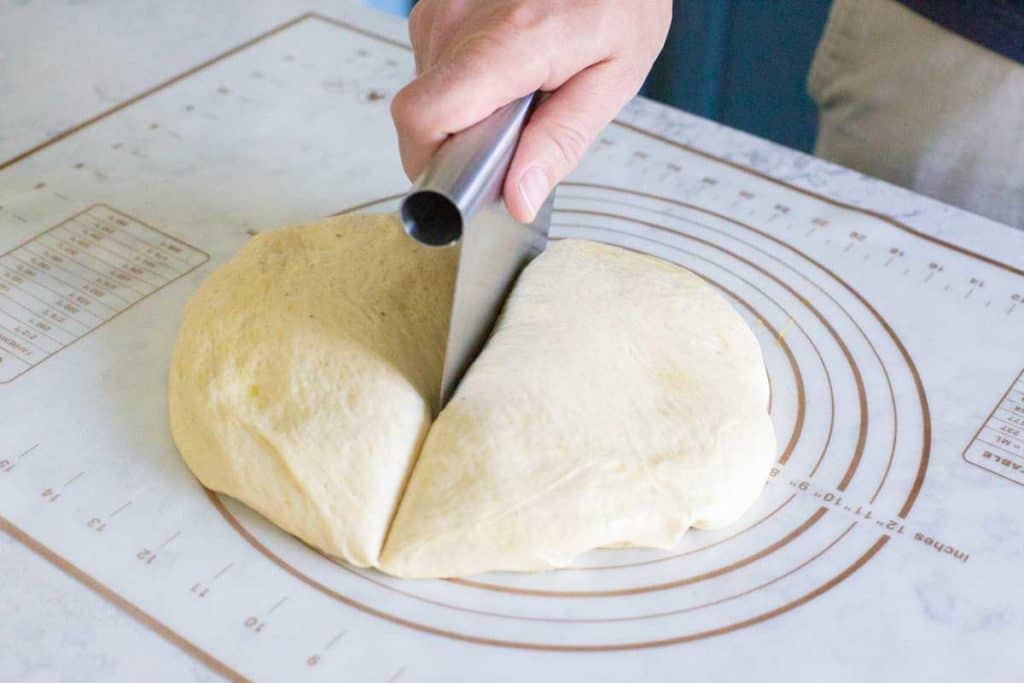
Move one portion off to the side and let it rest while you prepare the first pizza crust.
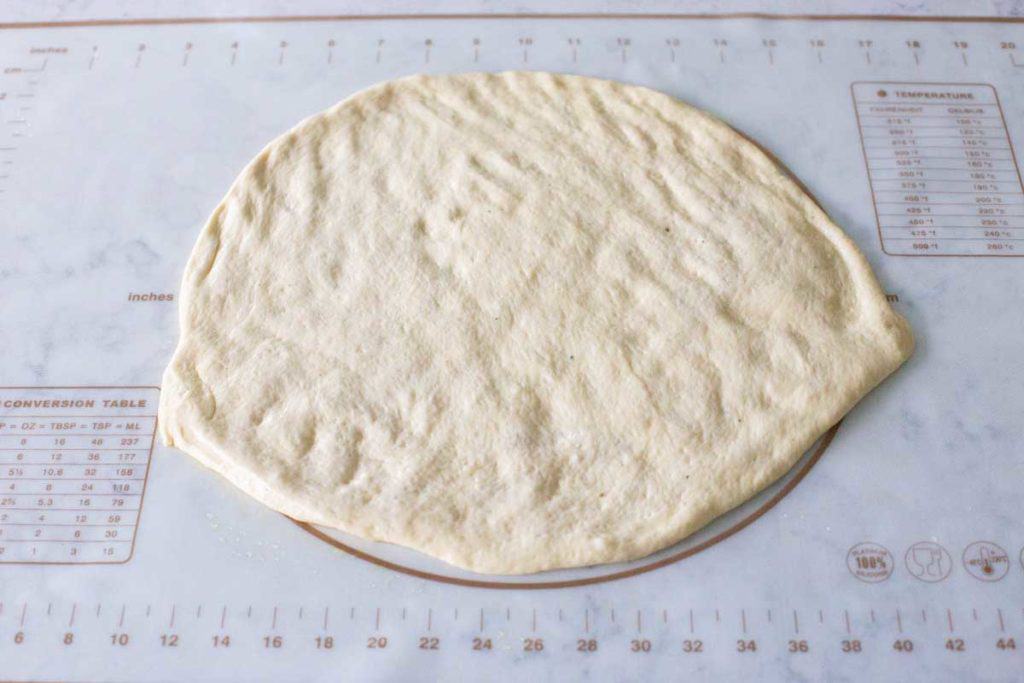
Unless your fresh dough is sticking horribly to your mat, you want to avoid adding flour to the surface of the mat. We want the crust to stick just a tiny bit so it doesn't continually slide back into a smaller size.
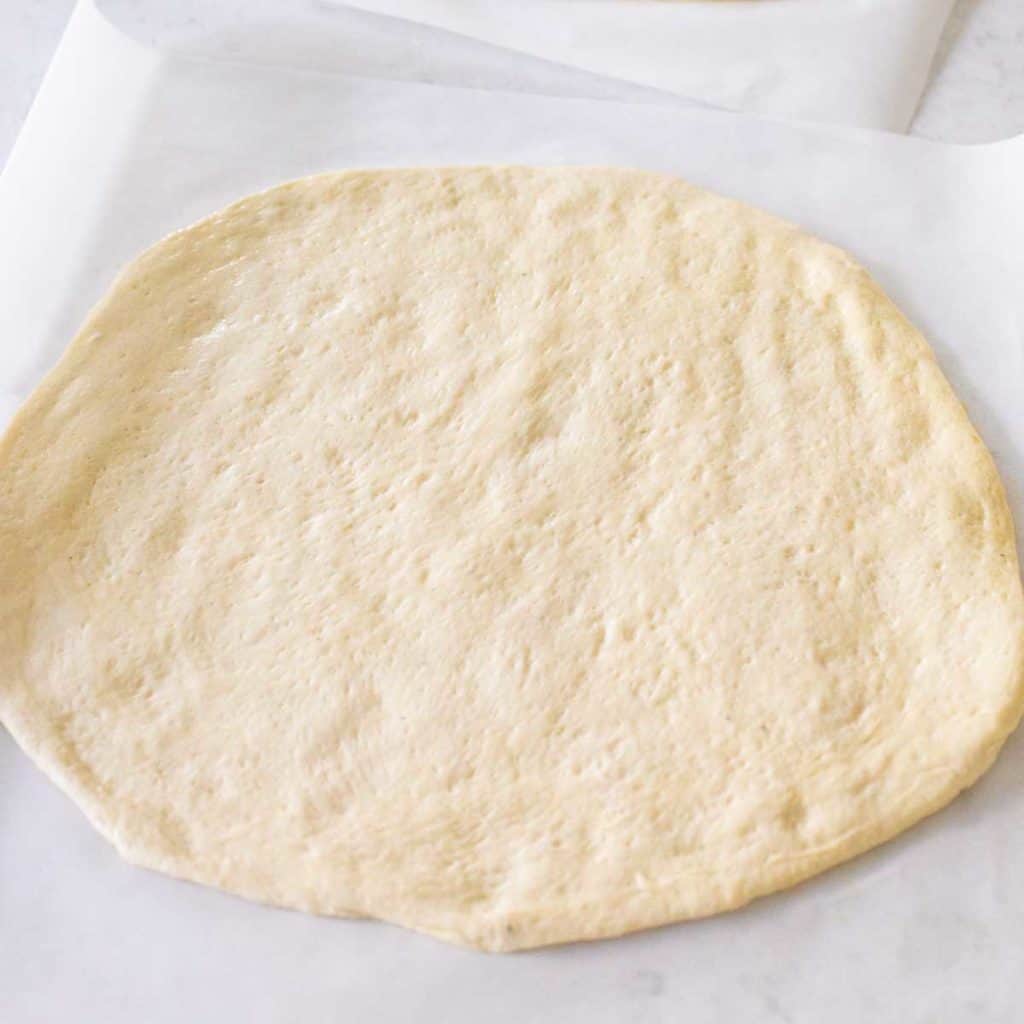
Use your fingers and palms to gently pat the dough until it forms a circle. The dough should be even across the surface, but you can leave a slightly thickened edge around the crust if you like the thicker "handle" on your pizza slice.
The thicker edge should be just barely noticeable, or the crust will be too thick and not bake correctly.
If the dough shrinks as you pat it, let it rest for 10 minutes and try again. This often happens if the dough is too cold.
If I made the dough ahead of time and stored it in my fridge and there's still a mild chill on it as I try to pat it out, I'll gently rest my hand on the dough to warm it as I press. Pat and hold gently for a breath or two, pat and hold again.
If you don't have a baking mat with the measuring circles, use a clean ruler to make sure the circle is 12 inches from edge to edge all around.
Want to Save This for Later?
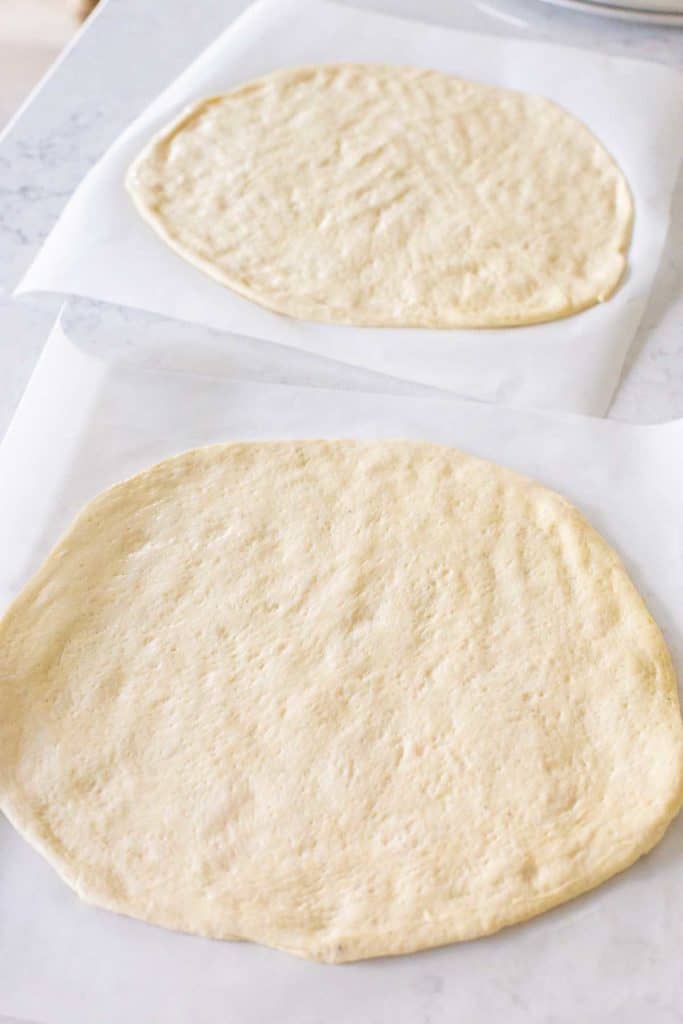
The dough is ready when it measures 12 inches without shrinking.
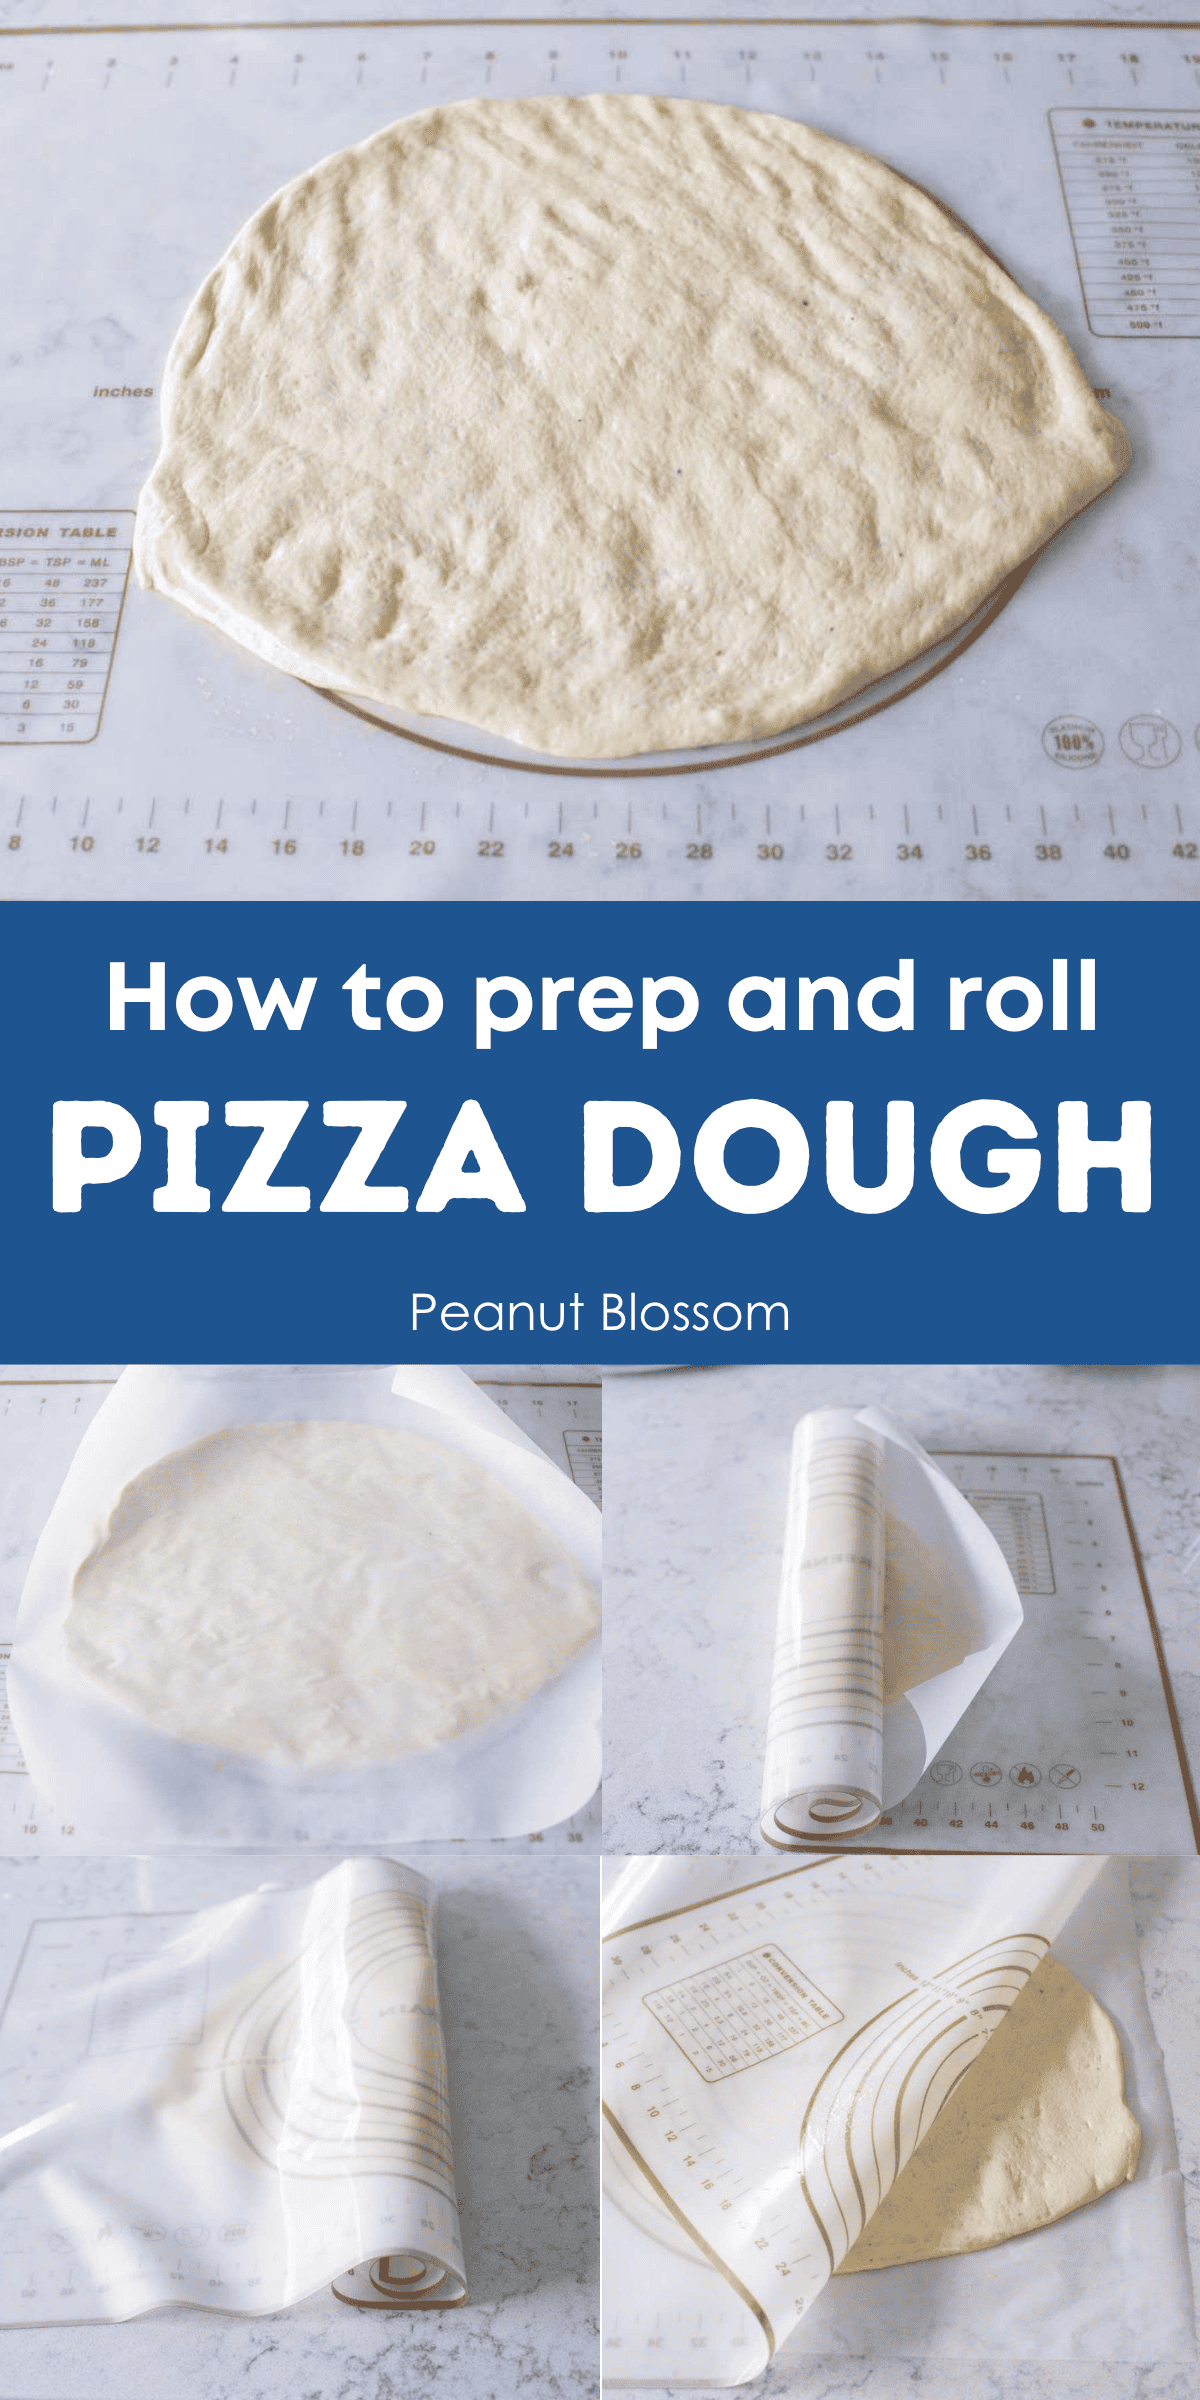
How to Transfer the Dough Off the Baking Mat:
By this stage, your crust is likely fairly thin and would be very difficult to pick up with your hands and move.
I have a special trick for flipping the crust onto parchment paper so it is ready for baking:
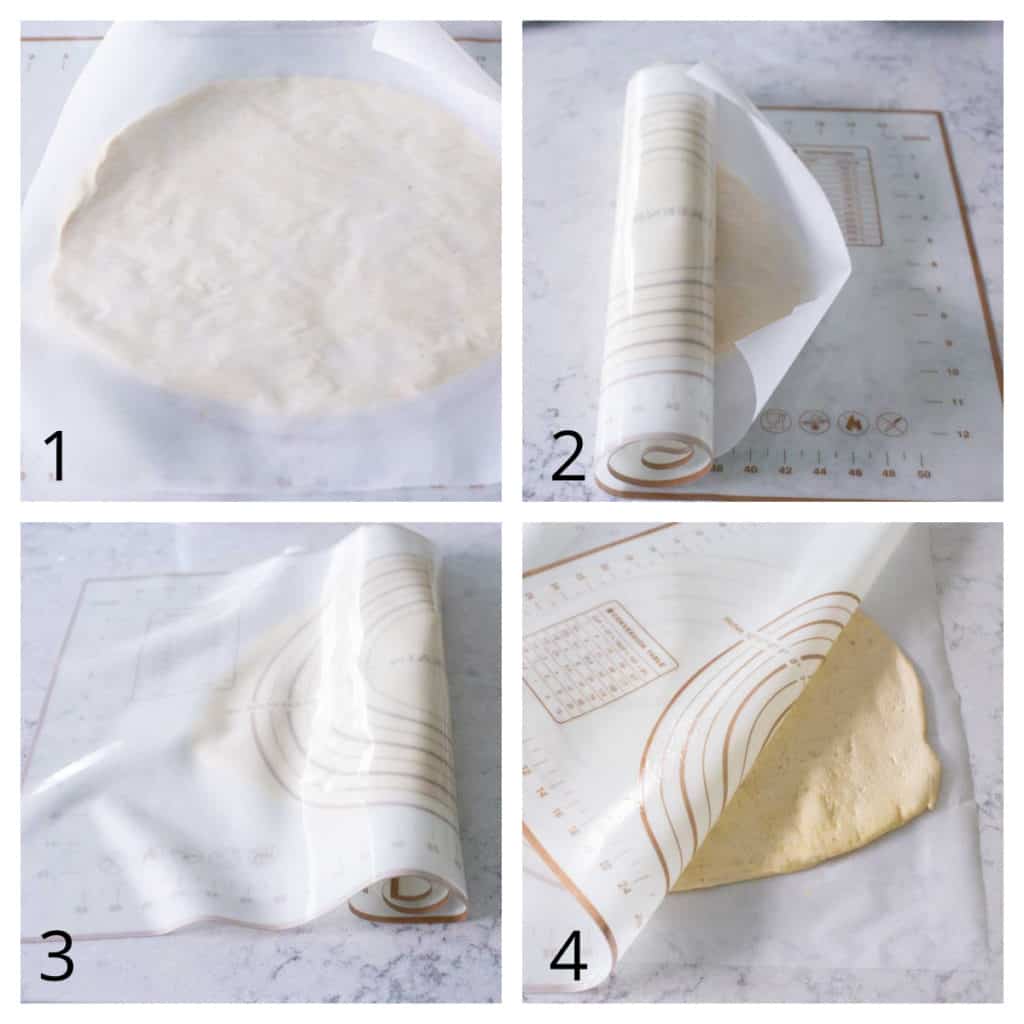
- Place parchment over the crust: Cut a large piece of parchment paper and smooth it over the entire surface of the pizza dough. Try to make sure there aren't any wrinkles or air pockets or it could affect how the bottom of your pizza crust bakes.
- Roll the baking mat half way: Starting at one of the narrow edges of the baking mat, roll it up towards the dough. You can stop when the dough is rolled 2/3 of the way into the mat.
- Flip the baking mat upside down: Holding the rolled mat in one hand and assisting with your other hand to keep it all together, quickly flip the roll so that the open edge of the mat is on top and the open edge of the parchment paper is on your counter.
- Unroll the mat and peel it away: Unroll the entire mat so that the parchment paper is laying flat on your kitchen counter and the dough is sandwiched between that and the mat. Gently peel away the baking mat to expose the pizza crust ready and waiting for you.
Now you can set aside the prepared crust and repeat the process with the second portion of dough to form your second crust.
How to Prep the Pizza Toppings:
The very first thing you should do before you add any of your pizza toppings is to brush the outer edge of the pizza crust with extra virgin olive oil.
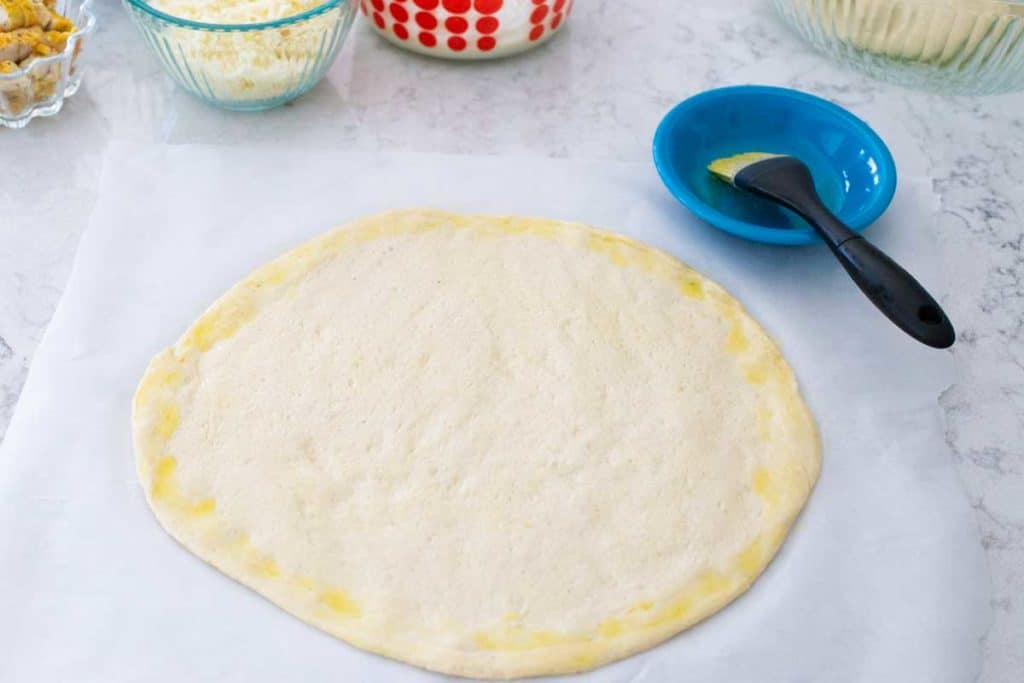
I use a pastry brush to paint a 1-inch border all around the edge of the pizza. This gives the crust a pretty golden brown color when it bakes and adds a little more flavor to each bite.
Depending on the ingredients you plan to add to your pizza, this would be a perfect time to sprinkle some seasonings on the wet edge of the crust if you like:
- garlic salt
- Italian herbs
- ranch seasoning
- powdered cheese blends
- cajun seasoning
- hot chile oil with sesame seeds
Spread the sauce you plan to use all across the middle of the pizza, stopping at the edge of where you brushed the olive oil.
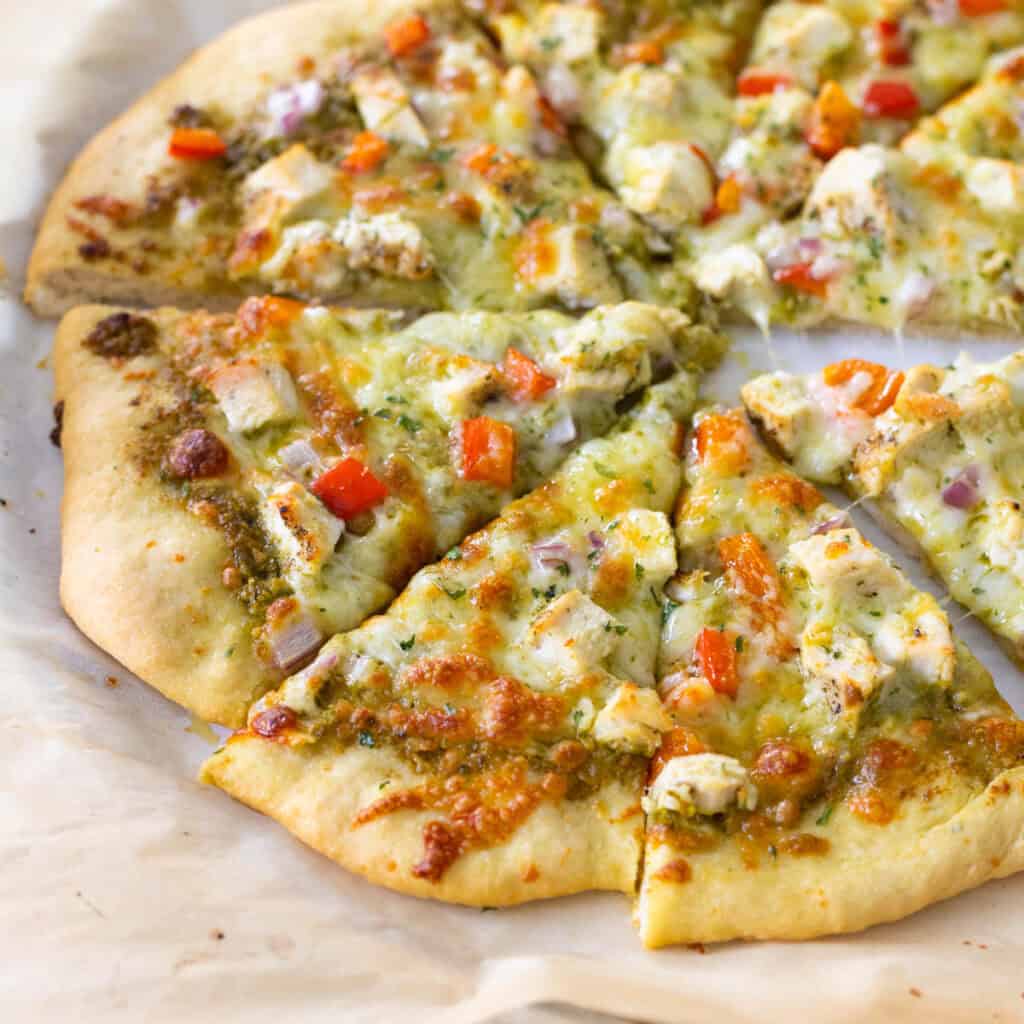
Then top with your remaining pizza toppings and bake!
Recipe FAQs
A tiny bit of stick will help ensure your pizza doesn't shrink back to a smaller size. If the dough is sticking too much as you try to pat it out, add just a small sprinkle of flour to your baking mat.
This is why we love our bread machine! All of the kneading has already been done inside the bread pan. When the dough is finished, it has already been kneaded as much as it has to.
If you try to stretch the pizza dough, you may end up with spots that are too thin or even worse, tears in the crust. Patting and rolling is a safer method to ensure a nice even pizza crust.
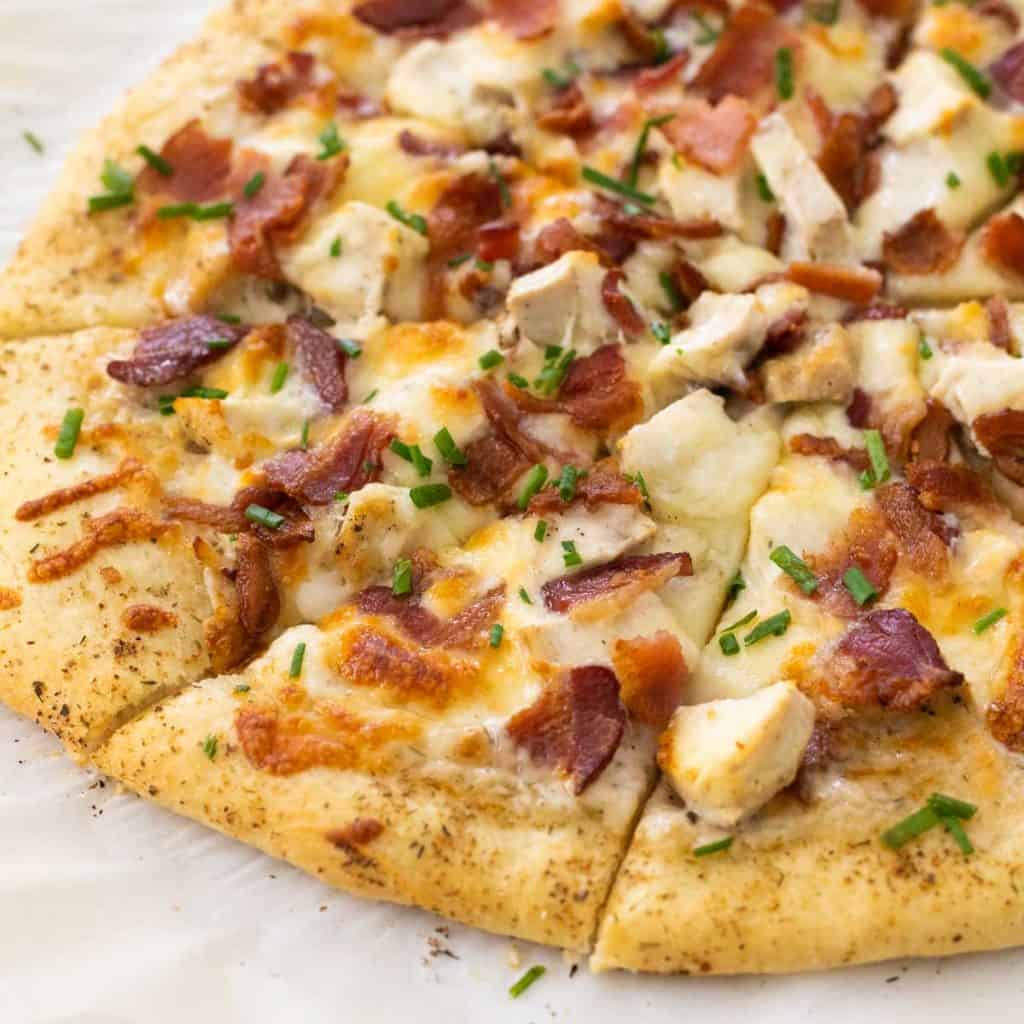
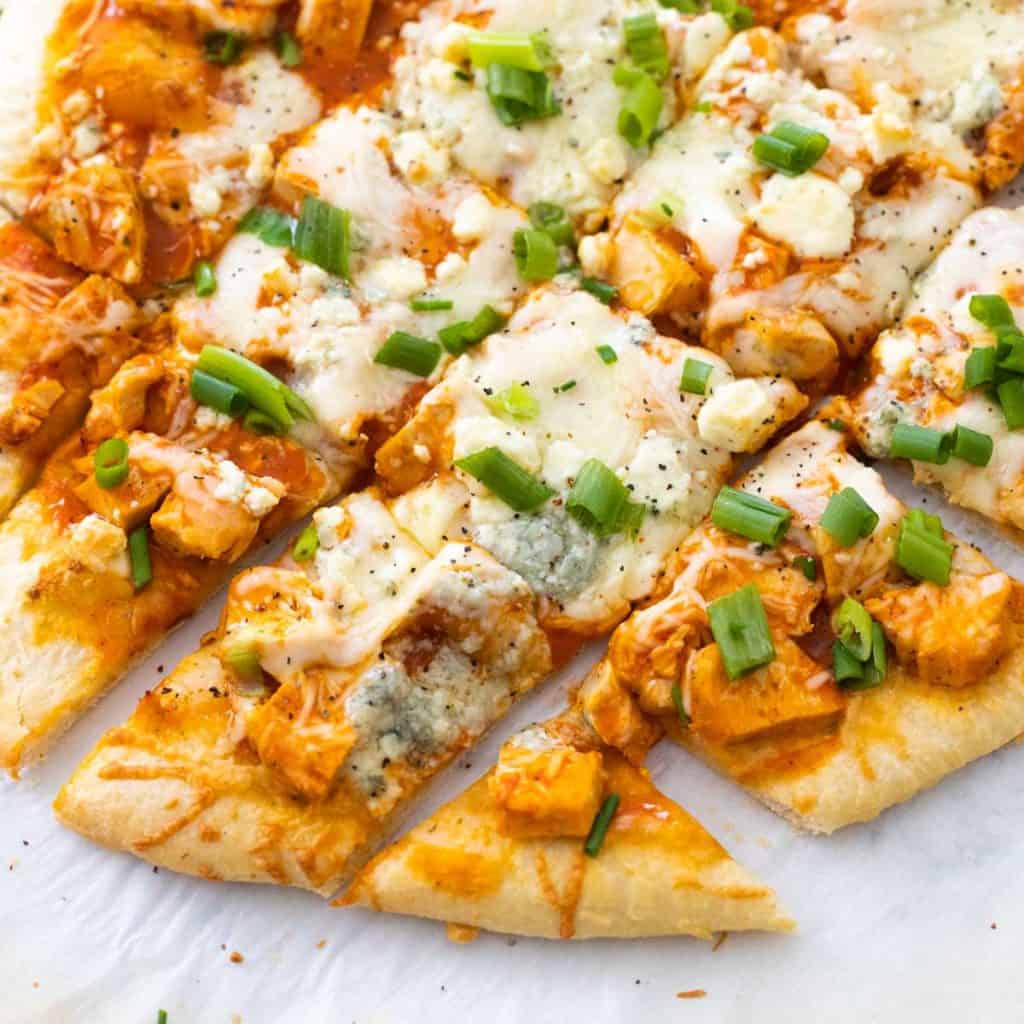
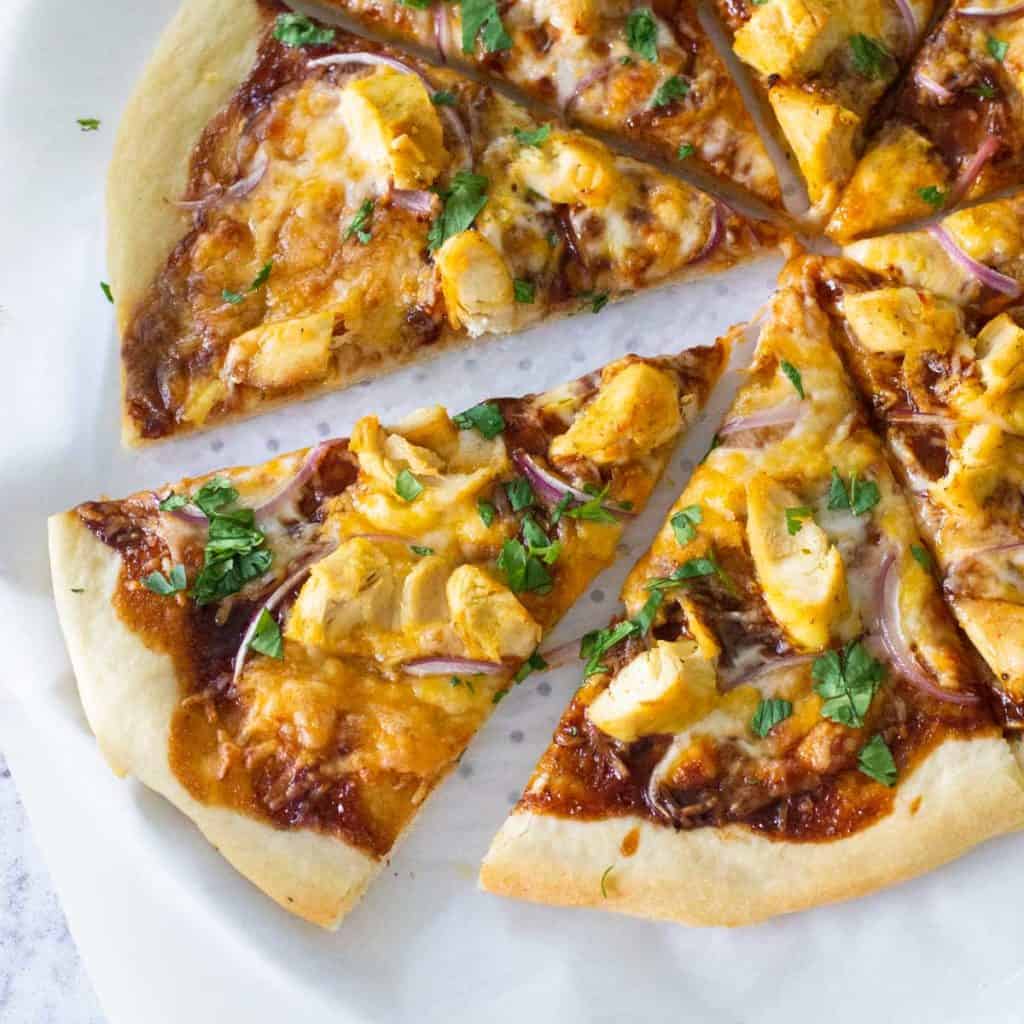
Our Favorite Pizza Toppings
One Comment