Freezer Friendly Apple Crisp
Everyone should have an easy apple crisp recipe in their pocket for fall baking. This is the VERY BEST apple crisp recipe you will ever find and needs to be the first thing you bake after a trip to the apple orchard.
My mom is a fussy lady when it comes to desserts. She can easily pass by a buffet of treats with little stress. But all I have to say is that I've got one of my famous apple crisps in the oven and she will drop everything to race over to our house.
Once, I made this easy apple crisp recipe for my mother-in-law when she came to visit. I noticed the pan disappearing faster than usual and when I caught her red-handed with another helping, she blushed and said, "I just can't help myself! This is AMAZING."
Moral of the story: If you want to make a mom in your life super duper happy? Then you need to whip up this apple crisp STAT!
Jump to:
Why This is the Best Apple Crisp Recipe
As much as I love apple desserts, I think this is the best apple crisp recipe because:
- Perfect Crisp Topping: it's the all about the apple crisp topping. My version has just the right amount of crunch to it because I use old fashioned oats with the butter. The recipe makes a very generous portion of the crisp topping so the ratio of apples to crunchy topping is pure perfection.
- Touch of Zest: the secret is in the citrus. Most apple crisps are far too sweet. One bite and you're overwhelmed. This apple crisp recipe has a touch of lemon and orange zest which balance out the sweet apples and sugar and makes the dish just a little bit brighter.
- Freezer Friendly: this is an easy make ahead dessert you can stash in your freezer. Prepare the apple crisp now and freeze it so you have one dessert all ready to go for Thanksgiving! It's so much easier than an apple pie and I bet your guests will love it even more.
Ingredients
The ingredients to make this easy recipe are just so wholesome:
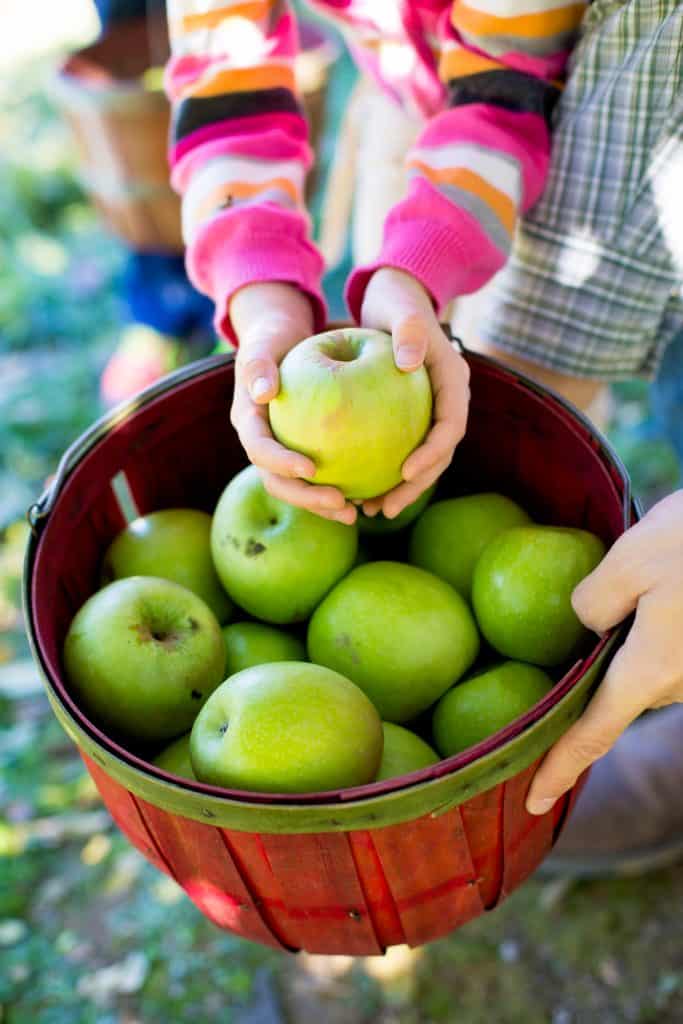
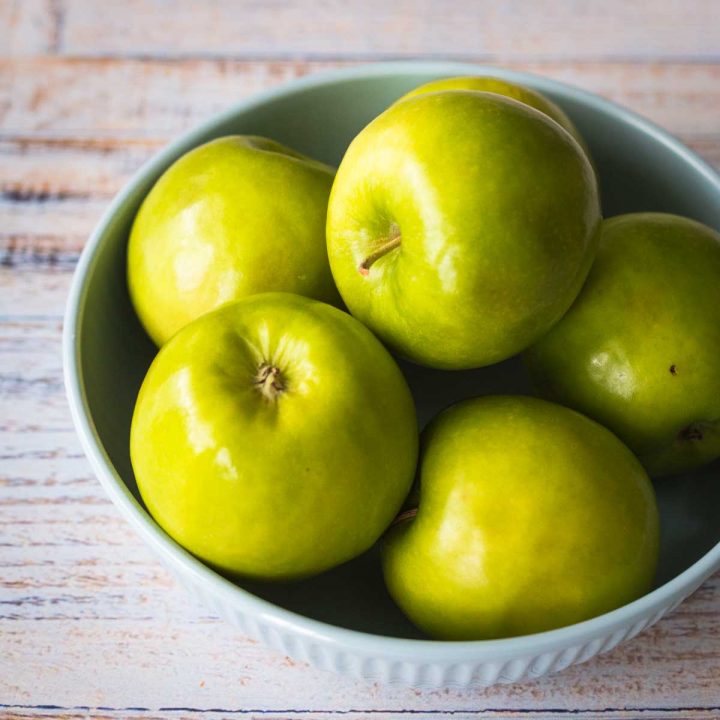
- Fresh Apples: usually use fresh apples from a trip to the apple orchard near us. Wherever you get them, start with good baking apples like McIntosh or honeycrisp. I've also used Granny Smith apples, my mom's favorite.
- Orange
- Lemon
- Sugar
- Cinnamon
- Nutmeg
- Flour
- Sugar
- Brown Sugar
- Rolled Oats
- Butter
Helpful Tools
This apple crisp recipe is extra easy if you have the right tools:
- Apple Spiral Slicer: This handy apple slicer tool helps you peel and core the apples in a flash. My kids both love running it each fall. It practically lives on our counter for after school snack time, too.
- Freezer friendly baking dishes: I always have two of these in the cabinet ready to go.
- Microplane Zester: this is perfect for getting just the right amount of citrus zest.
How to Make Apple Crisp

Want to Save This for Later?
Prep the Apple Filling
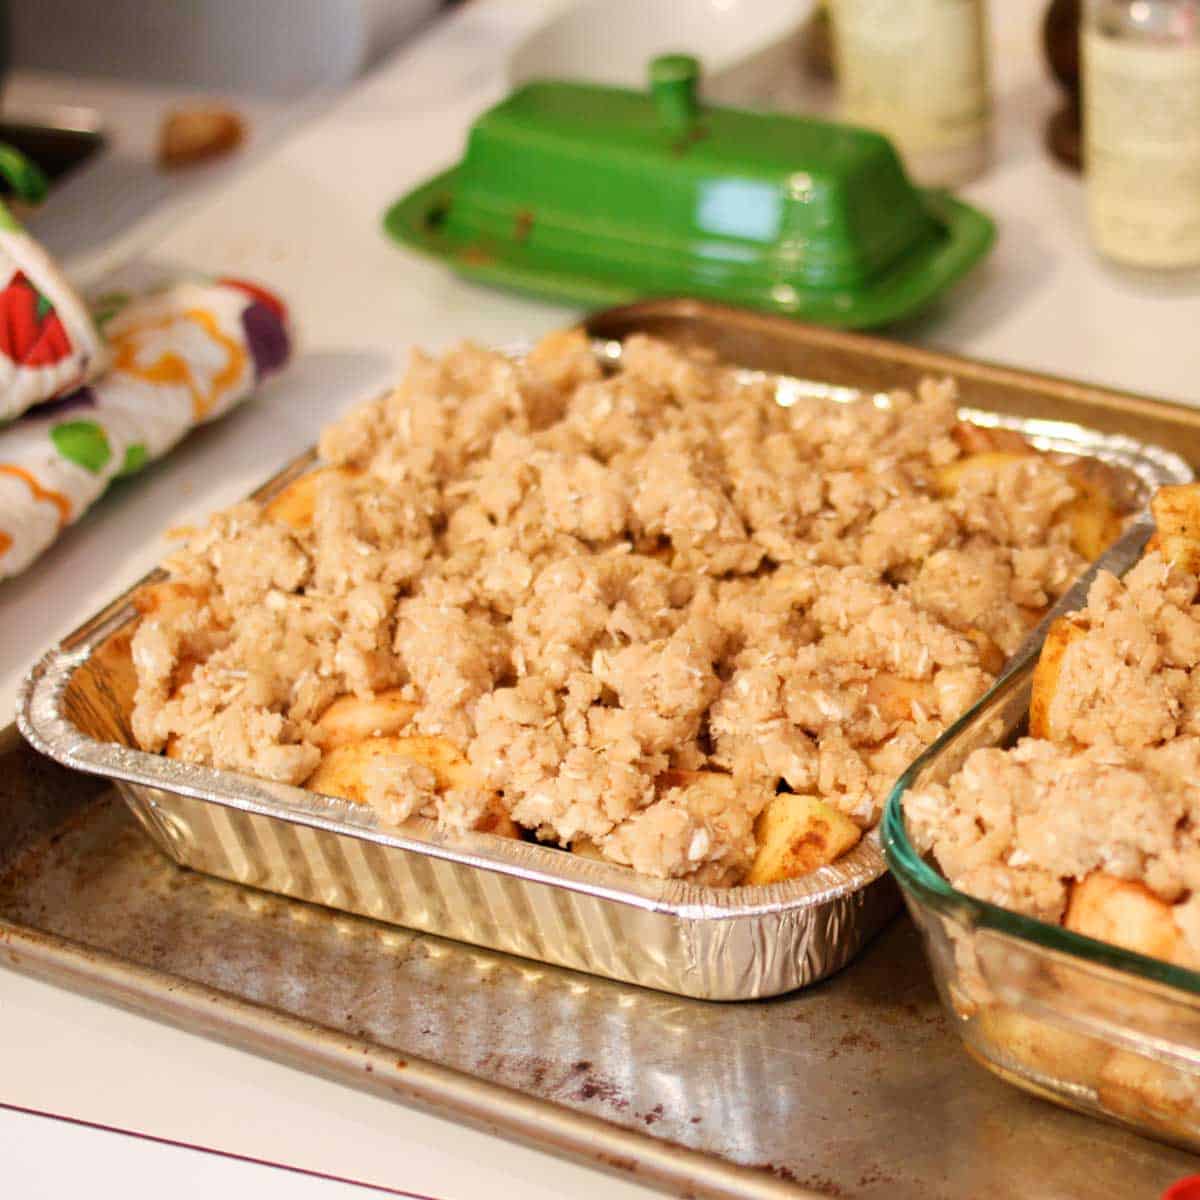
Butter a 9 x 13-inch baking dish and set it aside.
Alternatively, you could butter 2 8x8-inch pans so you can freeze one crisp for later.
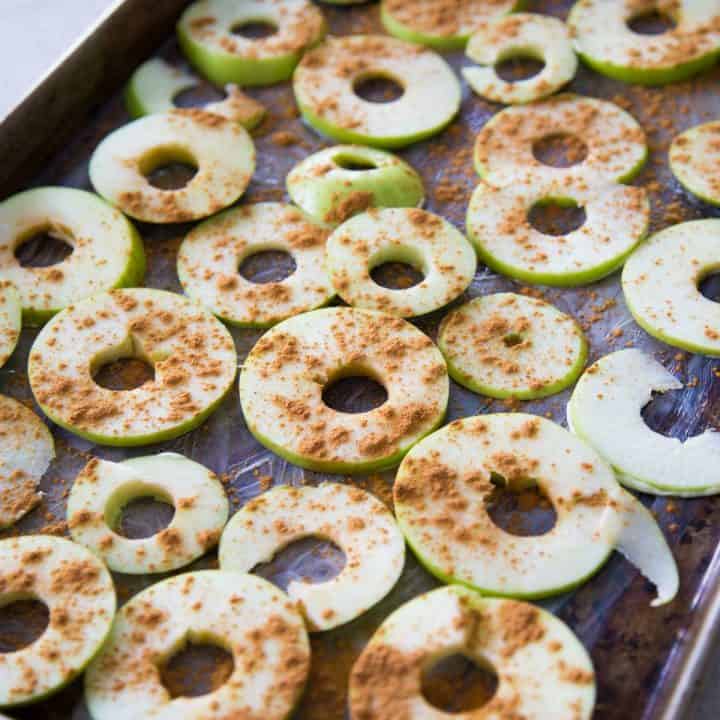
Wash, peel, and core the apples.
Using this handy apple spiralizer makes it super quick and easy.
I just run the apple through the machine and then use a paring knife to cut it in half. It makes the perfect thin slices.
Toss the fresh apples with the sugar, spices, and citrus zest and juices and let them rest in the prepared baking dish while you prepare the apple crisp topping with oats.
Prepare the Oat Crisp Topping
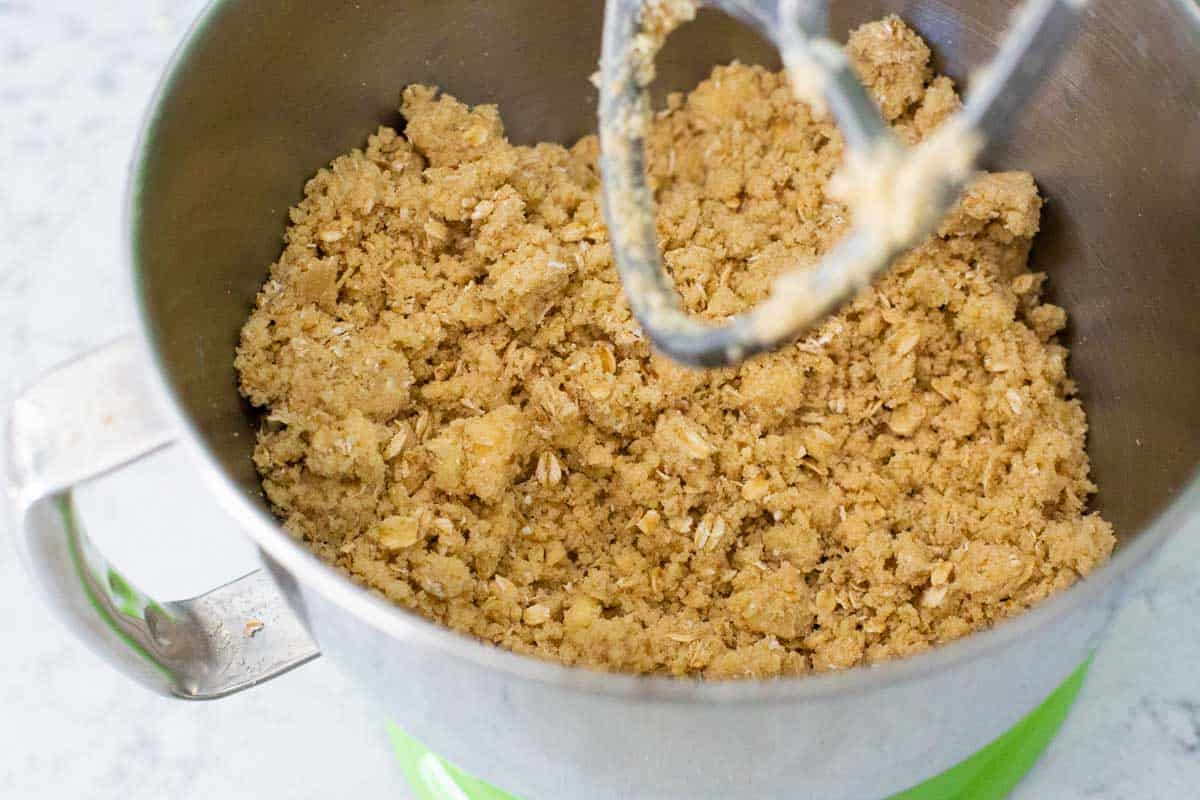
I love that the apple crisp topping requires cold butter, so you are ready to make this on a whim -- no waiting for butter to soften.
I use my stand mixer to beat the butter, sugar, flour, and oats together until they are coarse and crumbly.
Sprinkle the crisp topping with oats over the apples in your baking dish and you're ready to go.
Baking Instructions
Preheat the oven to 350°F.
Place the apple crisp dish on a large baking sheet to catch any drips and bake it for one hour.
The top should be golden brown and the apple filling should be nice and bubbly.
Can you freeze apple crisp?
Yes! You can absolutely freeze apple crisp and that is what makes this recipe so perfect.
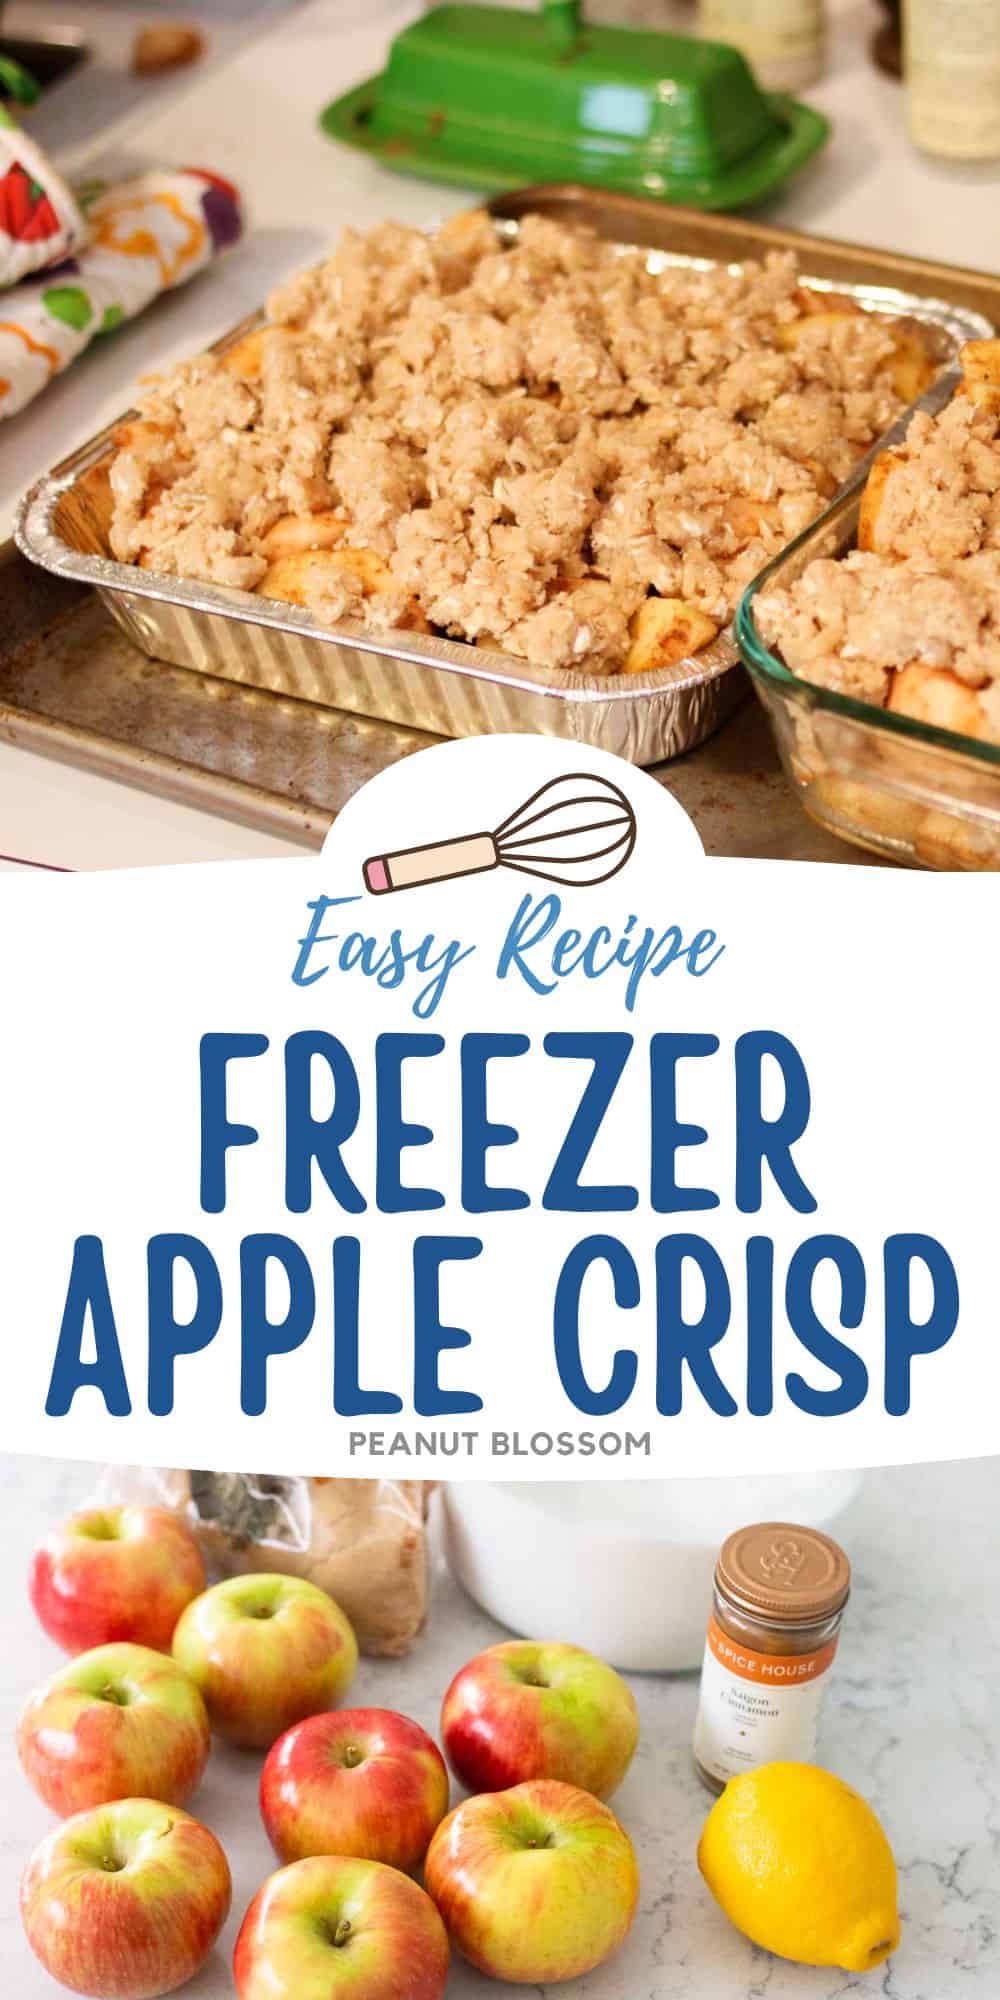
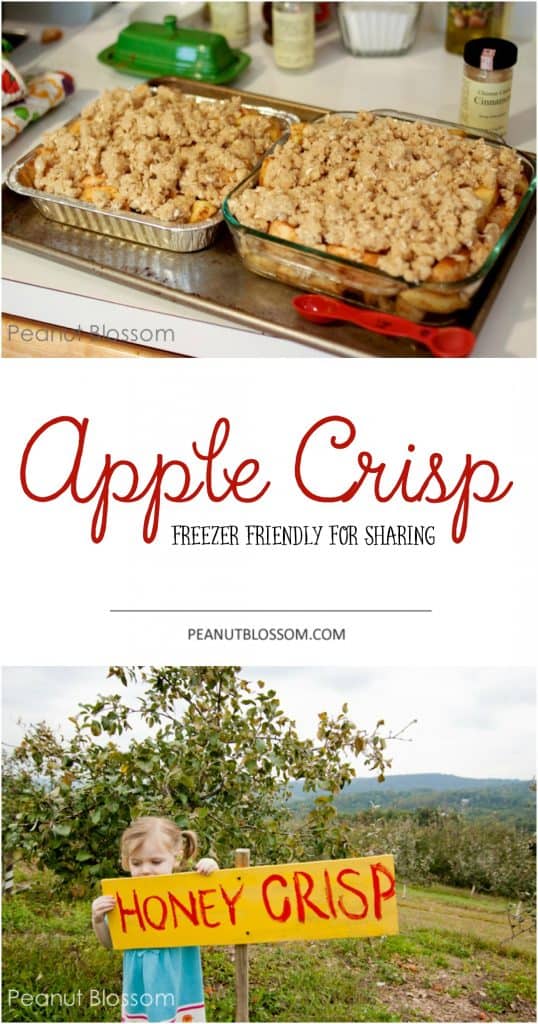
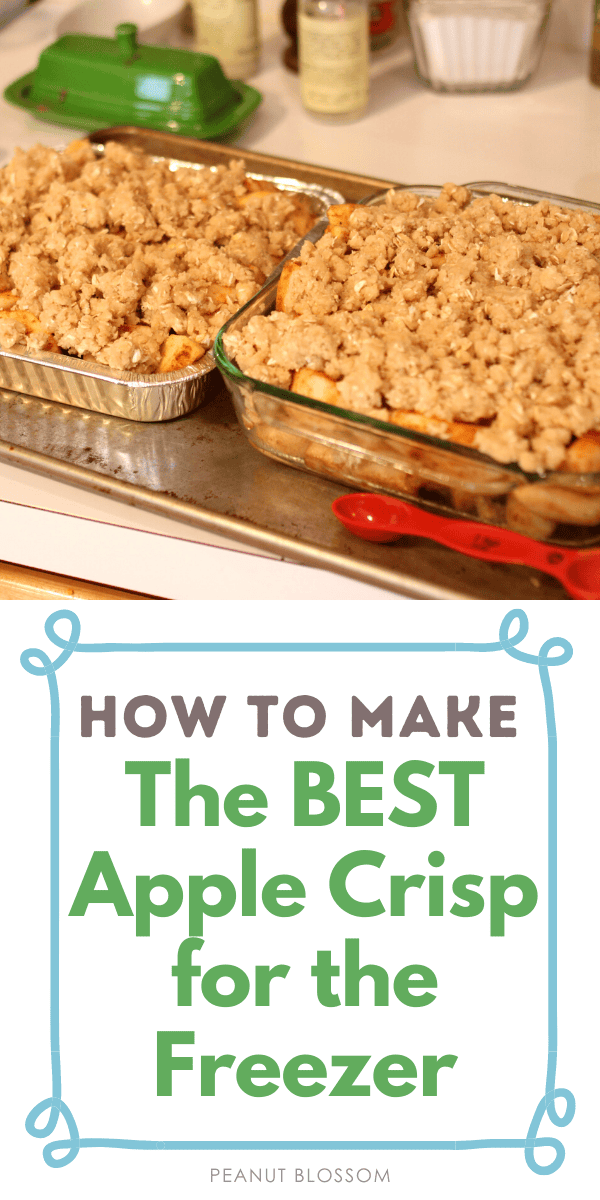
Once I realized the power of the 8x8 pan, I went a little freezer stocking crazy. I used to make this apple dessert in a big 9 x 13 pan for company but we always had leftovers and it was just a little too much.
I finally decided to split the recipe into two 8 x 8 inch pans so I could bake one now and freeze the other for later.
This is especially handy for the holiday season because you have a dessert ready in a pinch and it is just the perfect size to mix and match with other treats on a buffet table.
My halved crisp are more than plenty for 4 adults and one picky toddler.
You could likely get 6 servings from each pan.
Serving Suggestions
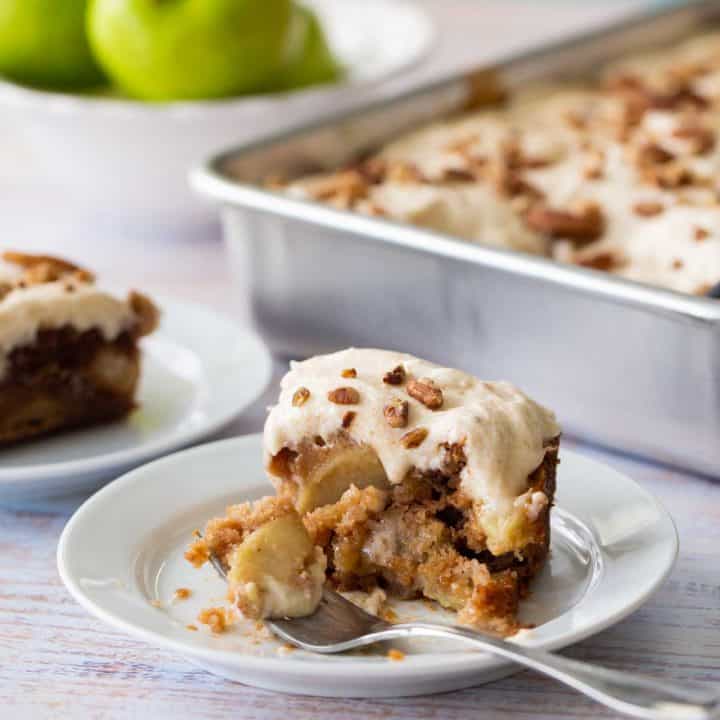
Whether you make the whole thing at once or decide to split it into two 8 x 8 dishes as I did, this is the best apple crisp recipe you will find.
The topping has just the right crunch, the apples melt in your mouth.
It isn't overly sweet because of the citrus zest and juice it calls for. It is just right for a nice heaping topping of vanilla ice cream.
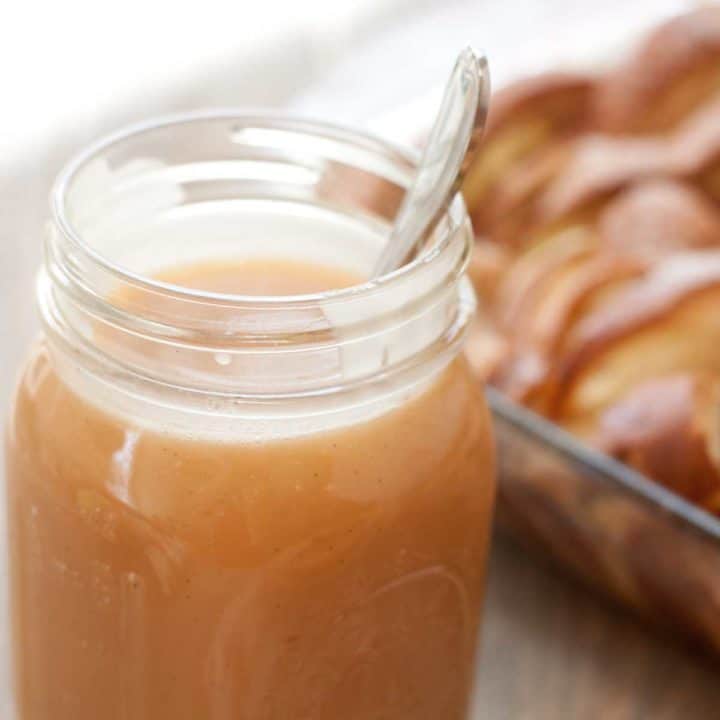
But if you really want to take this dessert over the top, serve it warm with a scoop of vanilla ice cream and a drizzle of homemade salted caramel sauce.
More Apple Recipes
We love cooking with apples, don't miss some of these family-favorites:
More Fruit Desserts
If you love fruity desserts as much as I do, you won't want to miss these other classic recipes:
📖 Recipe

Freezer Friendly Apple Crisp
Ingredients
For the Apple Filling
- 5 pounds apples I used a half and half mix of McIntosh and Honeycrisp and it was the perfect balance
- Grated zest of 1 orange
- Grated zest of 1 lemon
- 2 tbsp fresh squeezed orange juice
- 2 tbsp fresh squeezed lemon juice
- 1/2 cup granulated sugar
- 2 tsp ground cinnamon
- 1 tsp ground nutmeg
For the Crisp Topping
- 1 1/2 cups all-purpose flour
- 3/4 cup granulated sugar
- 3/4 cup light brown sugar packed
- 1/2 tsp kosher salt
- 1 cup oatmeal
- 1/2 pound cold unsalted butter diced
Instructions Start Cooking
Prep the Apple Filling
- Spread softened butter inside one 9x13-inch baking dish or two 8x8-inch baking pans.
- Peel, core, and cut the apples into large wedges. Combine the apples with the zests, juices, sugar, and spices. Pour into the dish.
Make the Crisp Topping
- Combine the flour, sugars, salt, oatmeal, and cold butter in the bowl of an electric mixer fitted with the paddle attachment. Mix on low speed until the mixture is crumbly and the butter is the size of peas. Scatter evenly over the apples.
Baking Instructions
- To bake your assembled apple crisp right now, preheat the oven to 350°F. (For freezing instructions, see the Notes at the bottom.)
- Place the crisp on a sheet pan and bake for one hour until the top is brown and the apples are bubbly.
Recipe Notes
How to Freeze Apple Crisp:
You can choose to freeze the apple crisp from the prepared & unbaked stage or you can bake it and then freeze it. I prefer to freeze it unbaked so that the topping doesn't get over browned. Once you've assembled the crisp, wrap it in two layers of aluminum foil and mark it with the date you assembled it. Freeze for 3 - 6 months.To Bake a Frozen Apple Crisp:
Unwrap the foil from the crisp and place the dish on a cookie sheet. Cover the top loosely with a piece of foil and bake as directed. After 20 minutes, remove the foil and continue to bake until the apples are bubbling hot and the crisp is golden brown.HELPFUL TOOLS
Save This Recipe to Your Recipe Box
Find this delicious recipe next time you visit by saving it to your very own recipe box on my site. All your favorites stored in one easy place!
This post was originally published in November 2010, we've updated it since it is so popular with our readers. You may have seen this classic pin on Pinterest:
This recipe looks to be , word for word, the same as Ina Garten's recipe for Old-Fashioned Apple Crisp. And yes, it makes an awesome crisp. Been making it for years and years.
Excited to try this but have an important question: when you bake after freezing, do you let the frozen crisp thaw first before baking or just pop it right in? Not using glass pan.
I pop it in right from frozen, but it will require a little extra time to bake. Keep it loosely covered with foil for the first 20 minutes and then remove the foil to let it brown up as it finishes.
This was the best apple crisp I have ever ever eaten. I am going to freeze my left over. I am 89 years is why I couldn’t eat it all.
I divided the recipe into 6 smaller foil trays and planning on freezing it. Any idea on how long I should bake it for ?
I do not know what to say really what you share very well and useful to the community, I feel that it makes our community much more developed, thanks
This recipe is identical to Ina Garten's (the Barefoot Contessa) recipe on the Food Network page. You should definitely include a citation (at the very least) if you're going to post it.
http://www.foodnetwork.com/recipes/ina-garten/old-fashioned-apple-crisp-recipe-1941803
Can I make this the day before my dinner party?
Thanks!
Nowhere in this recipe does it say how long to actually cook it
Bake it for one hour, the instruction is hiding in the last step of the recipe. Enjoy!
Im old school. I always make the crumble topping with my hands. Just the way my mom taught me - also solves the no mixer problem 🙂
Is cooking time the same if you cook 1 8x8 at a time?
Thanks!
Love it
I make my mom's apple/peach crisp - whatever's in season. I melt the butter and drizzle it over the sugar/flour mixture (that you can whisk together). Works well and would solve the problem of not having an electric mixer.
looks wonderful
I do not have a mixer with a paddle attachment - can I mix this with regular mixer blades? Or by hand?
It might be tricky to do by hand but I would try the mixer blades. I've done smaller crumble toppings using a fork, but this is a big batch for the top so a mixer will be very very helpful. Maybe a pastry cutter? If you try it, I'd love for you to report back whether it worked!
Amy, I freeze it unbaked. I pop it straight into the oven directly from the freezer and just bake it longer so that it heats up to bubbly hot. If it starts to brown up too much before it is hot enough just cover the top with some tin foil. Hope that helps!
If you use a glass pan and place it directly in a hot oven from the freezer, wouldn't the pan crack? It appears you freeze in the glass pans so I'm a little confused about that.
The recipe looks very appealing and I plan to try it. Thank you!
JP
Do you freeze this fully prepared but unbaked? How do you bake it on serving day? Do you thaw it first?
Thanks!