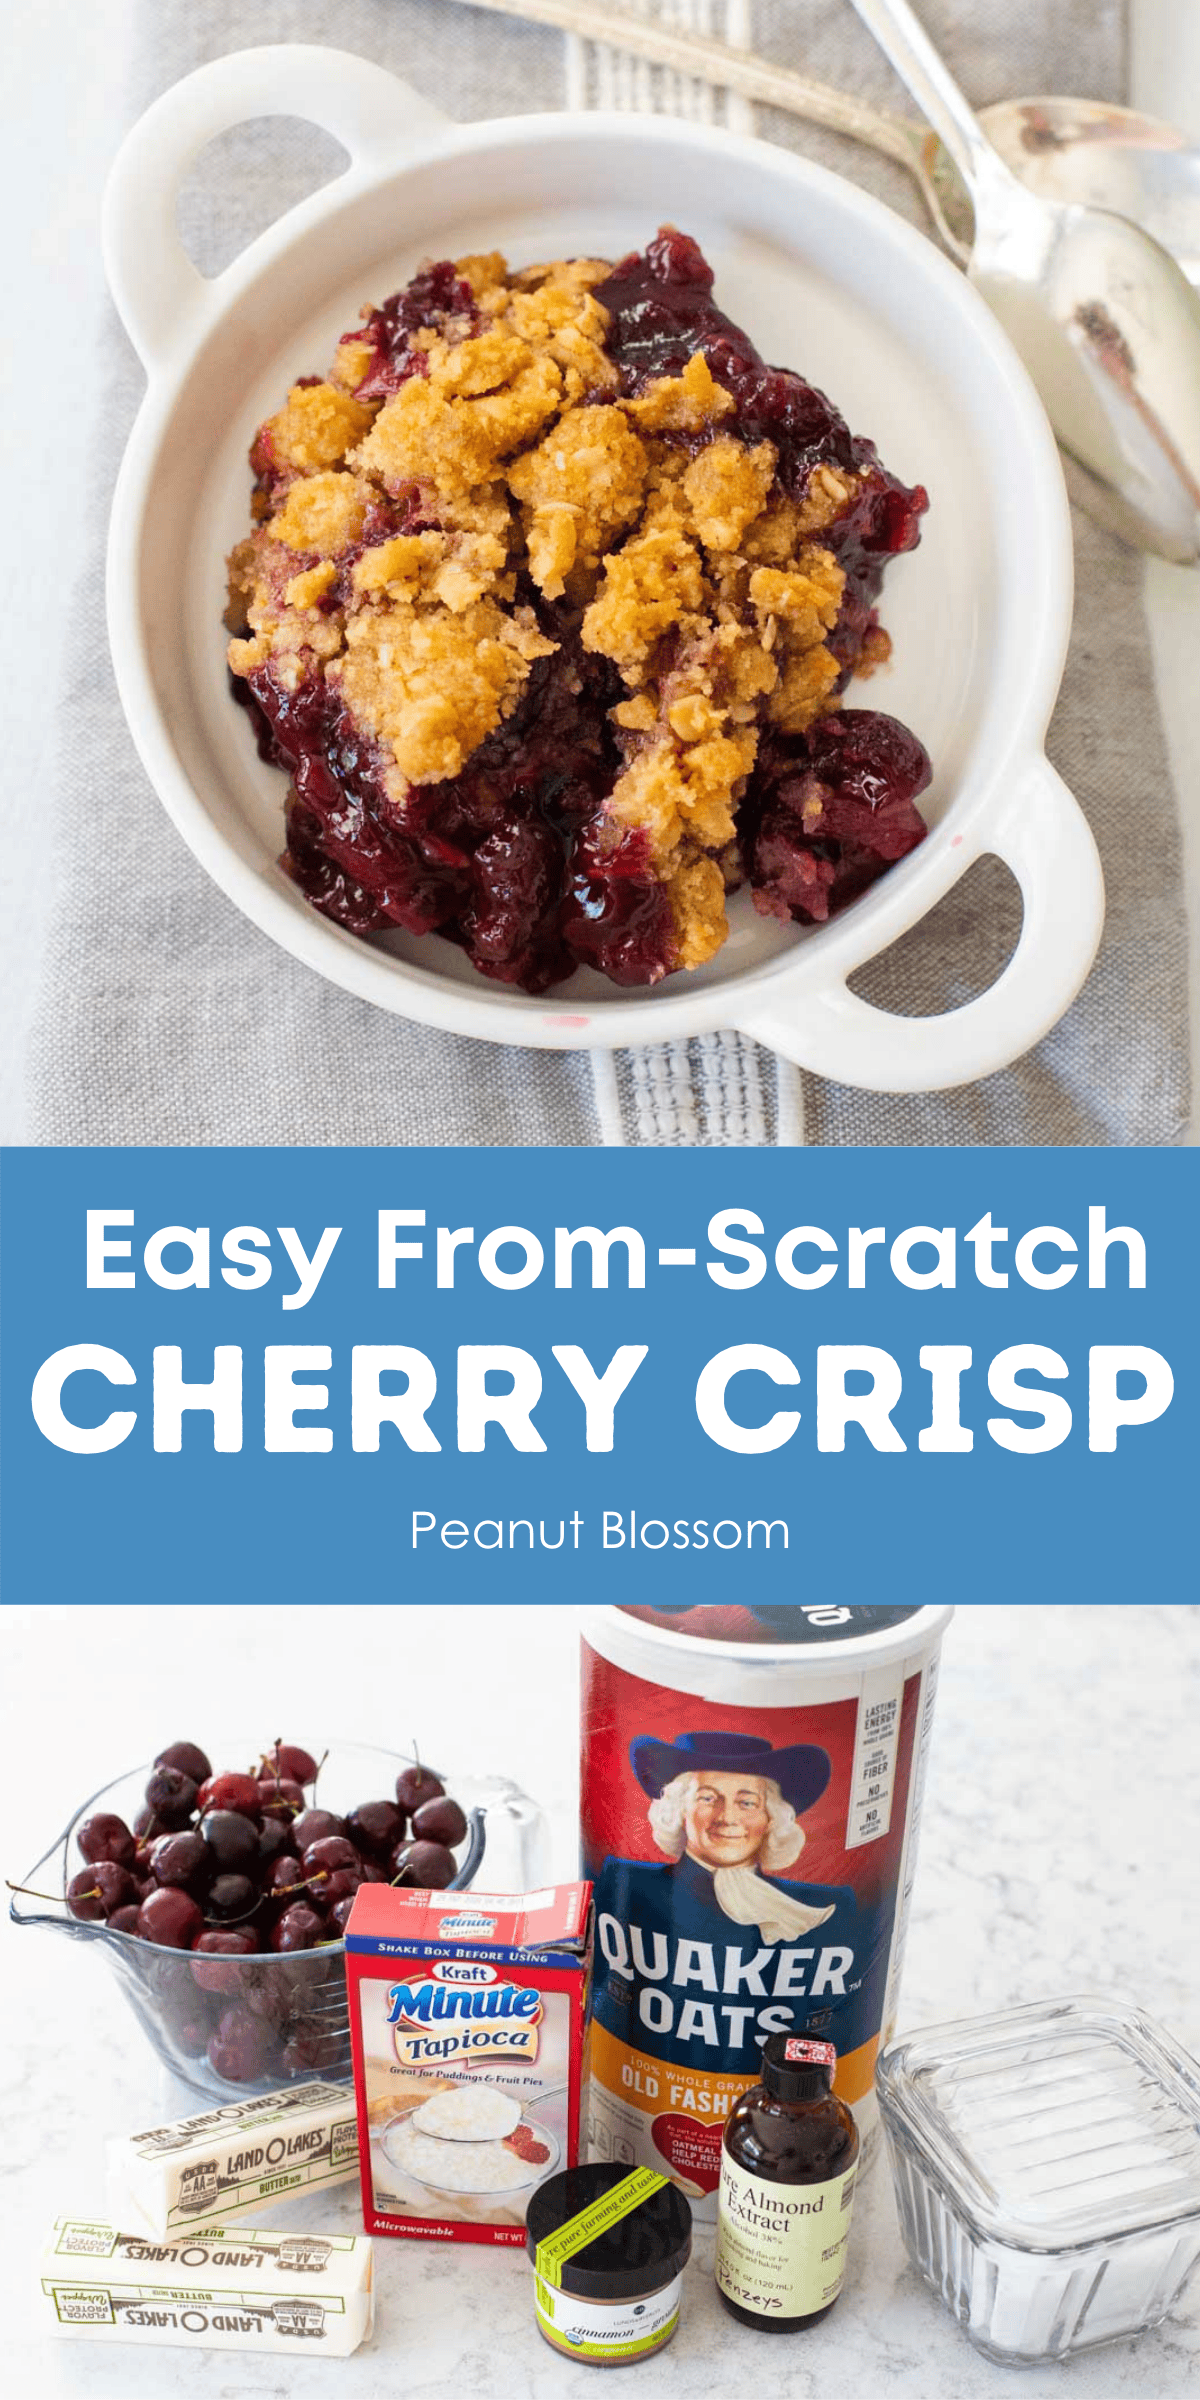
Fresh Cherry Crisp with Fresh or Frozen Cherries
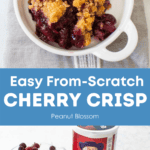
This fresh cherry crisp recipe is the best way to use frozen cherries you will ever find. You could substitute canned cherry pie filling but we believe fresh cherries make a huge difference. Freeze cherries while they are in season and you'll be able to make this cheery fruit dessert all year long.

When it comes to baking with fresh cherries, we are the experts.
My husband's Uncle Tim owns an amazing cherry orchard in Oregon and for as far back as I can remember, he has graciously sent us a 10-pound box of his phenomenal cherries every summer.
Curious what 10 pounds of cherries look like?? If you want to see how we process that huge amount of fruit and preserve it in the freezer, be sure to look at the crazy photos in this post about how to freeze fresh cherries.
It has been an annual challenge for me to find new ways to use that haul, you can see some of my favorite fresh cherry recipes here.
Thanks to Uncle Tim, I've had nearly 20 years to perfect the BEST fresh cherry crisp recipe of all time.
I bake this amazing dessert every single July and then use my frozen cherries to bake it again in the middle of winter when we need a little taste of something summery.
After baking dozens of cherry crisps over the years, I've developed a few secrets I'm happy to share with you.
Why This is the Best Recipe
Of all the fruit desserts I bake, I think this is the best cherry crisp recipe because:
- Fresh or Frozen Cherries: You can bake it using fresh cherries from the farmer's market or store or you can use frozen cherries as long as they've been pitted. You don't even need to thaw them!
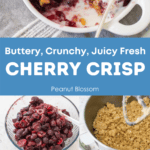
- Buttery Crisp Topping: The crisp topping is the true winner here. The texture of the butter and oats is nearly perfect.
- Hint of Almond: The bit of almond extract in this recipe is the secret ingredient your friends just won't be able to place but makes all the difference.
Ingredient Notes

The ingredients for my fruit crisp are fairly basic.
You likely have most things on hand right now but there are a few unique things to grab at the grocery store before you begin:
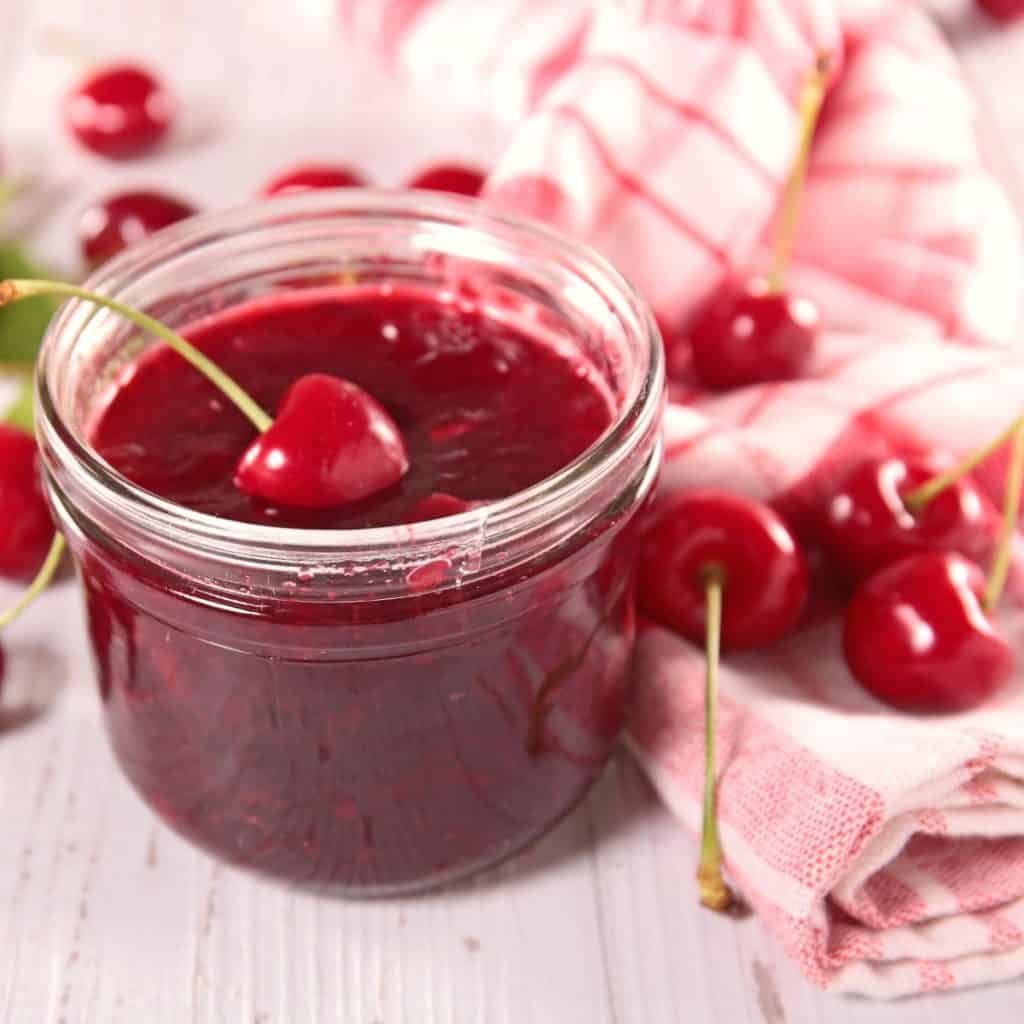
- Fresh Cherries: You'll need 8 cups of PITTED cherries. We prefer fresh or frozen fruit. If you use frozen, you don't need to thaw the cherries, you'll be able to use them cold right out of the freezer.
- Tapioca: This is used to help thicken the cherry filling instead of cornstarch. It gives the sauce a pretty, glossy appearance. I store my tapioca in an air-tight container and use the same box for a long time.
- Almond Extract: This is my best secret ingredient. It is the most important thing to include in this recipe and makes the biggest difference in the final taste of the dish. Almond extract shows up in several recipes from my site so I promise it won't go to waste in your pantry! At the very least, you could add 1/2 tsp to this sugar cookie recipe. YUM.
Prepare the Cherry Filling
Prepare the filling before you prep the crisp topping. This lets the cherries start to release their juices.
If you're using fresh cherries from the market, be sure to:
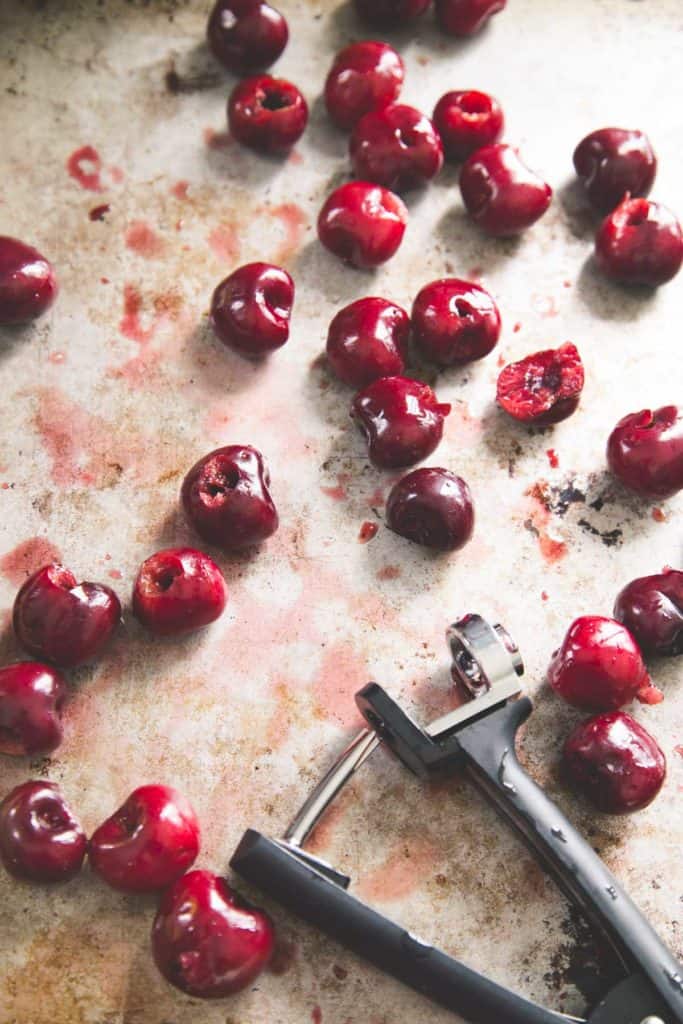
- Rinse them well.
- Remove all the stems.
- Remove all the pits with a pitter or paring knife.
Frozen cherries are ready to go and can be used straight from the freezer as long as they are already pitted.
Cut all the cherries in half and add them to a large mixing bowl.
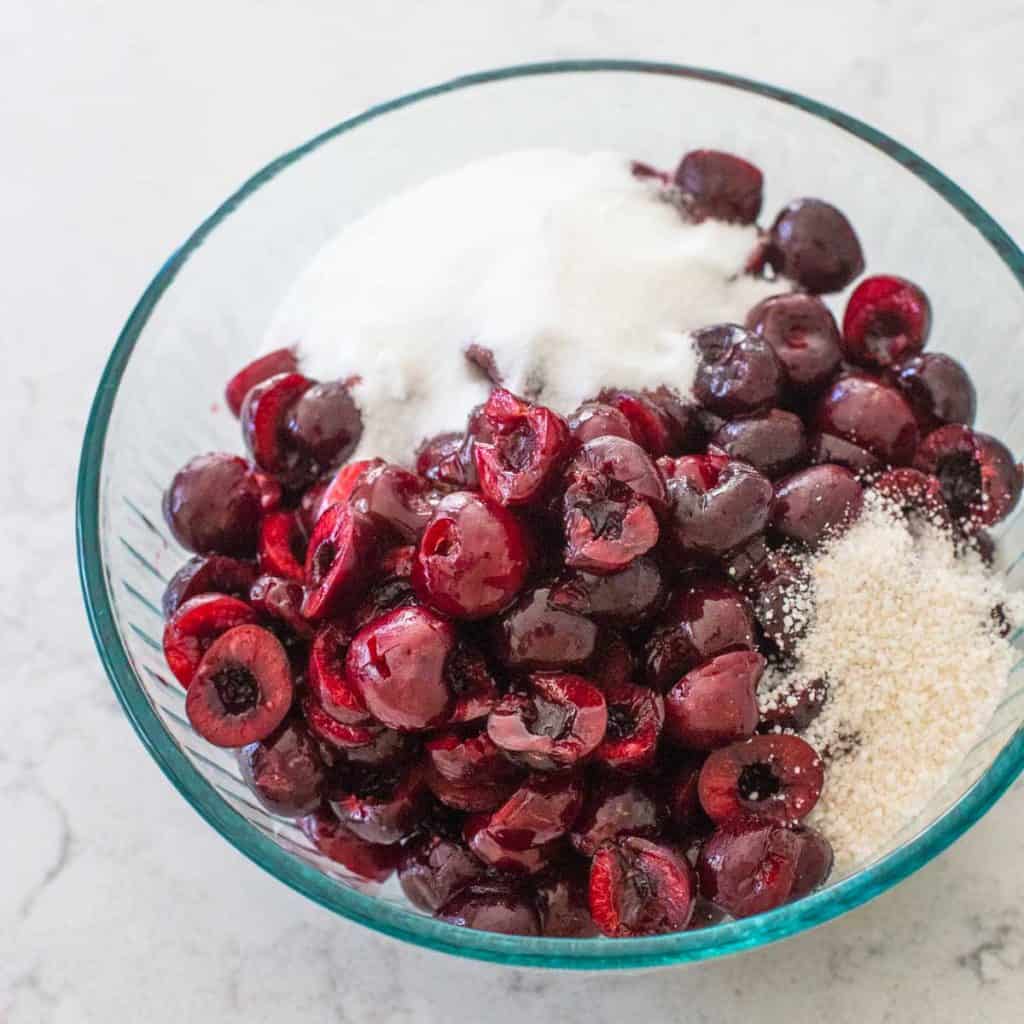
Add the sugar, tapioca, and almond extract to the bowl and stir to combine.
Let the cherries rest while you prepare the topping.
Make the Crisp Topping
This is my favorite part of the recipe because it is SO easy!
Want to Save This for Later?
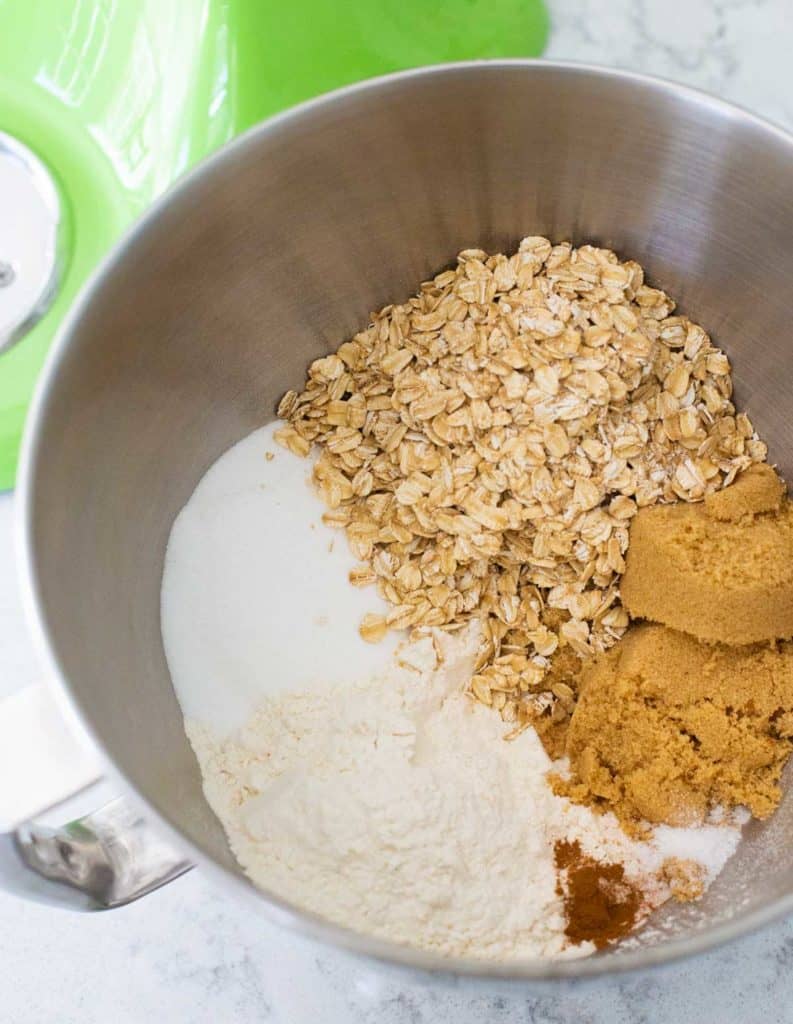
In the bowl of a stand mixer, add the flour, sugar, brown sugar, kosher salt, and cinnamon. Stir to combine.
Dice the COLD butter:
- Cut each stick in half, lengthwise.
- Keep the halves together and turn the stick so the uncut side faces up.
- Cut in half again, lengthwise, forming 4 long pieces of butter.
- Cut into diced pieces from end to end.
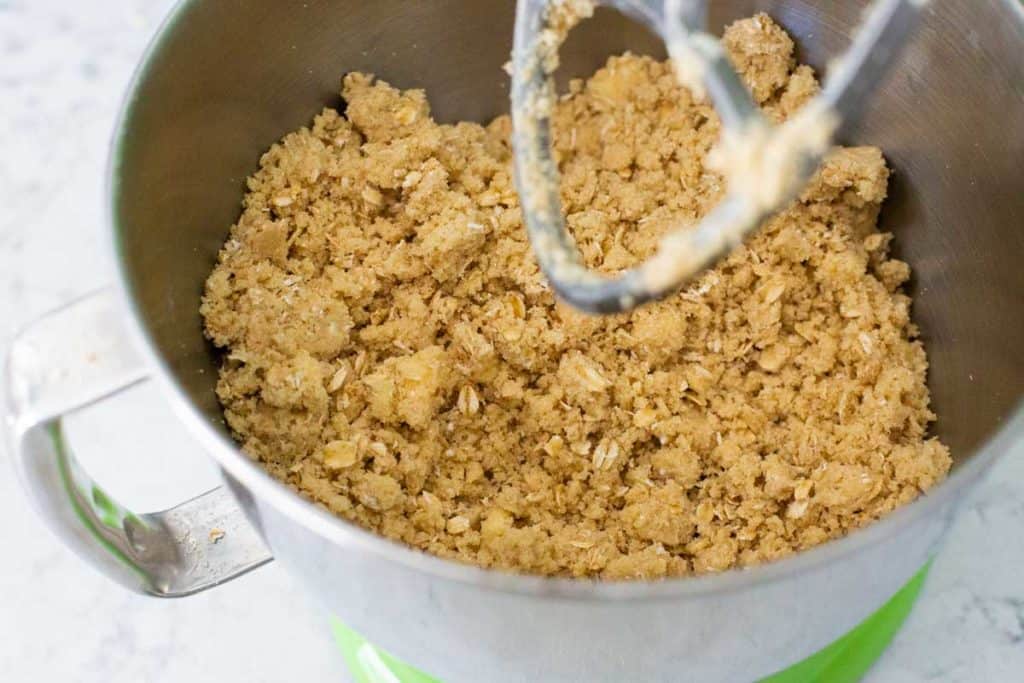
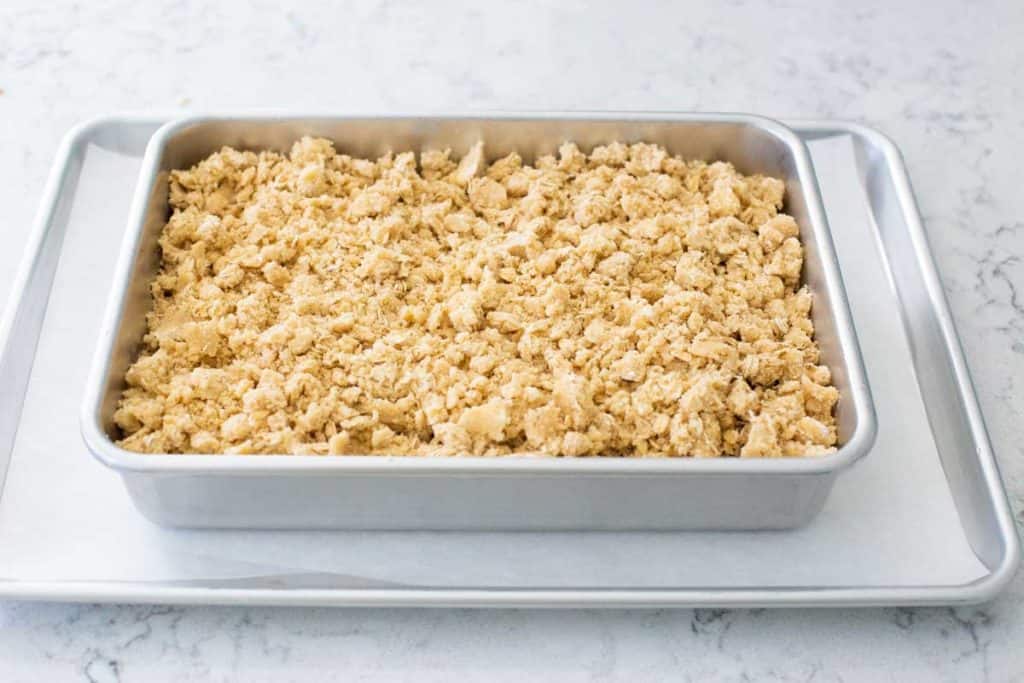
Add the diced butter to the stand mixer. Mix on LOW speed until the butter is incorporated throughout the topping and the mixture starts to clump together:
Layer the Dessert
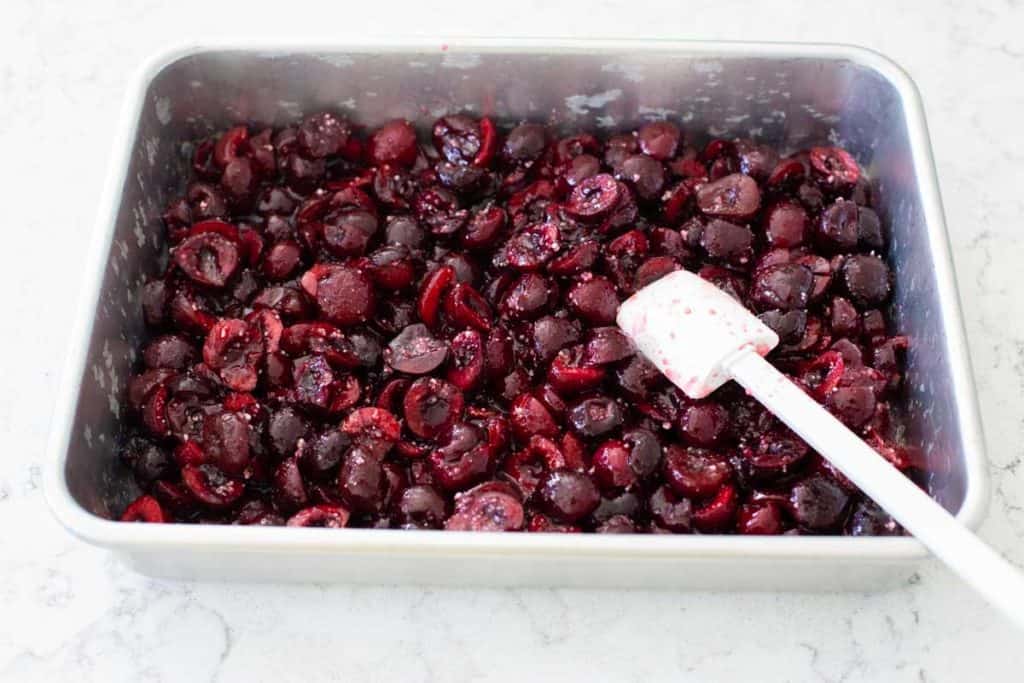
Stir the cherries in the mixing bowl to redistribute the juices and sugar.
Scrape the filling and all the sugar & juices clinging to the sides of the bowl into a 9 x 13-in baking dish.
Spread the fruit into an even layer. If all the juices collect on one side of the pan, you can gently tilt the pan to help redistribute the liquid.
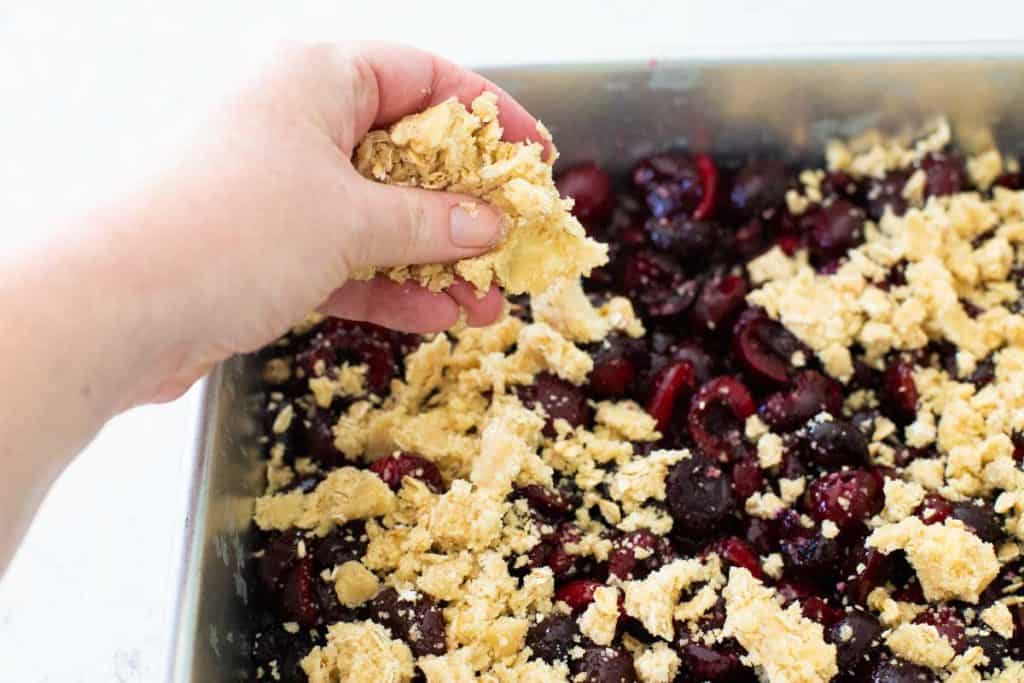
Use your hands to sprinkle the topping evenly over the cherries. I grab handfuls at a time and sprinkle it evenly over the top.
As you sprinkle the topping, gently pinch clumps together to form larger chunks of buttery crisp.
Baking Instructions
Place the baking dish on a cookie sheet lined with parchment paper to prevent the bubbling cherry juices spilling over the sides of the dish and burning on the bottom of your oven.
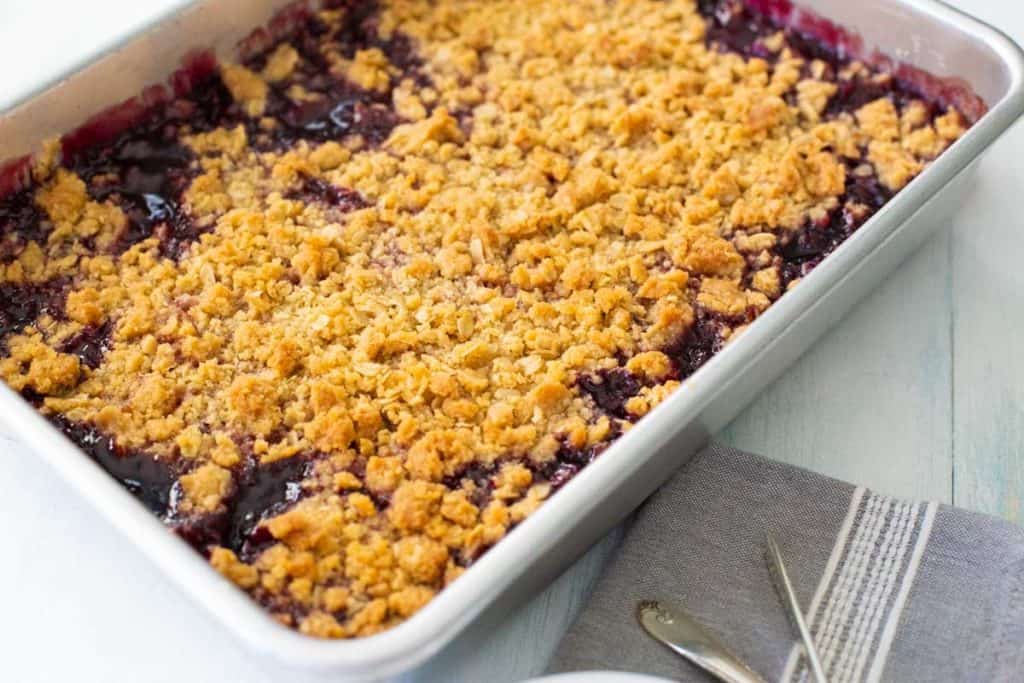
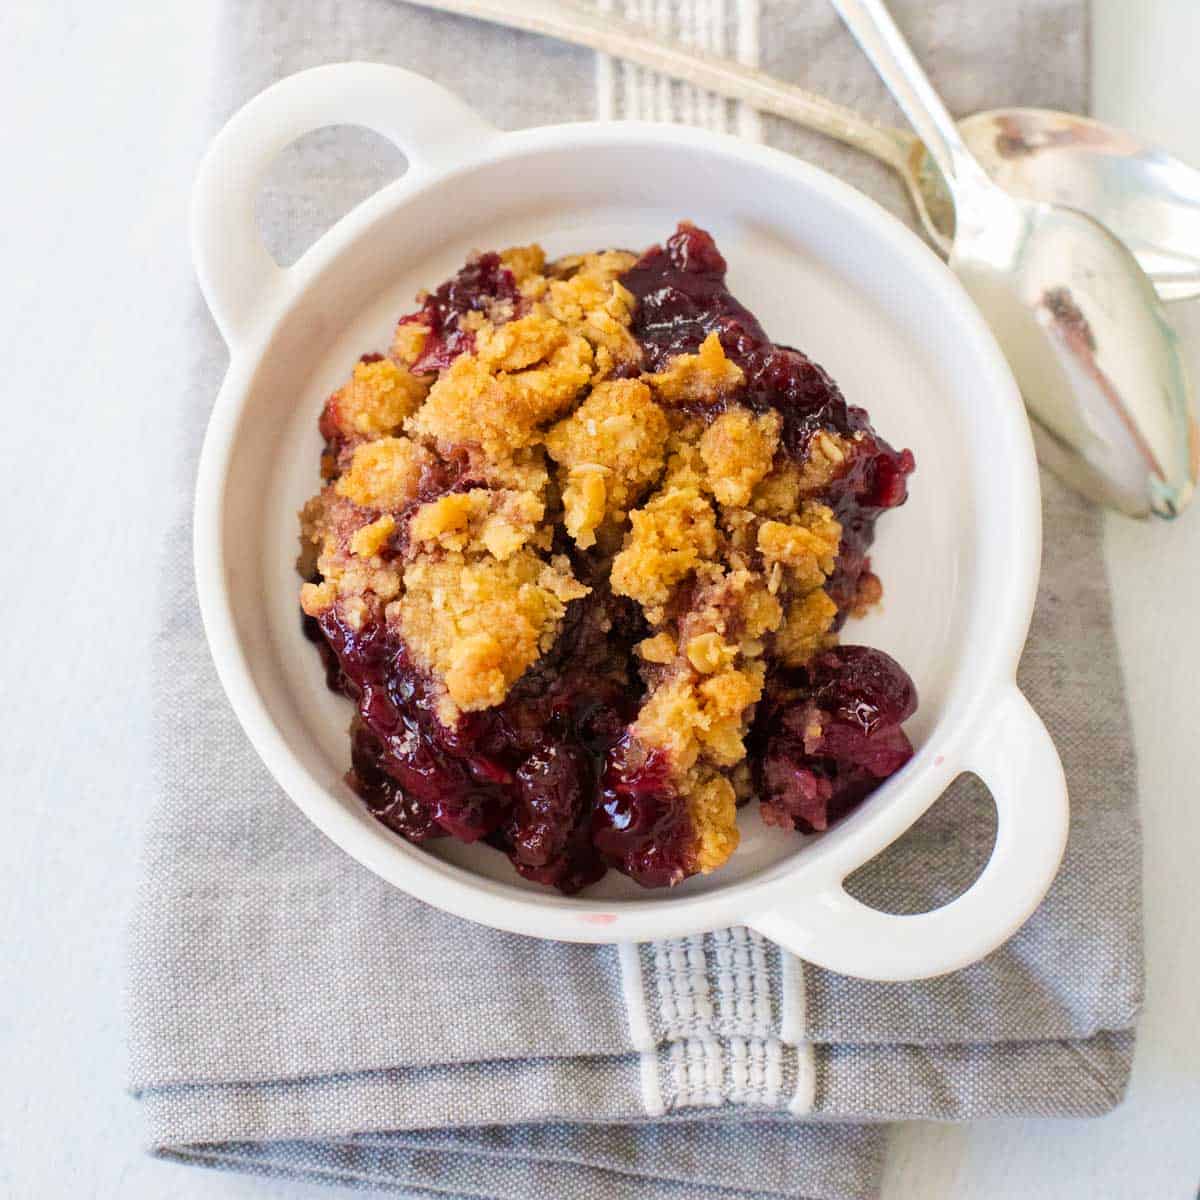
Bake for 1 hour at 350°F, or until the crisp is golden brown and the cherries are hot and bubbling.
Serving Suggestions
I have served this dessert for parties for years and guests always ask for the recipe. They practically lick their plates clean and we never have any leftover.
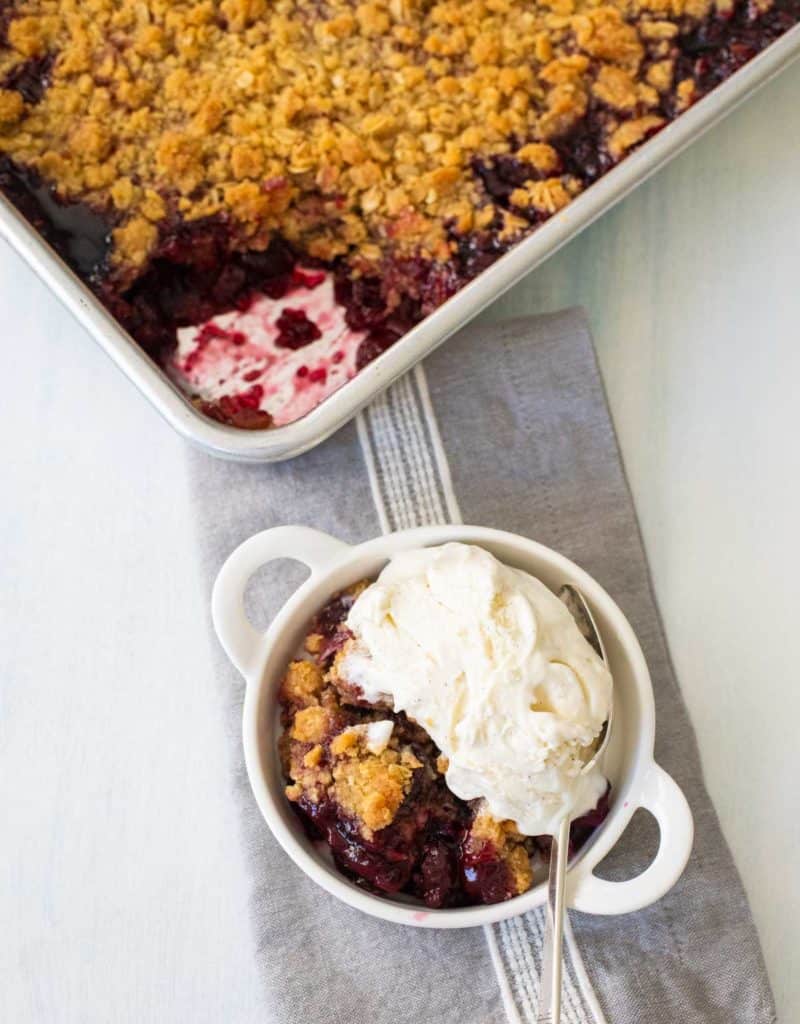
I love to serve it still warm from the oven with a scoop of vanilla ice cream melting over the top.
You could make it earlier in the day and serve at room temperature with whipped cream.
My mom and I both agree it is just as tasty cold from the fridge for breakfast. Ha! What, it's basically fruit and oatmeal, right??
How to Freeze Cherry Crisp:
While I prefer to freeze the cherries and then make the crisp fresh when I want to bake it, you can also freeze the prepared dessert.
You have several options for making it ahead and freezing it:
- Prep & Freeze: Prepare the entire recipe up through the assembly but stop before baking. Wrap the dish in aluminum foil and freeze. You can bake directly from frozen but just add a little extra time to the baking time. Keep the crisp loosely covered with foil for the first 20 minutes of baking to prevent the crisp from over browning.
- Half & Half: Prepare the entire recipe but split the 9 x 13-inch batch into two 8 x 8-inch dishes. Bake one now and freeze half for later.
- Freeze the Elements Separately: The crisp topping can be prepped ahead and frozen by itself. This is a good option if you already have frozen cherries in your freezer. Then thaw the crisp topping in the fridge overnight before you want to bake. Then you only need to prepare the cherry filling, cover with the cold topping, and bake.
I've personally tried all those prep ahead methods and they all work just fine.
But, if I had to choose just one, I'd recommend freezing the elements separately and baking it fresh the day you want to serve it.
Recipe FAQs:
Depending on the kind of fresh cherry you're looking for, cherry season runs from May through August. The season is fairly short because cherries only blossom for a short period. If you want to cook with cherries year round, I highly recommend freezing them. Frozen cherries are perfect for baking.
This dish is written for a 9 x 13-inch pan which is the perfect amount of dessert for feeding 8 - 12 people. If you would like to make a smaller cherry crisp, I recommend using an 8 x 8-inch dish and cutting all the ingredients in half. Bake as instructed but check on it at the 40-minute mark to ensure the crisp topping doesn't overcook.
A better substitution would be to use frozen cherries from the freezer section of your grocery store. However, if you want to use canned cherry pie filling instead of fresh fruit, omit the tapioca and sugar from the filling but stir in the almond extract. Then prepare the crisp and bake as directed.
More Fresh Cherry Recipes
There are so many fresh cherry recipes to choose from this time of year, where do you even start?
This cherry crisp would obviously be my first pick, but this easy cherry pie is a close second.
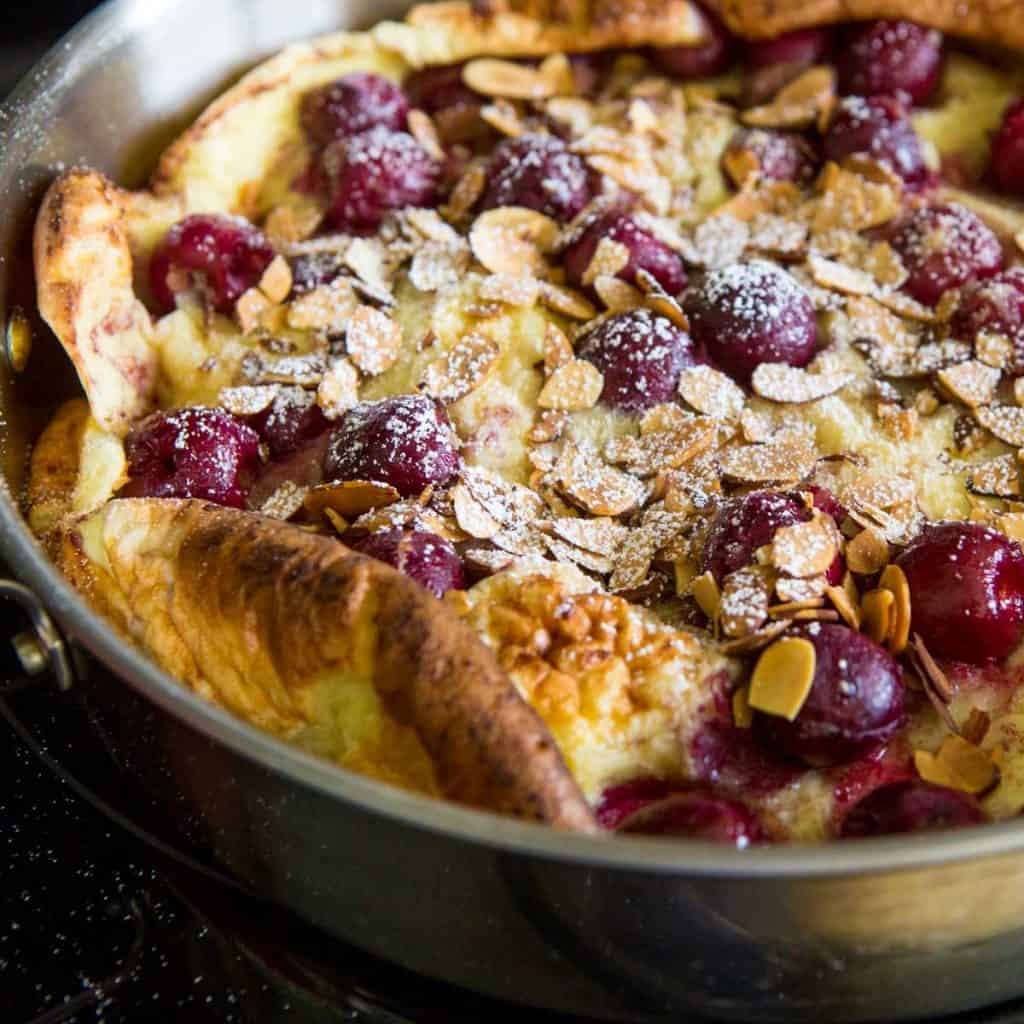
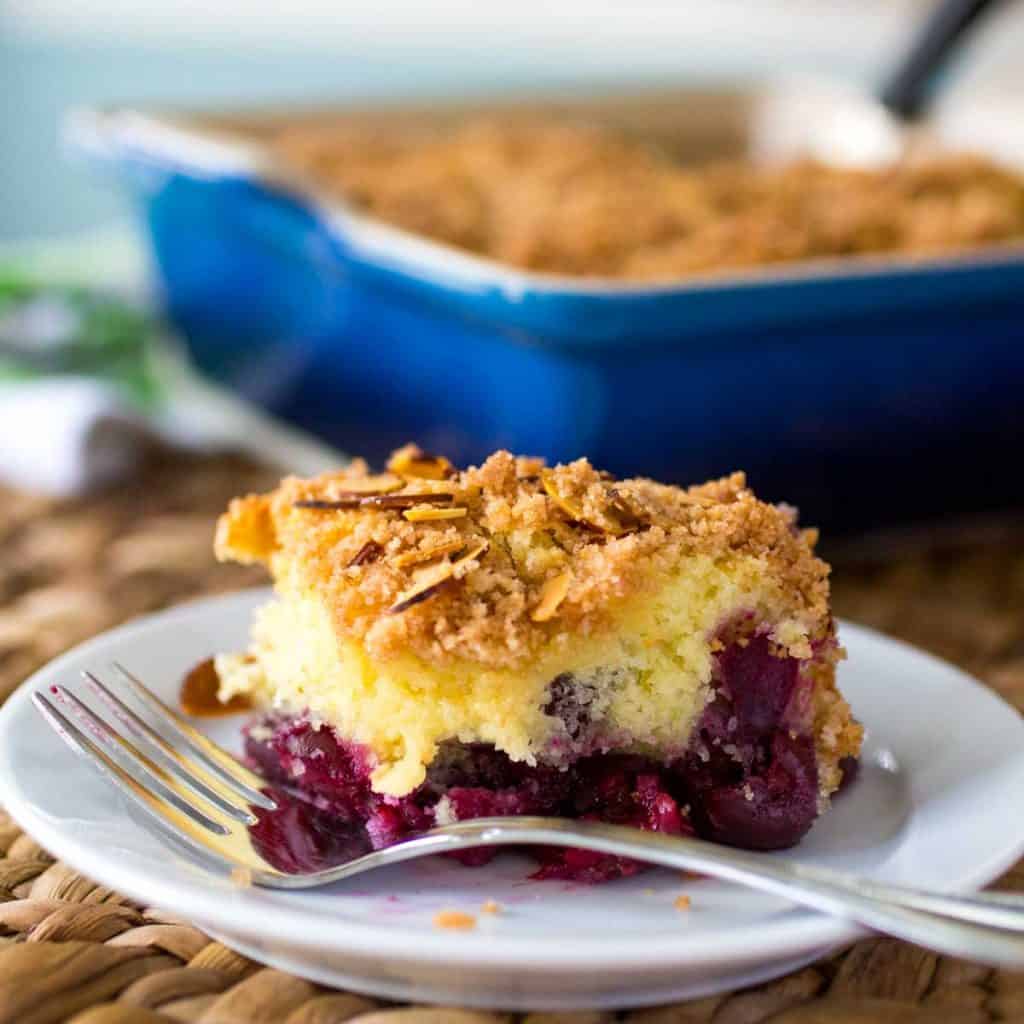
For breakfast, you could try my cherry almond streusel coffee cake or this delicious and easy cherry pancake made in a cast iron skillet.
More Fruit Desserts
If fresh fruit desserts are your cup of tea, you're going to love baking this season.
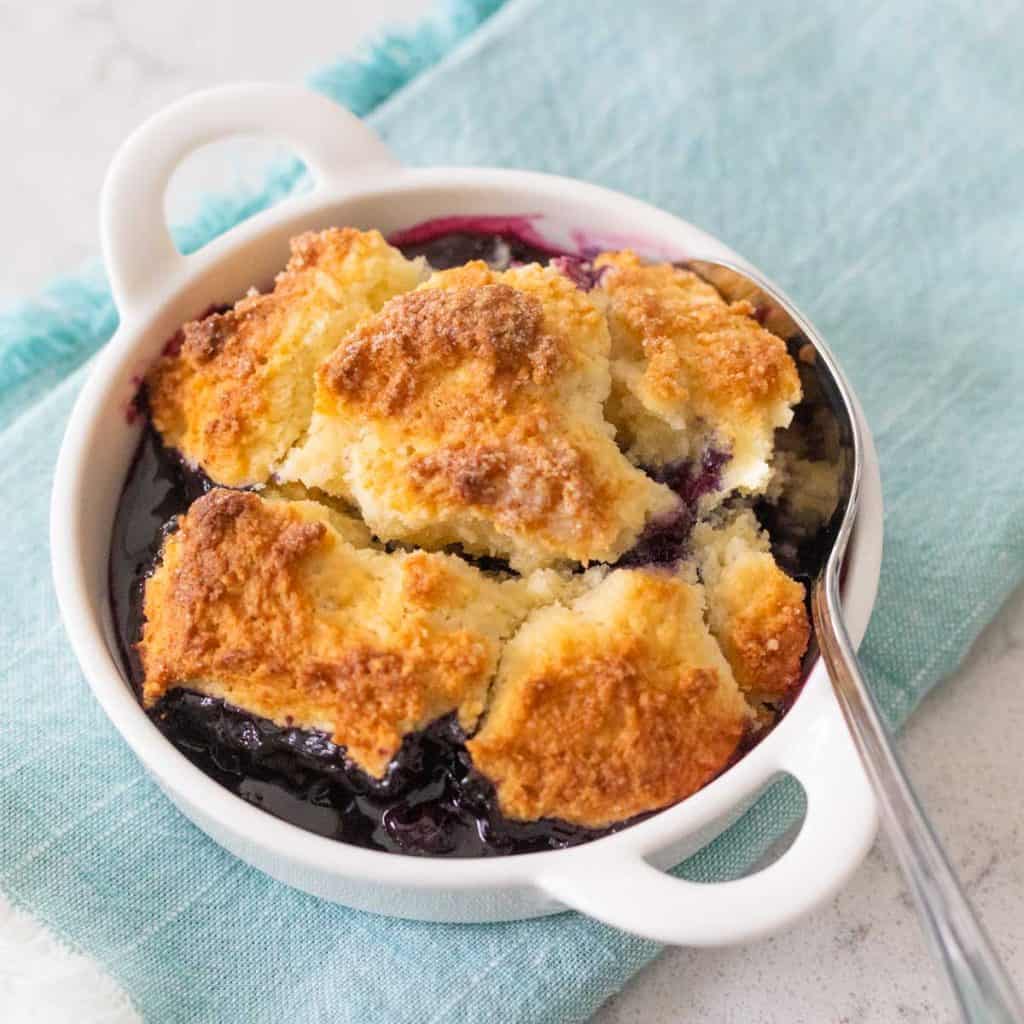
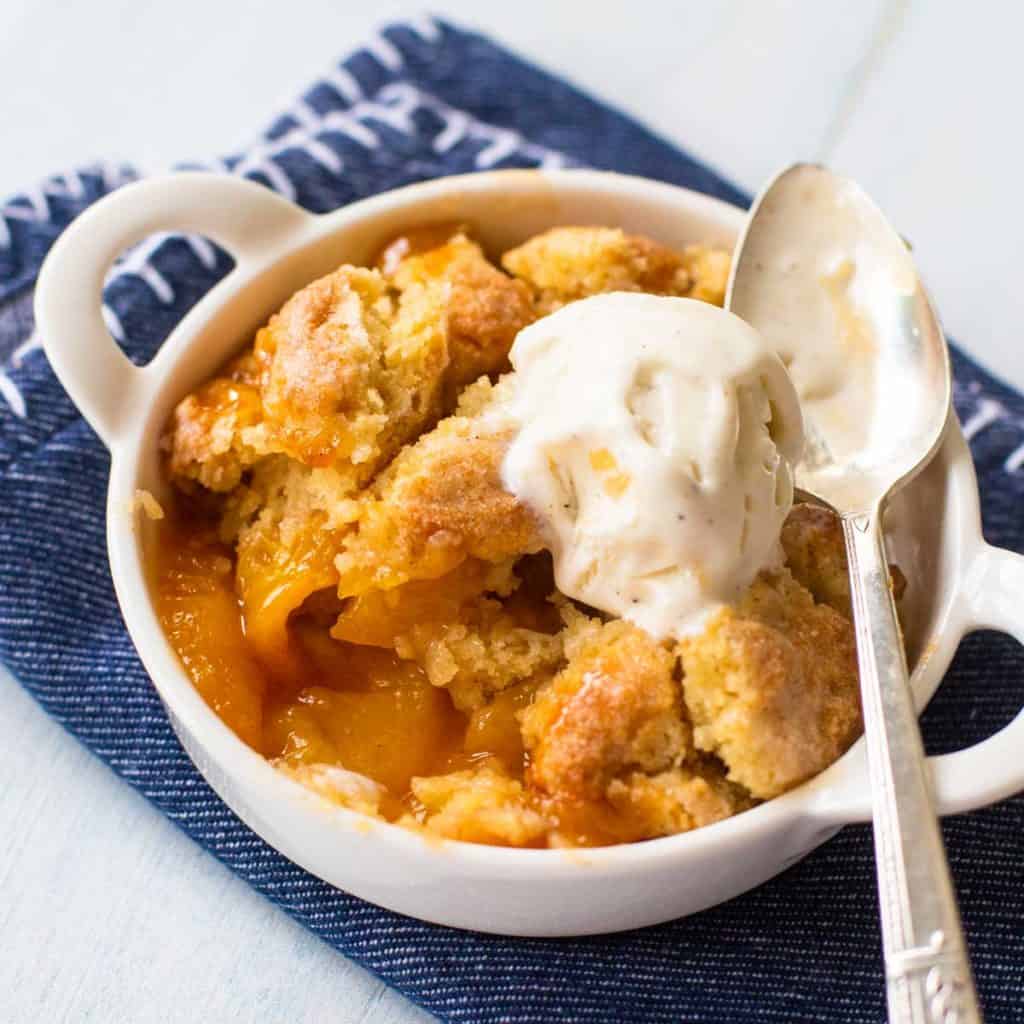
If cherries aren't available yet, you'll love this rhubarb crisp with ginger. Don't miss my old fashioned blueberry cobbler or my southern style peach cobbler while they are in season.
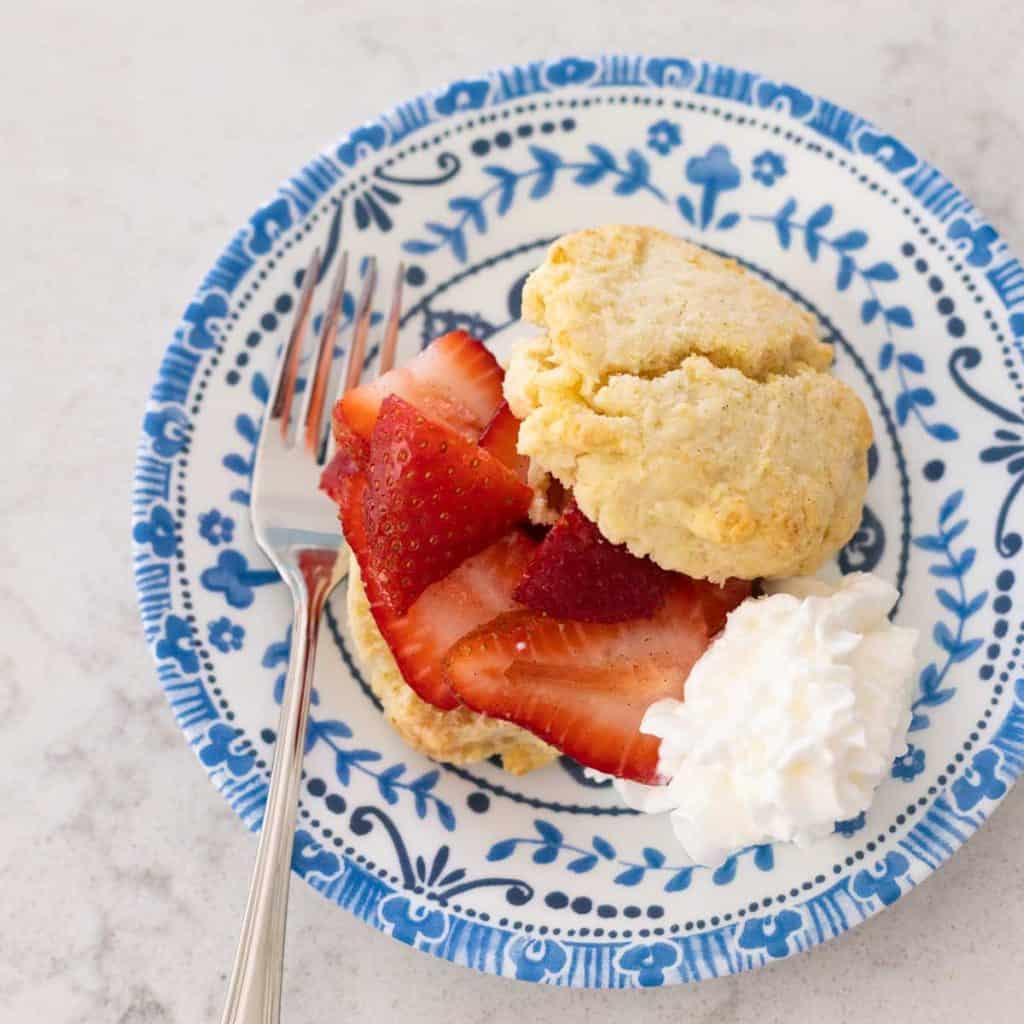
A classic strawberry shortcake with whipped cream is always simple to make.
And it won't be long before we're whipping up a fresh apple crisp for the freezer to bake during the holiday season!

📖 Recipe

Fresh Cherry Crisp
Ingredients
For the filling:
- 8 cups fresh pitted cherries sliced in half
- 3/4 cup sugar
- 2 tablespoons tapioca
- 1/2 teaspoon almond extract
For the crisp topping:
- 1 1/2 cups all-purpose flour
- 3/4 cup granulated sugar
- 3/4 cup light brown sugar
- 1/2 teaspoon kosher salt
- 1/2 teaspoon cinnamon
- 1 cup oatmeal
- 1/2 pound (2 sticks) cold unsalted butter
Instructions Start Cooking
- Preheat the oven to 350°F.
- Wash and pit the cherries you plan to use. Cut them each into halves. If using frozen berries, there is no need to thaw the fruit. Simple cut the frozen pitted cherries in half and proceed as directed below.8 cups fresh pitted cherries
- In a large bowl, combine the cherries, sugar, tapioca, and almond extract. Toss them to coat and let sit for 15 minutes while you prepare the crisp topping. This will help the cherries to begin to release their juices.3/4 cup sugar, 2 tablespoons tapioca, 1/2 teaspoon almond extract
- Add the flour, sugar, brown sugar, kosher salt, cinnamon, and oatmeal to the bowl of a stand mixer. Stir them to combine.1 1/2 cups all-purpose flour, 3/4 cup granulated sugar, 3/4 cup light brown sugar, 1/2 teaspoon kosher salt, 1/2 teaspoon cinnamon, 1 cup oatmeal
- Chop the cold butter into diced cubes and add it to the mixing bowl. Mix on low speed until the crisp topping is crumbly and the mixture starts to clump together.1/2 pound (2 sticks) cold unsalted butter
- Scrape the cherry filling into a 9 x 13-inch baking dish. Be sure to scoop all the juices and sugar clinging to the bowl into the baking dish. Spread everything into a single layer.
- Using your hands, sprinkle the crisp topping evenly over the cherries. Gently pinch portions of it together as you go, this helps make larger chunks of buttery, crunchy crisp topping.
- Place the crisp on a rimmed cookie sheet lined with parchment paper and bake for 1 hour. The top should be golden brown and the filling should be hot and bubbling.
- Serve the crisp warm or at room temperature with ice cream or whipped cream.
Recipe Notes
Freezer Tips:
You can freeze the prepared cherry crisp once it has been assembled but before you bake it. Bake directly from frozen and add another 15 minutes to the baking time. For more options on freezing, see the notes in the post above.Save This Recipe to Your Recipe Box
Find this delicious recipe next time you visit by saving it to your very own recipe box on my site. All your favorites stored in one easy place!
I made this recipe yesterday & it was big hit served warm with scoop of ice cream melting over top! I didn't have quite enough cherries so I added 1&1/2 cups blueberries that I had in my freezer..... yummy 😋
Oh I love the idea of adding blueberries, that would be perfect for 4th of July too! Thanks for sharing, Gigi.
Thanks for sharing this valuable information to our vision. You have posted a trust worthy blog keep sharing.
Cherries!!!!! Oh I love it and always eat them immediately, can't bear that delish~~ And cherries also quite expensive in my country T.T
yummy! that looks so good Tiffany. Love the lighting and the styling you've chosen for these as well. I just came home with 5LBS of choke cherries, I may have to try something like your dessert with all of them. Great job and thanks for the inspiration 🙂
Wow!! You are one blessed gal to receive 8 pounds of cherries every summer!!! I love crisps, they are so simple. My family always prefers the simple meals and desserts! Love your post and photos Tiffany! xo
Very nice Tiffany, What a great tradition and you really nailed the yumminess in these images. I especially like the image with the pitter...so rustic and I can just taste the juices trickling out.
Oh Tiffany!! You captured them beautifully. I particularly LOVE the one of the pitted cherries with the pitter. My family isn't really in love with cherries, but I have a feeling that if I made this dessert it would be gone in a flash!
Tiffany, I love these!! The recipe is so simple, I am going to give it a try!