How to Freeze Fresh Cherries
Learn how to freeze fresh cherries so you can bake with them all year long. Don't let a single precious berry go to waste!
Every summer, my husband's Uncle Tim sends us a ginormous box of fresh cherries from his orchard in Oregon.
There's no way our family could use that box in one or two weeks, so I've become the expert on freezing fresh cherries so I can bake with them all year long.
When the cherry delivery arrives on my doorstep each July, it's a race against time to get the fruit eaten, used in a recipe, or processed for the freezer before it spoils.
Here are my best tips for preserving fresh cherries that you don't want to go to waste.
First, You MUST Pit the Cherries
If you try to freeze a cherry with the pit inside, the frozen berry becomes nearly useless to you.
The best way to use a frozen cherry is directly from the freezer. You wouldn't want to thaw them in order to remove the pits before baking with them or they'll get extra watery, so it is best to remove the pit before you freeze.
Best Way to Pit Cherries
I've spent years pitting a 20-pound box of cherries every summer. Believe me, that's a lot of cherries to pit by hand with a single cherry pitter.
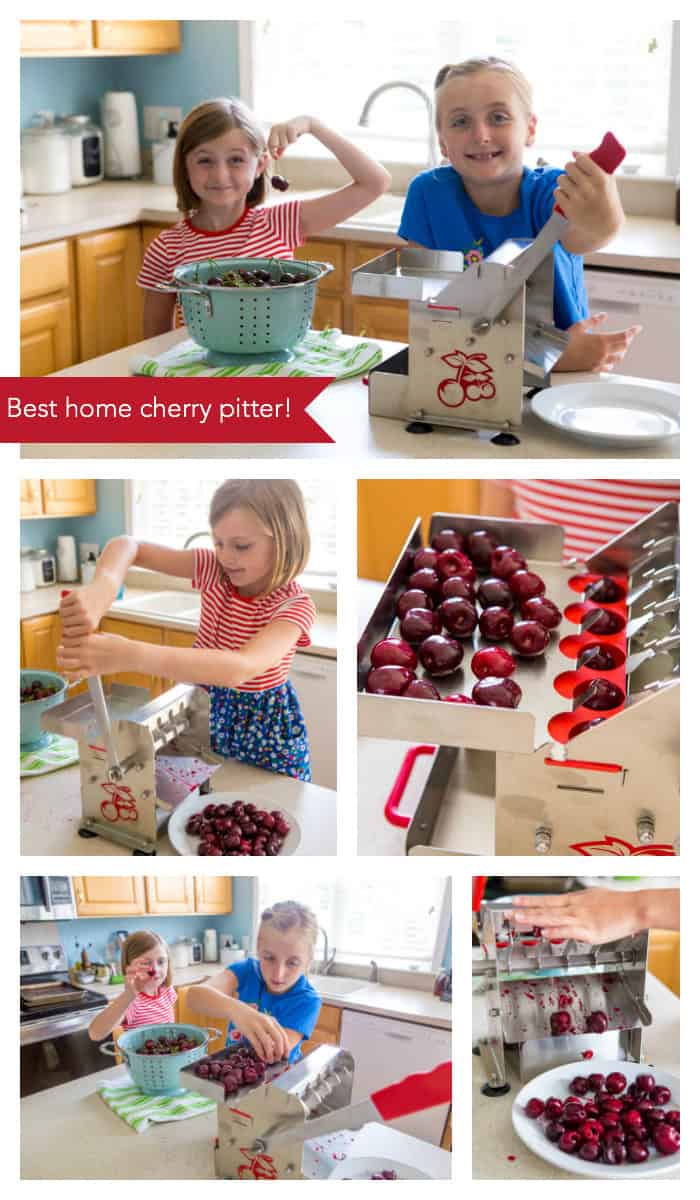
This spring I was thrilled to discover this amazing cherry pitter machine. I immediately added it to my kitchen tools.
My new pitter had been waiting and waiting for Uncle Tim's delivery and I couldn't wait to give it a try.
After years of pitting one cherry at a time with my handheld cherry pitter and having a very sore wrist for a week, I was intrigued by the fact that this cherry pitter pits FIVE cherries at a time!
Check this baby out:
I asked my girls to help me out and the pitter was so easy they could do it all by themselves. I set them up assembly line style and put them to work.
Little Pea removed the stems and helped load the feeder tray while the Peanut worked the lever and pitted 5 cherries at a time into the collection plate.
We worked our way through that entire colander (which is just a fraction of the entire haul!) in just minutes, a task that used to take me forever.
Want to Save This for Later?
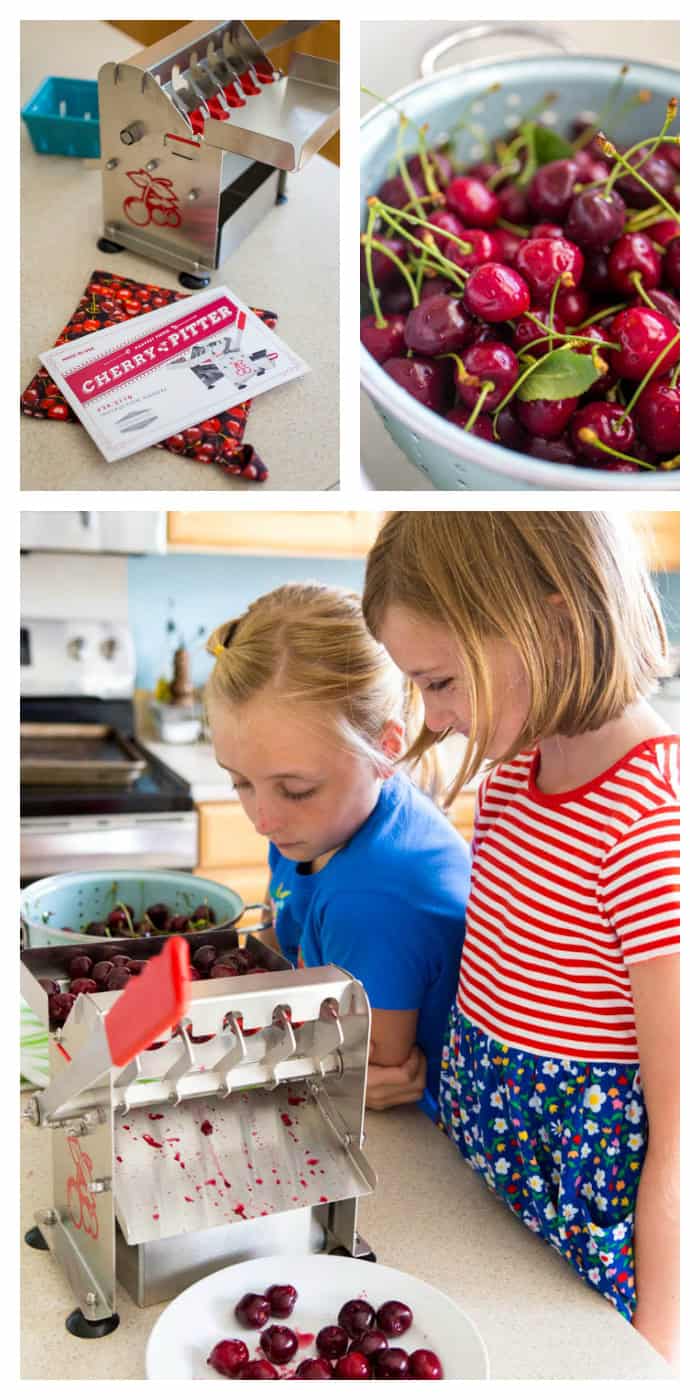
I love that the cherry pitter separates the pits into a little bin underneath the machine and rolls the cherries down a shoot into a bowl or plate.
It's still a messy job with cherry juice splatters, so you'd want to wear an apron and have some paper towels or a dish cloth handy, but it beats those single cherry pitters by a long shot if you've got a huge stockpile of fruit to process.
Since pitting large quantities of fresh cherries was so easy this year, I found the girls and I devoured huge bowls of them straight from the fridge in a way we never have before.
When cherries are that easy to prepare for baking, you'll be a lot more tempted to stock up while they are in season and keep a solid stash of them in your freezer to be used year-round.
How to Prep for Pitting
1. Wash the Cherries:
Give the cherries a good rinse in a colander in your sink. As you rinse them, pull the stems off and discard them.
2. Dry the Cherries:
After the washed berries have been drained, I like to lay them in a single layer on a fresh, clean kitchen towel. Roll them around with your hands or lay another clean towel over the top and gently roll it over the cherries to remove as much surface water as you can.
3. Remove the Pits:
Whether you use a handheld model or a giant pitter like I have, remove all the pits from all the cherries you plan to freeze.
How to Freeze Pitted Cherries
To prepare the cherries for the freezer:
Portion the Cherries:
Measure the pitted cherries into 1- or 2-cup servings since this is the most-used quantity for baking.
Store them Separately:
Place each portion into individual zip top bags. Squeeze as much air out of the container as you can and seal it shut. Then, wiggle the cherries around in the bag so that they lay in a single flat layer.
Gather the Baggies:
Keep all the separate bags of cherries together in one larger gallon-sized bag to keep your freezer organized and neat. Mark the bag with the date.
Being able to grab a smaller portion of cherries in a perfectly recipe-sized container means you don't have to thaw the whole giant bag when you're craving cherry pie in December.
Why Not Flash-Freeze Them?
Some sources will tell you to lay the fresh cherries in a single layer on a big baking sheet and freeze them that way before storing in the baggies.
That method is supposed to help if you are concerned about the cherries sticking together.
I've been freezing giant portions of cherries for over 10 years. I've never had a problem with the frozen cherries sticking together. It feels like a waste of time to flash-freeze, when my small portion method works so well.
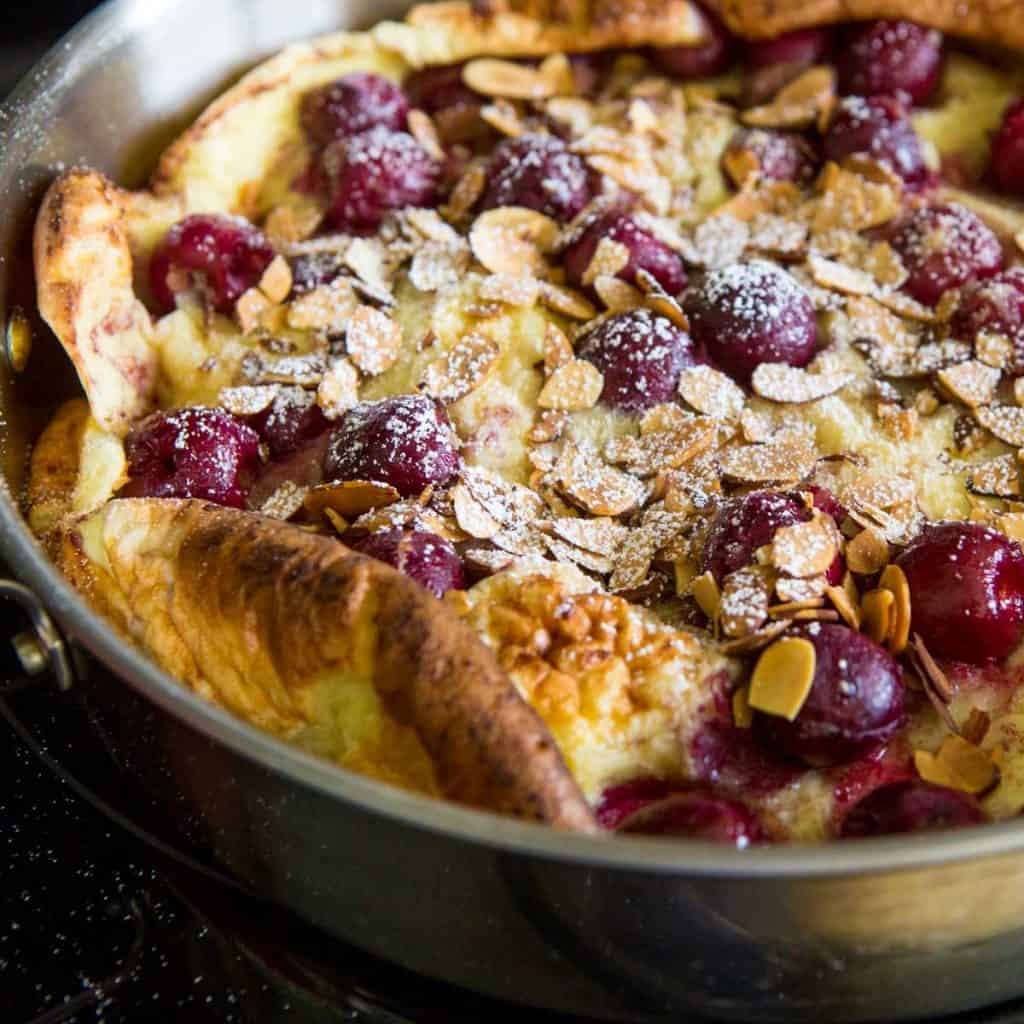
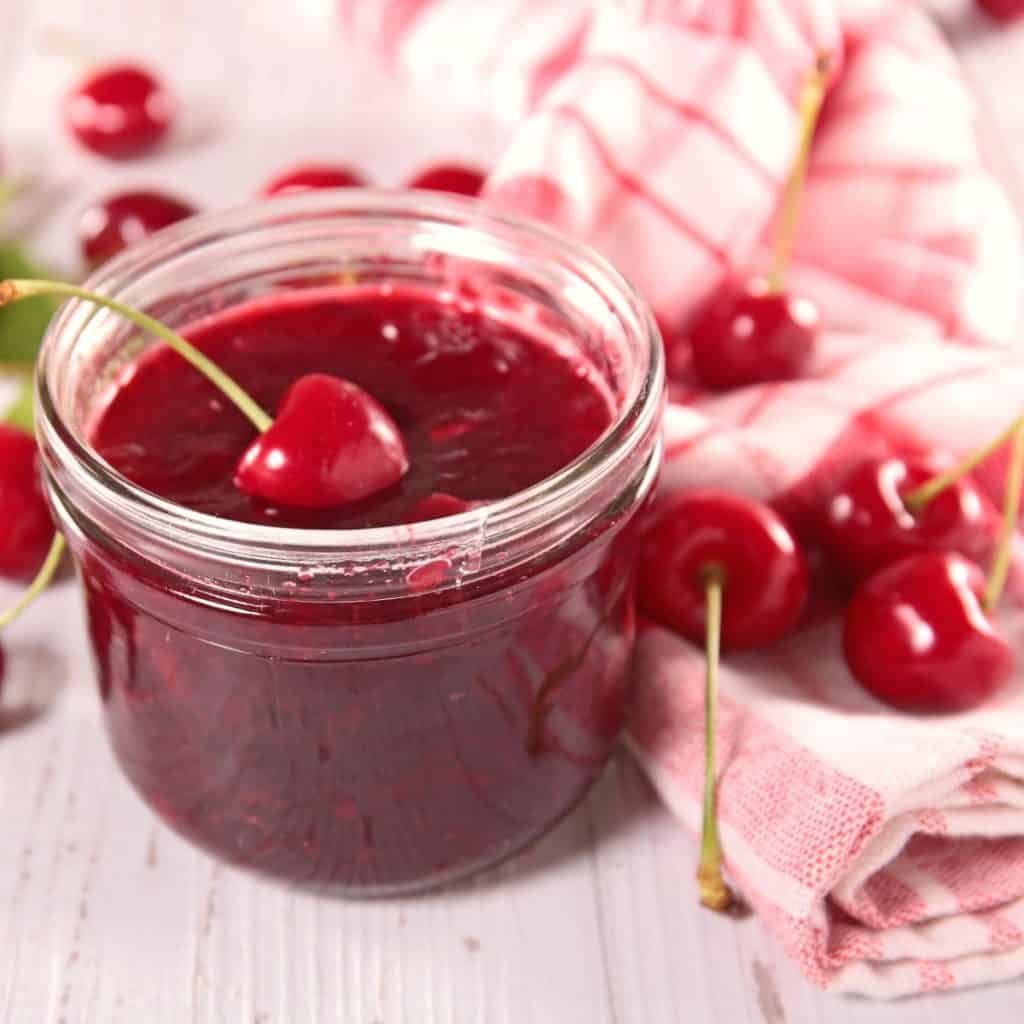
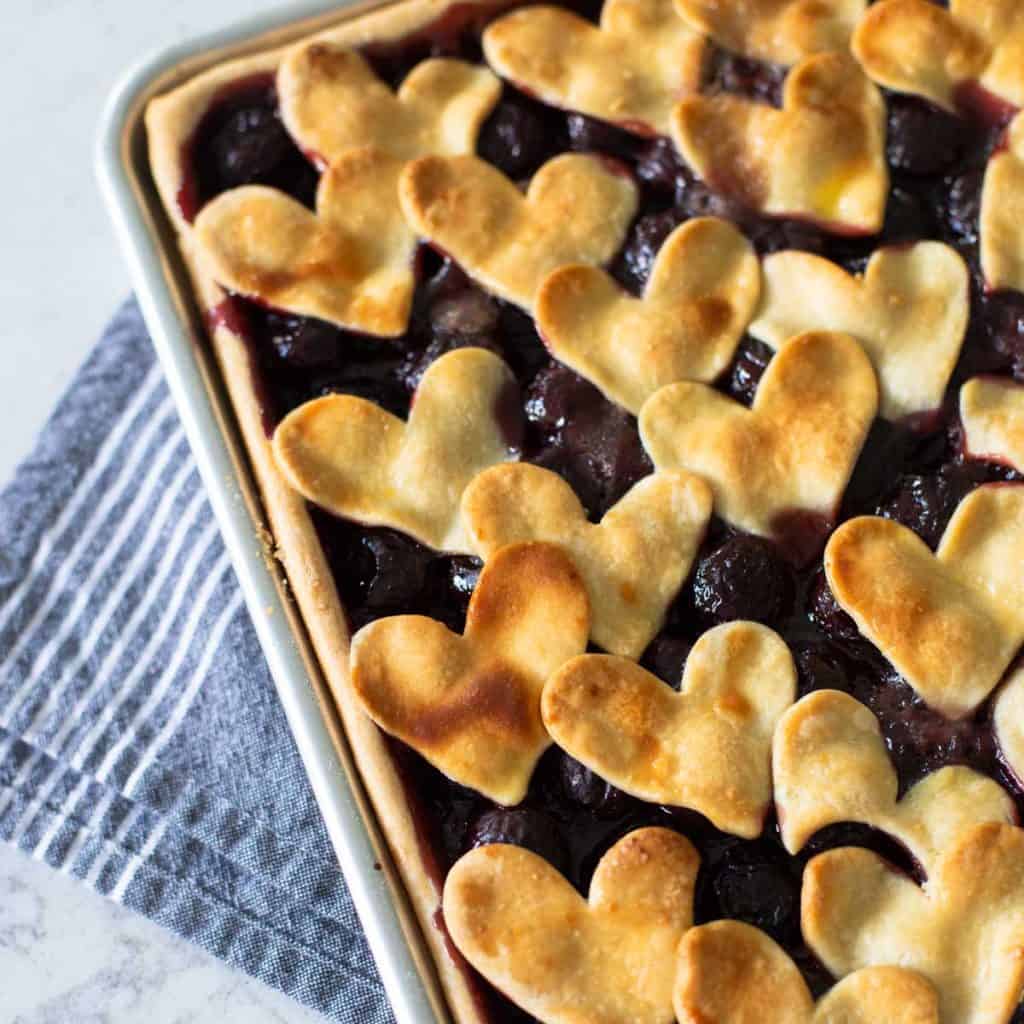
Frozen Cherries Recipes
Then once you've processed all those fresh cherries, what are you going to do with them??
I've been collecting fresh cherry recipes for years and years. My family loves them best raw and straight up from the delivery, but we can only eat so many in one sitting!
I love to freeze them and then use them for these fresh cherry recipes all year long. You can find some of our favorite cherry recipes right here.
How long do the cherries last in the freezer?