Easy Ciabatta {Bread Machine}
Homemade ciabatta bread is easy to make using a bread machine to prep the dough. This hearty Italian bread slices perfectly and makes amazing grilled sandwiches.
The secret to making the very best sandwiches at home is starting with restaurant quality bread.
This homemade ciabatta bread recipe takes just minutes of hands-on time when you use your bread machine to prepare the dough.
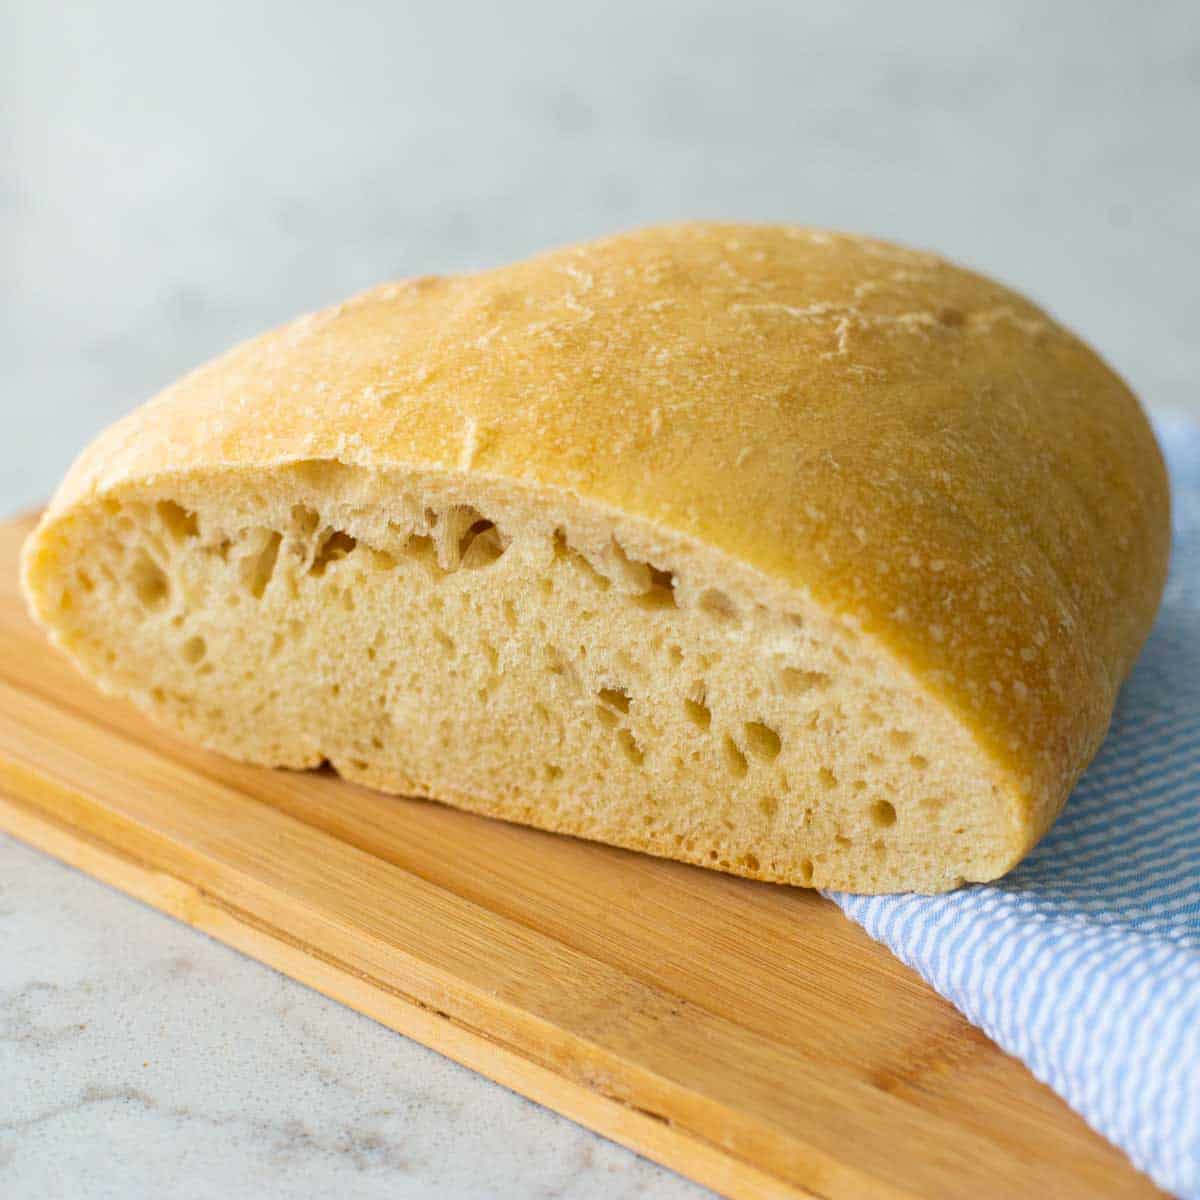
The final loaf is simply patted into shape and baked in your oven for that signature crispy crust with deliciously chewy inside.
Learn how to make this easy bread recipe with just minutes of effort by following my baking time table to walk you through the process.
What is Ciabatta Bread?
While ciabatta bread is an Italian bread recipe, it is slightly different than a regular Italian loaf.
It is closer to a focaccia bread but focaccia has a lighter texture and is baked as a flat bread not a loaf.
My favorite Italian bread is a light and fluffy white bread that is delicious eaten sliced with soups or as a sandwich.
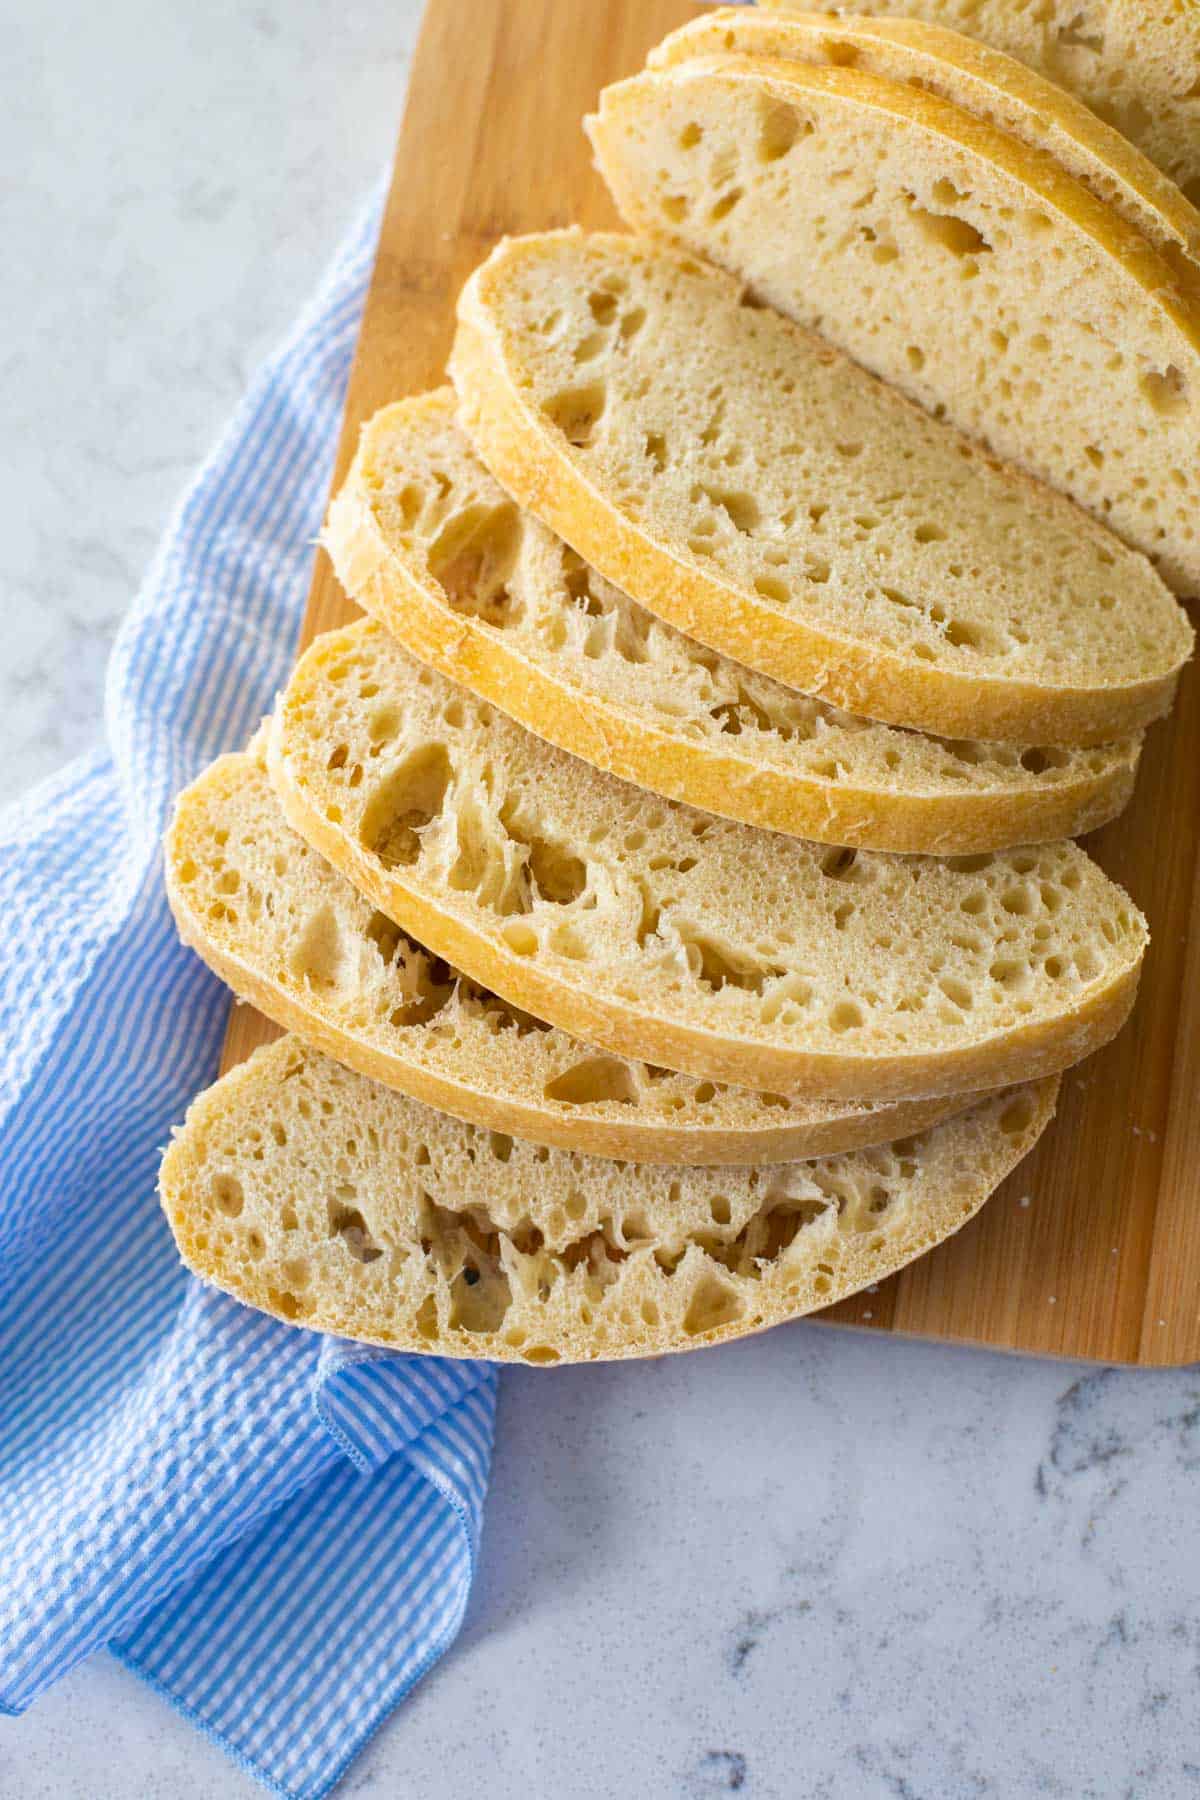
Ciabatta bread, on the other hand, has a few signature characteristics:
- much heartier consistency
- signature large air holes throughout the loaf
- a deep flavor similar to sourdough
- easy to slice cleanly
- holds up really well to the griddle for crostini or sandwiches
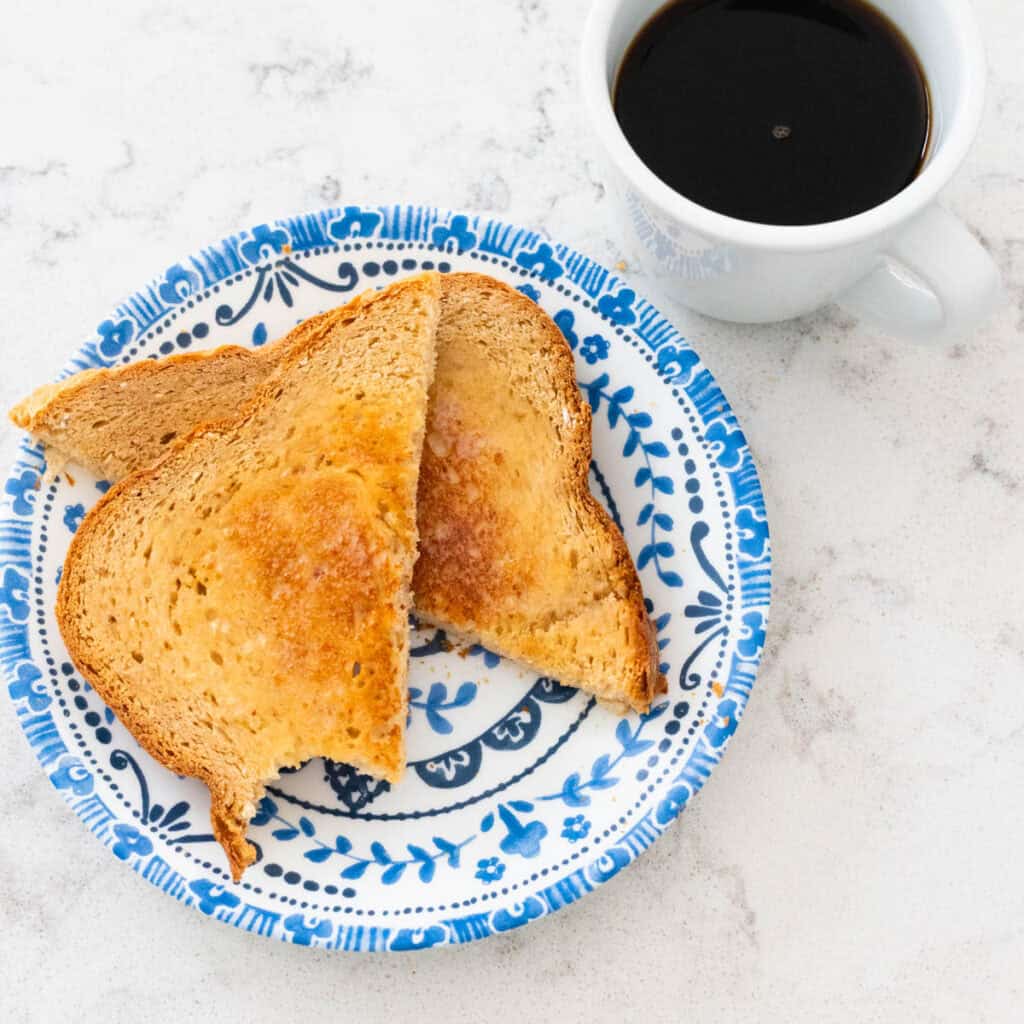
In my opinion, ciabatta bread is meant to be eaten toasted or griddled, not straight from the loaf like a regular Italian bread.
It will hold up well to the sauciest sandwiches like pulled pork, BBQ chicken, French dips, or even a patty melt.
Why a Bread Machine Helps
To make a crusty ciabatta bread, you'll want to use your bread machine to prepare the dough but then finish baking the bread in your oven.
You may wonder what the point of using a bread machine is if you have to use your oven to finish the bread.
I absolutely love using my bread machine to make bread dough because:
- Dump and Go: I pop all the ingredients into the machine and press a button. That's it. I come back hours later to perfect dough.
- Hands-Off Kneading: The machine perfectly mixes and kneads the dough with no work from me.
- Controlled Rise: Whether my kitchen is still cold or not, I know my bread dough will still rise perfectly because the machine creates a controlled environment for a perfect rise.
Bread Machine Tips
As the author of The Ultimate Bread Machine Cookbook, I'm very passionate about baking homemade bread with a bread maker.
If you're curious and wondering if a bread maker is worth it, not only do I think the answer is yes but I've reviewed the most popular bread machine for beginners.
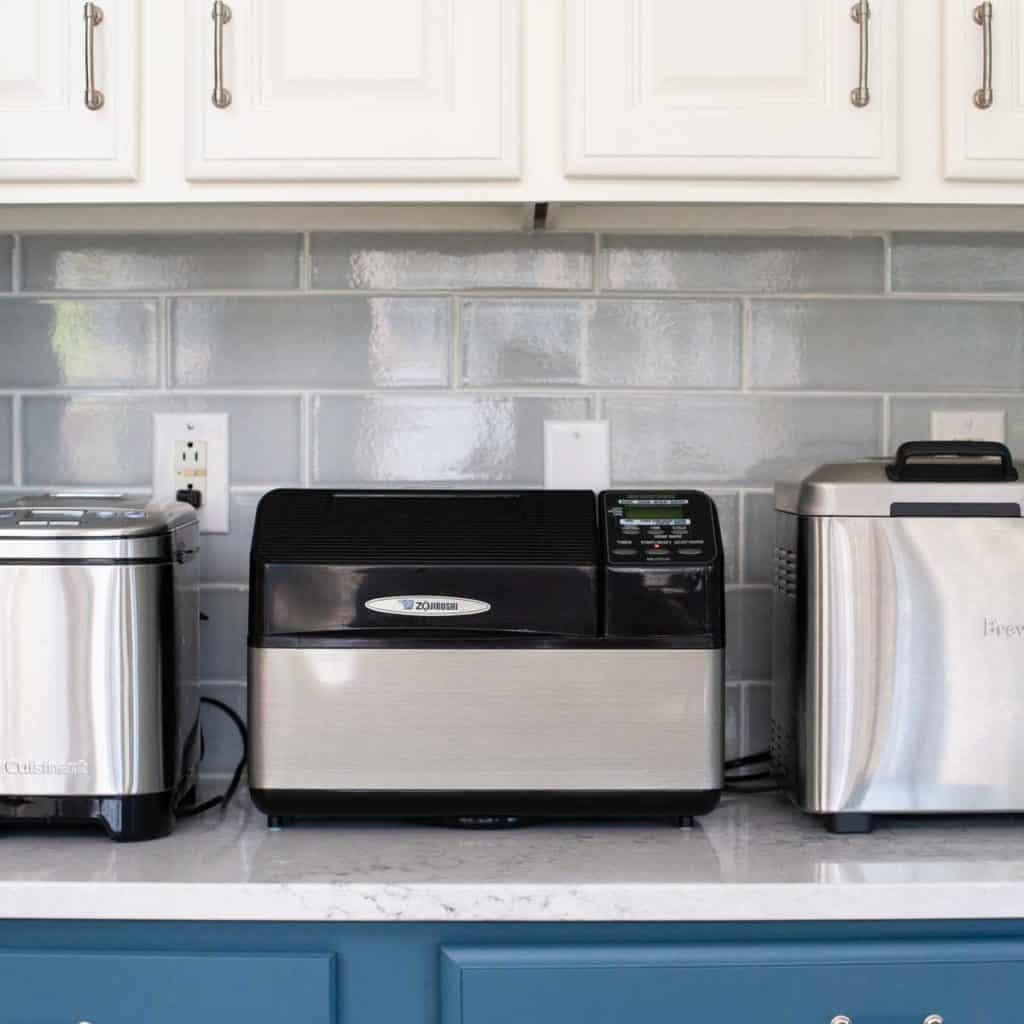
For this recipe, I used my Cuisinart bread machine.
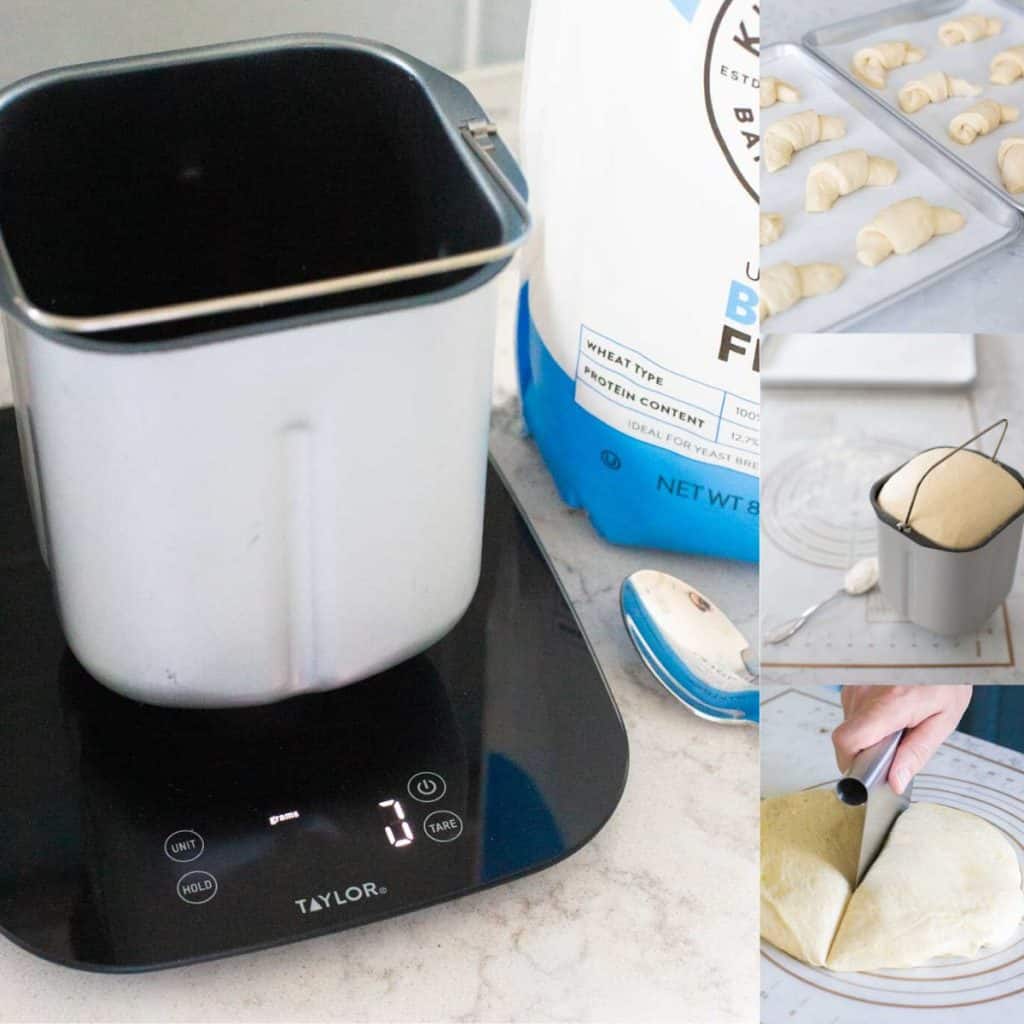
Tools You Need
This is one of the very best bread recipes for baking in the oven because it requires the least amount of specialty tools.
All you need is:
- A bread machine to make the dough
- A large baking sheet
- Parchment paper
There are no specialty bread pans or knives necessary.
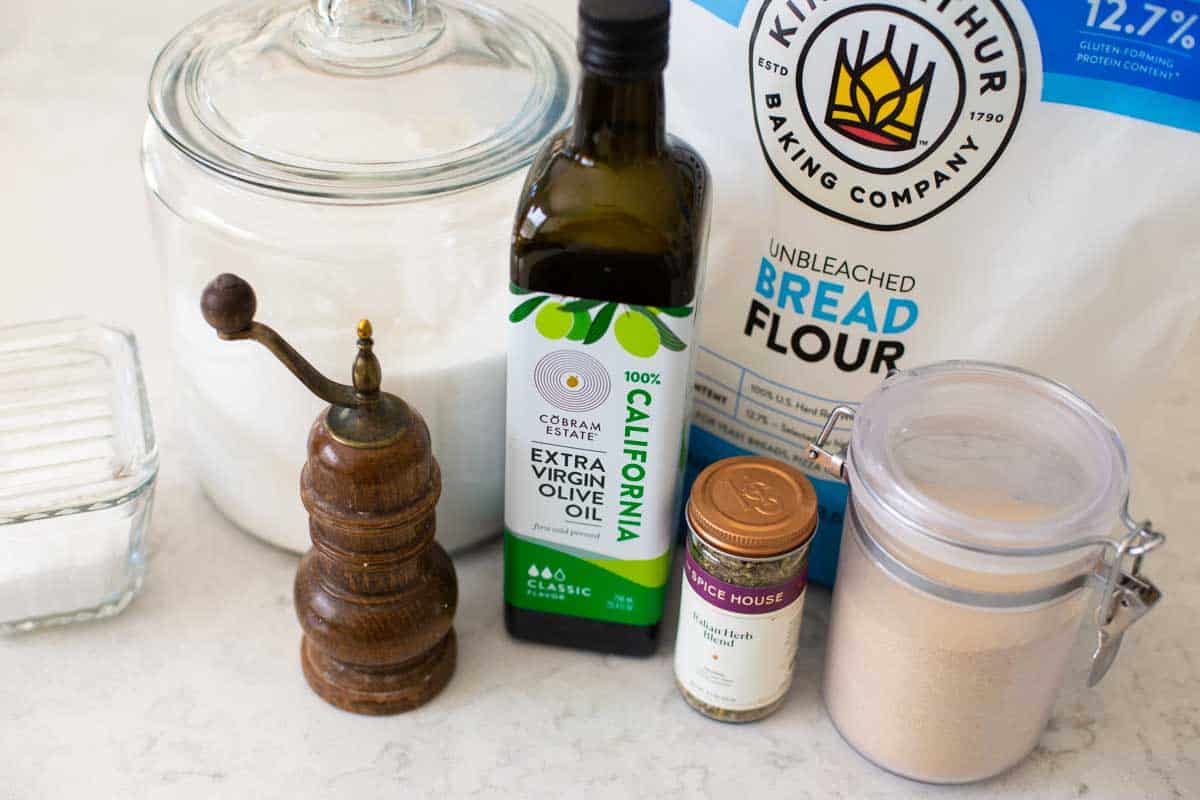
Ingredients
Want to Save This for Later?
Ciabatta bread is such an amazing bread because it uses a very short list of just 5 wholesome ingredients:
- Bread Flour
- Olive Oil
- Salt
- Yeast: Instant, Active Dry, or Bread Machine
- Water
OPTIONAL: If you want an herby ciabatta bread, you could also add 2 teaspoons of a dried herb blend.
Baking Schedule
To develop the deep flavor of a true ciabatta bread, there is one additional step to the baking process that is unique to this recipe vs. my other bread machine recipes.
The night before, you will prepare an "overnight sponge." You mix together flour, water, and a pinch of yeast and let it rise overnight.
The prep work should only take you a minute and is not difficult to do, but you need to plan the extra time before baking.
To have fresh ciabatta bread for dinner, here is your baking time table:
- Any Time The Night Before: Prep the Sponge (5 minutes or less)
- Before 8 am: Transfer the sponge to the bread machine and finish prepping the dough (5 minutes or less)
- 1 pm: Transfer the prepared dough to a baking sheet and preheat the oven. (5 min or less)
- 1:30 pm: Bake the bread (30 min)
- 2 pm: Bread is finished and should cool completely before slicing.
Prep the Sponge
The overnight sponge lets yeast begin to work on the flour and develop a deeper flavor similar to a sourdough but without all the work of maintaining a sourdough starter.
Since you'll be adding more yeast to the bread machine when you prep the dough, there is no pressure for the overnight sponge to be strong enough to raise the bread.
Simply mix together the flour, water, and a pinch of yeast in a large mixing bowl. Cover it with plastic wrap and let it sit overnight.
In the morning, the sponge will look slightly bubbly and have a pleasant tangy aroma.
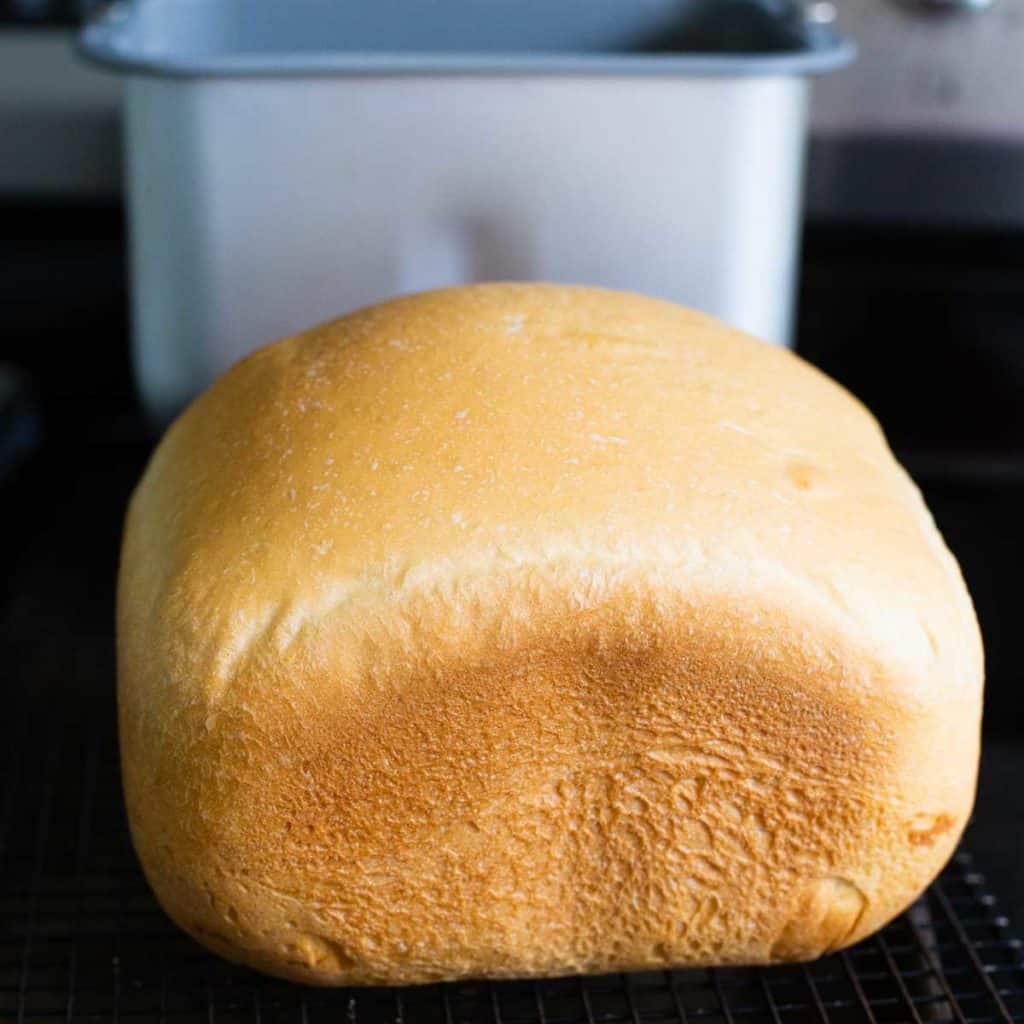
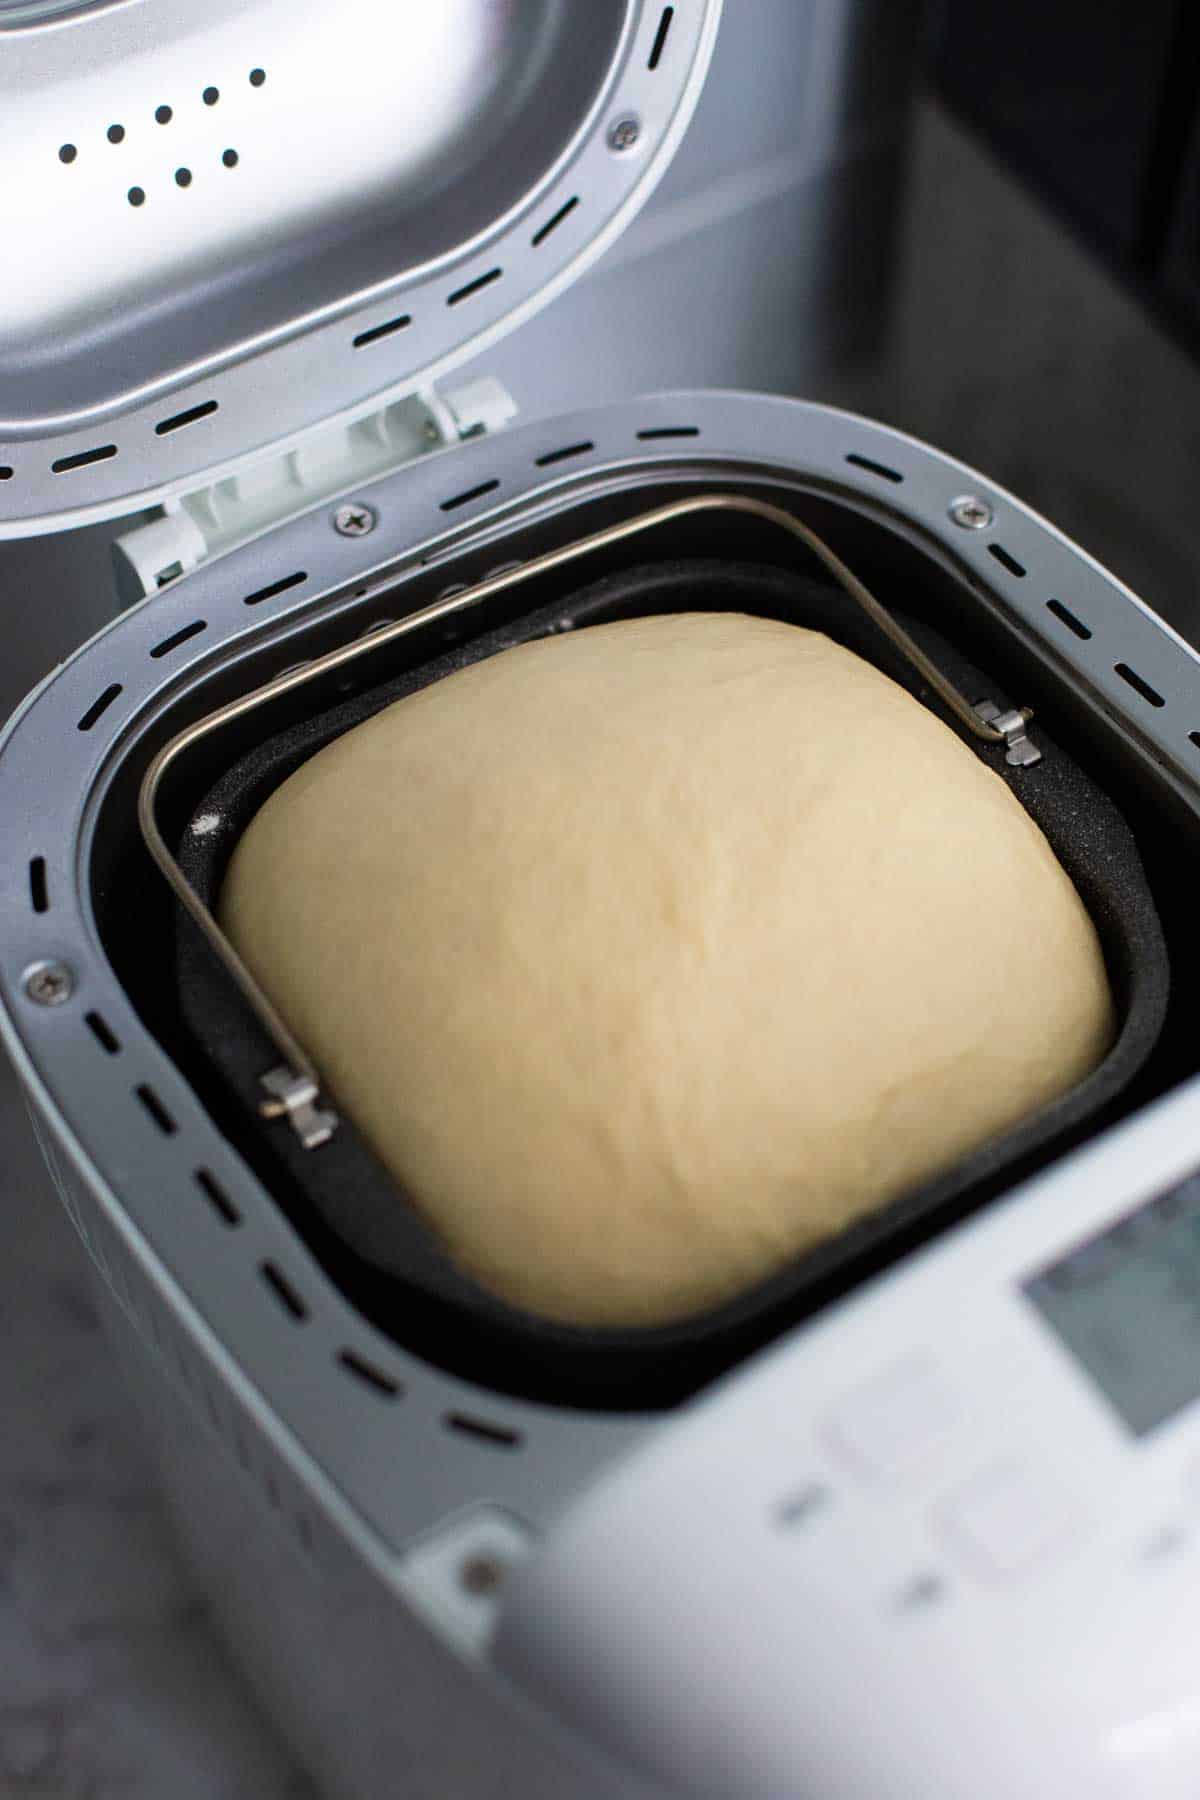
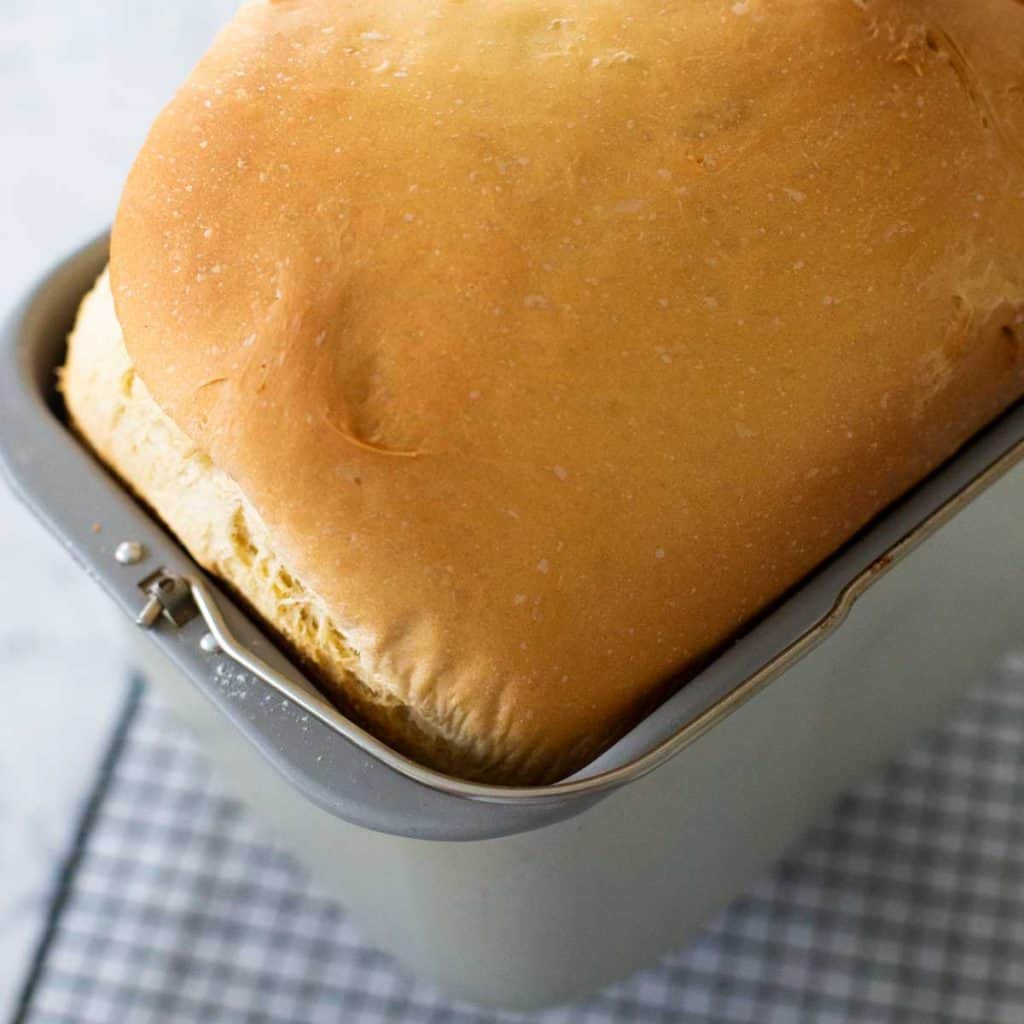
Make the Dough
Scrape the prepared sponge into your bread machine pan fitted with the paddle attachment.
Then add the remaining dough ingredients in the order they are listed in the recipe card.
Select the Artisan Dough program on your bread machine, this will take about 5 hours to complete the cycle.
Artisan Dough Program
Not all bread machines have the Artisan Dough program as one of their features.
One of my favorite bread machines for beginners, the Cuisinart, does have this program and is the machine I used to test this recipe.
The program features a longer, slower rise cycle that lasts 5 hours as compared to the 1 hour regular dough program.
Bread Machines with the Artisan Dough Program
The Cuisinart bread maker and a model from Breadman both have an Artisan Dough program.
The Breville bread maker has a Custom program you could use to set a 5 hour rise.
If your machine doesn't have either of those options, simply use the Dough cycle on your machine and then transfer the dough to a large mixing bowl brushed with olive oil. Cover with plastic wrap and let rise an additional 4 hours before baking.
Bake the Bread
Transfer the finished dough to a large baking pan lined with parchment paper.
Pat the dough into an oblong loaf shape about 10 - 12 inches long.
Preheat the oven to 425°F and bake for 30 minutes.
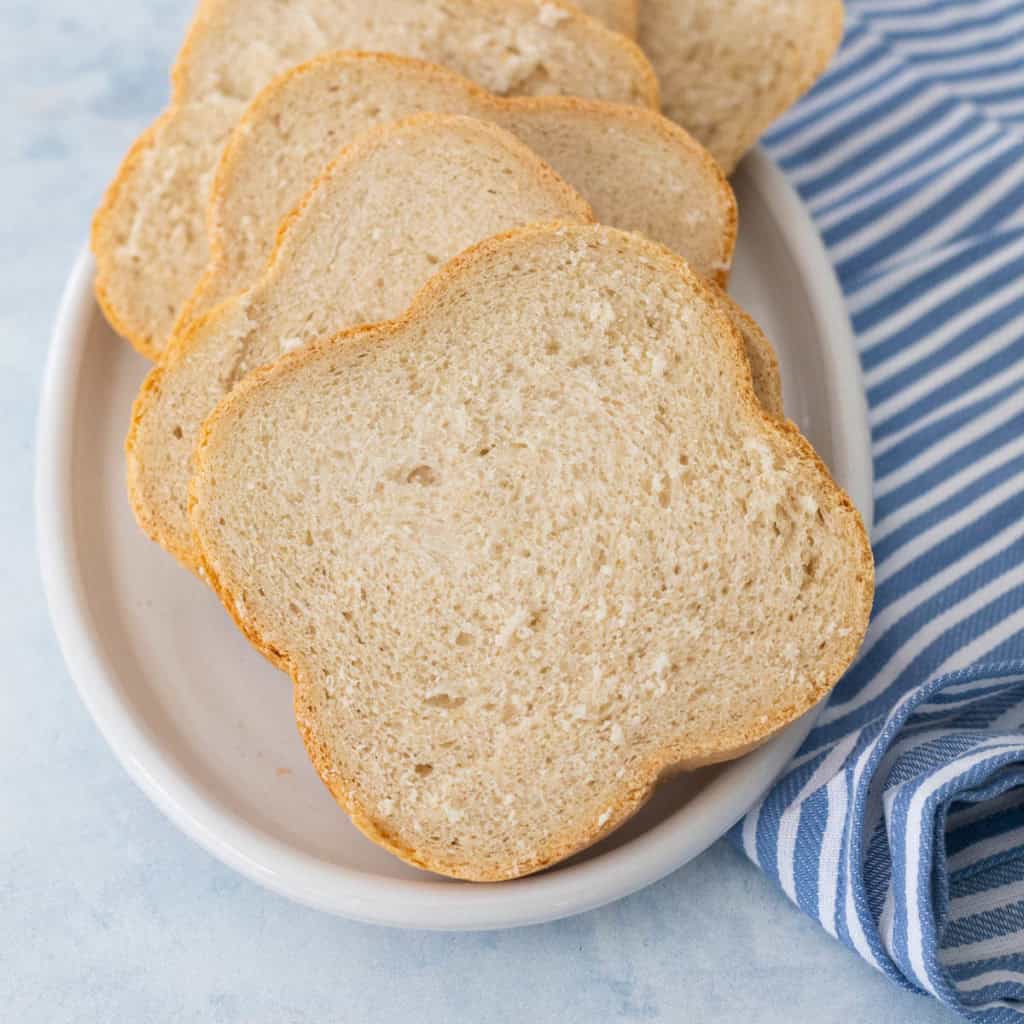
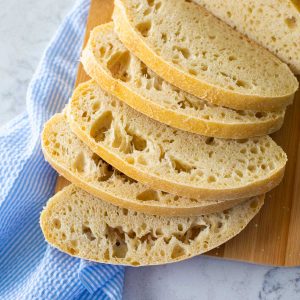
The ciabatta bread should be cooled completely before slicing.
Serving Suggestions
Ciabatta bread tastes best when it has been toasted or cooked on the griddle.
It is such a hearty bread that the toasting process helps to lighten it up and gives it an absolutely delicious chewy crispy bite.
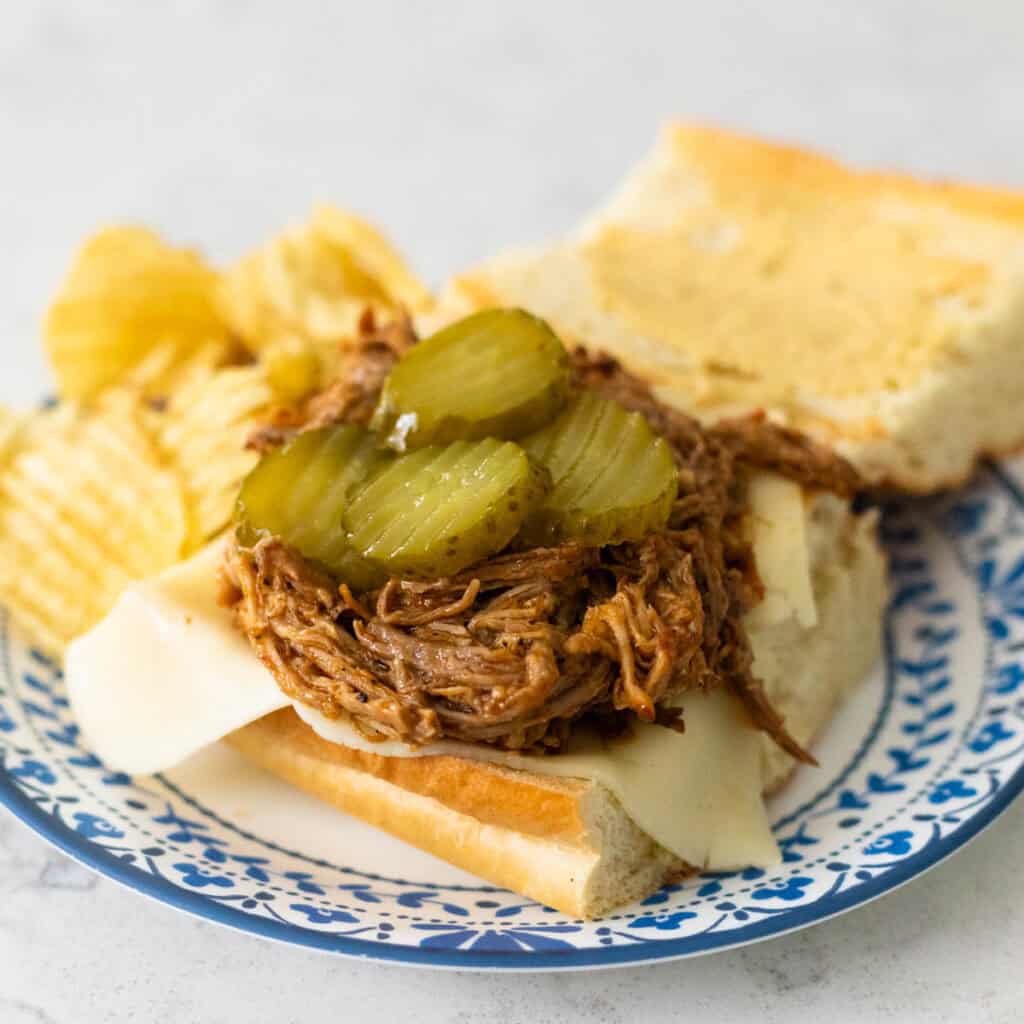
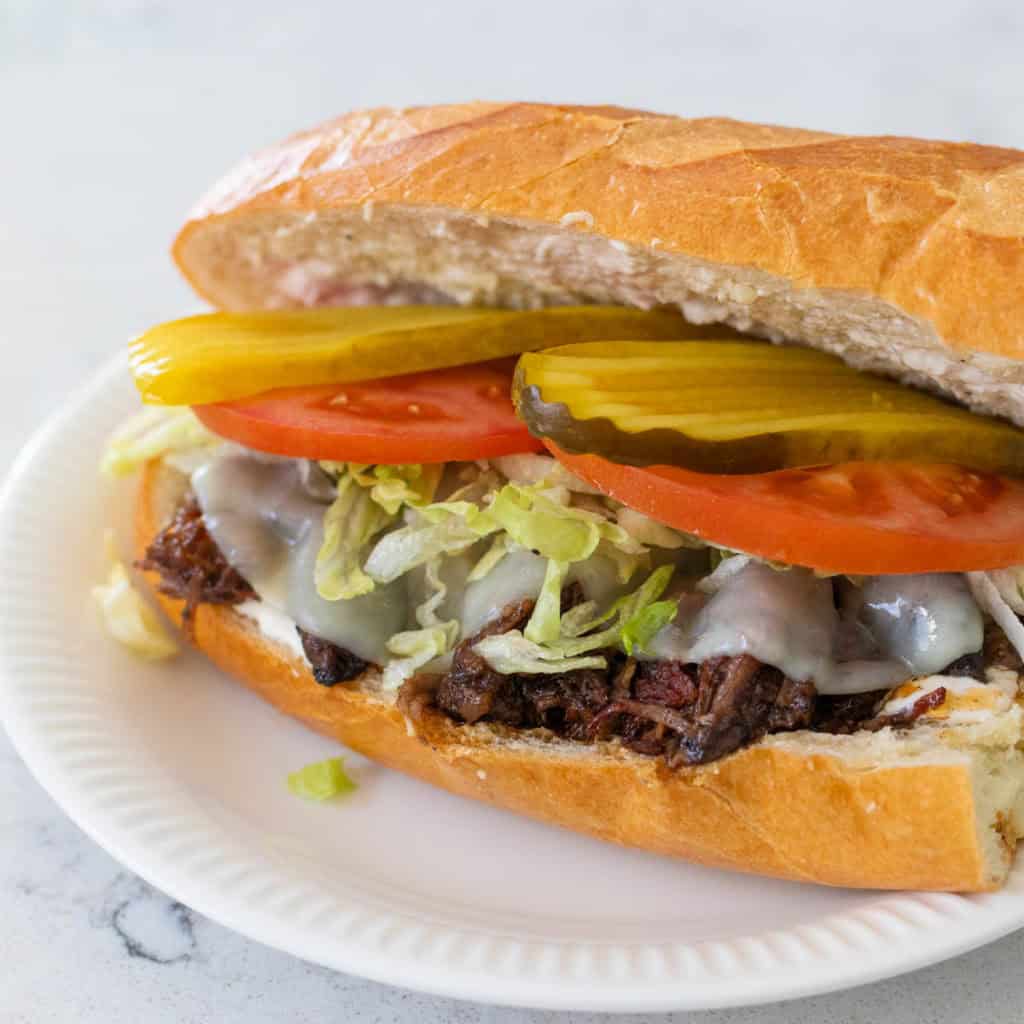
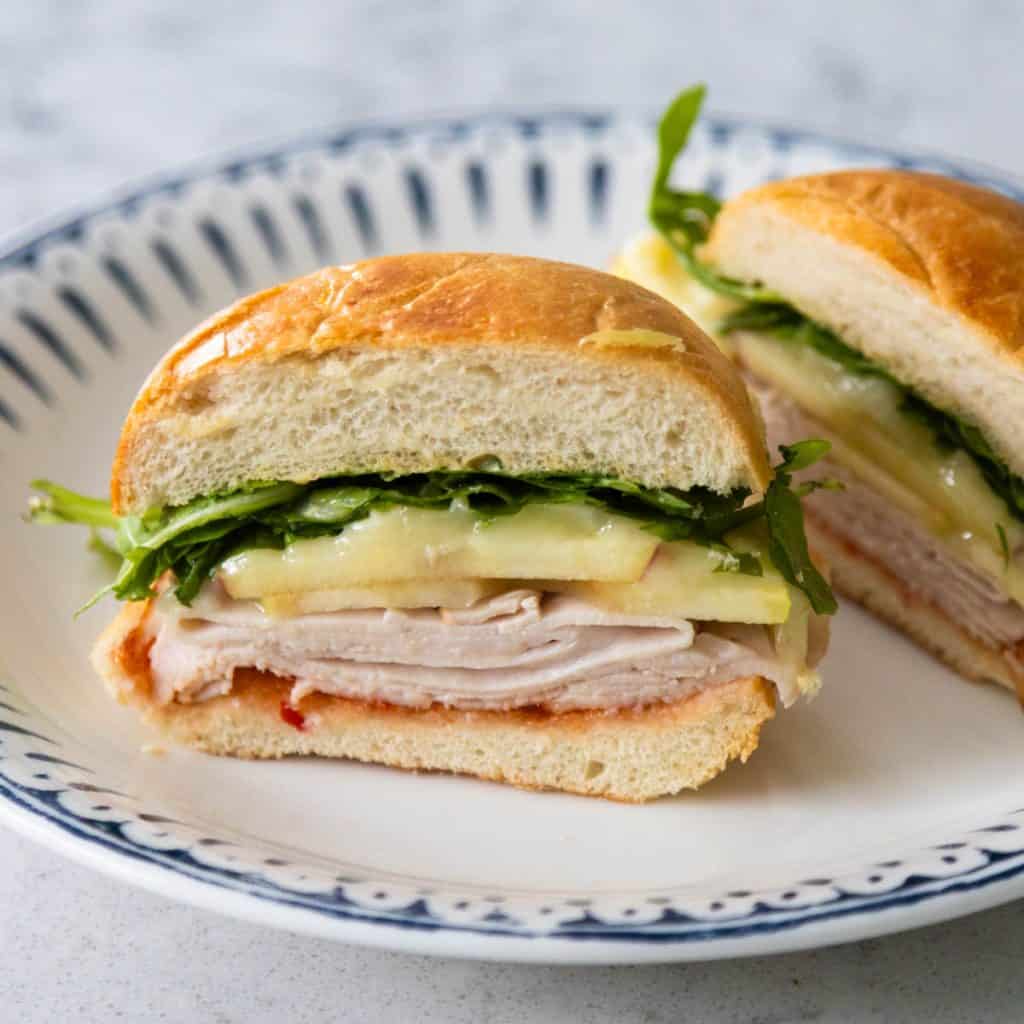
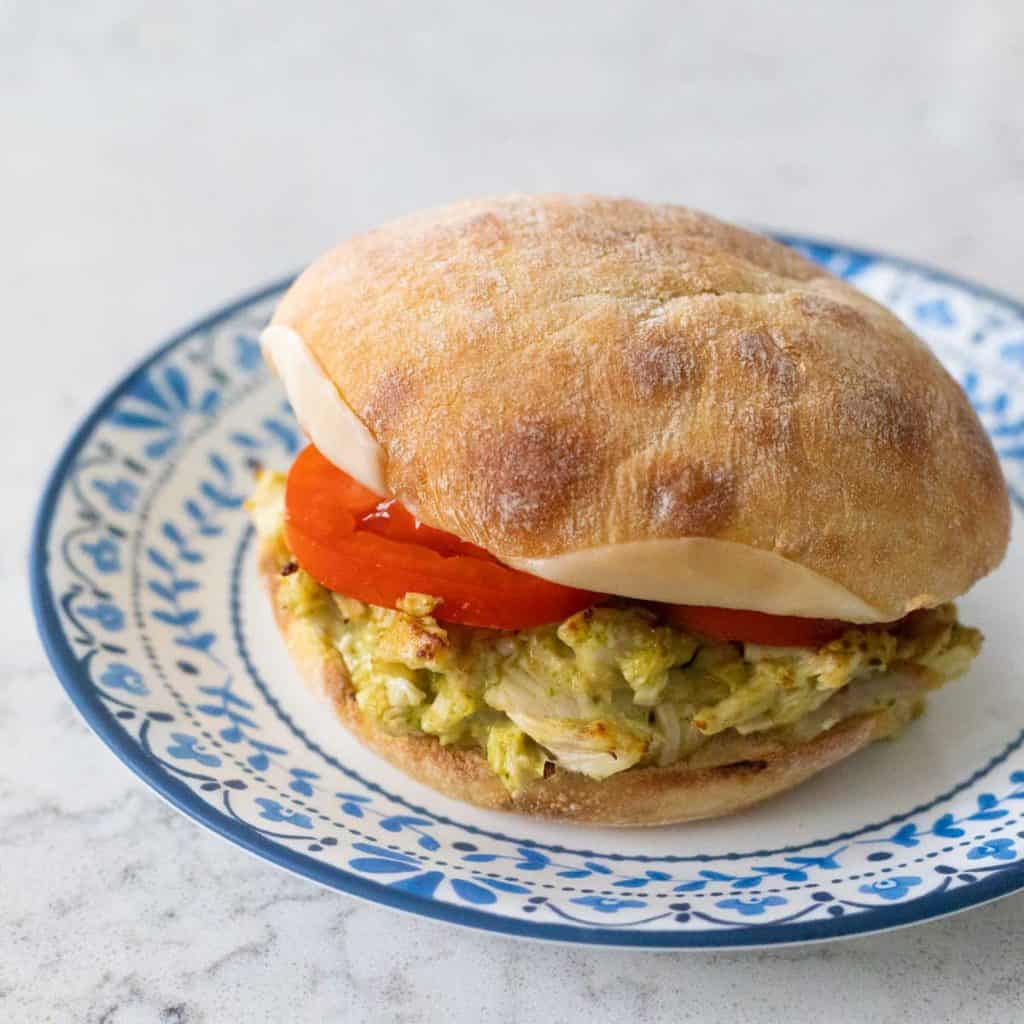
Ciabatta bread is the perfect choice for a grilled sandwich or for using with a super saucy dinner like pulled pork or BBQ chicken.
Some of my favorite sandwiches this ciabatta would be the perfect choice for include my saucy Cuban pulled pork sandwich with juicy pickles, this easy New Orleans roast beef po'boy, a griddled version of my turkey brie sandwich, or the saucy chicken pesto sandwich with fresh tomatoes.
It would also be the perfect bread to use to make homemade crostini for an appetizer.
Don't miss my tips on how to make crostini here.
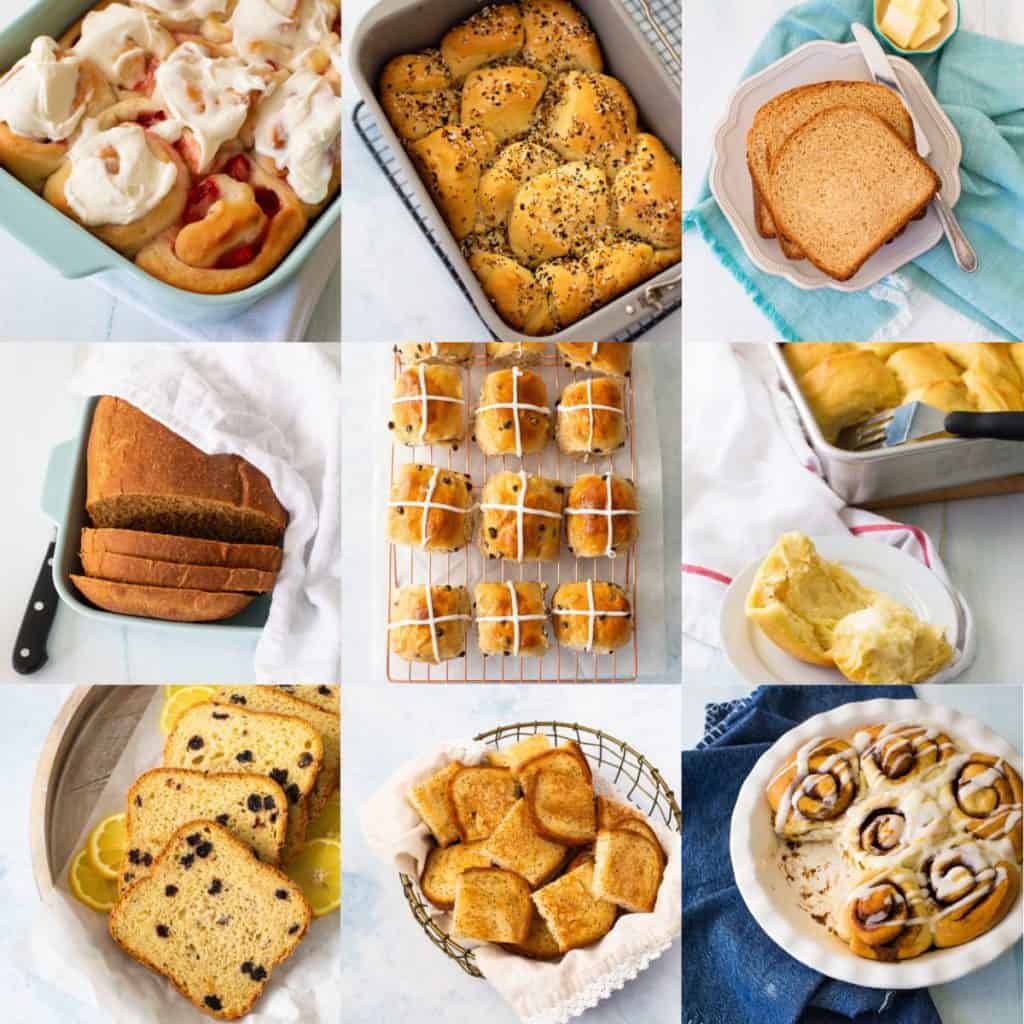
More Bread Machine Recipes
Looking for more easy bread machine recipes? Here are a few of my favorites:
📖 Recipe
Easy Ciabatta {Bread Machine}
Ingredients
Ciabatta Overnight Starter
- 3/4 cup bread flour
- 1/2 cup water
- Pinch of active dry or instant yeast
Ciabatta Dough
- 1 Batch Overnight Starter
- 3/4 cup water cool
- 3 tablespoons olive oil
- 2 1/2 cups bread flour
- 1 1/2 teaspoons kosher salt
- 2 teaspoons yeast: active dry instant, or bread machine
Instructions
Prepare the Overnight Starter
- Mix the flour, water, and pinch of yeast together in a large mixing bowl and cover with plastic wrap or a damp towel. Place it in a room temperature spot overnight (at least 8 hours) or up to 24 hours. It should be slightly bubbly when you use it.
Make the Dough
- Add the ingredients to your bread machine pan fitted with the paddle attachment in the order they are listed for the dough.
- Start by scraping in the entire batch of starter you let sit overnight into the pan. Then add the remaining ingredients from water through yeast.
- Select the Artisan Dough program on your bread machine. (See Notes.) The program should take approximately 5 hours to complete.
Bake the Bread
- Transfer the finished dough to a baking pan lined with parchment paper. Pat it into an oblong loaf shape that is about 10 inches in length. Cover with plastic wrap and let the loaf rest for 20 minutes while you preheat the oven.
- Preheat the oven to 425°F.
- Uncover the loaf and bake for 30 minutes. The ciabatta bread should be lightly golden brown and sound hollow when you tap it.
- Let it cool completely before slicing.
Recipe Notes
Artisan Dough Program Notes
The Artisan Dough program on your bread machine has a longer, cooler rise than the regular dough program and is perfect for breads that need to develop more flavor. Not all bread machines have this program, it is not the same as the cycle marked simply "Dough". Currently, Cuisinart and Breadman have models with the Artisan Dough setting. If your machine offers a custom program, you want to select a 5 hour rise time. If your machine does not have a custom program option, you can make the dough with the regular Dough program and then transfer it to a large mixing bowl brushed with olive oil, cover it with plastic wrap, and let it rise an additional 4 hours before baking as directed.Save This Recipe to Your Recipe Box
Find this delicious recipe next time you visit by saving it to your very own recipe box on my site. All your favorites stored in one easy place!

Comments
No Comments