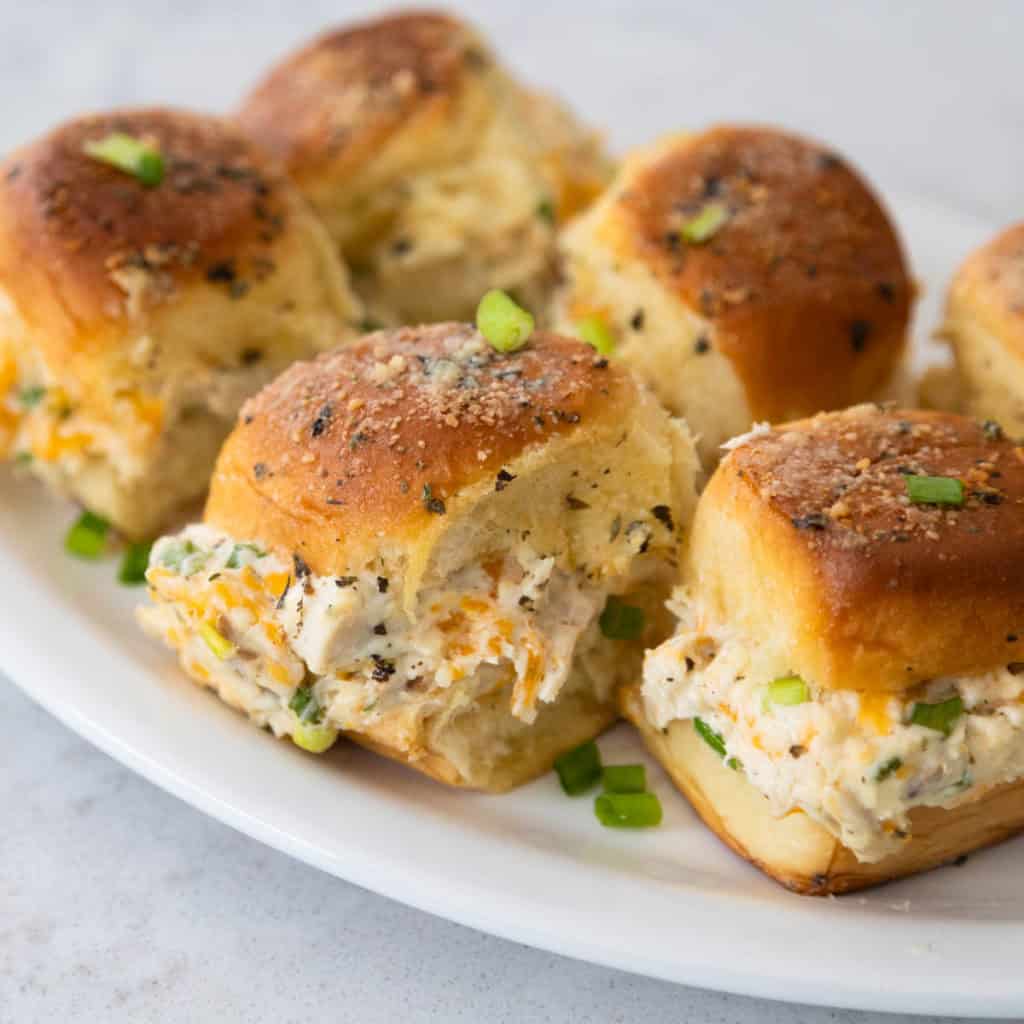
BBQ Chicken Sliders

Easy to assemble BBQ chicken sliders take just 10 minutes to prep and 10 minutes to bake. They're the perfect finger food for your next party or family fun night. The assembly line method described below will help you get them baked before the buns can ever go soggy.
It's been a long standing joke in our family that my husband can make a tiny sandwich using just about any leftovers in the fridge. He is obsessed with dinner rolls.
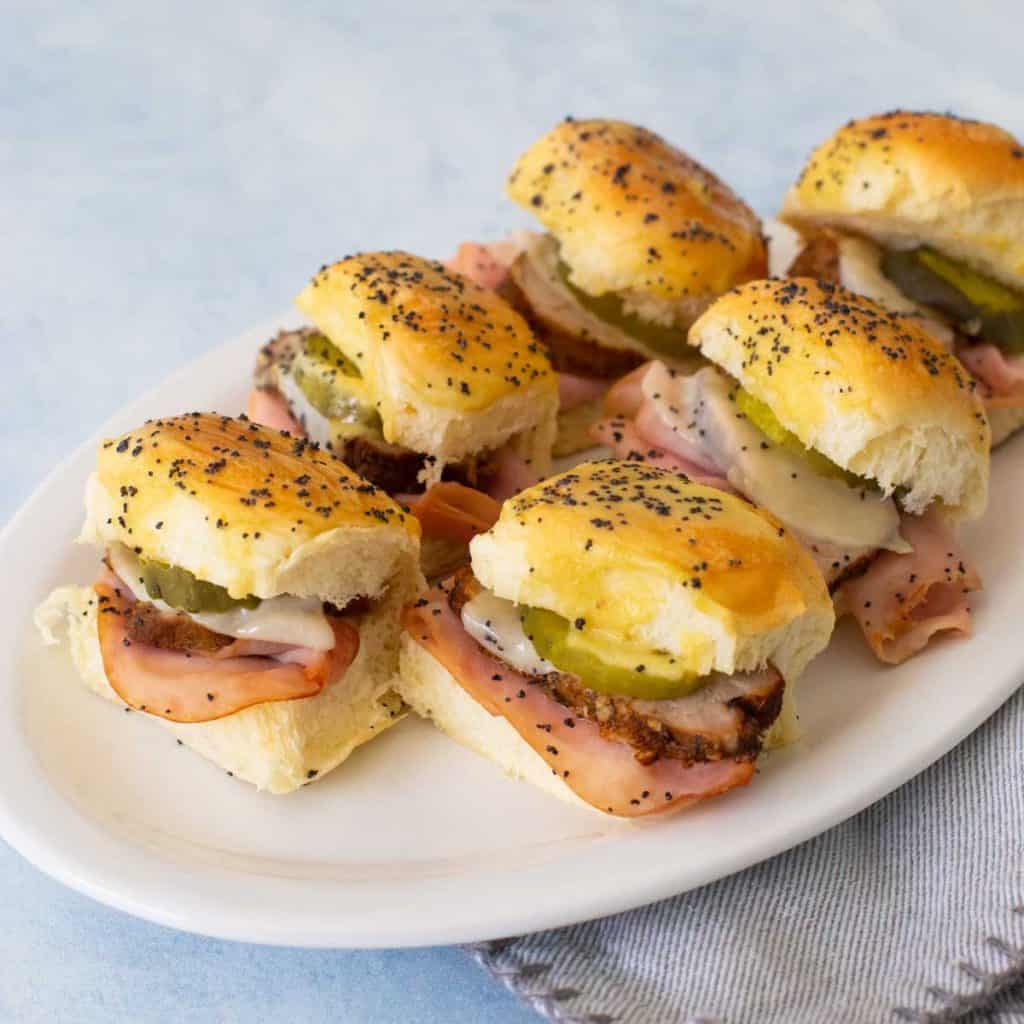
When I make a pan of our classic gooey ham and cheese sliders during the holidays, every last one will disappear in a blink.
One lazy weekend while watching our beloved Badgers game at home, I decided to treat the family to a new variety of slider sandwich as a football snack.
It only took me 10 minutes to put these sliders together and another 10 minutes to bake them. I think they disappeared in even less time!
Why This is the Best Recipe
- Uses Leftover Chicken: If you've made my Crockpot BBQ chicken thighs, save the leftovers for this easy recipe.
- Great Party Sandwich: Sliders are always fun to serve at a party, you can prep the elements and quickly assemble and bake to serve warm.
- Fun Family Dinner: Surprise the kids with these delicious tiny sandwiches with your favorite barbecue sides.
Ingredients
The ingredients for the baked BBQ chicken sliders is very easy:
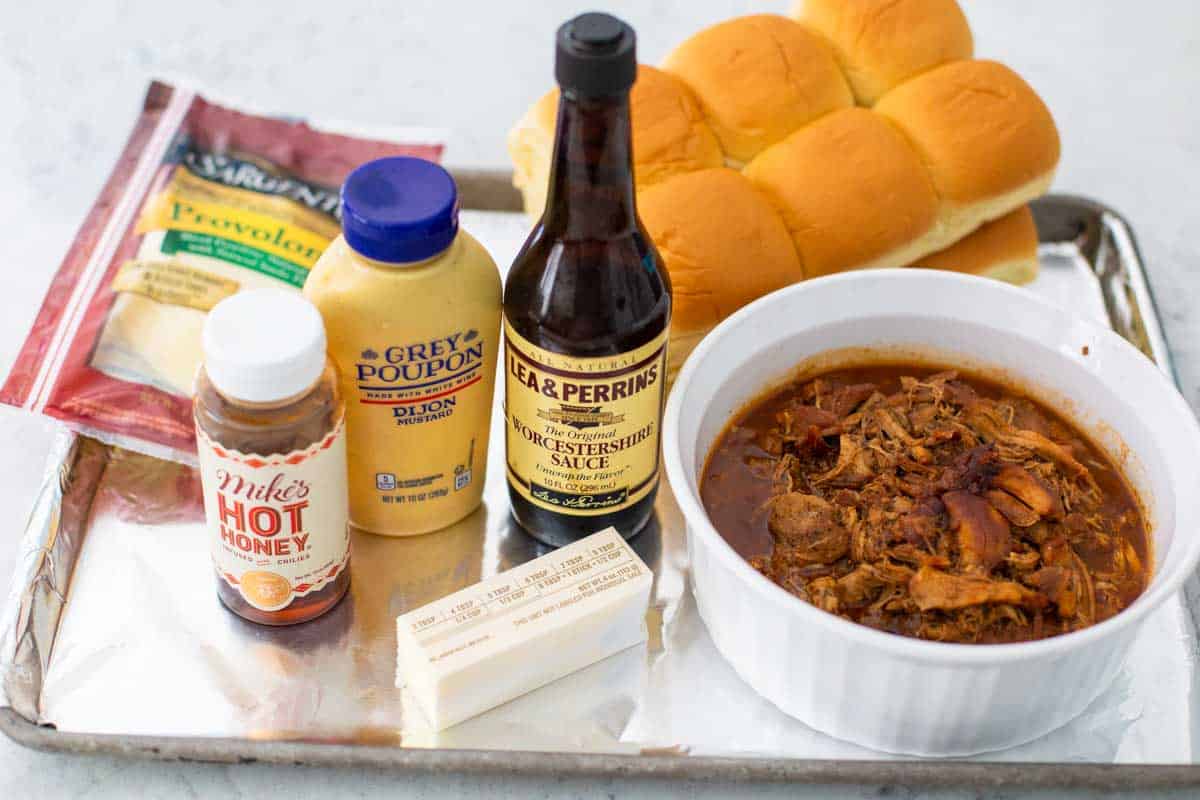
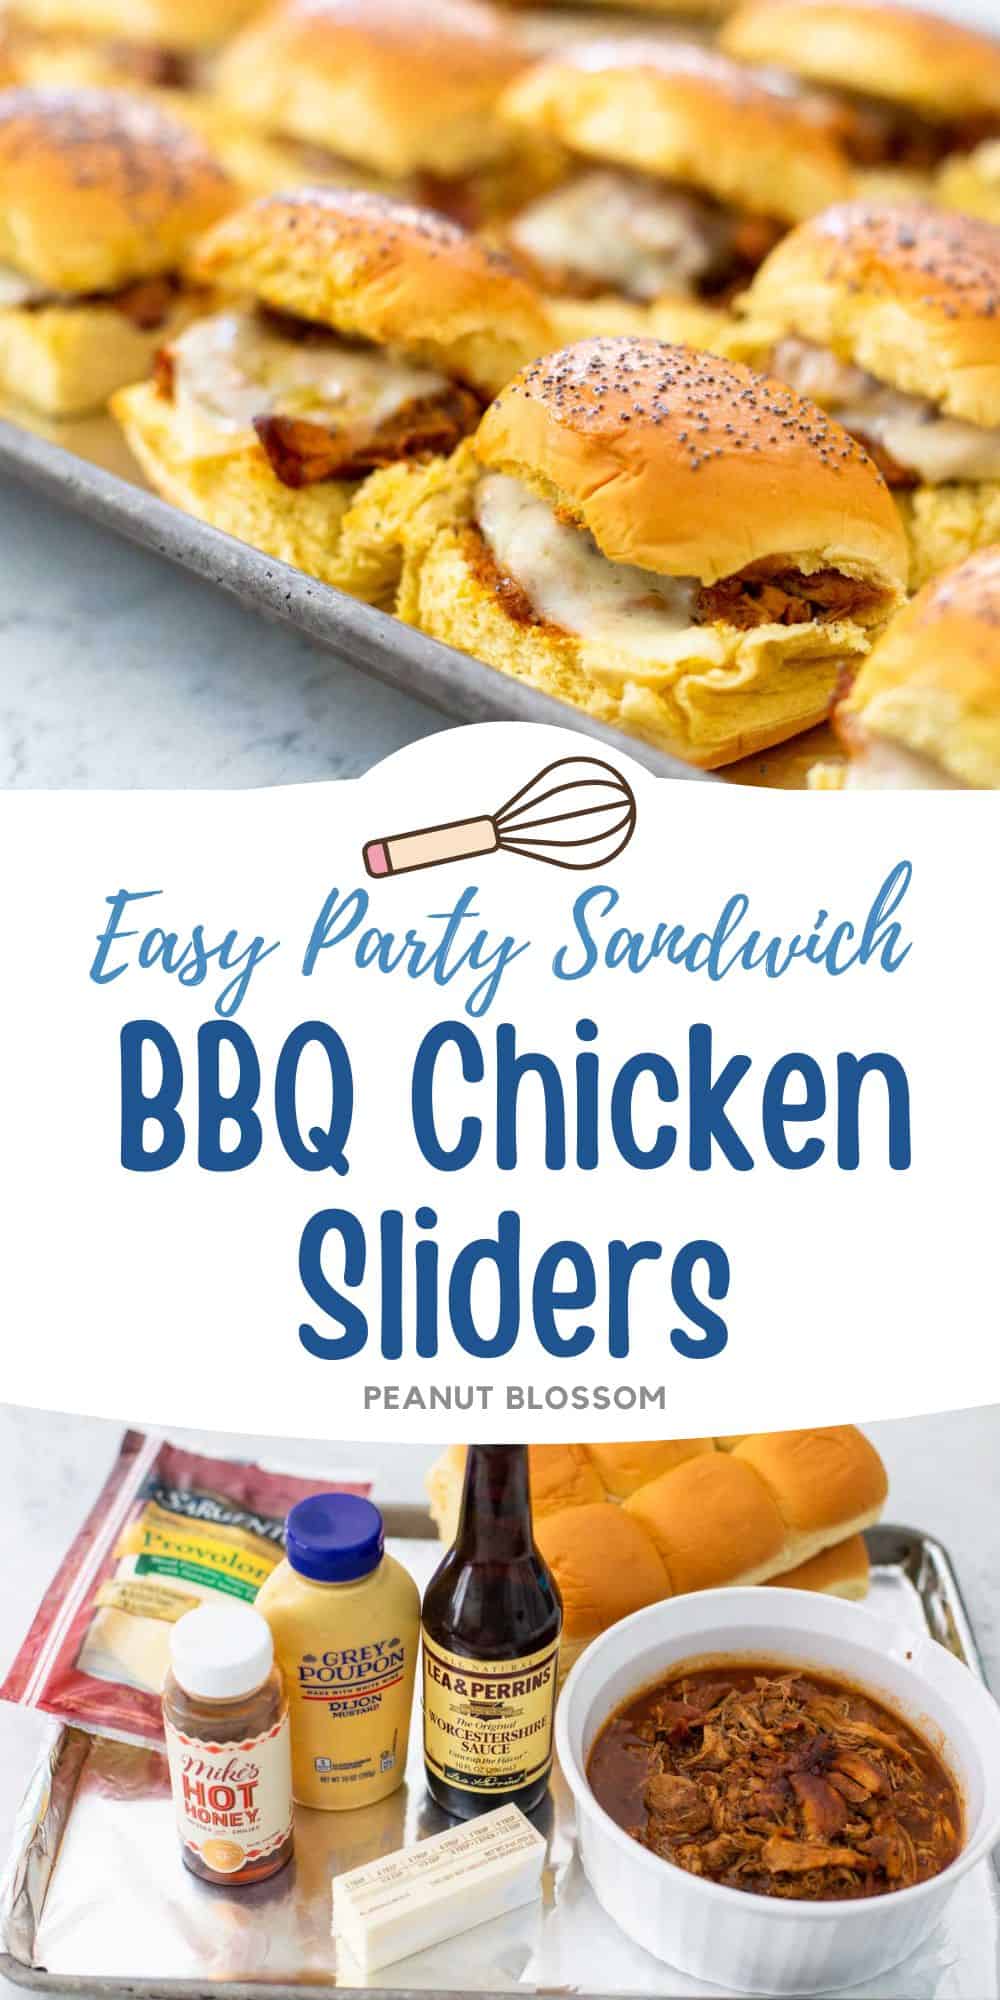
- Prepared Shredded BBQ Chicken: You can buy tubs of BBQ chicken at the grocery store but my homemade BBQ Crockpot chicken recipe only took 5 minutes to prep. I put it in the slowcooker in the morning, and the chicken was ready to be turned into sliders by noon.
- Slider Buns: Usually I use Hawaiian dinner rolls for sliders. The store was out of them so we substituted potato dinner rolls instead. They ended up being an even better choice with the sweet BBQ sauce on our chicken. You can use whatever you like.
- Butter
- Worcestershire Sauce
- Dijon Mustard
- Honey: You can use regular honey but I'm recently obsessed with Mike's Hot Honey. It added just a touch of heat to the butter sauce for the sliders and I highly recommend it. You can get a bottle here.
- Slices of Provolone Cheese
- Poppy Seeds *optional but recommended
Want to Save This for Later?
Assemble the Sliders
The secret to perfectly crispy BBQ chicken sliders is to set up an assembly line. You want to put them together efficiently, pop them into the oven quickly, and serve them immediately.
If the mixture all sits too long, the sauce will soften the buns and you'll have a potential mess.
First, preheat the oven to 375°F.
Line a large baking pan with aluminum foil.
Slice the dinner buns in half most of the way, but not completely, through.
They should open on a hinge:
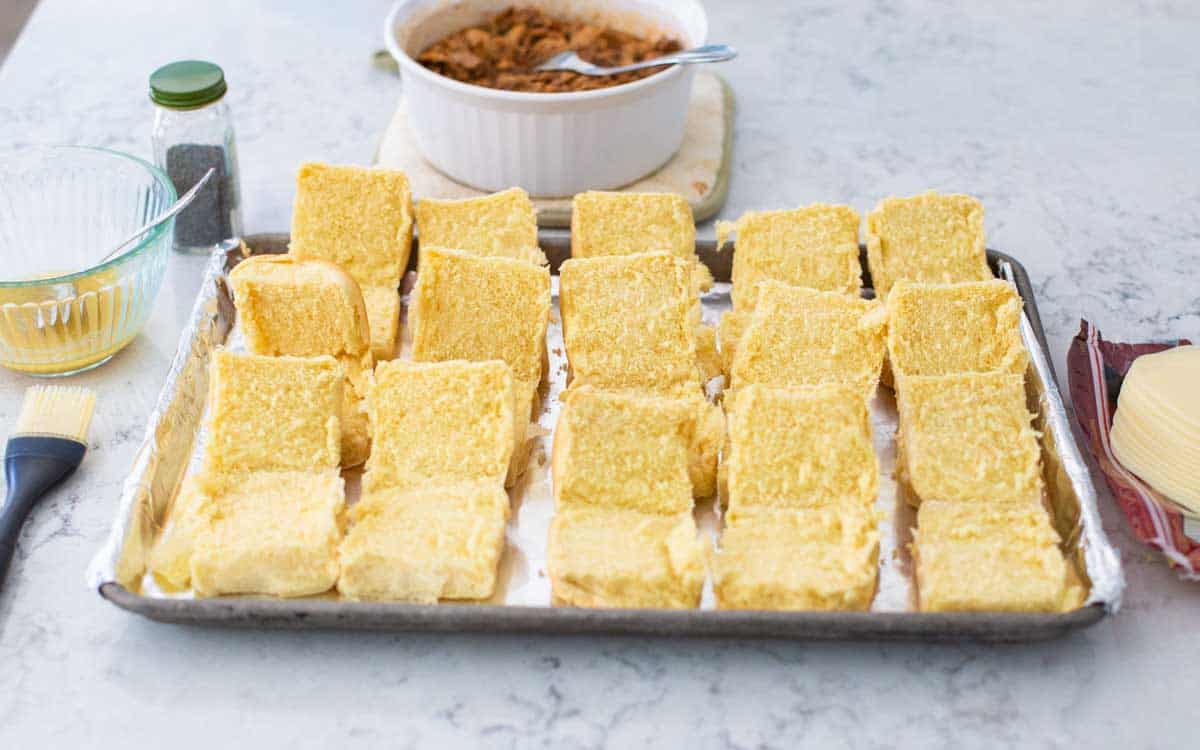
Line the buns up on your pan in neat rows.
Place the sliced provolone next to the pan.
Heat up the BBQ chicken and place it near the pan.
Then prepare the butter sauce for the topping:

Mix together the melted butter, mustard, honey, and Worcestershire with a fork until the honey has been dissolved into the liquid. Set it near your assembly line.
Wait to assemble the sliders until your oven is ready to go.

Top each open face bun with a spoonful of BBQ chicken, about 2 tbsp or so.
Top each slider with 1/4 of a piece of provolone cheese. It goes fastest if you fold the slice in half and tear, then fold each half again and tear.
Hint: We only use a smallish amount of cheese because we don't want it to overwhelm our sliders. If you're a huge cheese lover, go ahead and use more!
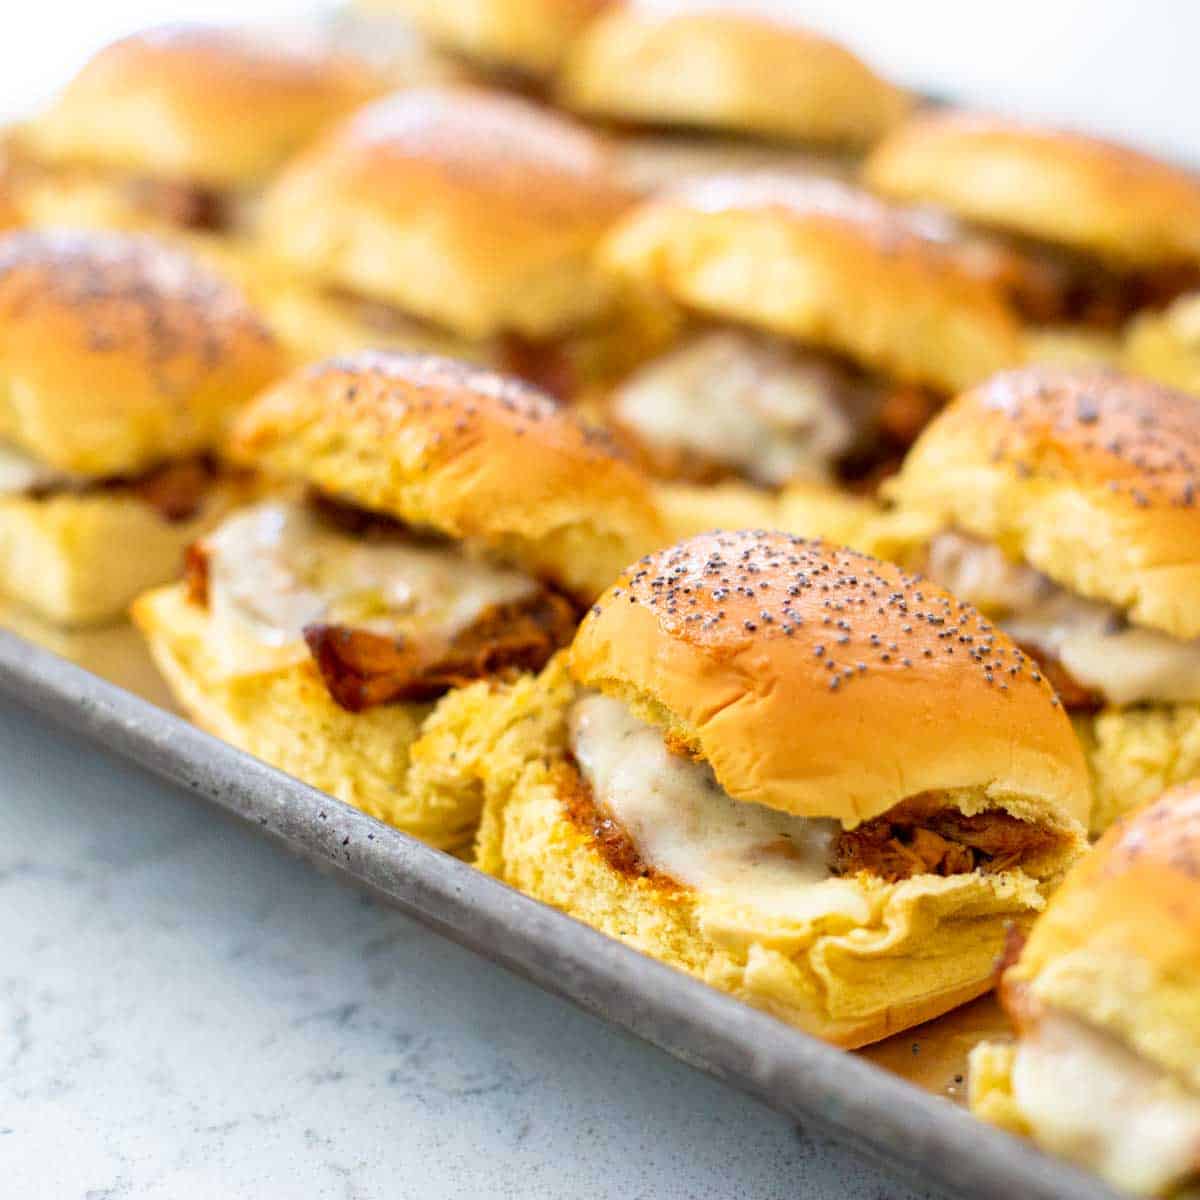
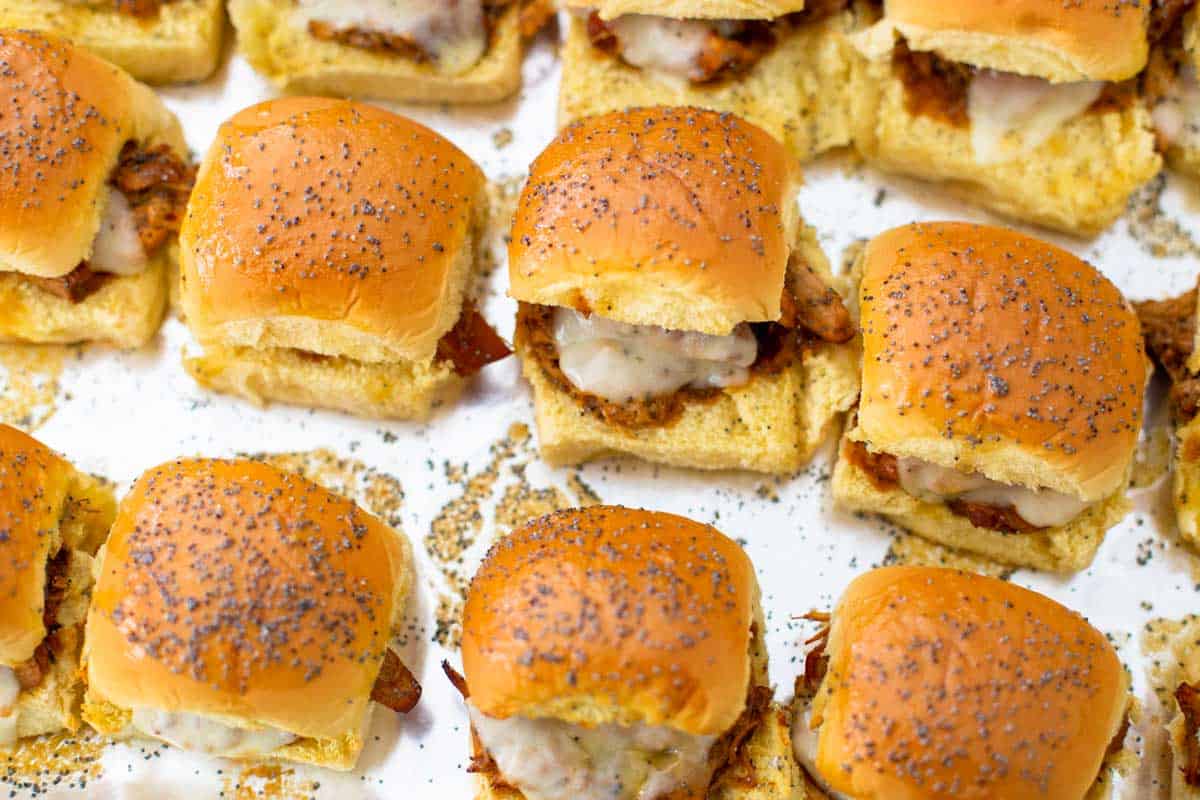
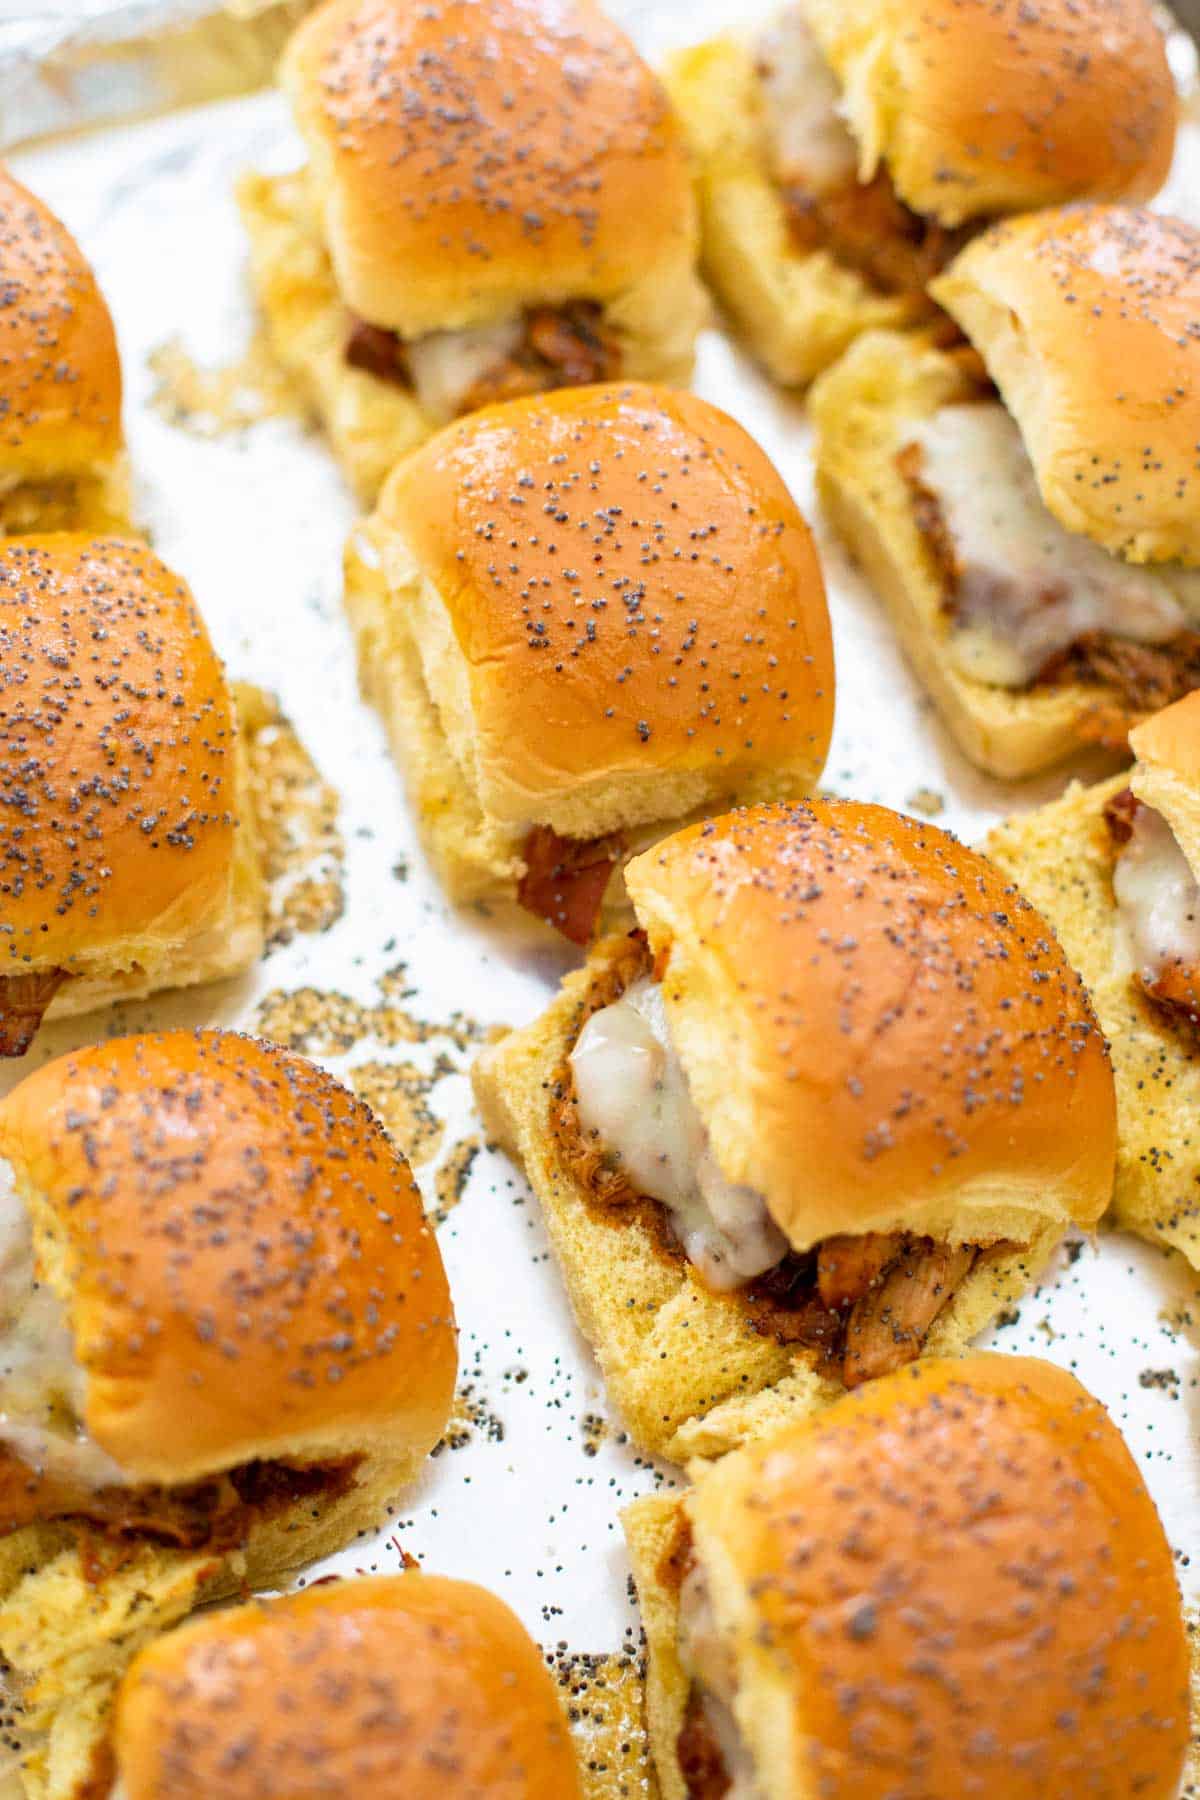
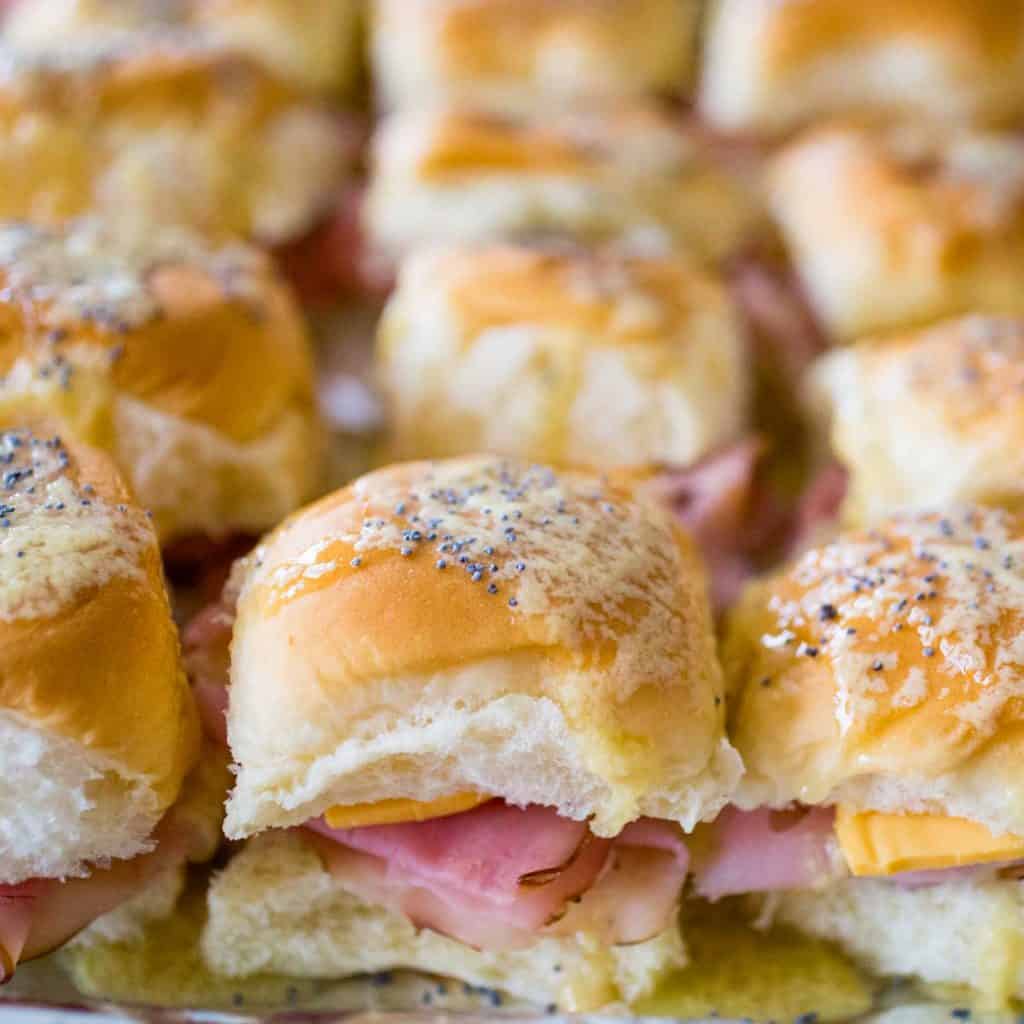
Close the buns and brush the tops with the prepared butter sauce. Sprinkle the poppy seeds over the top.
Cover the pan loosely with aluminum foil.
Baking Instructions
Bake for 6 minutes at 375°.
Uncover the pan and bake for an additional 4 - 6 minutes or until the buns are toasted.
Variations
There are several ways to mix up these BBQ chicken sliders:
- Alabama Chicken Sliders: Use shredded chicken tossed in wing rub and topped with my easy Alabama white sauce.
- Spicy - change the original BBQ sauce you use to something with a big kick, use pepperjack cheese instead of provolone, and be sure to use the Mike's Hot Honey
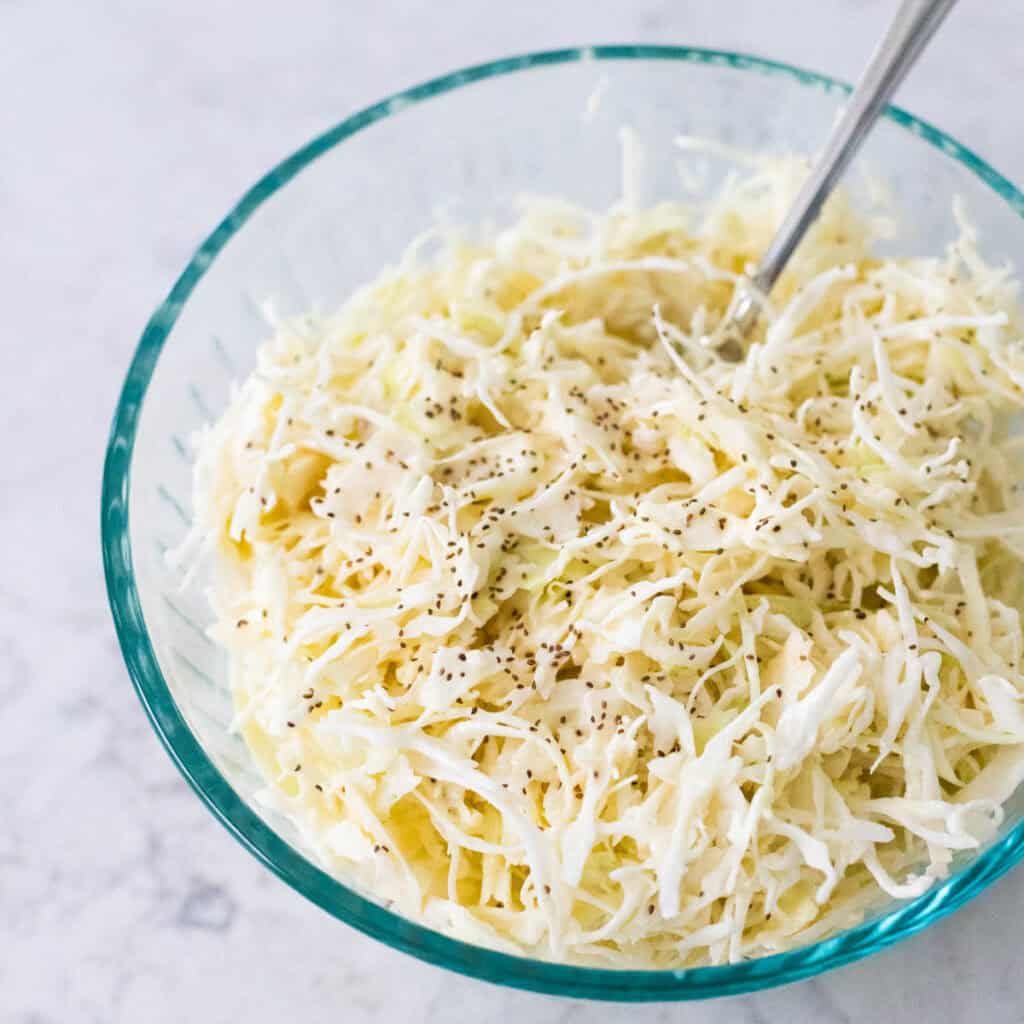
- Crunchy - serve the baked sliders with your favorite coleslaw or pickles
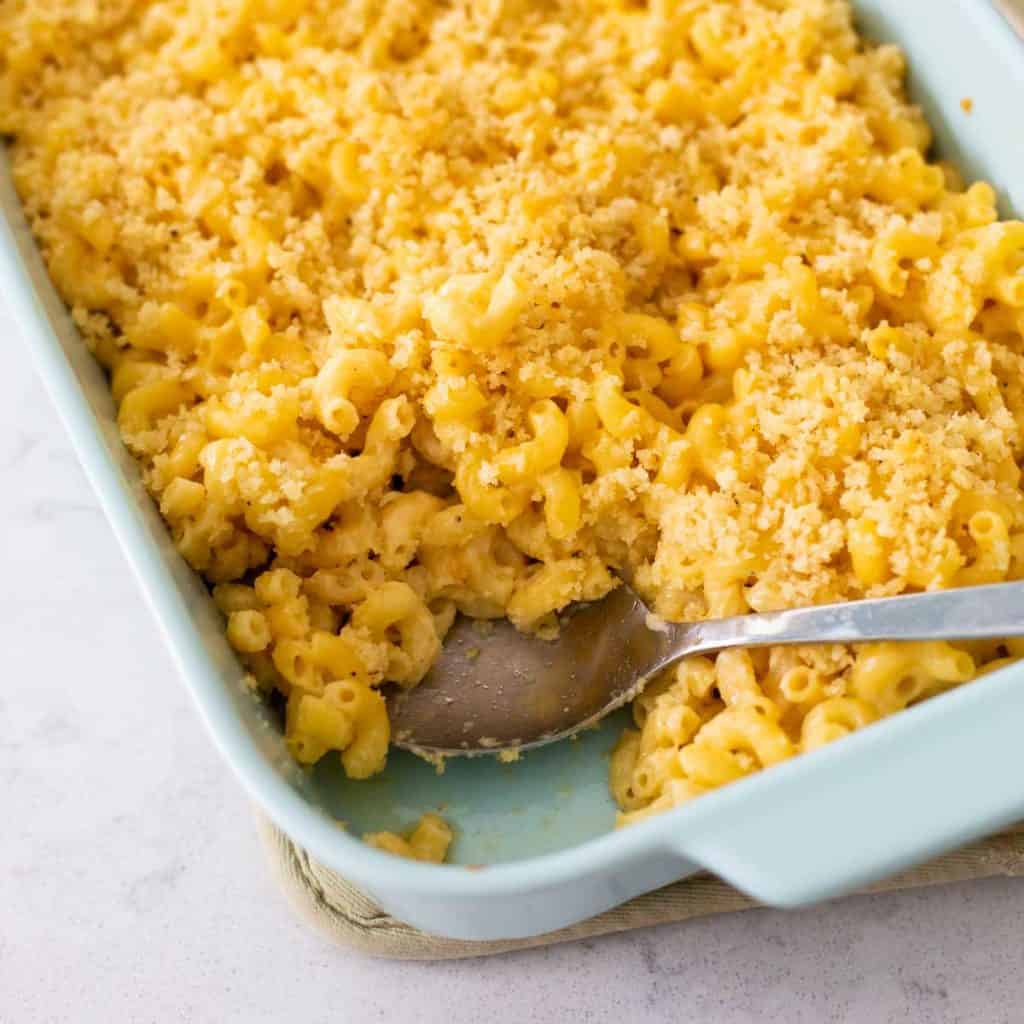
- Epic BBQ & Mac - prepare a pan of my favorite baked mac and cheese and instruct your guests to add a spoonful of it right inside their sandwich
Make Ahead Tips
These chicken sliders are definitely best served right after baking.
If you want to make them ahead, I recommend simply prepping all the ingredients and having them ready but storing them separately.
You could do these items in the morning before your party:
- Slice the buns
- Tear the cheese
- Cook & shred the chicken
Then just prepare the butter sauce, heat the chicken, and assemble as directed before baking.
Serving Suggestions
Yes, the butter sauce makes these sliders a little bit messy to eat with your fingers, but they are 100% worth it. Just be prepped to serve them with a nice stack of napkins!!
You could also offer angel hair coleslaw for garnishing the sliders once they're out of the oven.
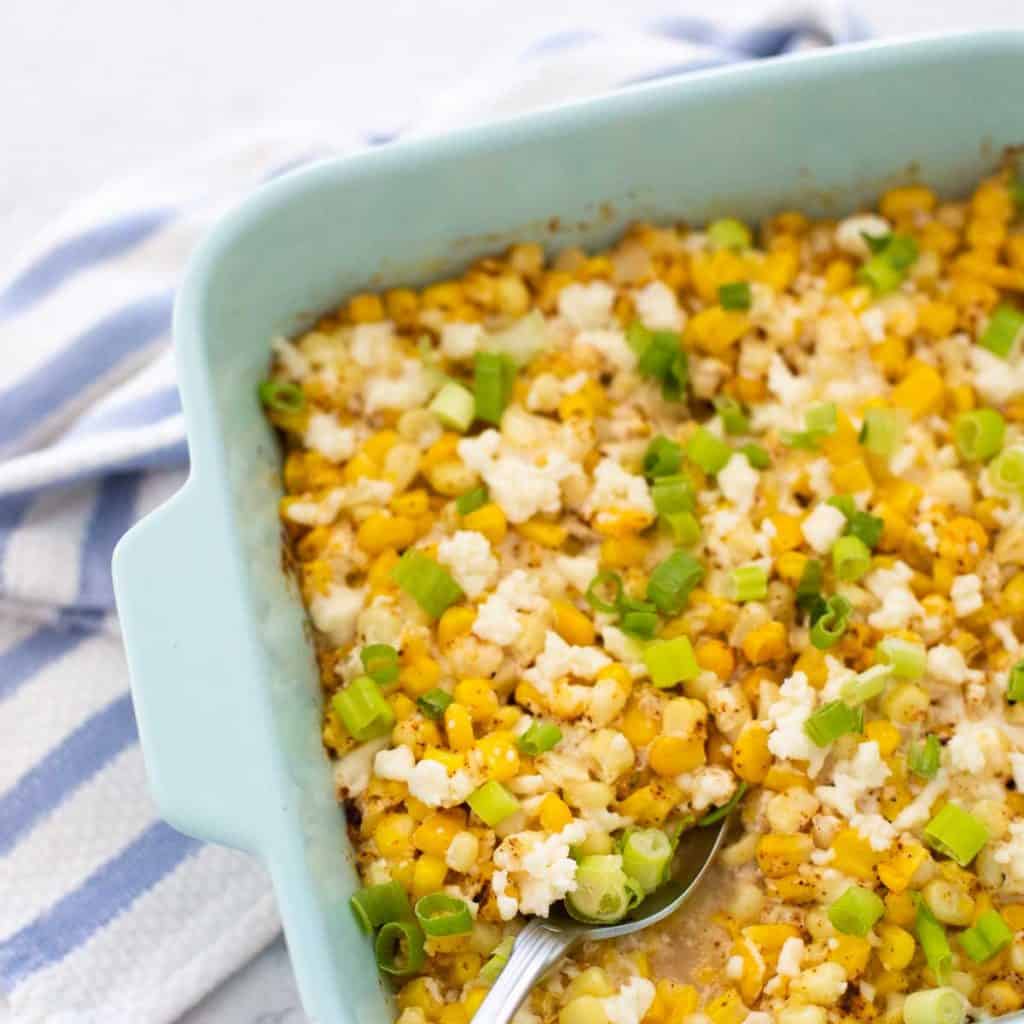
To round out your menu, why not serve them with a pan of baked mac and cheese or a simple corn side dish like my Mexican street corn casserole or chunky corn salsa?
A batch of air fryer onions rings would be super delicious, too!
More Slider Recipes
Love little bite-sized sandwiches? Don't miss these other delicious chicken slider recipes:

📖 Recipe

BBQ Chicken Sliders
Ingredients
- 16 small slider buns
- 1 1/2 pound bbq chicken shredded, see notes
- 4 slices provolone cheese
- 4 tablespoons butter melted
- 1 teaspoon Worcestershire sauce
- 1 tablespoon honey
- 1 tablespoon Dijon mustard
- 1 tablespoon poppy seeds
Instructions Start Cooking
- Preheat the oven to 375°F.
- Line a large baking pan with aluminum foil and set aside.
Set Up Your Assembly Station:
- Heat your prepared BBQ chicken in the microwave until hot.
- Cut the slider buns into open-faced hinged buns (not sliced all the way through) and place in neat rows on the aluminum foil covered pan.
- Place the provolone cheese next to the pan.
Make the Sauce for the Topping:
- Stir together the melted butter, Worchestire sauce, honey, and dijon until the honey has dissolved into the liquid.
Assemble & Bake the Sliders:
- Top each open face slider bun with 2 tbsp of shredded chicken mixture.
- Tear each slice of provolone into quarters and top each slider with 1/4 of the slice of cheese. (It helps to fold the cheese in half and tear, then fold each half again and tear.)
- Shut the buns over the filling and brush the tops with the butter sauce. Drizzle every last drop over the buns even if it pours down the sides and onto the baking pan.
- Sprinkle the tops of the buns with poppy seeds. Cover the pan loosely with aluminum foil and bake for 6 minutes.
- Uncover the pan and bake for an additional 4 - 6 minutes or until the buns are toasted and the cheese is melted. Serve immediately.
Recipe Notes
BBQ Chicken:
You can use prepared shredded chicken from the grocery store, but we much prefer to make our own. This BBQ Crockpot chicken recipe has only 4 ingredients and takes 5 minutes to prep. You could cook it the day before you want to make your sliders or in the morning.Slider Buns:
Any small, 3 - 4-inch buns would work for this slider recipe. Hawaiian dinner rolls, potato dinner rolls, or any white or whole wheat dinner roll you love. We found Martin's potato rolls to be perfect with the sweet BBQ sauce we love.Save This Recipe to Your Recipe Box
Find this delicious recipe next time you visit by saving it to your very own recipe box on my site. All your favorites stored in one easy place!
Looks really good
I love this BBQ chicken slider idea! We made something similar at a cookout one year and they were a big hit. We even added some hot sauce for a little kick. These sliders would be great for parties or just a cozy night in with friends. Thanks for the inspiration!