How to Bake a Homemade Birthday Cake
Homemade birthday cakes are easier to bake than you think. Don't worry about it not looking like a professional bakery, your child will remember the cakes you made with love and have much fonder memories of their birthdays with these simple tricks.
If your child has a birthday coming up and you want to make a homemade birthday cake yourself for the special day, have no fear!
This is a priceless family tradition of ours and something my girls and I look forward to every year.
Below I'll share all the tips you need for baking a perfect birthday cake your kids will love and you'll all enjoy eating on the big day!
Why Homemade Birthday Cakes are the Best
Birthdays are such a big deal in our family that I was too intimidated to bake a homemade birthday cake for the first several years of my daughter's life.
I thought that her special day required a gorgeous professionally decorated cake from the best local bakery I could find.
When my Peanut turned 4, I saw my very first photo ever of a rainbow cake.
Our local bakery didn't offer it as an option and I thought it looked so pretty I just had to try it on my own.
It was a lightbulb moment for me. You could have a fun birthday cake where the decoration is the CAKE ITSELF, not the intricate frosting flowers and characters I had no interest in learning how to make.
I went ahead and baked the heck out of that awesome rainbow birthday cake and it was one of my earliest most successful blog posts.
Since then, I've come to realize that baking a homemade birthday cake is so much better than ordering one from the bakery because:
- Perfect Flavors: My kids get to pick exactly the cake flavor and frosting they want. Even if that means the boxed cake mix flavor they currently love most.
- Perfect Designs: The kids can throw any party theme my way and my easy cake decorating hacks will work to make the cake match.
- Amazing Memories: The kids' birthday cakes are such a precious memory for me and they look forward to brainstorming each year's new idea together.
Choose a Layer Cake or a Sheet Cake
The first step to baking a homemade birthday cake is to decide whether you're up for trying a 2-layer cake or a sheet cake in a 9 x 13-inch baking pan.
If your kids have their heart set on a layer cake, don't be intimidated! I've got all the tips you need to make that happen.
A sheet cake can be nice whether you plan to leave it in the baking pan or if you prefer to turn it out onto a cake board for a pretty presentation.
Because of its low profile, a sheet cake is easier to store in the fridge on a shelf while a layer cake will require more fridge space.
Supplies You Need
Once you've decided on your cake size, you need to stock up on just a few easy cake baking tools:
- Cake Pans: You'll need 2 9-inch round cake pans for a layer cake or a 9x13-inch baking pan for a sheet cake.
- Cake Strips: If you're making a layer cake, you definitely want to use fabric cake strips. You can read more about them here.
- Parchment Paper: If you're making a layer cake or if you plan to turn your sheetcake out of the 9x13-inch pan, you'll want to have a roll of parchment paper for preparing your cake pans.
- A Cake Recipe or Box Mix: There is NO SHAME in using a box mix! They are delicious! The real effort goes into the cake decorating anyway.
- A Frosting Recipe or 2 Cans of Prepared Frosting: I will quickly use a box mix for my cake but I almost always make homemade frosting for our birthday cakes. It is so much more delicious and super easy to do.
- Birthday Candles and Decorations: Have an idea of how you want to decorate your cake and be ready with those supplies as needed.
Choose Your Birthday Cake Recipe
Do not be embarrassed to use a cake mix for your birthday cake. YES, it still counts as homemade!!
But if you want to make the birthday cake completely from scratch, there are hundreds of cake recipes you could use that will let you customize the flavor just so.
Most cake recipes can be tweaked to work in whatever pan size you've got.
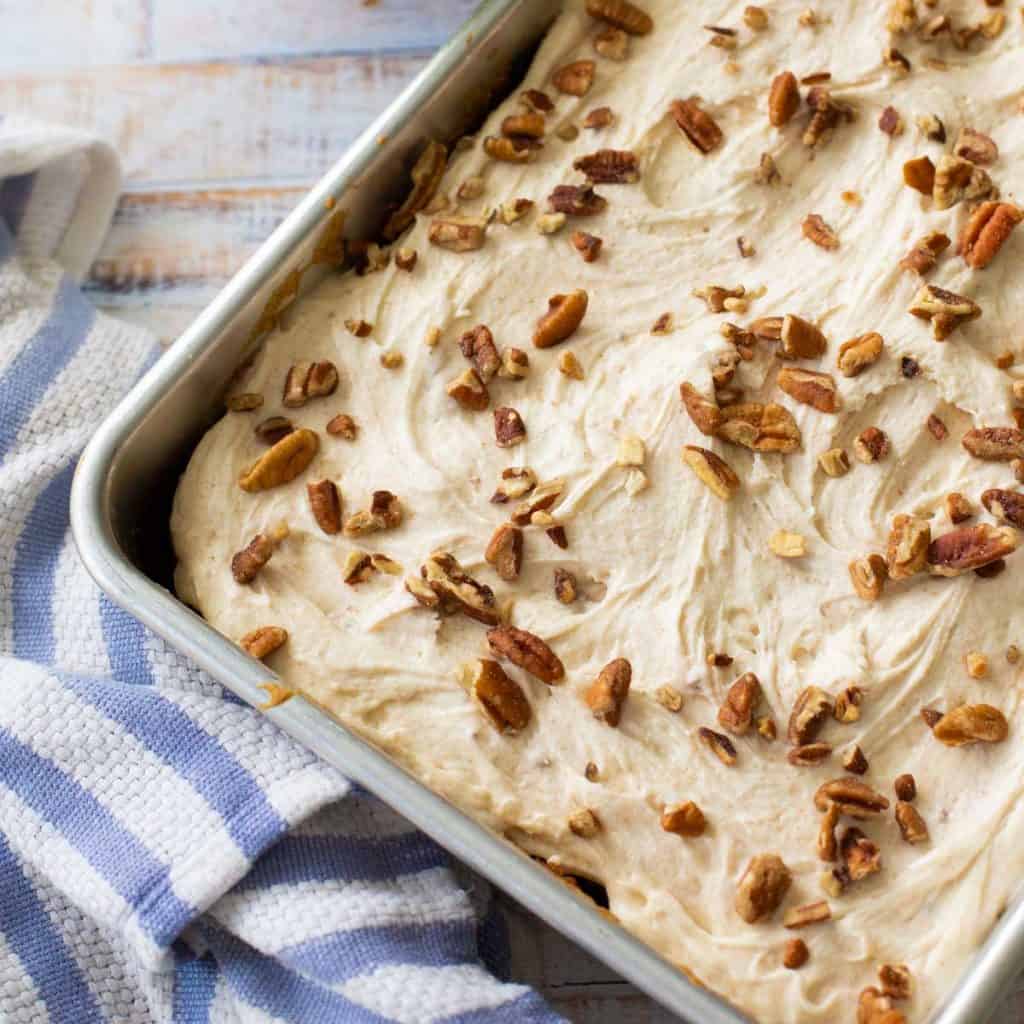
Bake The Cake
How you bake a birthday cake matters most if you're attempting a layer cake.
The most important thing is to get your cake layers to bake perfectly evenly so that building the cake and decorating it is as easy as possible.
To get those perfect layers, it all comes down to how you prepare a cake pan and using my favorite cake strips baking method.
Want to Save This for Later?
If this is your first time baking a birthday cake, you'll want to pause a moment and read this whole post before you begin:

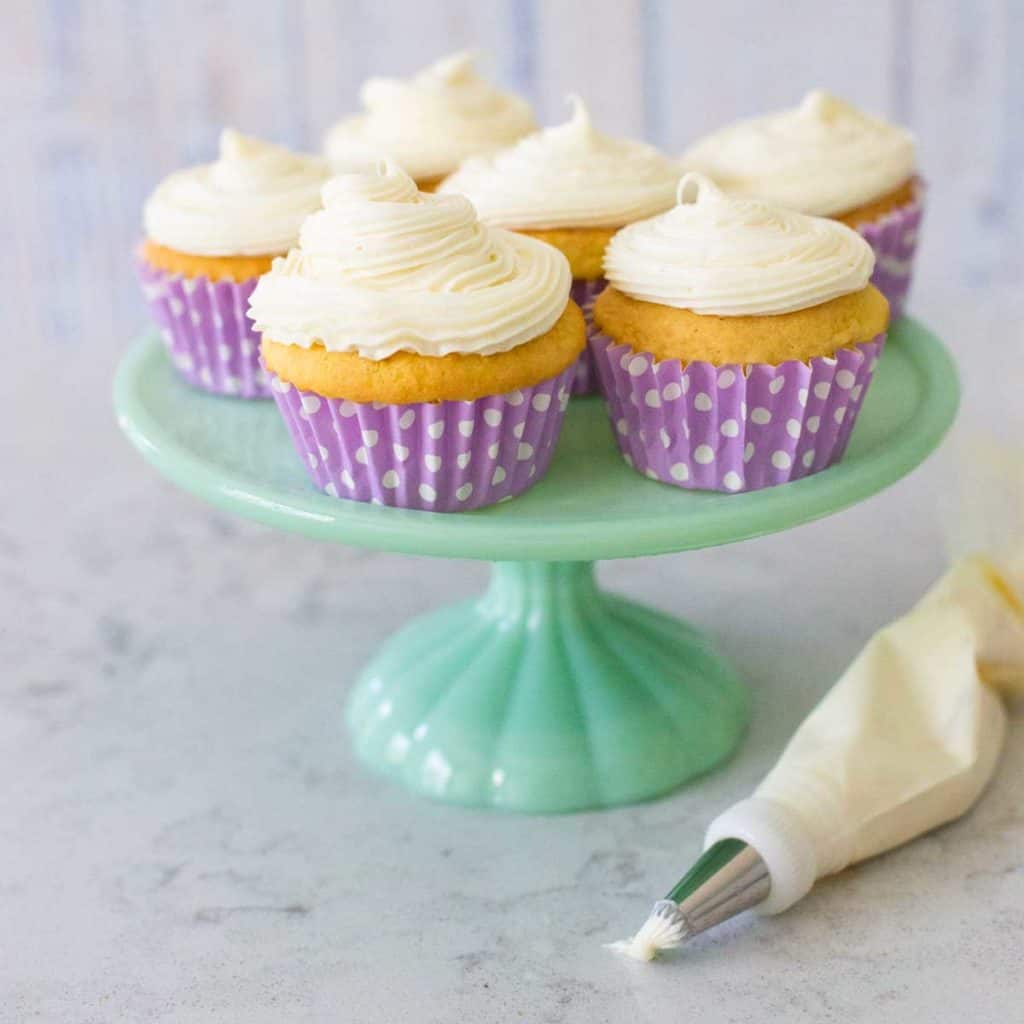
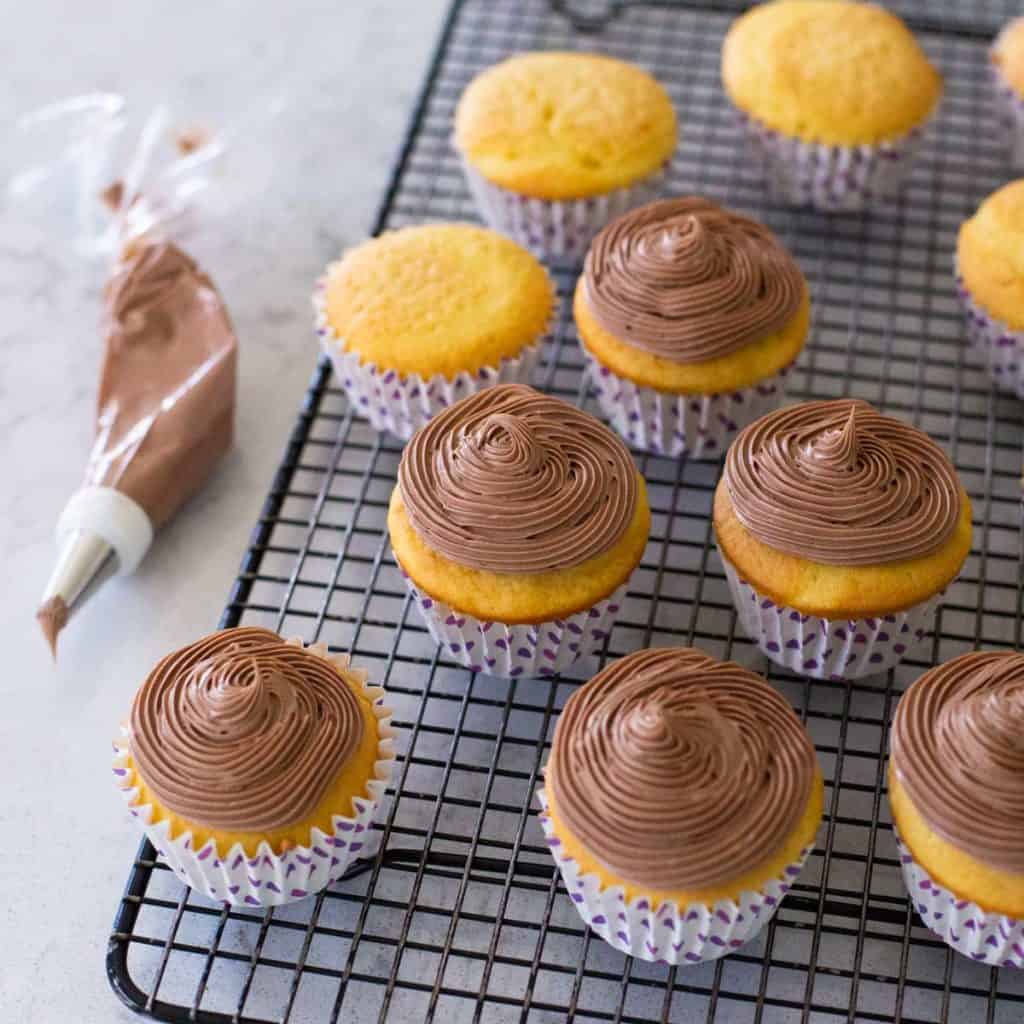
Frost the Cake
Once your birthday cake is baked and completely cooled, you're ready to frost it.
I have several great frosting recipes on my site for you to choose from, but here are a few of our favorites:
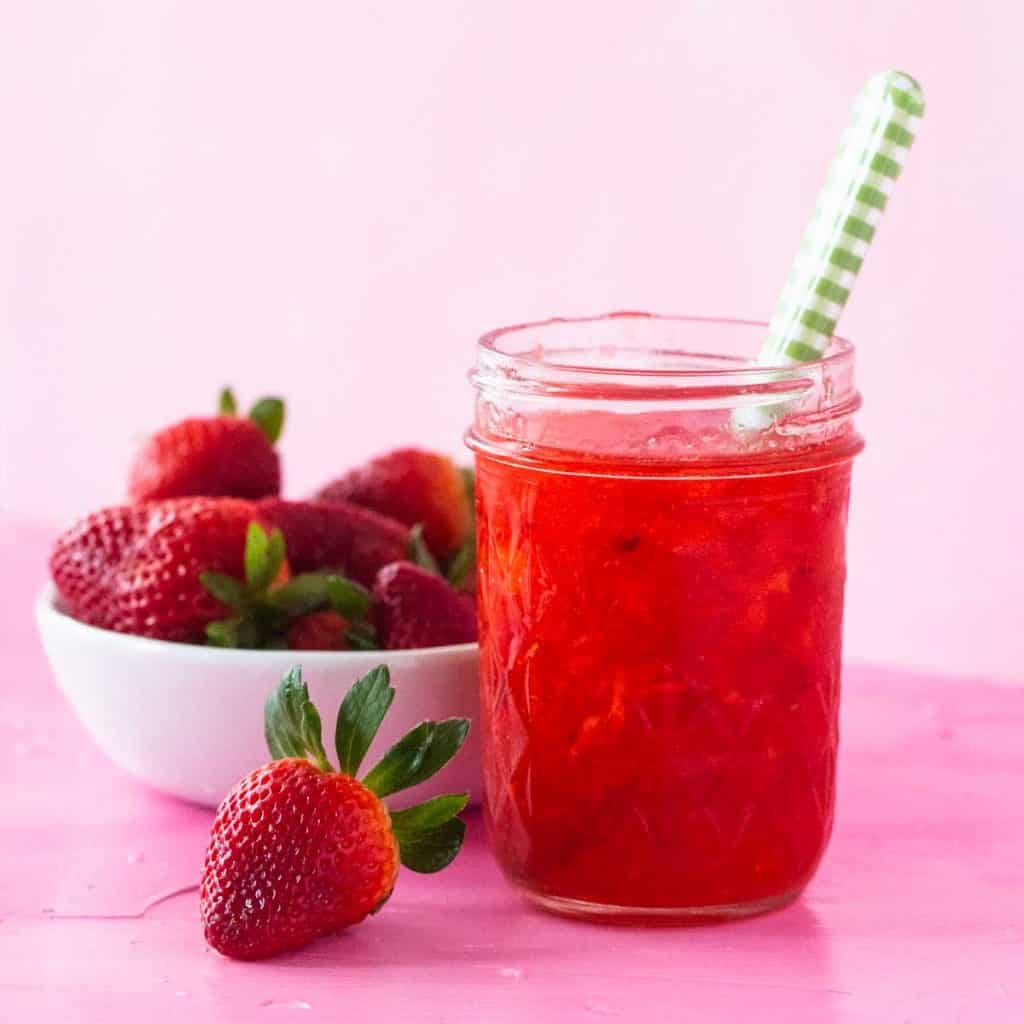
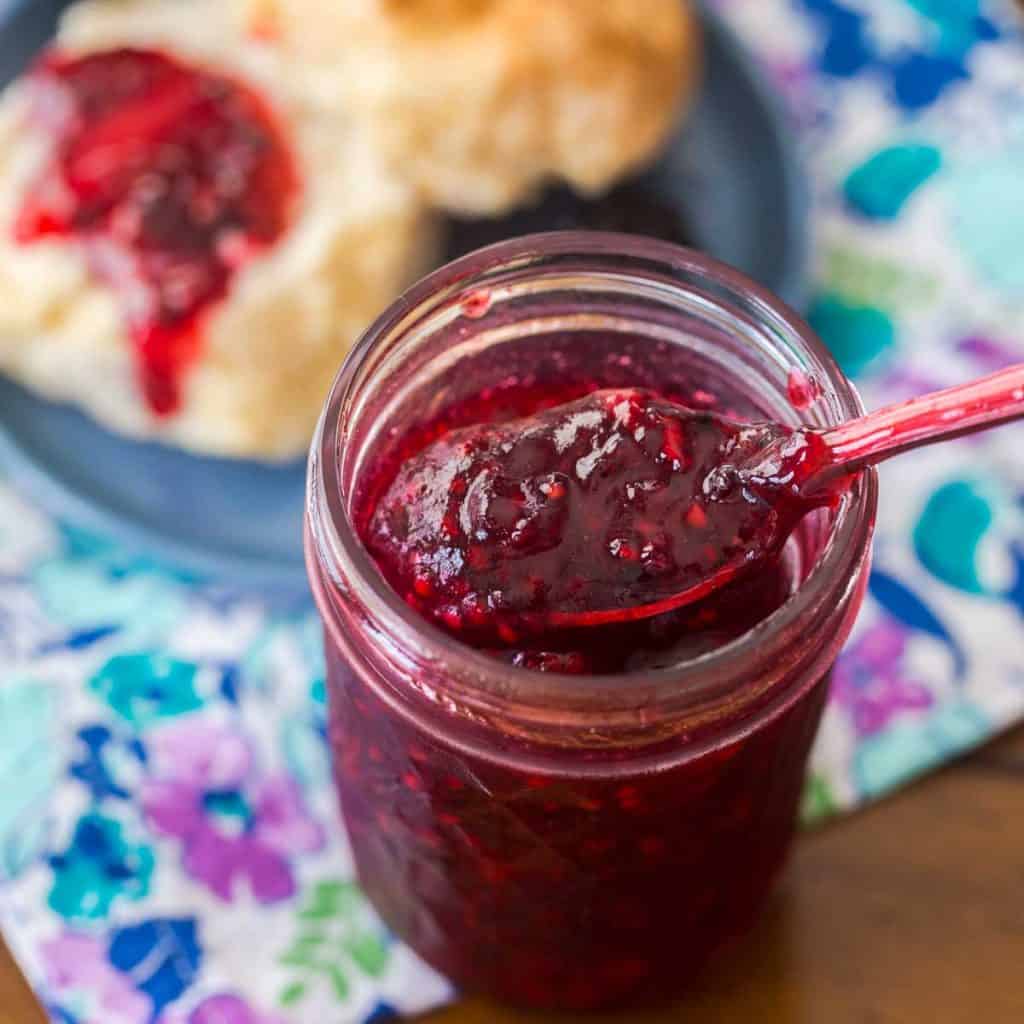
Cake Filling Options
If you want to make your birthday cake extra-special, you can incorporate an accent flavor by using something other than frosting to fill your layer cake between the layers.
Our family loves pineapple filling with a cream cheese frosting cake and shredded coconut.
But strawberry jam or blackberry jam would be utterly delicious too.

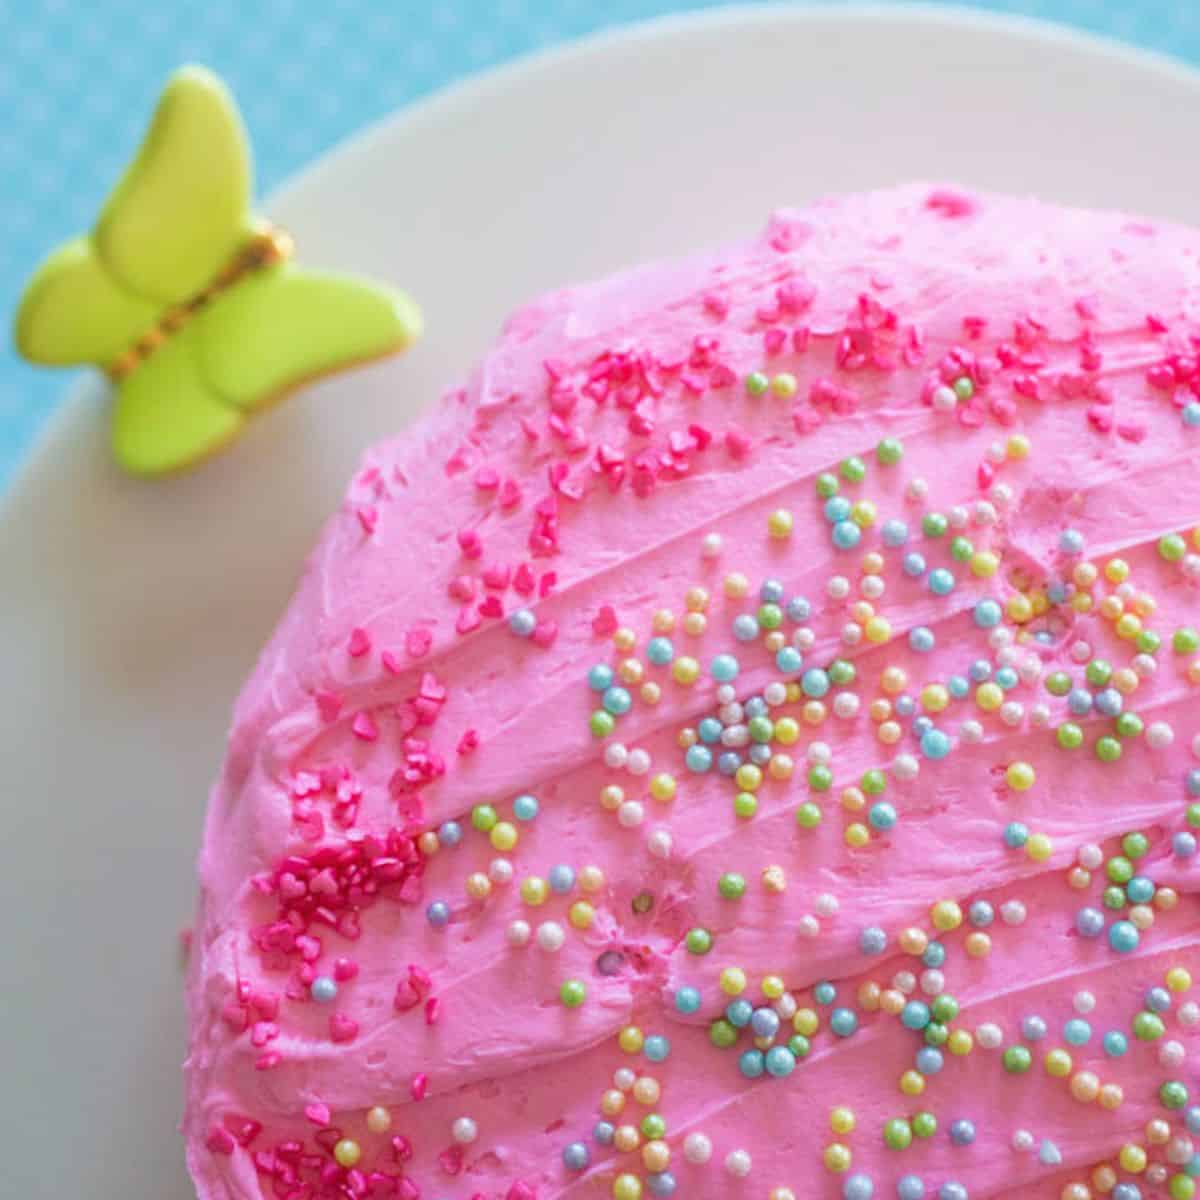
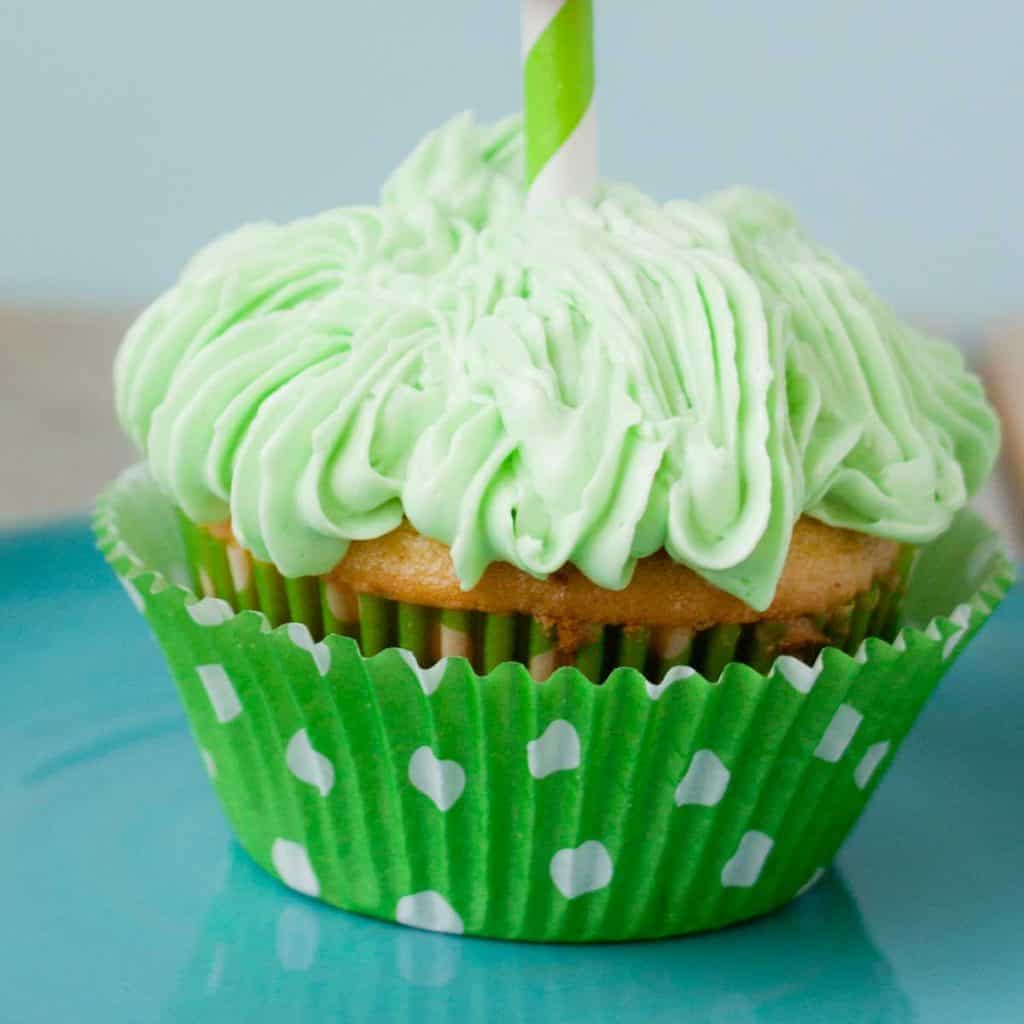
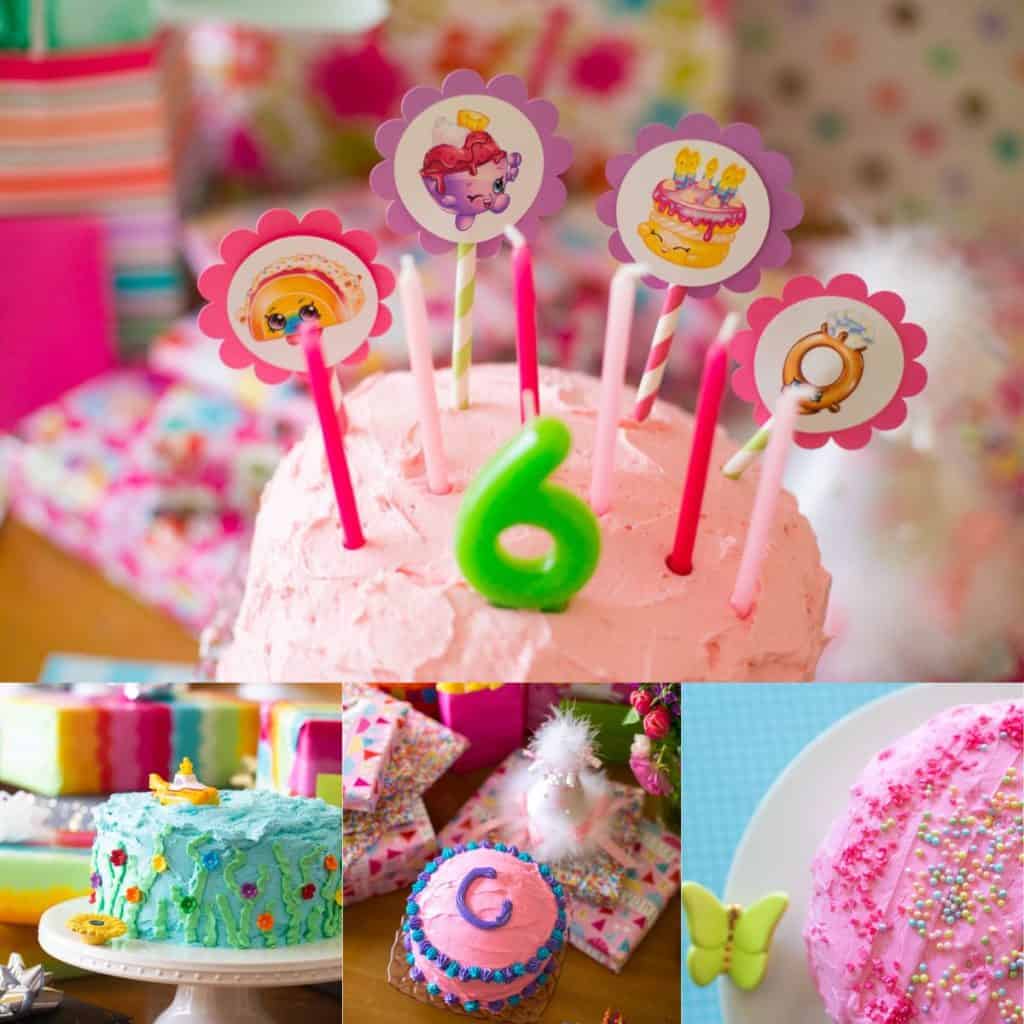
How to Decorate a Birthday Cake
This was my biggest hurdle and the one thing that kept me from baking homemade birthday cakes for too many years.
A gentle word of advice: Your kids adore you. They would much rather have a cake that you made just for them than one that looks like it is straight out of a magazine.
If you don't know how to use a frosting bag and piping tips, you can still have an utterly gorgeous homemade birthday cake just by using one of my 6 super-simple cake decorating tricks.
Let the Kids Help
The perfectionist in me tries my very best to make my homemade cakes look extra pretty for the birthday photos we take.
BUT, this is your kid's birthday cake. Let them help if they want to!
And yes, that even means letting them decorate it if that's what will make them happy for their big day.
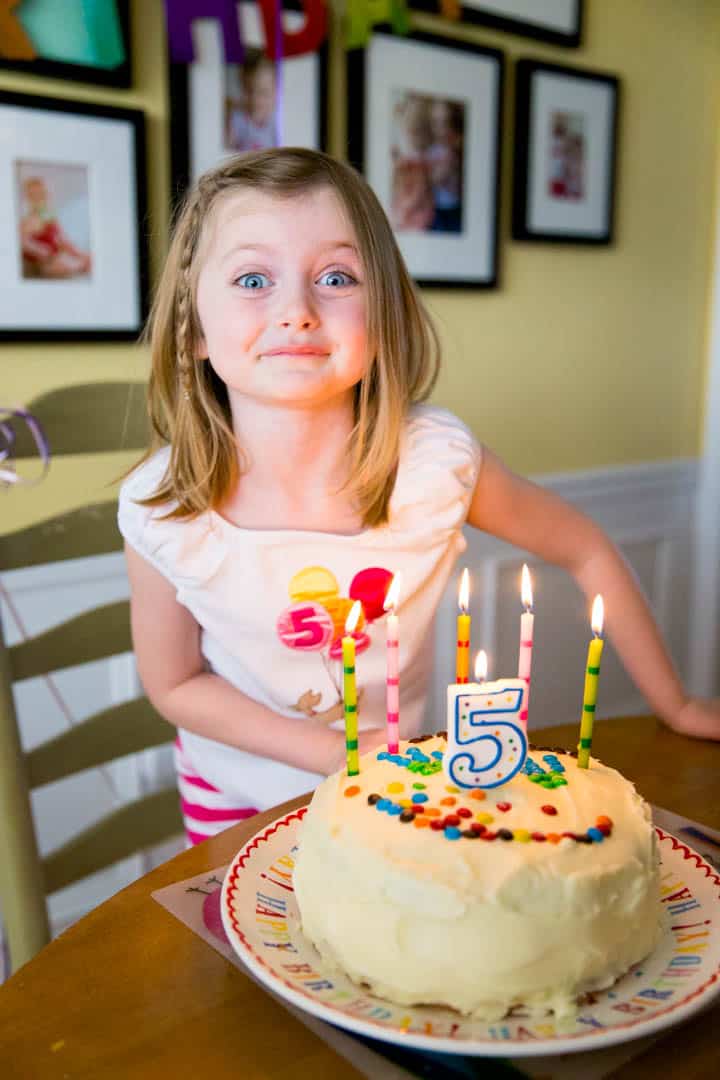
Look at that goofy grin from my 5 year old! All she wanted was to put the candies on top of the cake the way she wanted to. Best Birthday Cake Ever.
If your kids want to help with baking the cake, here are some of the tasks my little bakers loved doing most:
- "Butter shmooshing": Every cake has an Official Butter Shmoosher-er. Little Pea is the current expert. She loves to get her little hands into those pans to shmoosh the butter all around.
- Egg Cracking: Just let them crack one egg at a time into a separate bowl to avoid getting an extra "crunchy" cake.
- Measuring the oil and water: Learning to use the measuring cup and learning fractions is an added bonus!
- Hand mixing the batter: After a simple safety chat about NEVER touching the beaters, my girls LOVE being able to be in charge of making the batter itself.
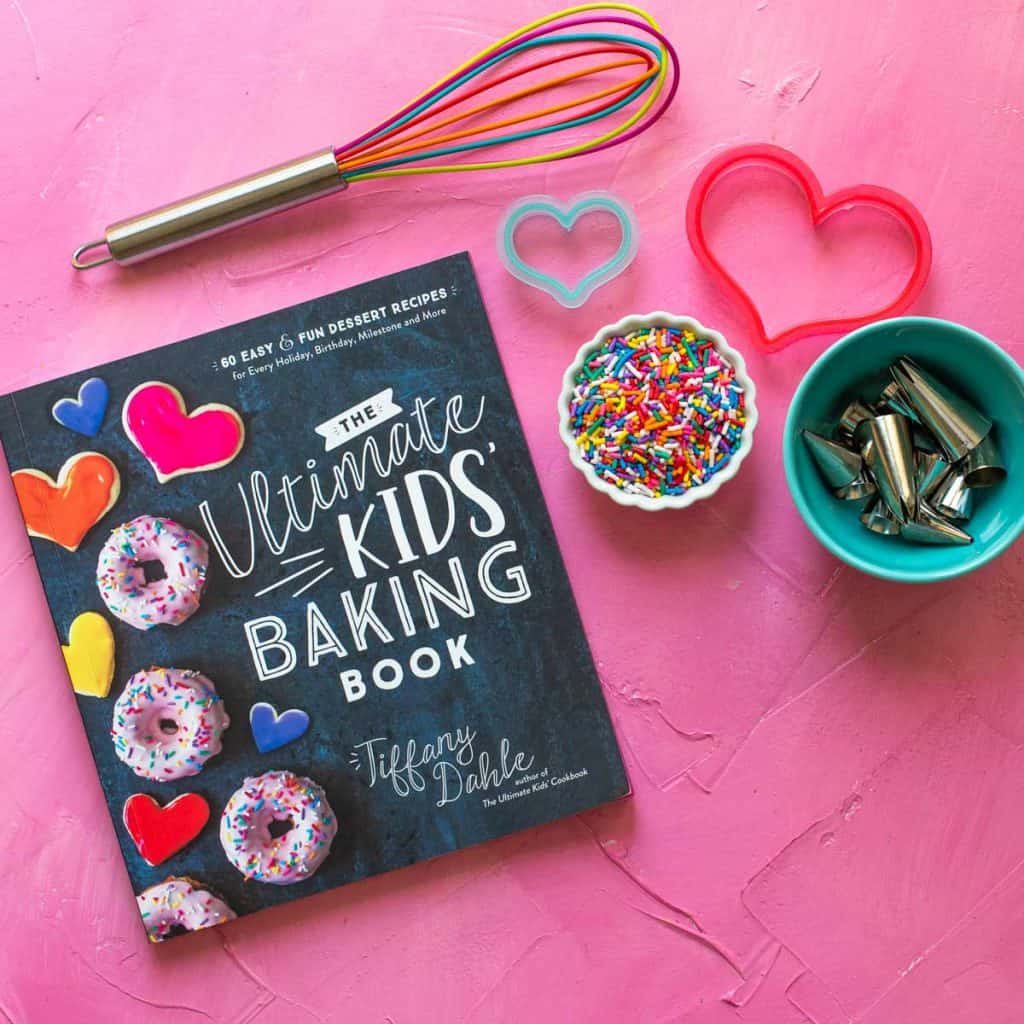
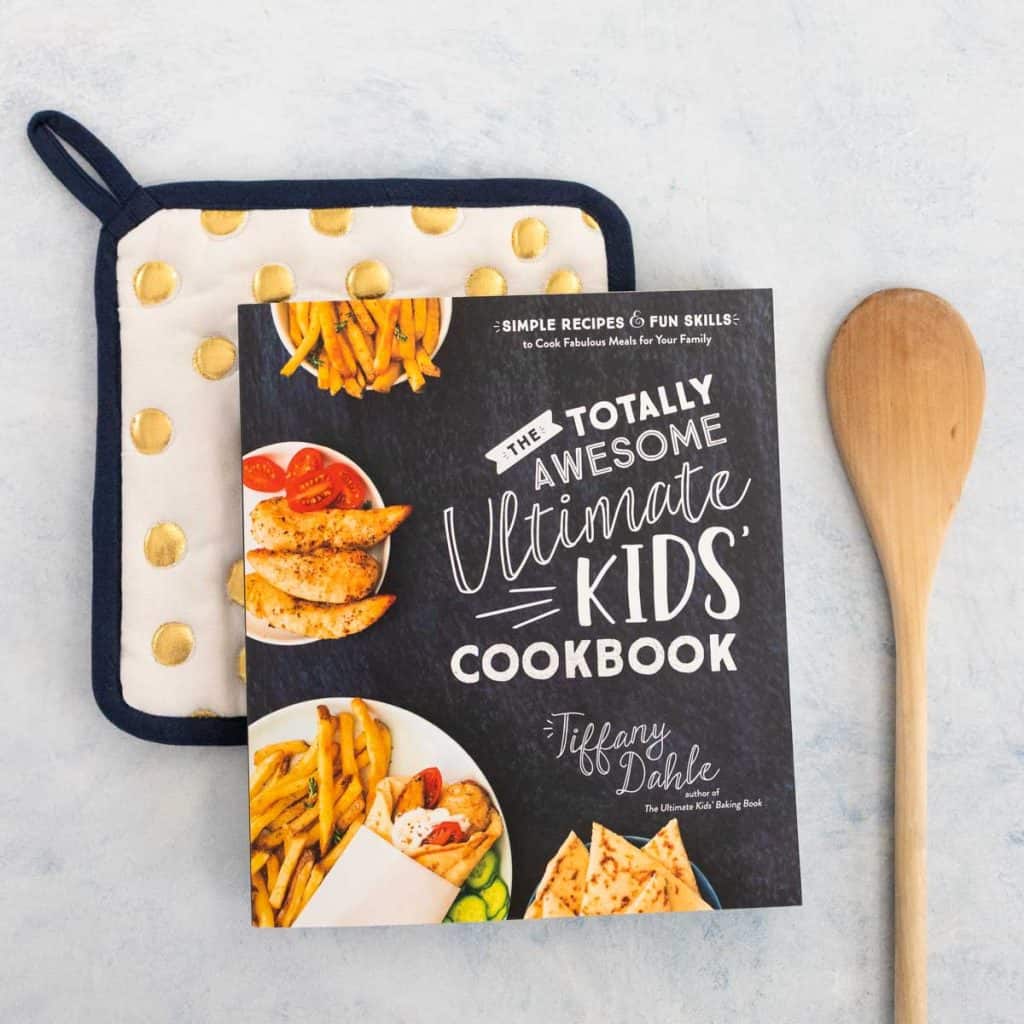
And if the kids want to bake the entire birthday cake all by themselves?? Then you won't want to miss the whole section of tips I included in The Ultimate Kids' Baking Book.
The chocolate layer cake with chocolate frosting and all the cake tips they need to make it on their own are just perfect.

Comments
No Comments