Easy Pretzels to Bake With Kids

This easy baked pretzels recipe for kids is the perfect first bread baking recipe for beginners. It is a great introduction to using yeast and makes such a delicious homemade snack for a party.
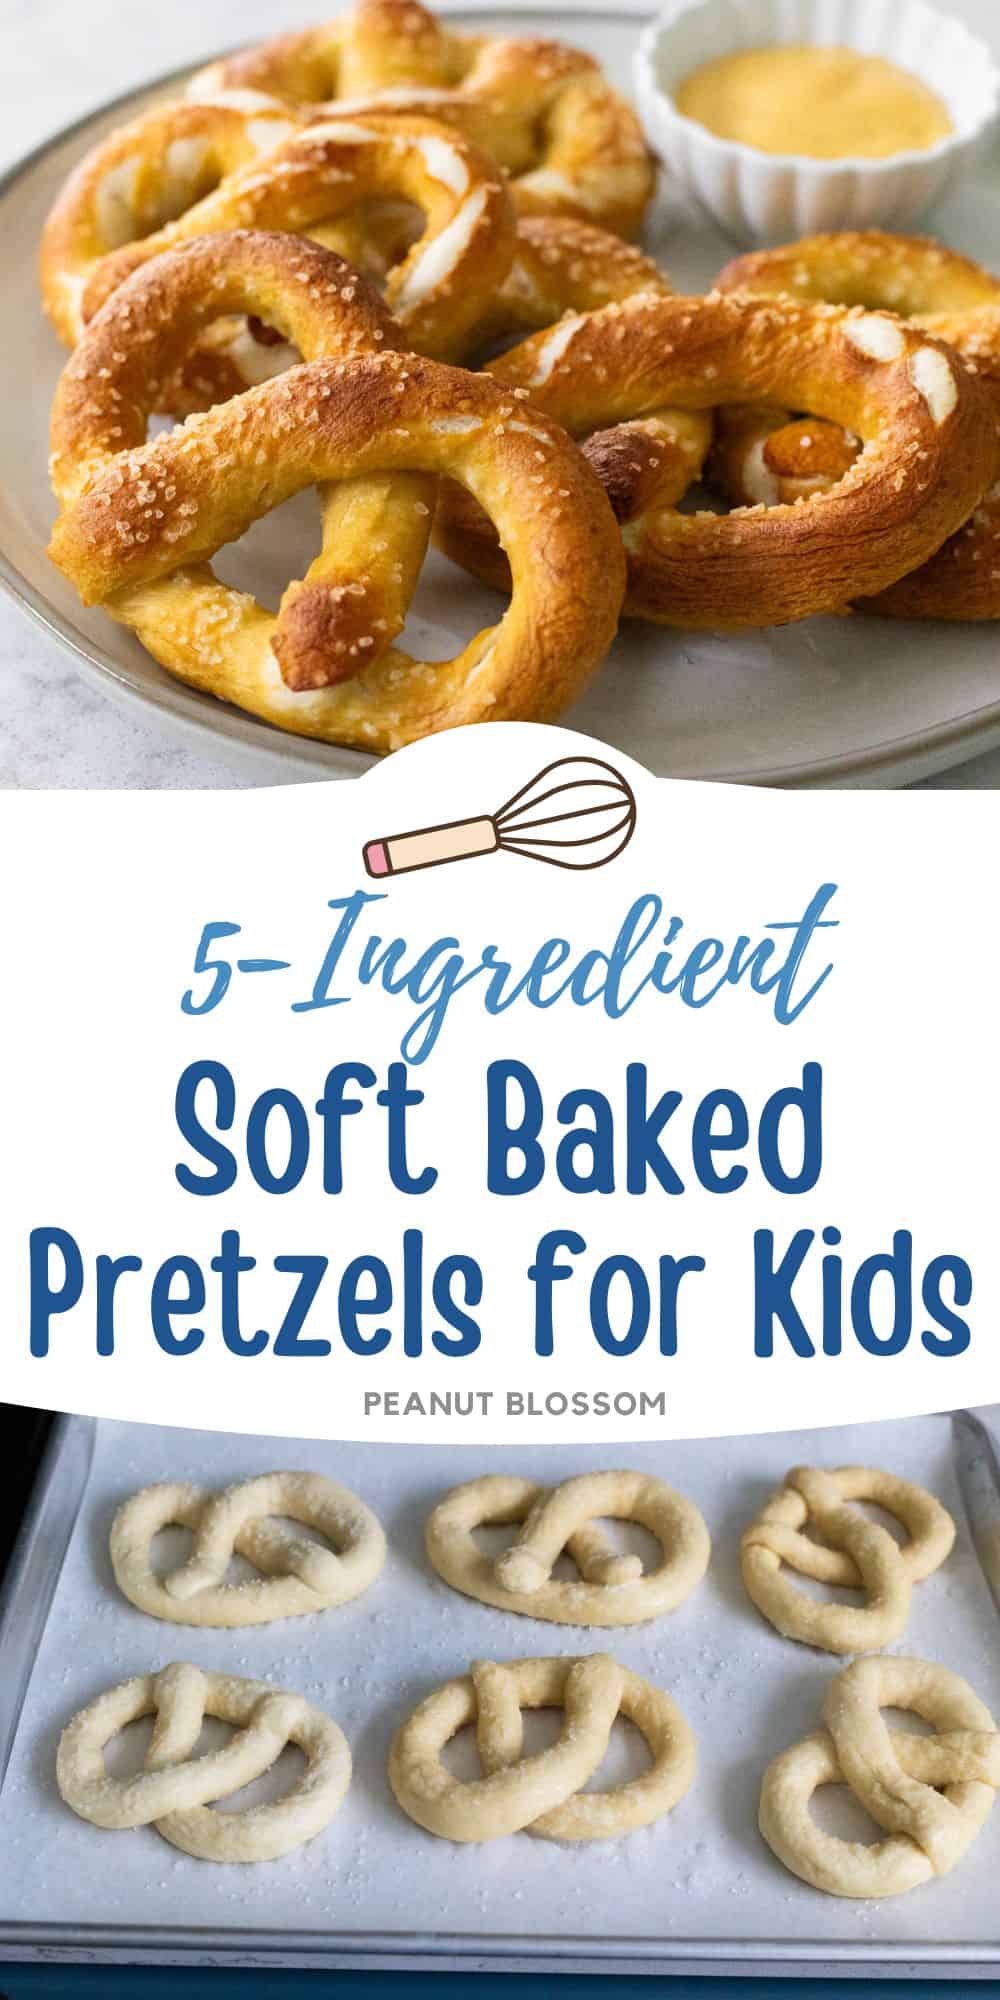
If you love to bake with kids like I do, this easy soft baked pretzel recipe needs to be added to your list asap!
During the year we homeschooled my younger daughter, I was always looking for educational projects we could do together in the kitchen.
We decided to try our hand at rolling up a batch of homemade pretzels because I thought she'd enjoy seeing one of our favorite snacks get made from scratch.
She had SO much fun channeling her inner Bavarian maiden and very quickly became the family expert in the proper shaping of pretzels. It was one of the most fun baking sessions we ever had together.
This simple 5-ingredient recipe gets prepared in a stand mixer and doesn't require rising time. The pretzels bake in just 10 minutes so it is the perfect thing to bake together this weekend.
Why This is the Best Recipe
I love baking with my family but I think this is the best baked pretzel recipe for kids because:
- Easy Ingredients: The recipe is very simple and only requires 5 ingredients to make it. You probably have everything you need on hand now.
- Intro to Yeast: This is a great way to teach kids about yeast without the need for waiting for the dough to rise.
- Fun to Roll: The dough is perfect for the kids to shape and roll into pretzels.
- Super Delicious: The hardest part will be waiting for the pretzels to finish baking, you will be so excited to dig in.
Ingredients
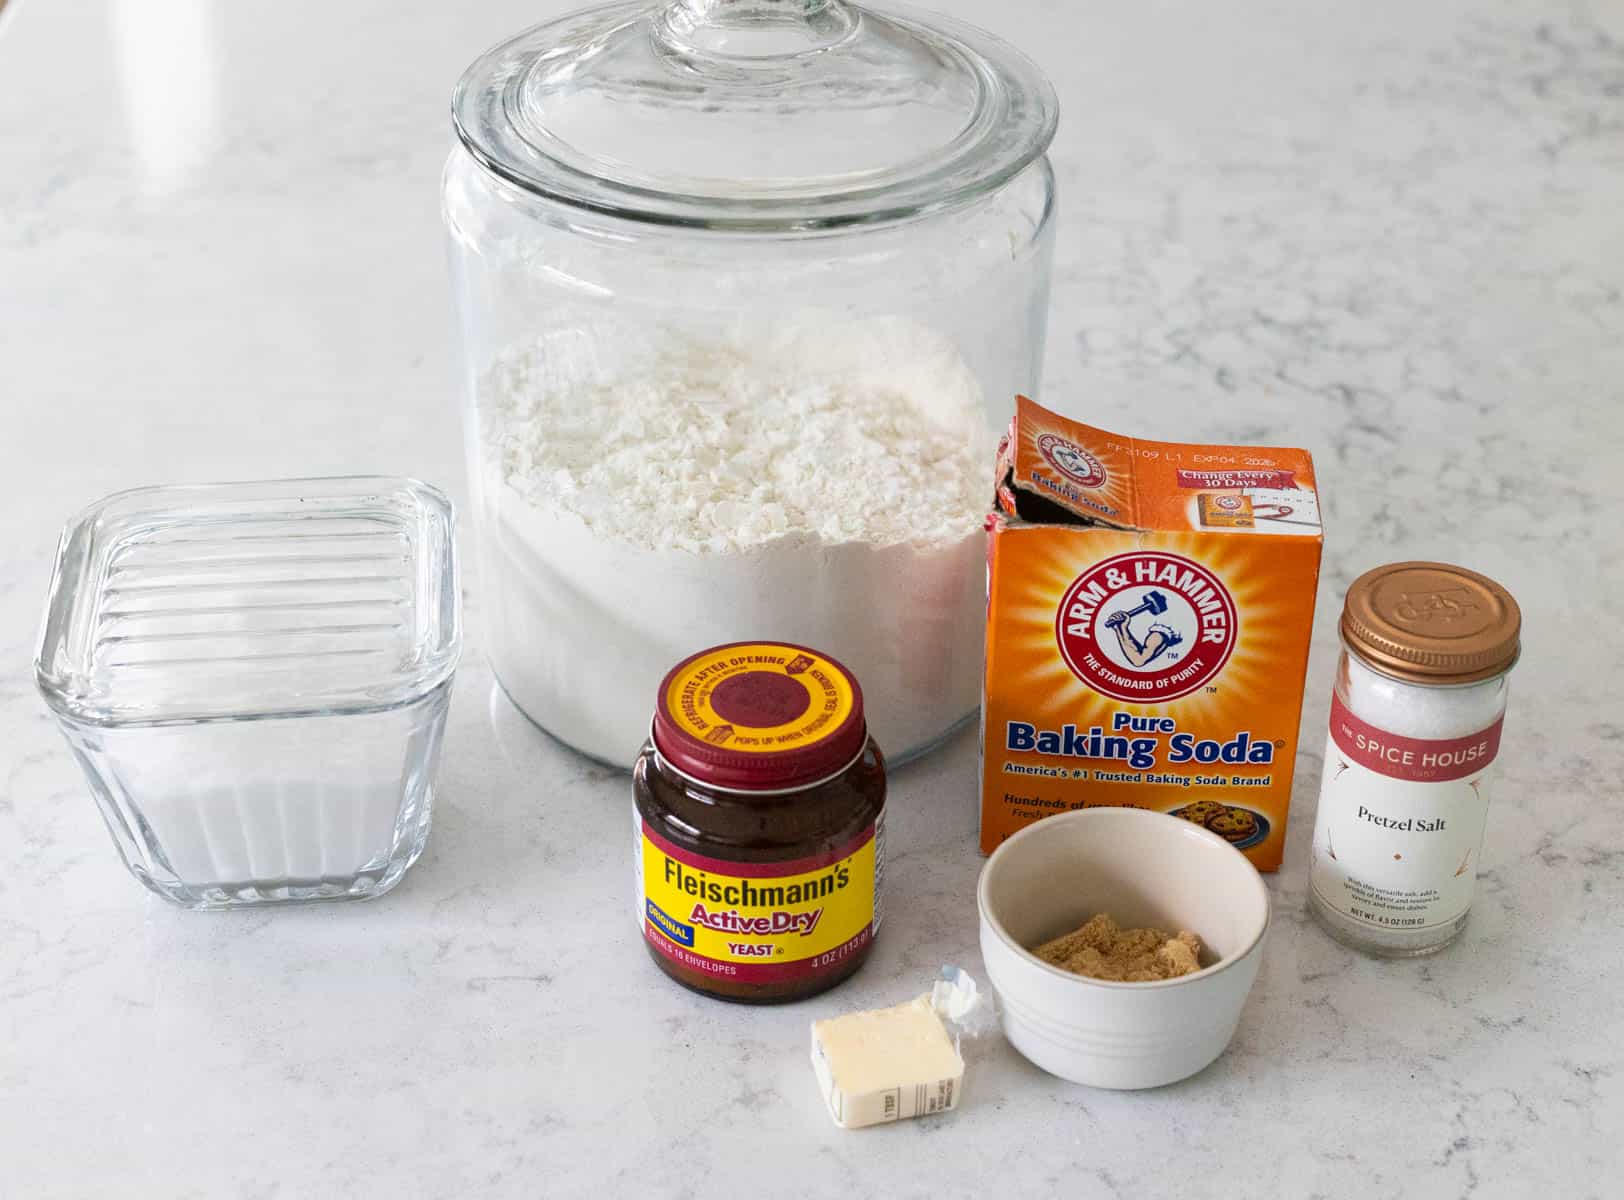
This wholesome recipe has just 5 ingredients!
- Active Dry Yeast
- All-Purpose Flour
- Brown Sugar
- Butter
- Kosher Salt
- Baking Soda: For the water bath
Tips for Baking with Kids
- Divide the Work: Give everyone a role and a chance to help, there are many steps that could be easily divided up among the kids.
- Everyone Rolls Pretzels: The dough makes 12 portions for pretzels. Let each kid roll their own.
- Grown-Up Does the Water Bath: The only step to be super-careful with is the boiling water bath.
Want to Save This for Later?
Prepare the Dough
Despite the fact that the pretzels have yeast, they don't really need to rise like traditional bread. There's just a brief 10-minute period that the dough rests before shaping.
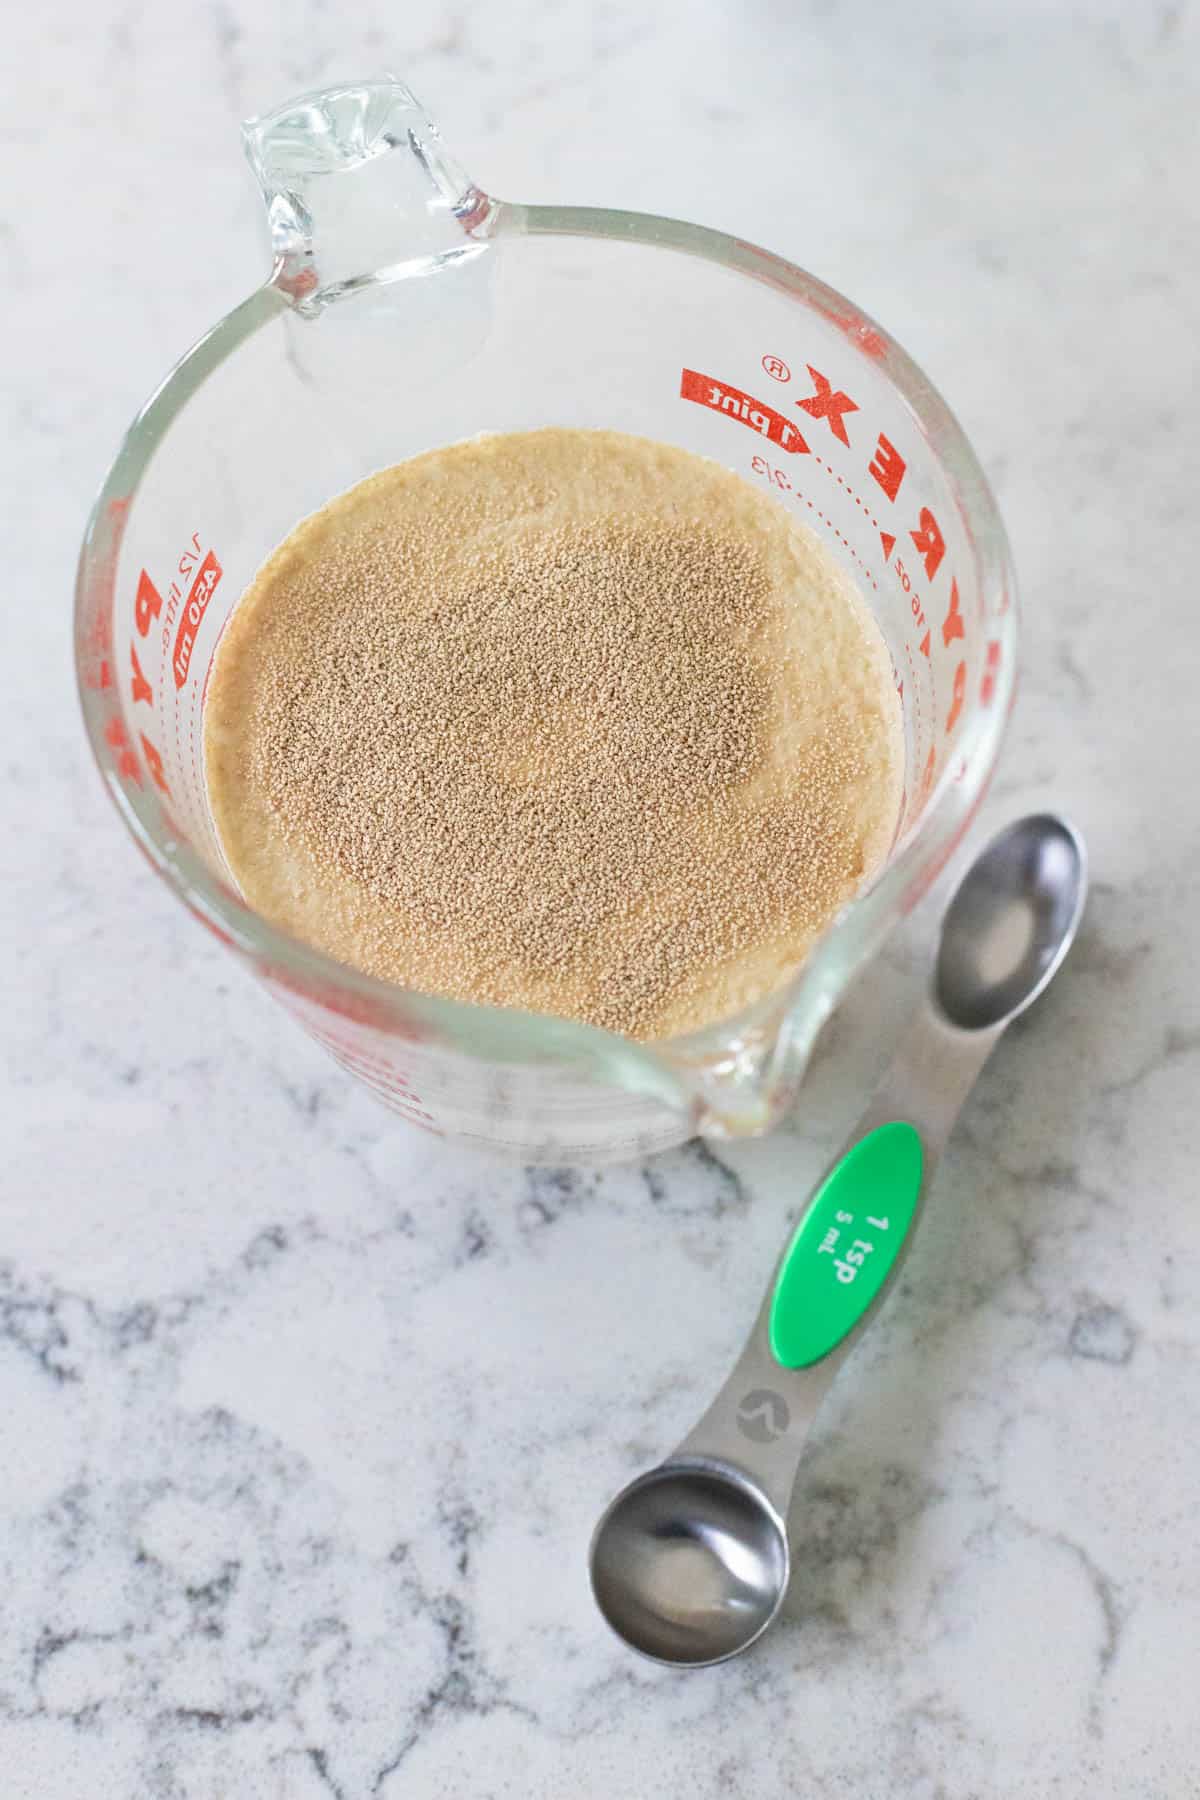
To help things along, measure a cup and a half of warm water, no need to test the temperature, and sprinkle the yeast over the top. Mix it in with a fork and let it rest for 1 minute before adding it to the mixer.
Add the brown sugar, kosher salt, and melted butter to the bowl of a stand mixer. Whisk them together quickly with a fork.
Then pour in the yeasted water and whisk it again with your fork.
Place the bread hook attachment on the mixer and add just 3 cups of the flour, 1 cup at a time. Mix the flour in with the bread hook before adding the next cup.
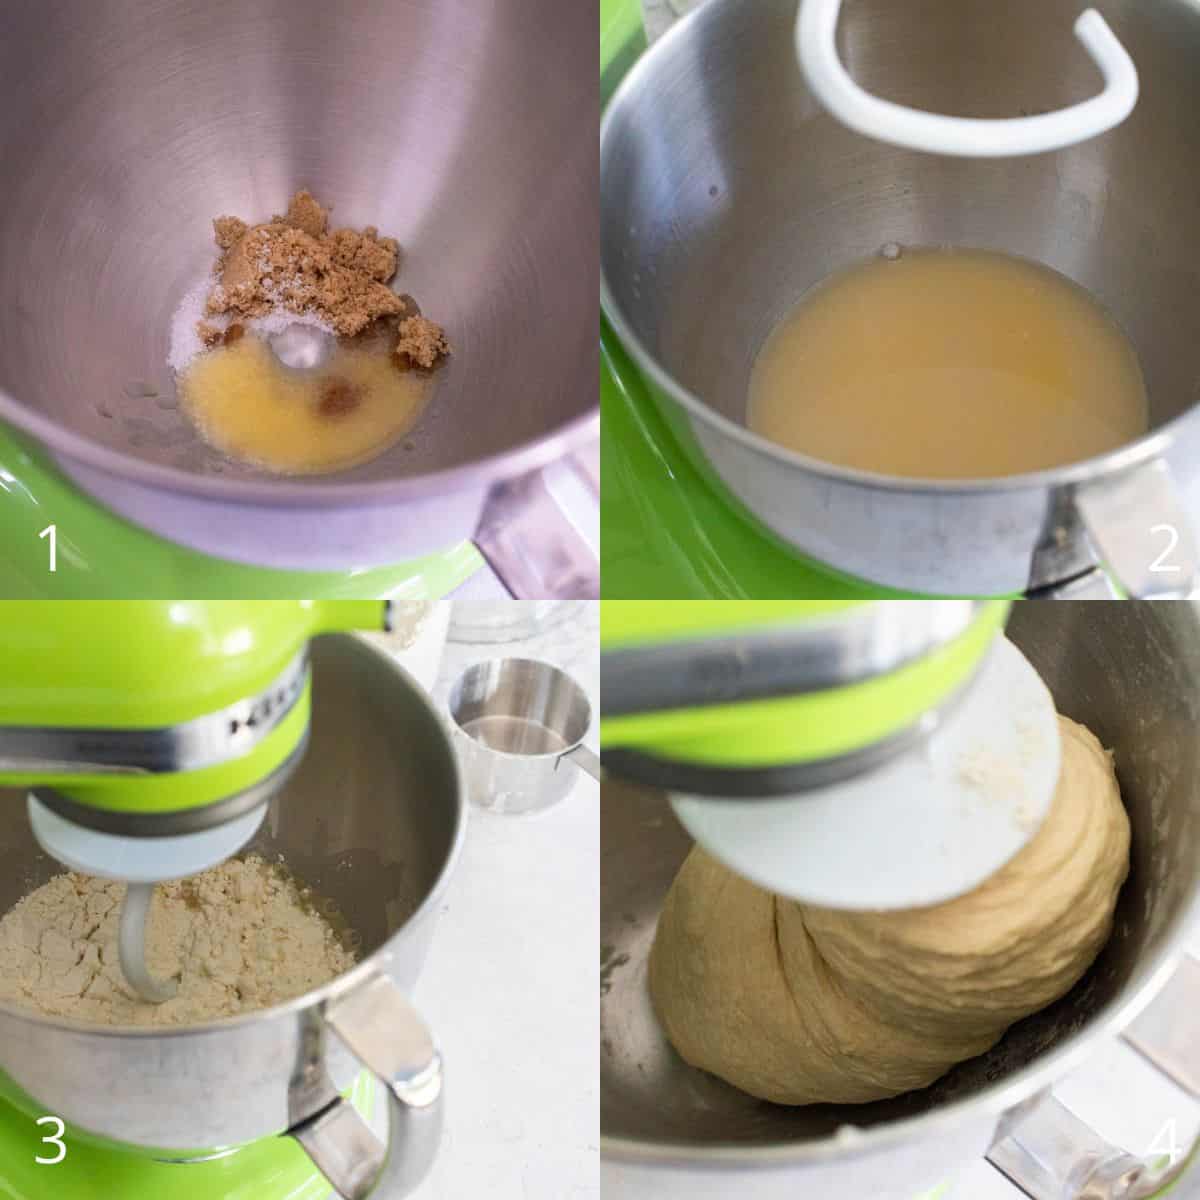
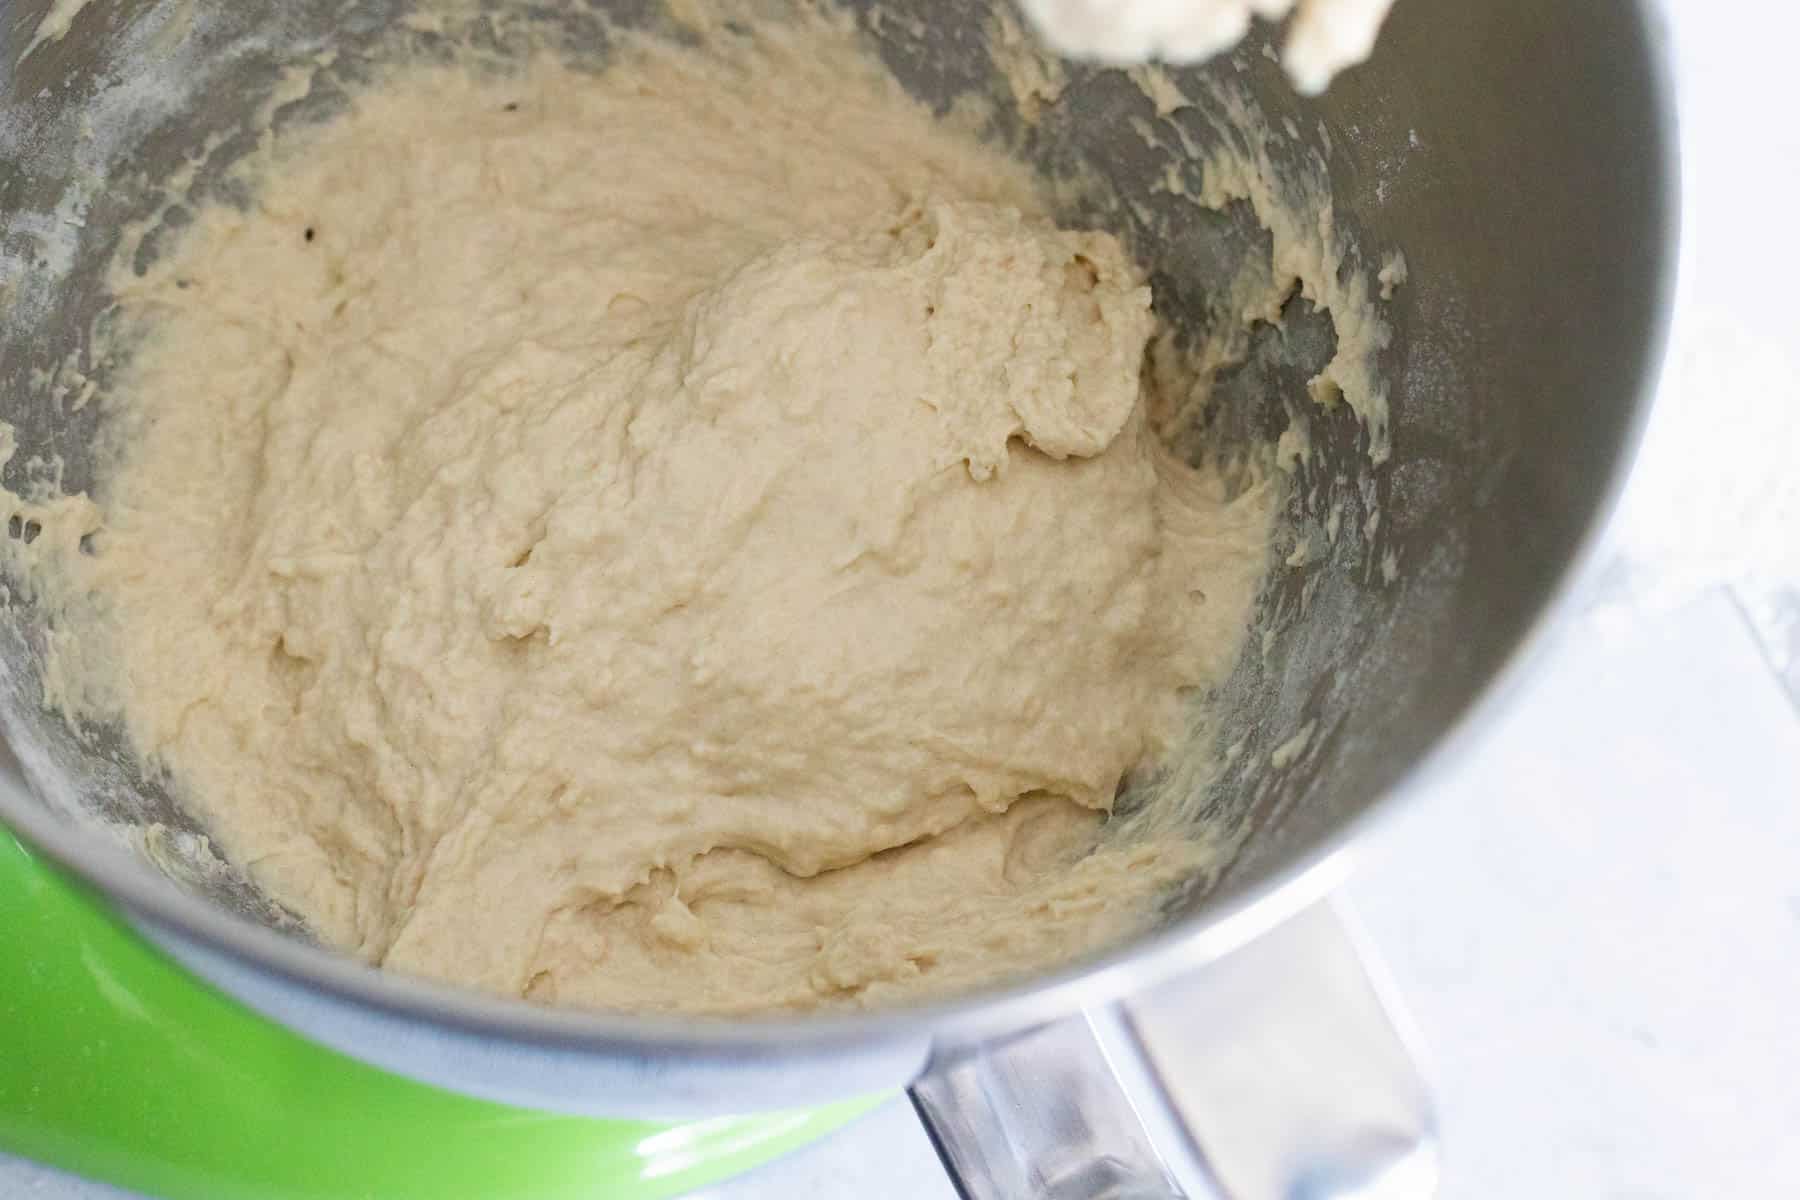
The dough will start out very sticky and will cling to the sides of the bowl. Add additional flour, just 1/4 cup at a time and mix it in. Watch for the dough to form a more solid shape that doesn't cling to the sides of the bowl. You may not need the entire fourth cup of flour.
Here's a close-up of the dough while it is still far to wet and sticky:
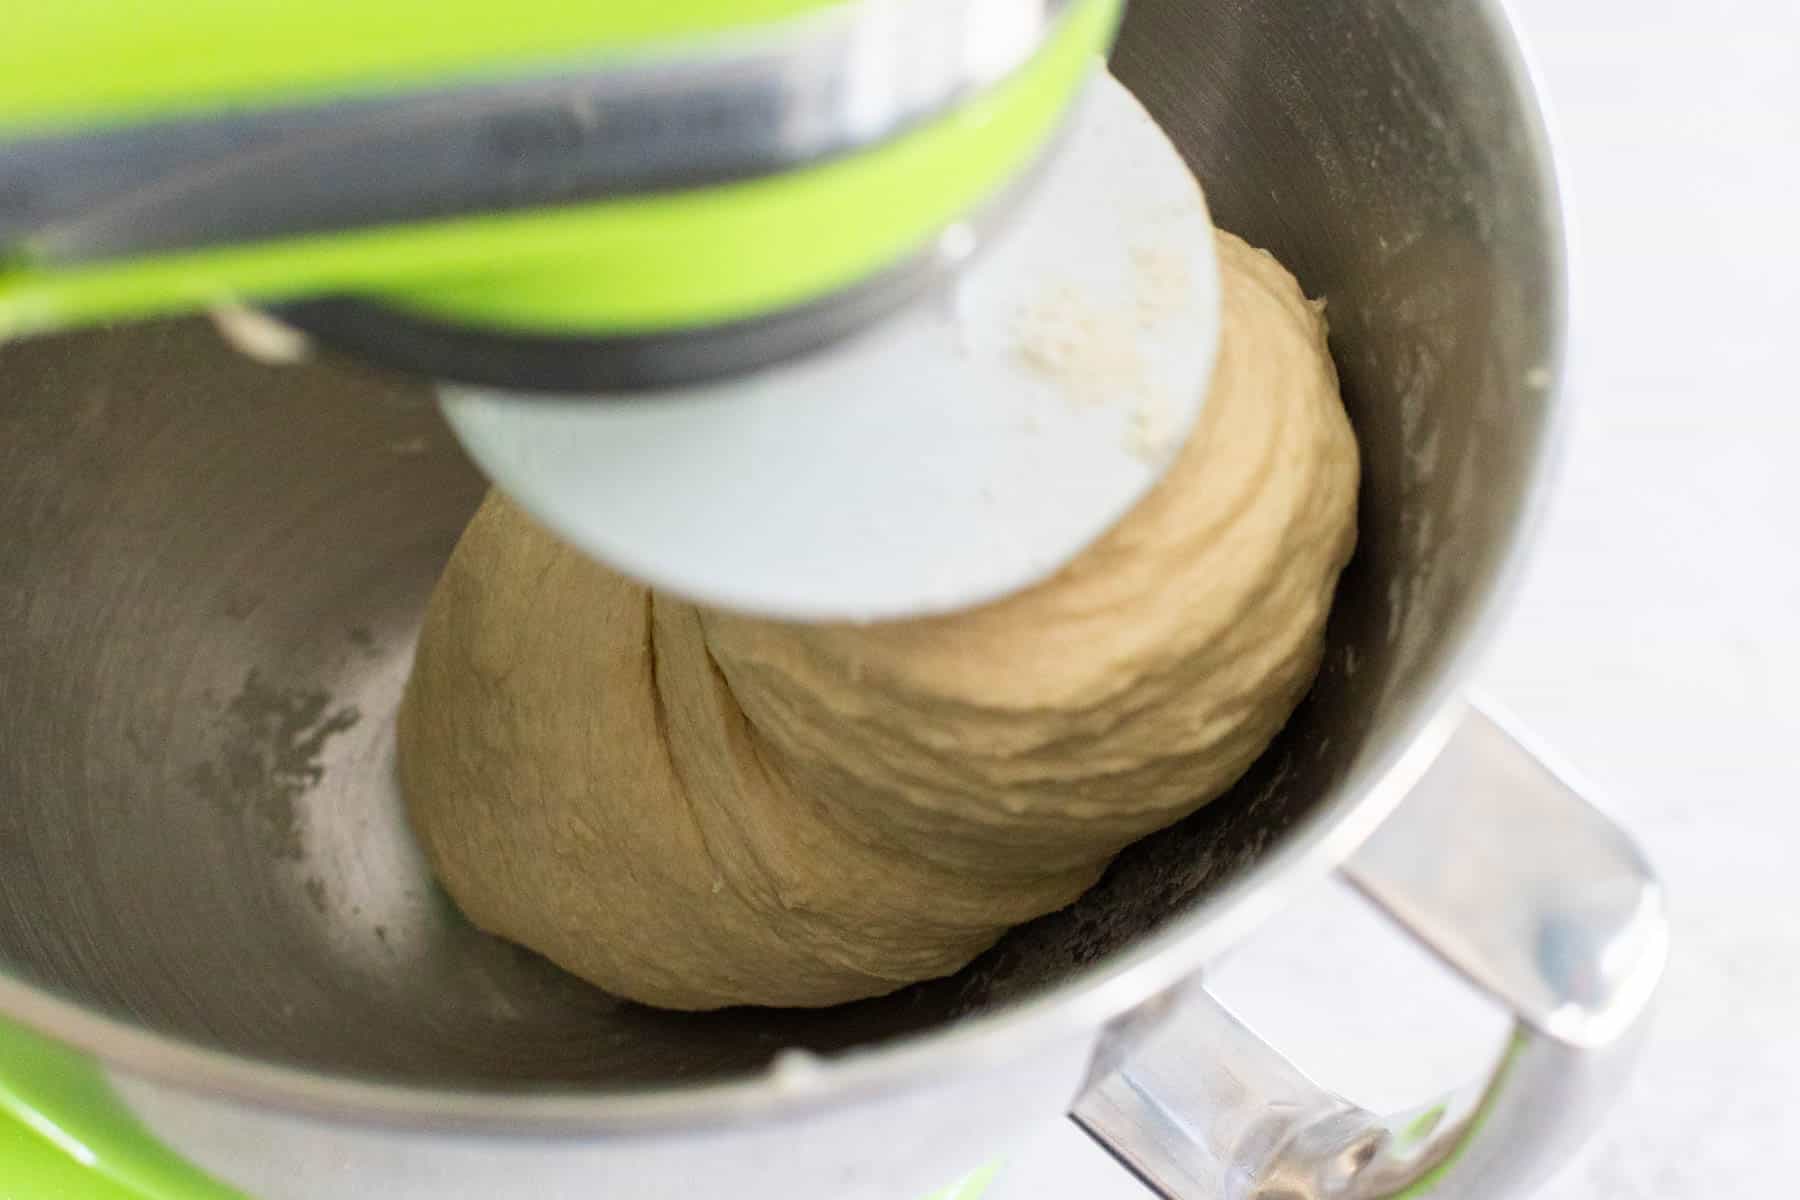
Here's a close up of the dough when it has reached the right texture:
Knead the Dough
Transfer the pretzel dough to a floured surface and knead it for 3 minutes.
As you knead it, watch the texture of the dough. If it is clinging to your fingers and making your hands messy, it needs a little more flour. You can sprinkle in a tablespoon more of flour at a time as you knead it if necessary.
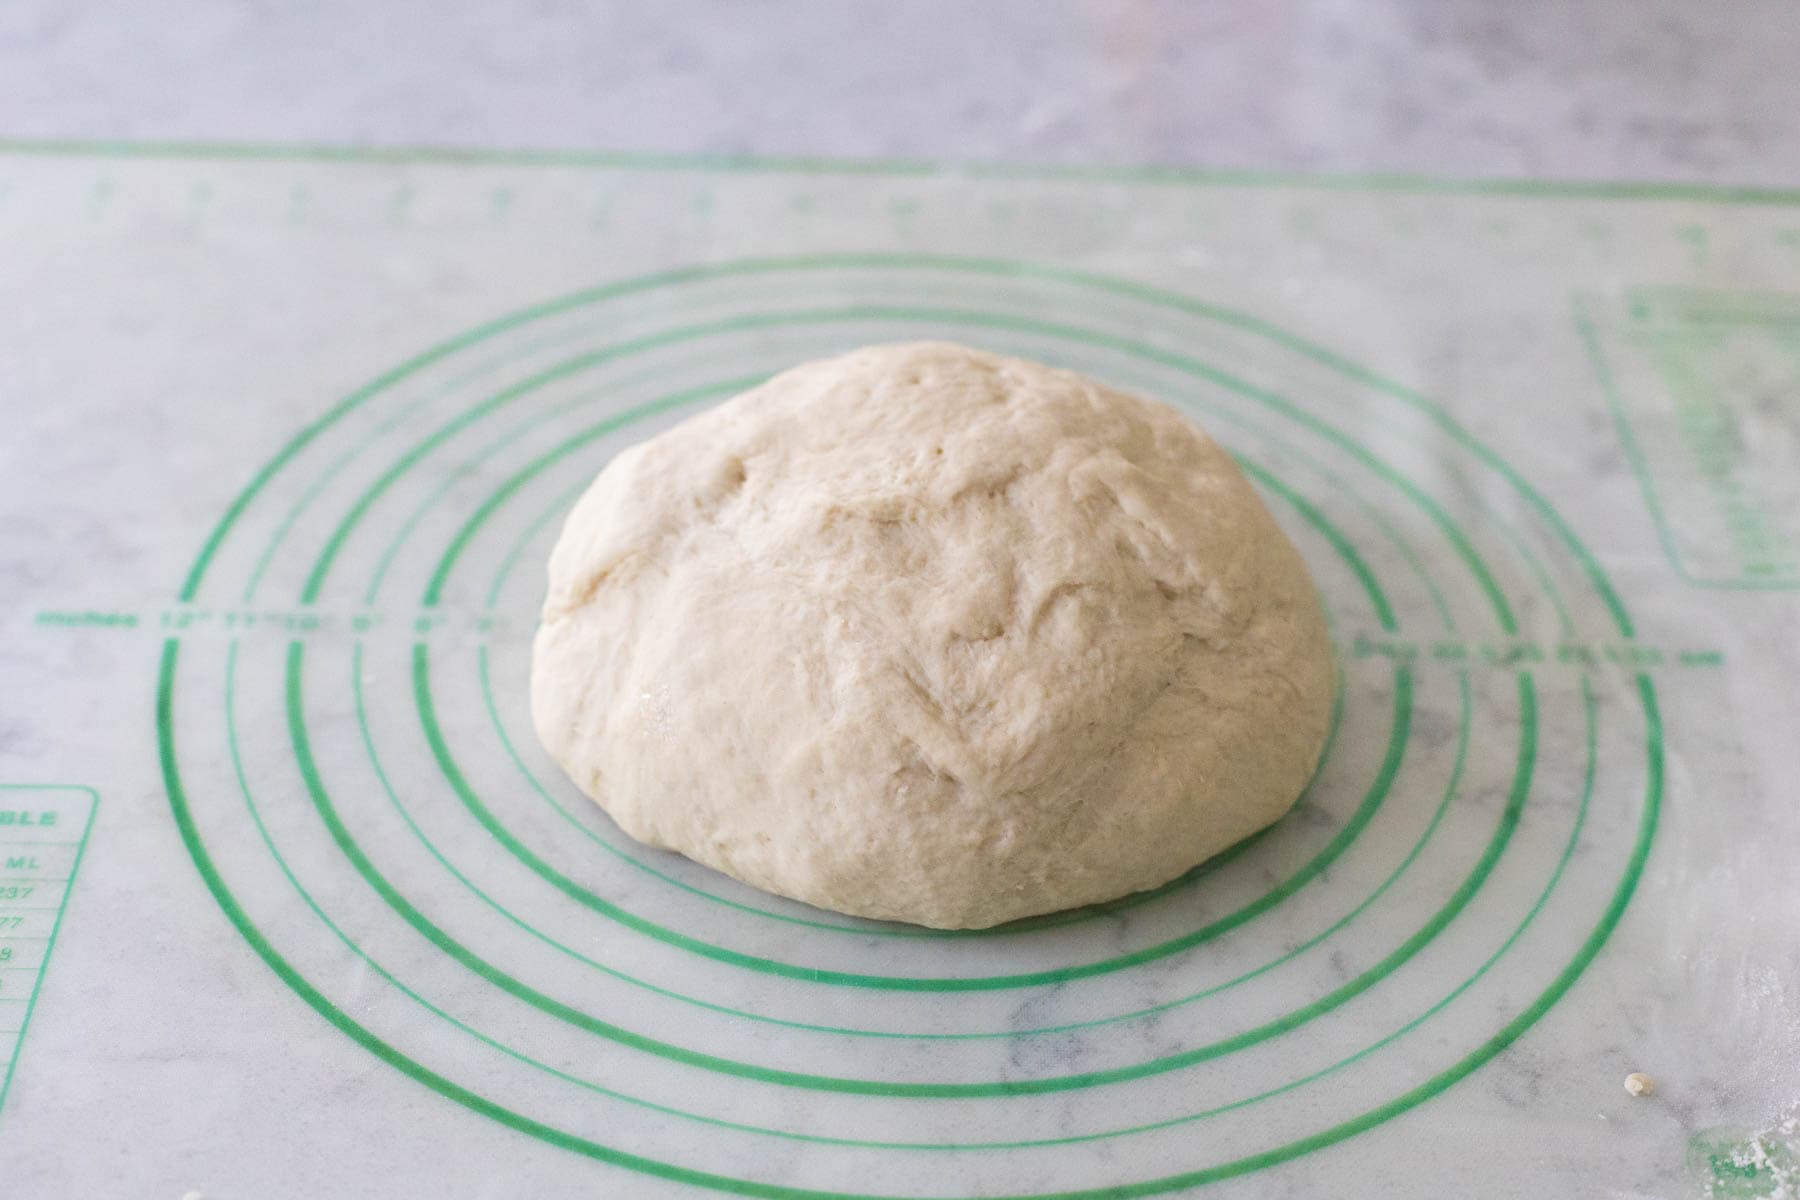
Shape the dough into a ball and cover with slightly dampened paper towels to keep the dough from drying out. Let it rest for 10 minutes.
Roll the Pretzels
Evenly divide the dough into 12 portions.
Give each kid an equal amount of dough balls for rolling. Adult helper takes any spares to keep it even.
Then roll and shape each pretzel. The kids will have SO much fun with this part.
Roll each portion of dough into a long snake shape. Then pull the two ends towards the middle like Photo #2:

Pull the two ends down and cross them to finish the pretzel shape. Pinch them into place.
When you're ready for the next step, you'll transfer each shaped pretzel to a slotted spoon and boil them one at a time. It is easiest to bring the spoon to the rolling mat so the pretzel shape holds.
NOTE: The pretzel dough dries out quickly in the open air. To keep the dough nice and soft as you boil the pretzels in batches, cover the shaped pretzels with slightly dampened paper towels until it is their turn in the water bath.
Prepare the Water Bath
The key to that golden brown crunchy exterior of the pretzels is a brief dunk in a boiling water bath with baking soda.
SAFETY NOTE!: Be sure to add the baking soda to the water BEFORE you bring it to a boil. I once mistakenly added it to already-boiling water and it was practically a volcanic explosion on my stovetop! Never again.
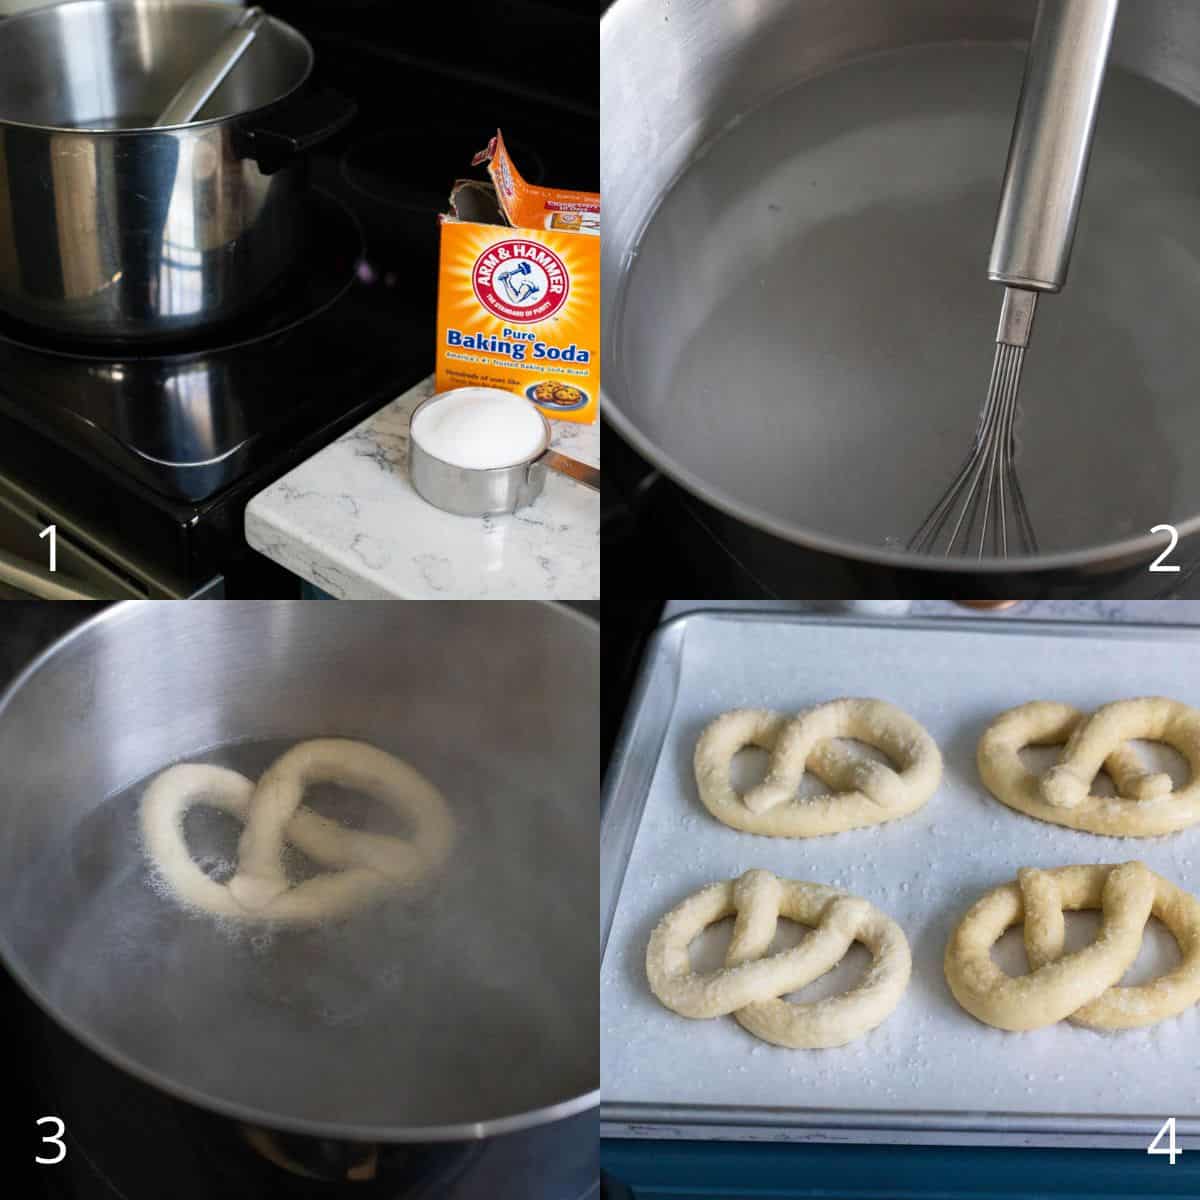
Be sure the adult is the one to do the water bath dunking. Use a slotted spoon to place each rolled pretzel into the water for just 20 - 30 seconds. Scoop it out of the water, drain it off, and place it on a prepared baking sheet lined with parchment paper.
The kids can sprinkle kosher salt over the top of each pretzel while they are still damp from the water bath.
From the time we started to the time we had the last pan washed, I really only think the pretzels took an hour and a half to bake. They were such a fun experience and the kids think they taste better than anything we've gotten at the grocery store!
Baking Instructions
Preheat the oven to 400°F.
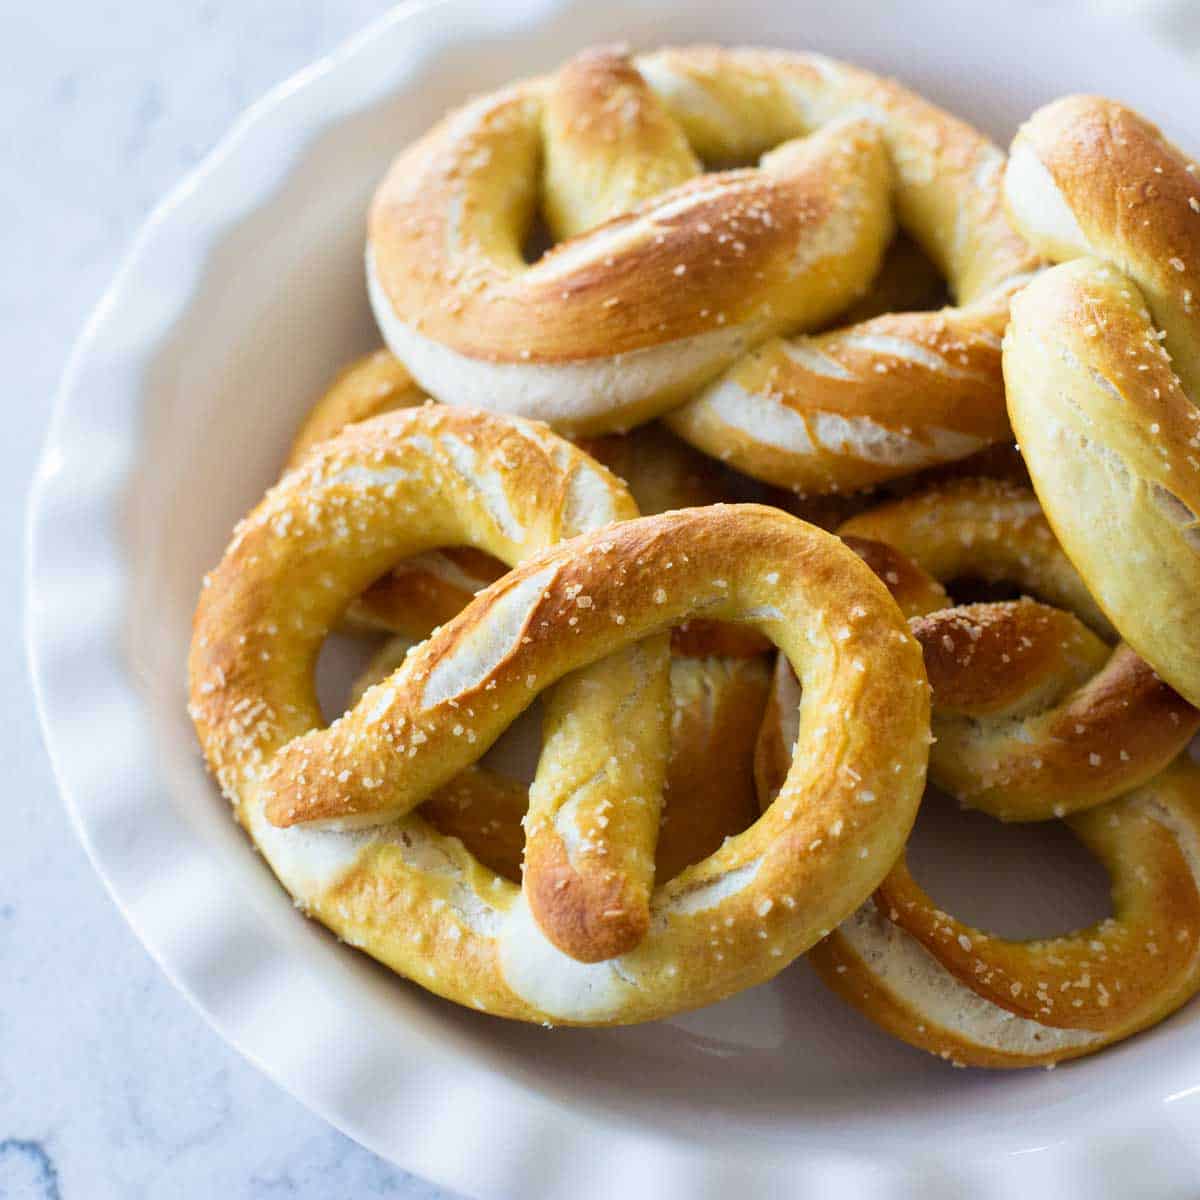
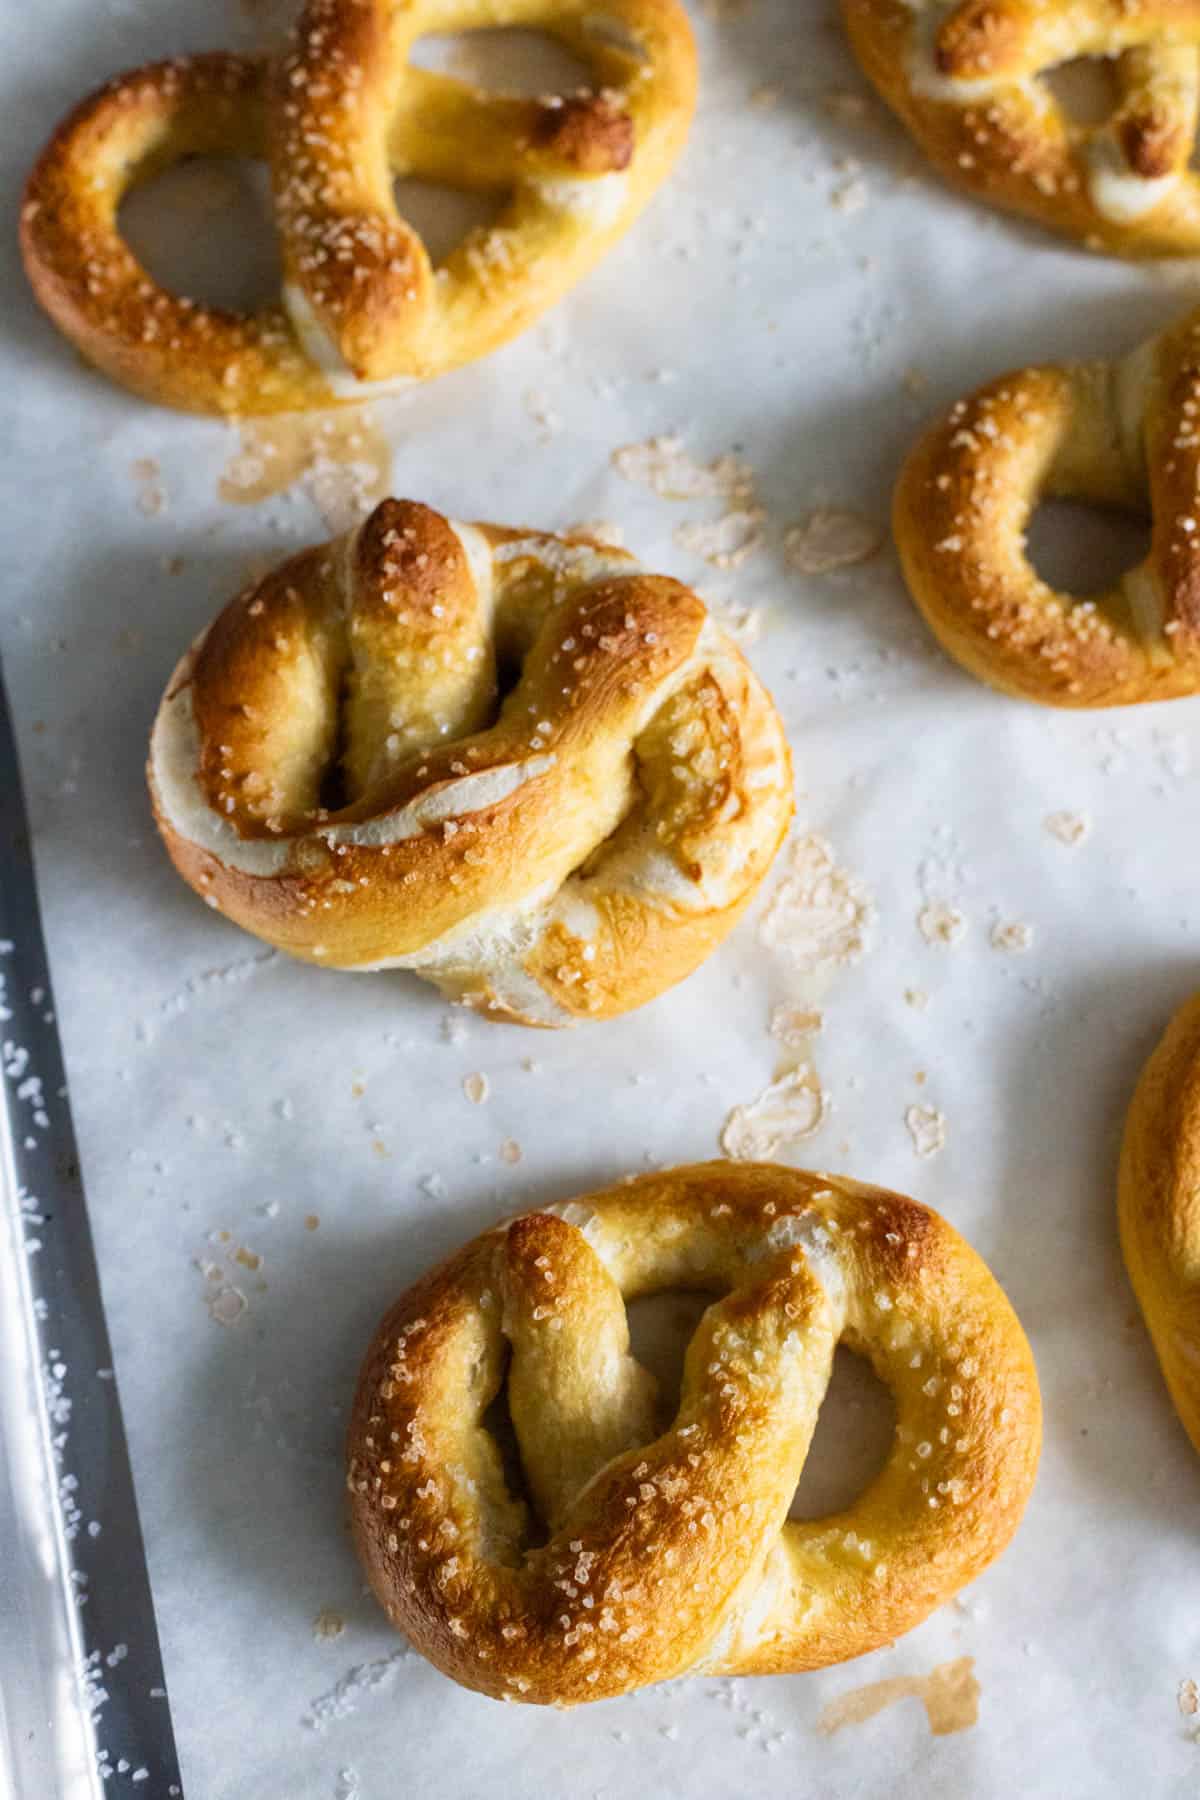
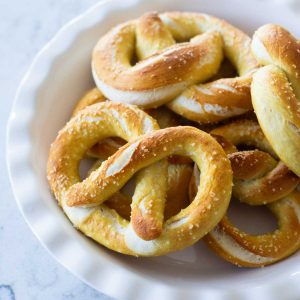
Bake the pan of pretzels for 10 - 12 minutes or until they are a gorgeous golden brown like this:
Make Ahead Tips for Teachers
If you want to use this soft baked pretzels recipe for kids in your classroom, you can prepare the pretzel dough in advance.
Place the pretzel dough in a mixing bowl and put plastic wrap over it to keep it fresh. You will want to knead it briefly before shaping.
You'll still need access to boiling water for the water bath but you could bake the pretzels in a convection oven or possibly even an air fryer if you don't have access to a full oven.
Without the water bath, the pretzels will still taste good but they will be very pale and won't have that crispy outer coating, they'll be closer in texture to a bread roll. It could still be a fun activity for kids though.
Bread Machine Variation
One of my very favorite recipes from The Ultimate Bread Machine Cookbook is how to turn a basic pretzel dough recipe into four different pretzel flavors for an Epic Party Pretzel Platter.
All four flavors get bake on one pan at the same time. So fun! You can find the recipe on page 133.
Serving Suggestions
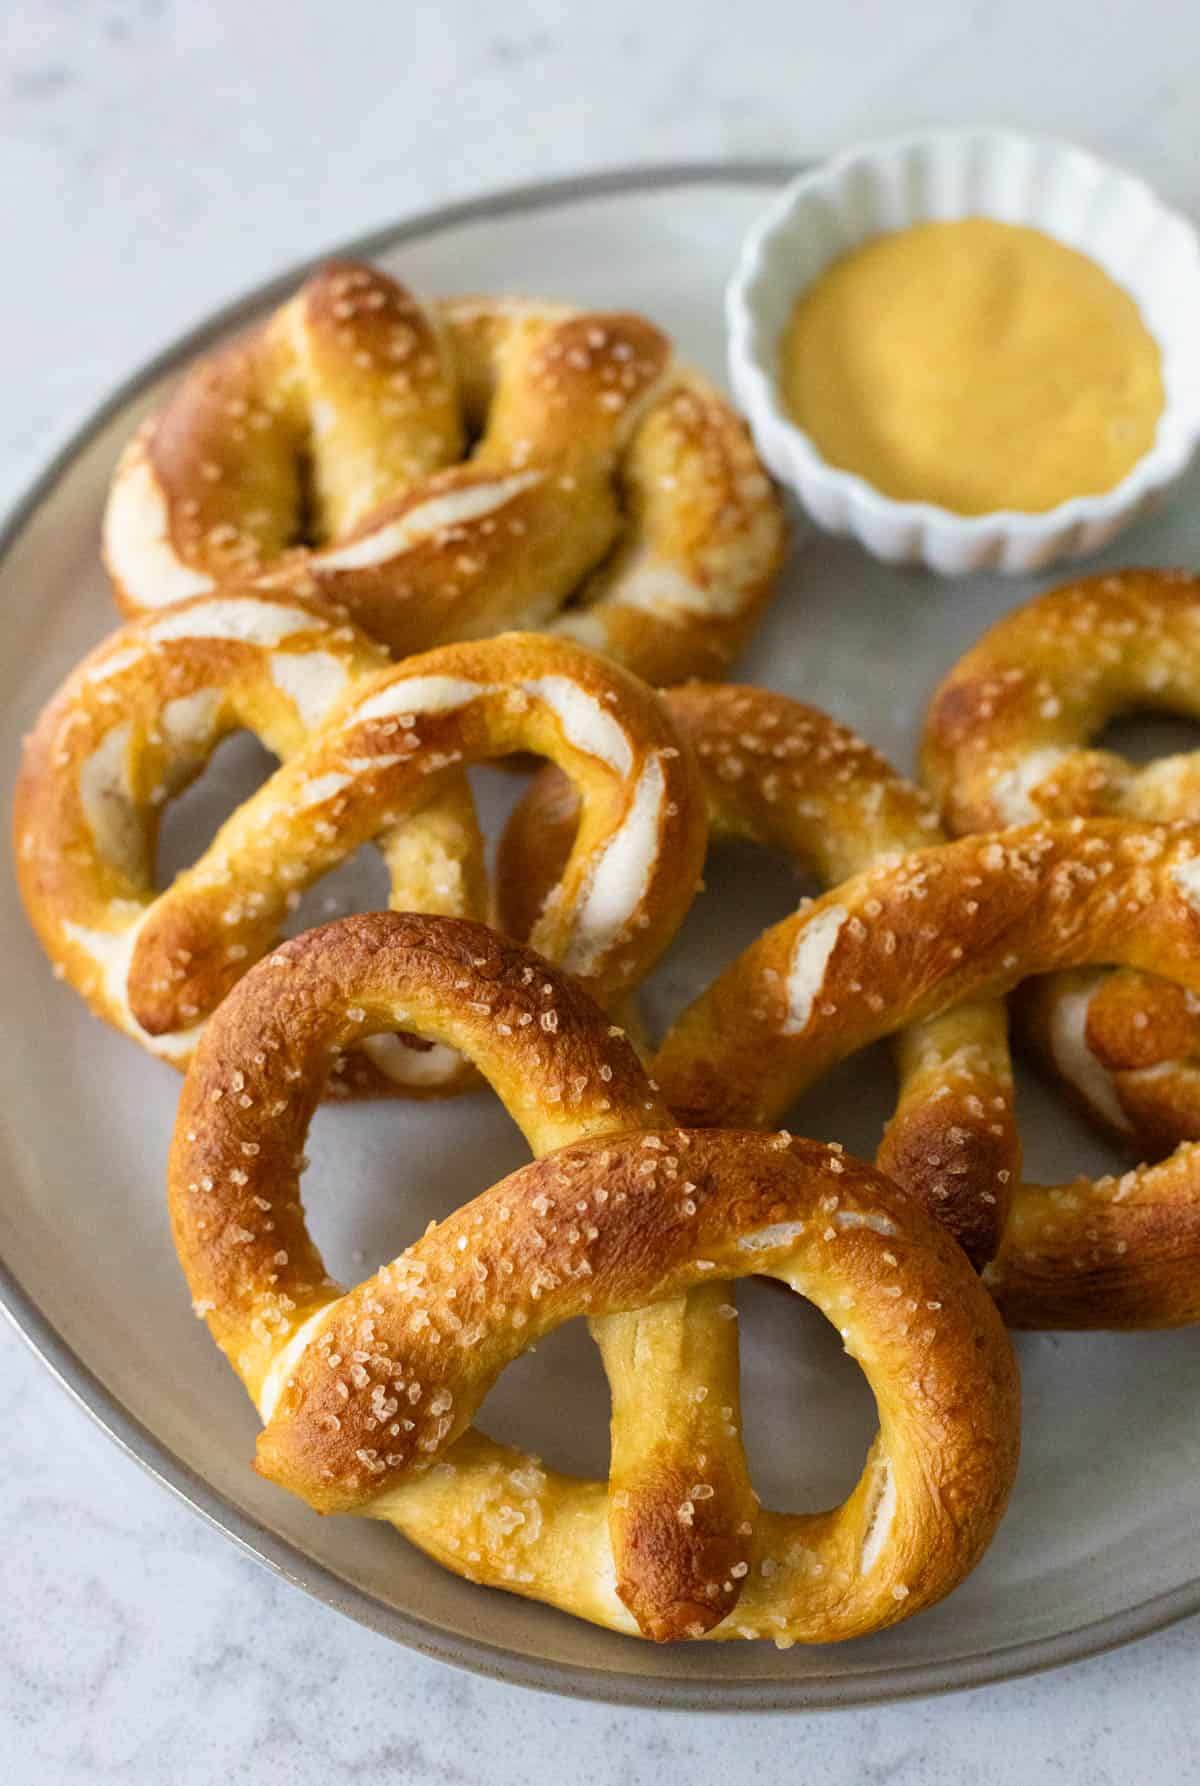
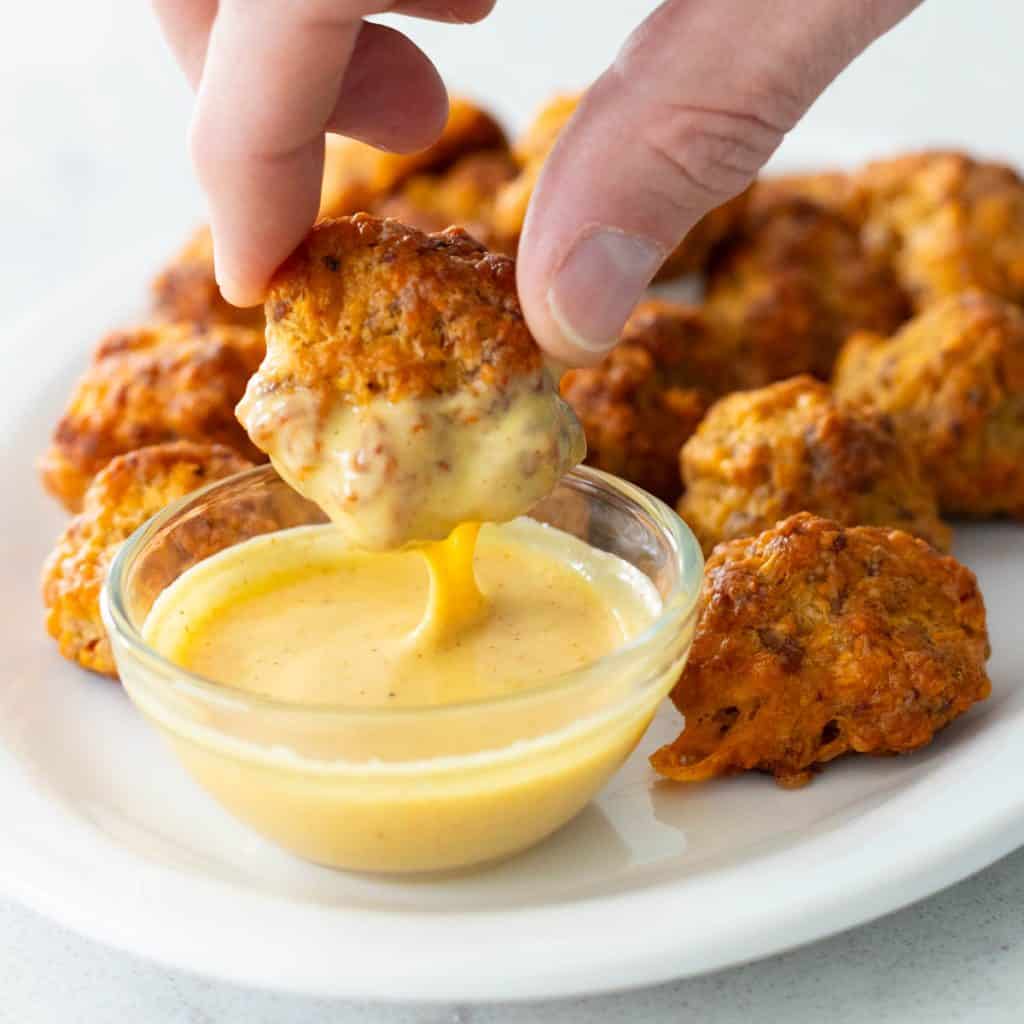
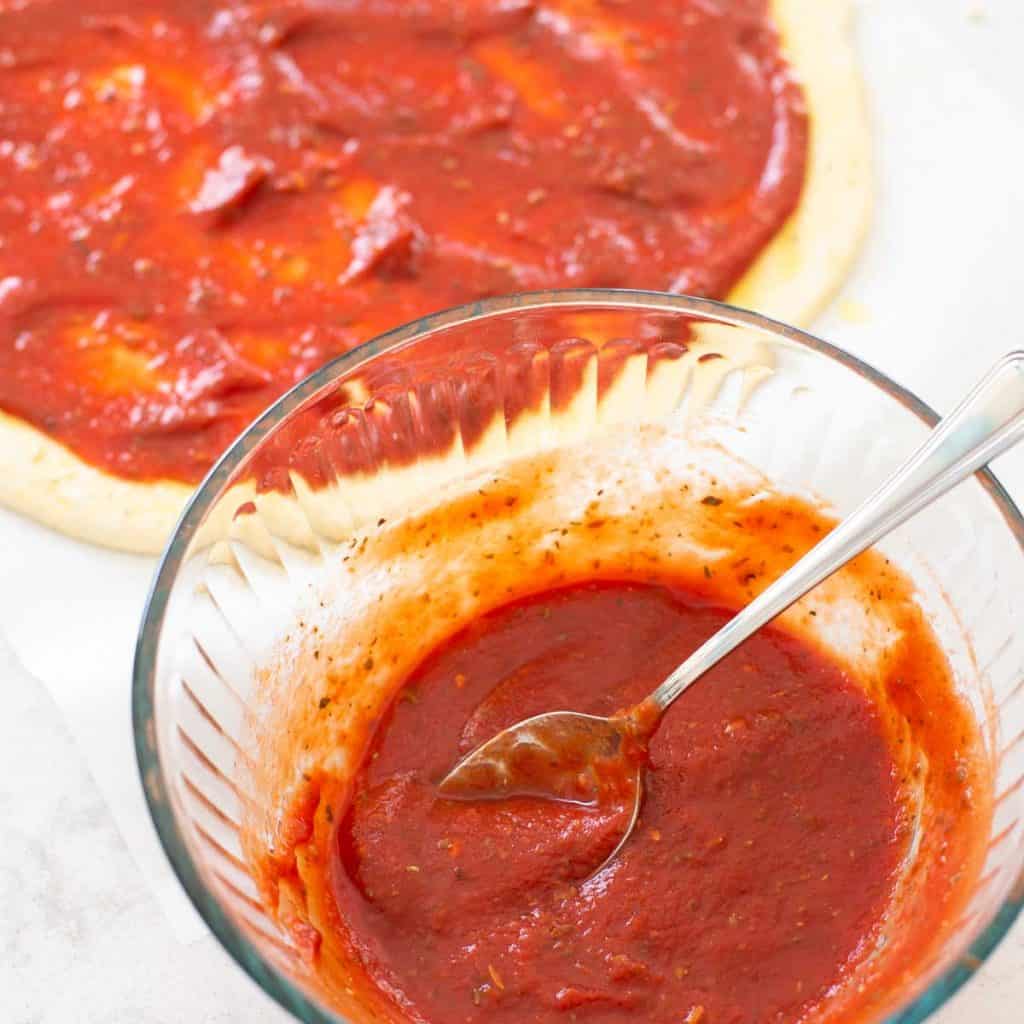
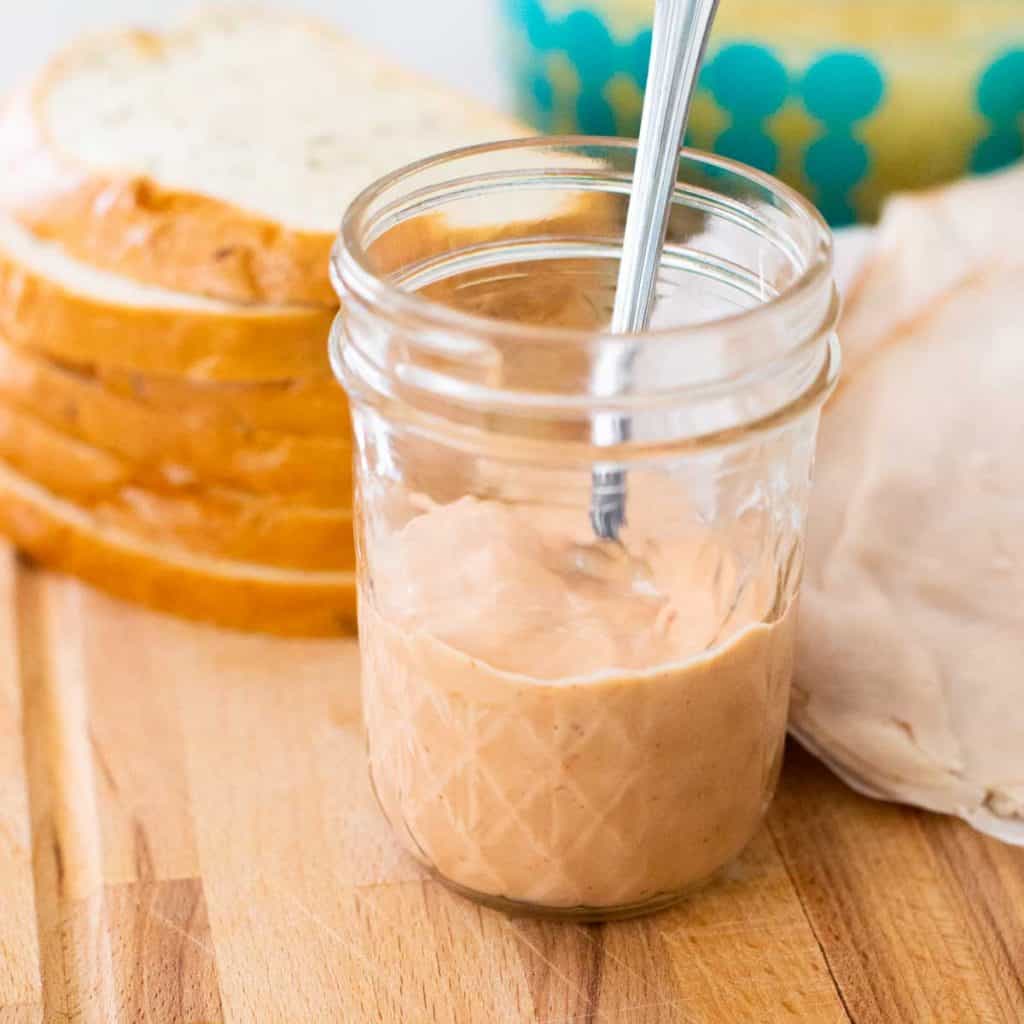
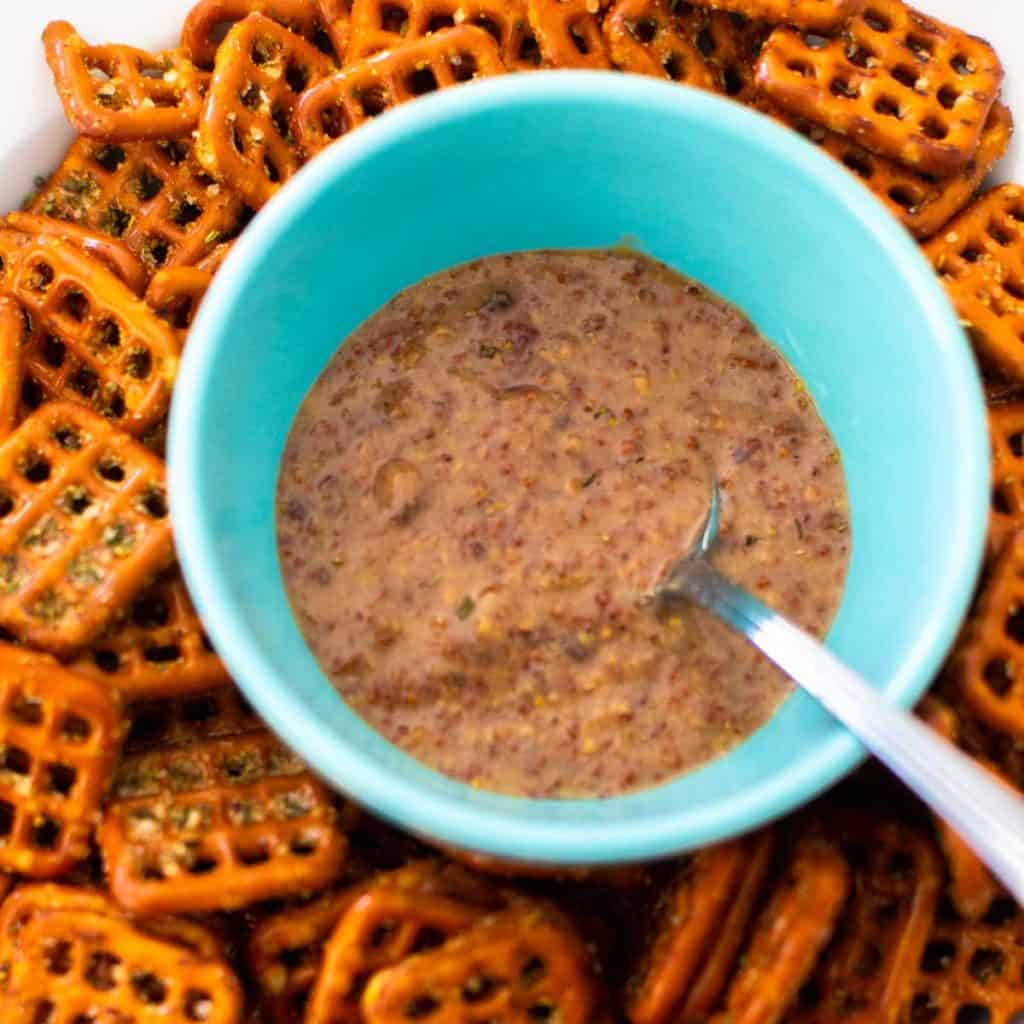
These pretzels are delicious all on their own but would be super yummy dipped into a cup of homemade honey mustard dip or warm marinara pizza sauce.
My homemade raspberry mustard dip would be a fun condiment to bring if you were bringing the pretzels to a potluck party.
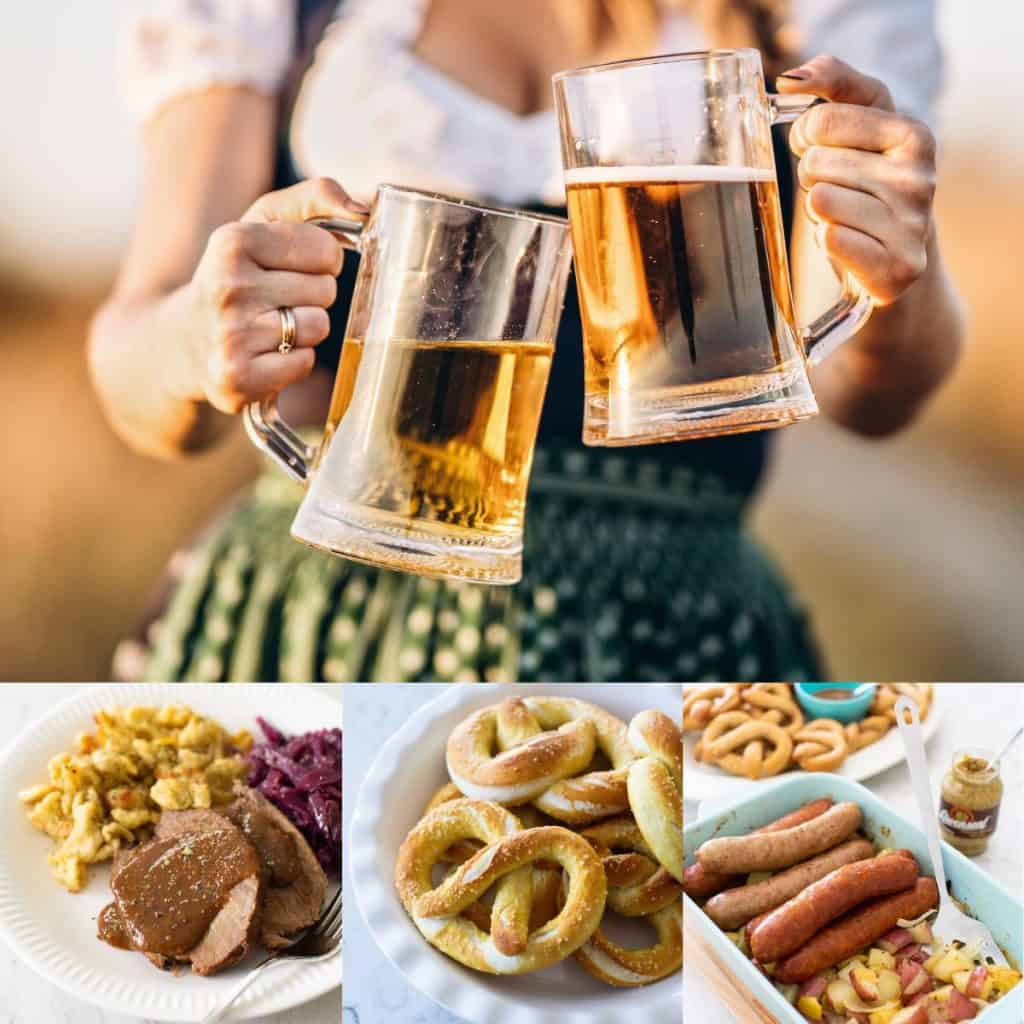
When To Make Easy Pretzels
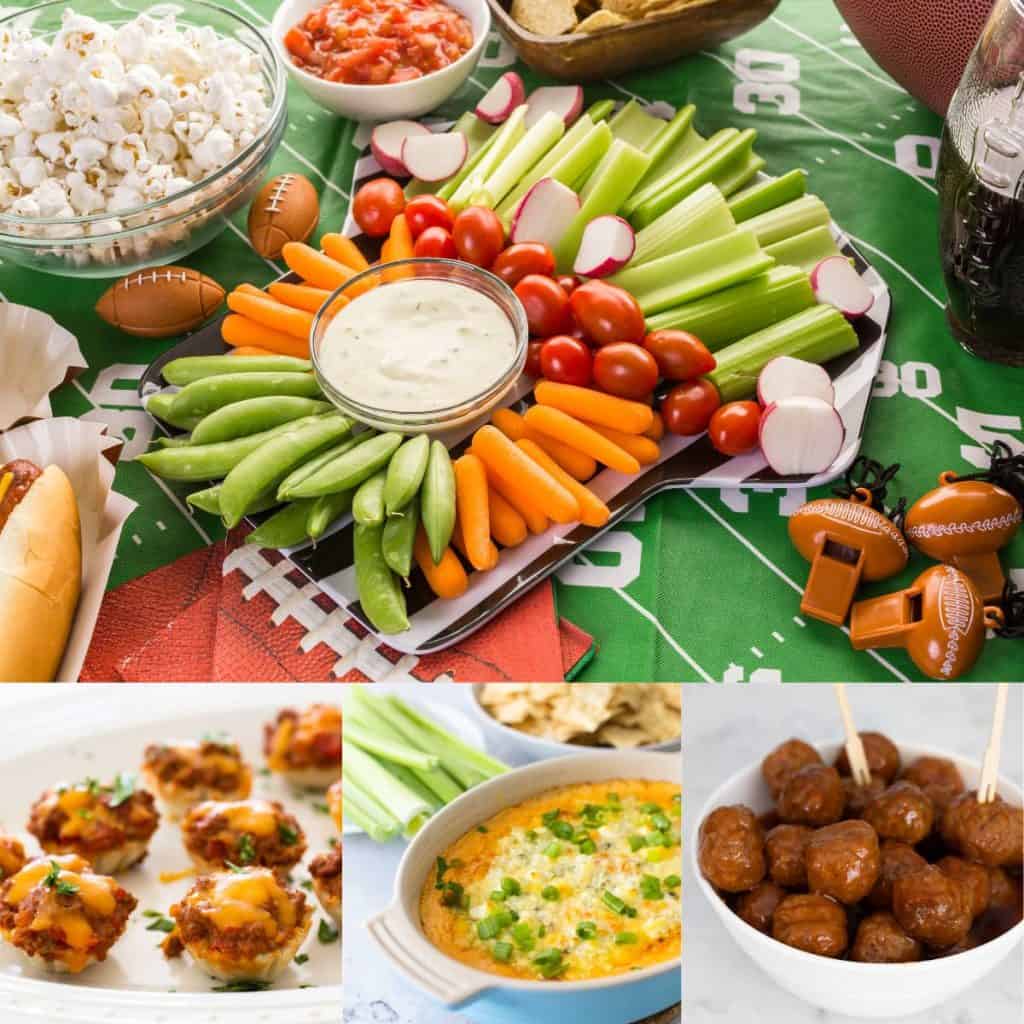
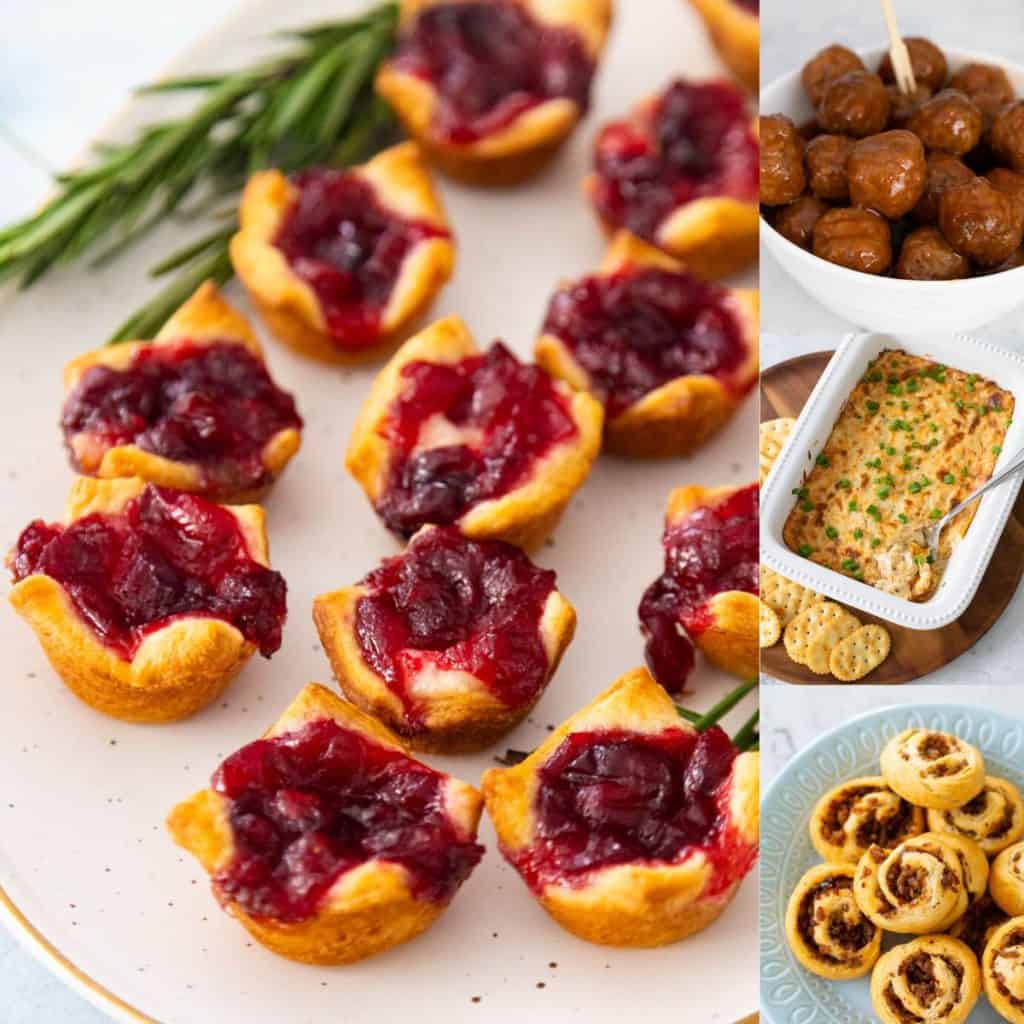
Better yet, why not bake these pretzels with the kids for a fun and easy Oktoberfest dinner party or football party to enjoy as a family?
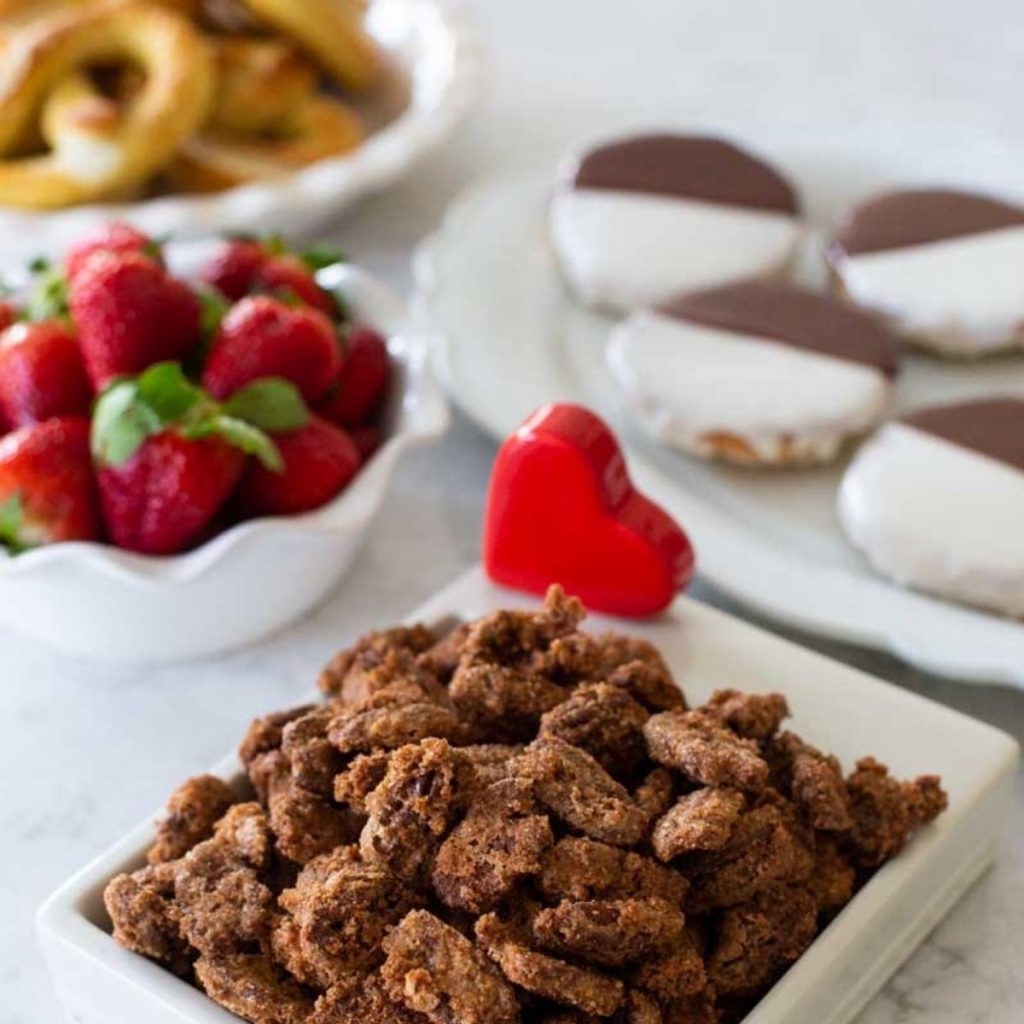
Or queue up something on the tv and have a fun New York themed movie night.
📖 Recipe
Soft Baked Pretzels
Ingredients
- 1 1/2 cup warm water straight from your kitchen tap, no need to test the temperature
- 1 packet active dry yeast or 2 1/4 tsp yeast from a jar
- 1 tsp kosher salt plus more for sprinkling over the pretzels
- 1 tbsp brown sugar
- 1 tbsp butter melted
- 3 3/4 - 4 cups flour
For the Water Bath:
- 1/2 cup baking soda
- 9 cups water
Instructions Start Cooking
- Preheat the oven to 400°F.
- Measure the warm water into a measuring cup and sprinkle the yeast into the water. Stir it together with a fork and let it sit for one minute.
- Add the kosher salt, brown sugar, and melted butter to the bowl of an electric mixer with the dough hook attachment. Pour the yeast and water into the bowl and whisk them together.
- Add 3 cups of the flour just one cup at a time to the bowl. With the mixer on low speed, use the dough hook to beat it together between each addition.
- Add the remaining 3/4 cup of flour and then test to see how sticky the dough is. You can add 1/4 cup to 1/2 cup more flour if it sticks to your fingers. Be careful to add just enough. You can. always add more, but can't take it back out. See the photos in the post above for visual reference.
- Place the pretzel dough on a lightly floured surface. Knead the dough for 3 minutes and then shape it into a ball. Cover it with a clean kitchen towel or slightly dampened paper towels and let it rest for 10 minutes while an adult prepares the water bath.
Prepare the Water Bath:
- Add 1/2 cup baking soda to 9 cups of water and whisk them together. Bring the mixture to a boil over medium-high heat.
- While the water is coming to a boil, line 2 baking sheets with parchment paper or silicone baking mats and set them near the stovetop. This gives you a place to put the pretzels after their dunk in the water bath.
Shape the Pretzels:
- Use a pizza wheel to cut the pretzel dough into 12 equal portions.
- Roll each dough ball into a 20 - 22-inch snake. Take each end of the snake and pull them up, around, and down with a twist to form the pretzels.
- Pinch the ends of the pretzel to the dough to hold.
Baking Instructions:
- The adult should use a slotted spoon to transfer each pretzel into the water bath for just 20 - 30 seconds. Let the water drain off the pretzel and place it on the prepared baking pan. Immediately sprinkle kosher salt over the pretzel while it is still damp.
- Repeat the water bath for the remaining pretzels, you'll be able to fit about 6 pretzels per baking pan.
- Bake the pretzels for 12 - 15 minutes or until the pretzels are golden brown.
Recipe Notes
Save This Recipe to Your Recipe Box
Find this delicious recipe next time you visit by saving it to your very own recipe box on my site. All your favorites stored in one easy place!
My daughter makes these with her Nana every time we get together. We absolutely love them.
The kids in my preschool classroom loved this recipe. My six students have attention and sensory processing issues. Smelling, rolling the dough, and putting their hands in it made them feel happy and calm. Best of all everyone tried the pretzels! Thank you so much!
This is our go-to recipe when my daughter spends time with her Nana. So delicious. So doable. So fun.