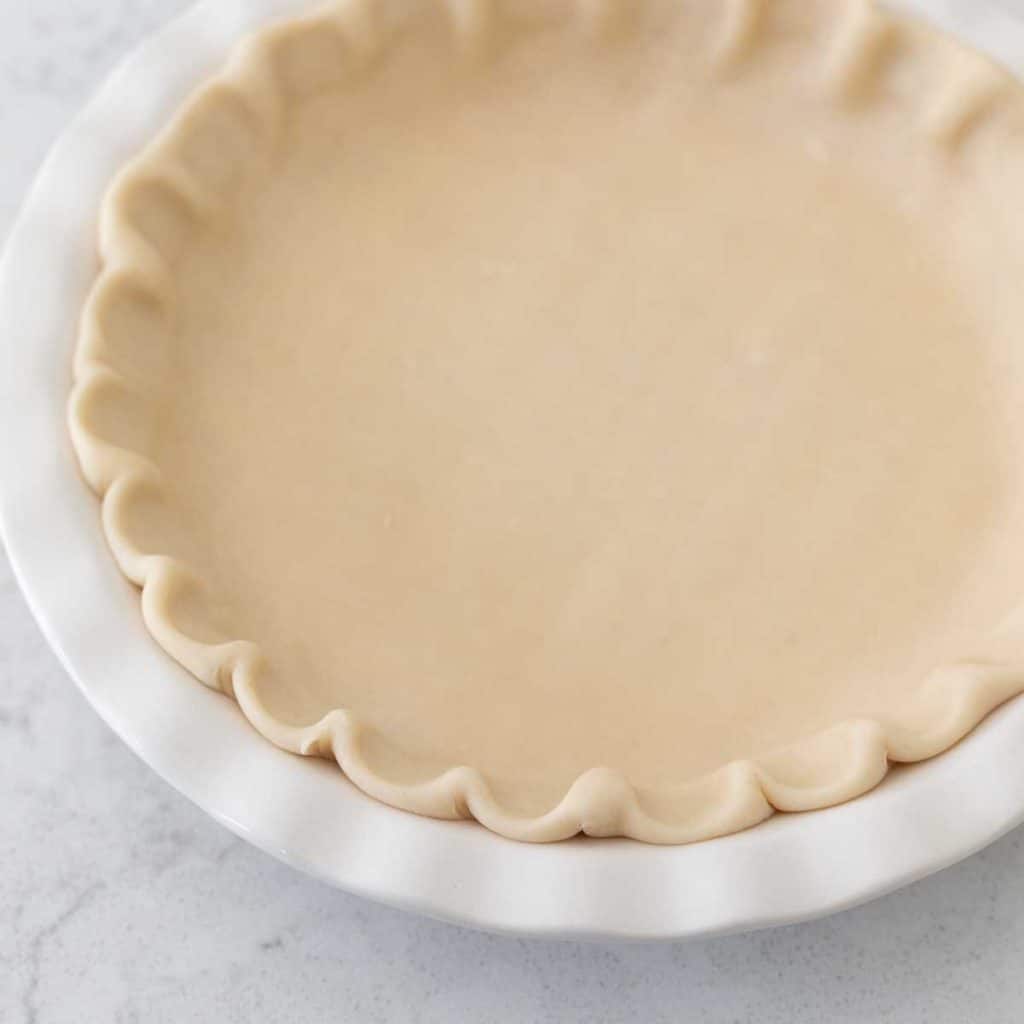
Graham Cracker Crust
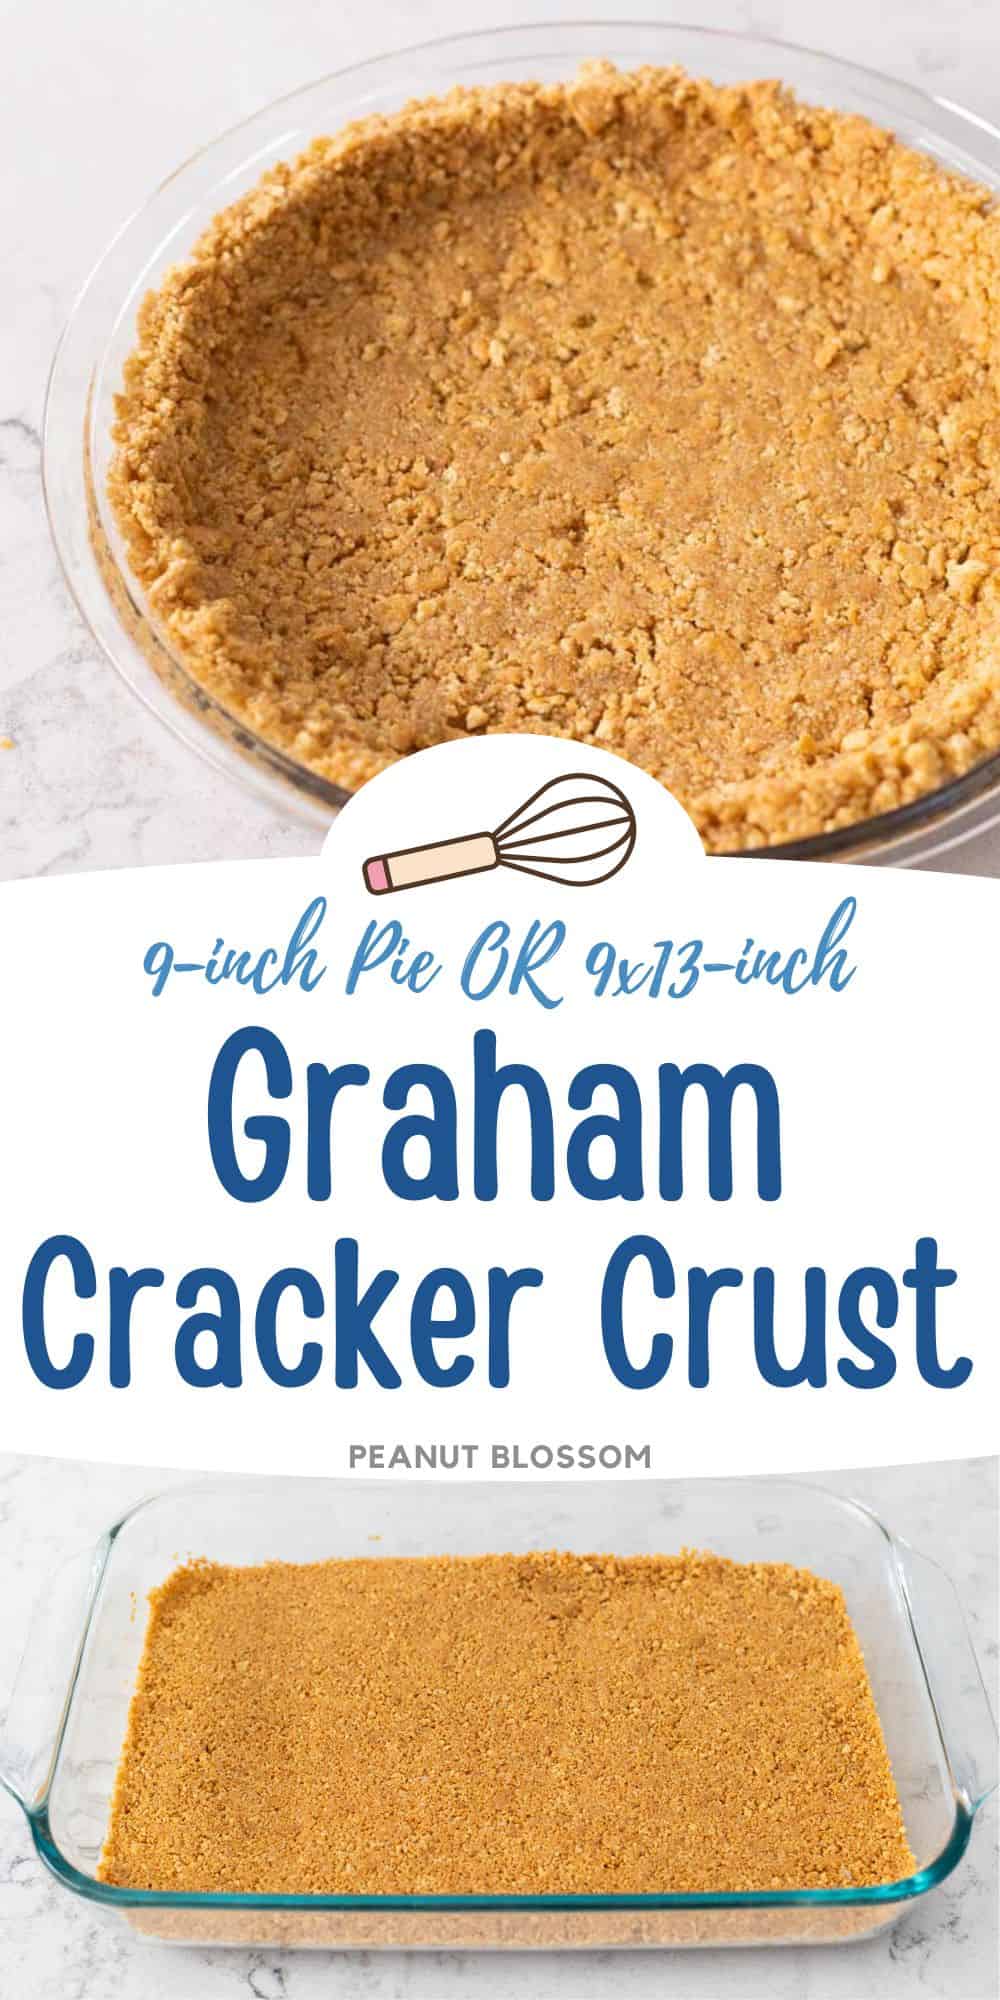
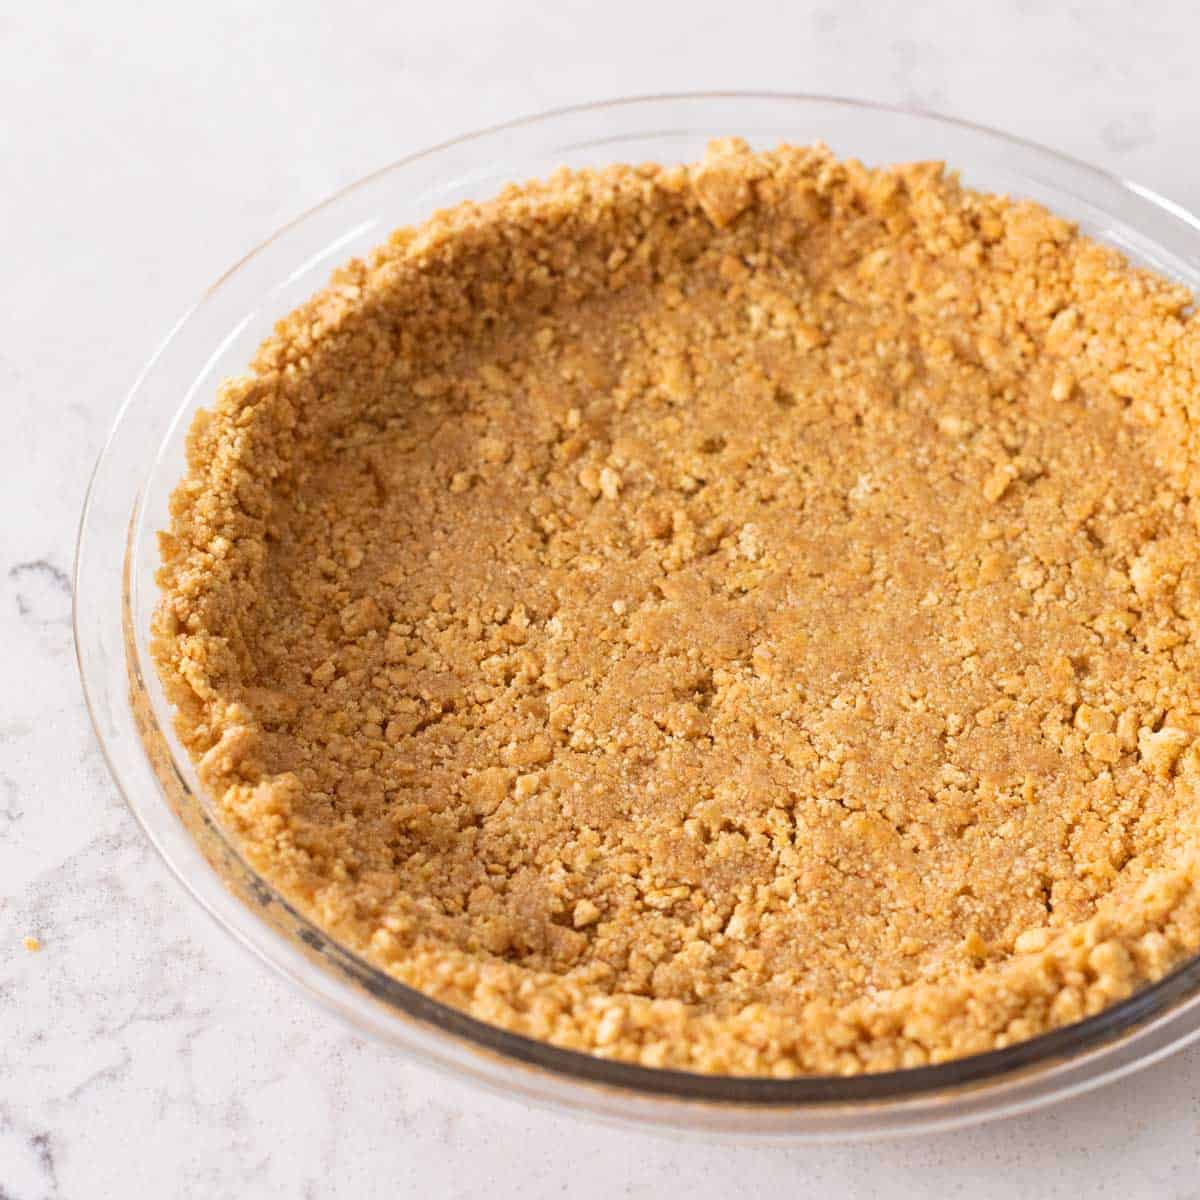
This graham cracker crust recipe includes instructions for both a 9-inch pie or a 9x13-inch layered dessert. Learn how to prep the perfect crust for your special dessert.
Busy holiday baking is best when you can use easy shortcuts to make the job easier.
I love a make ahead no bake dessert that I can prep in advance and keep in the fridge before the party.
Many of the most delicious treats start with a graham cracker crust. Whether you're planning a 9-inch cream pie or a 9x13-inch layered dessert like a pudding torte or a cheesecake, I've got all the tips you need to start the dessert off right.
Jump to:
- Why This is the Best Recipe
- Ingredients
- Crush Your Own Graham Cracker Crumbs
- Mix the Butter and Sugar
- Press Into Pie Plate
- Should You Bake the Graham Cracker Crust?
- Baking Instructions
- How to Use a Graham Cracker Crust
- Cherry Delight Dessert
- Strawberry Cream Pie
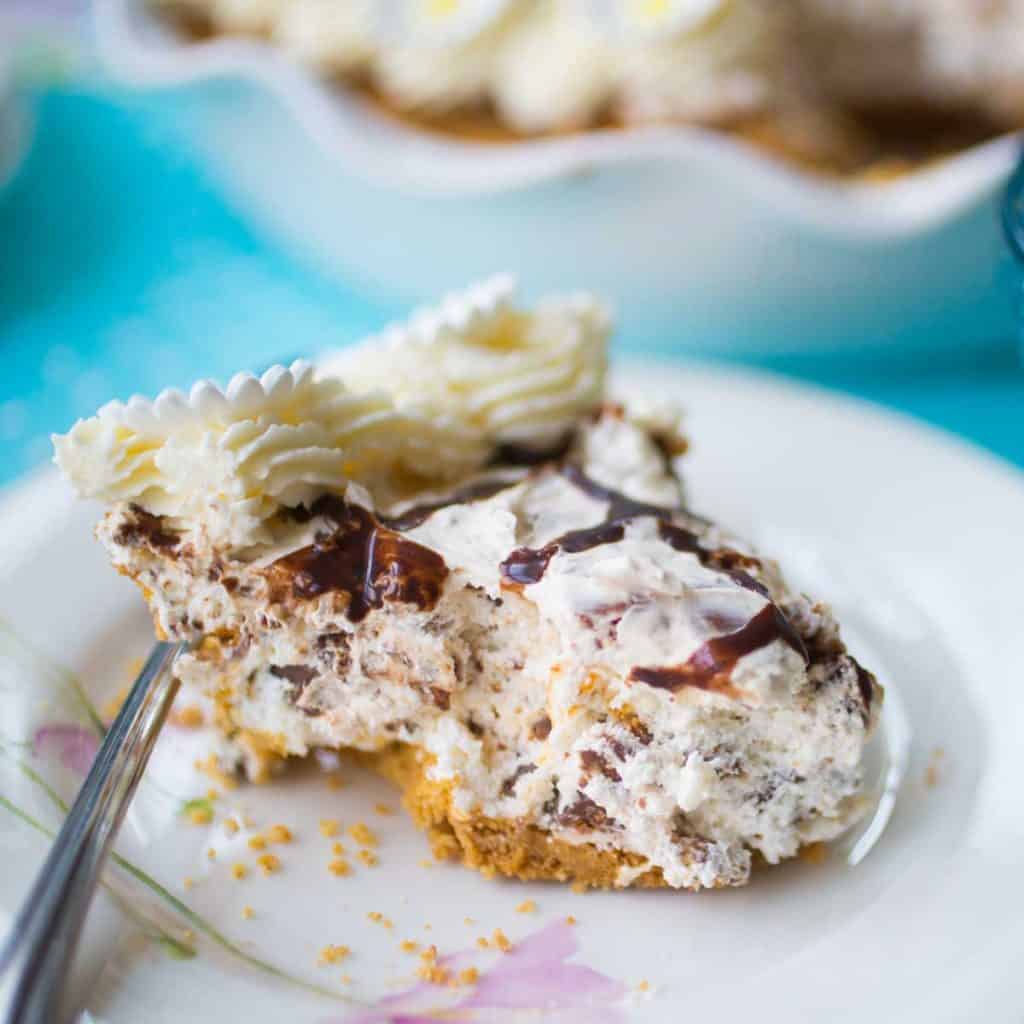
- No-Bake Butterfinger Pie
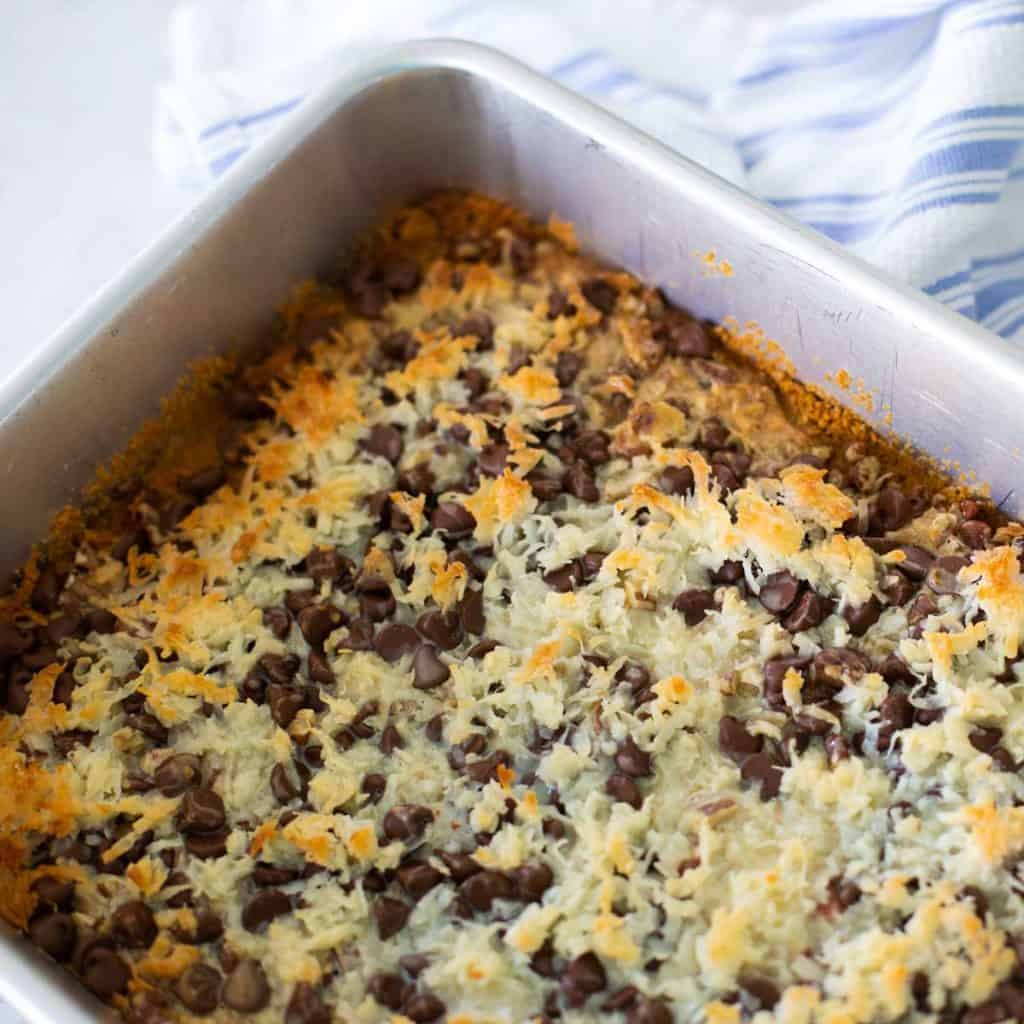
- Quick and Easy Hello Dolly Bars
- More Easy Pie Crust Recipes
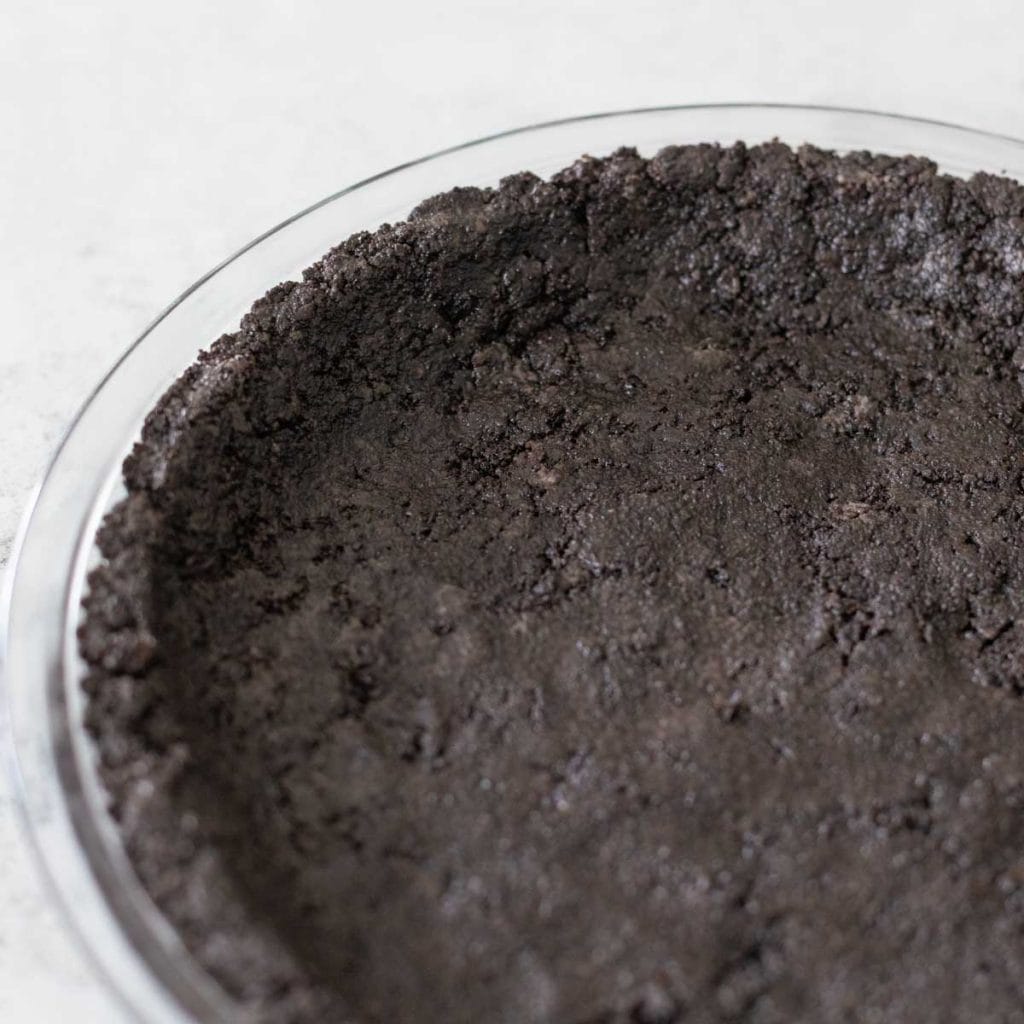
- Oreo Cookie Crust
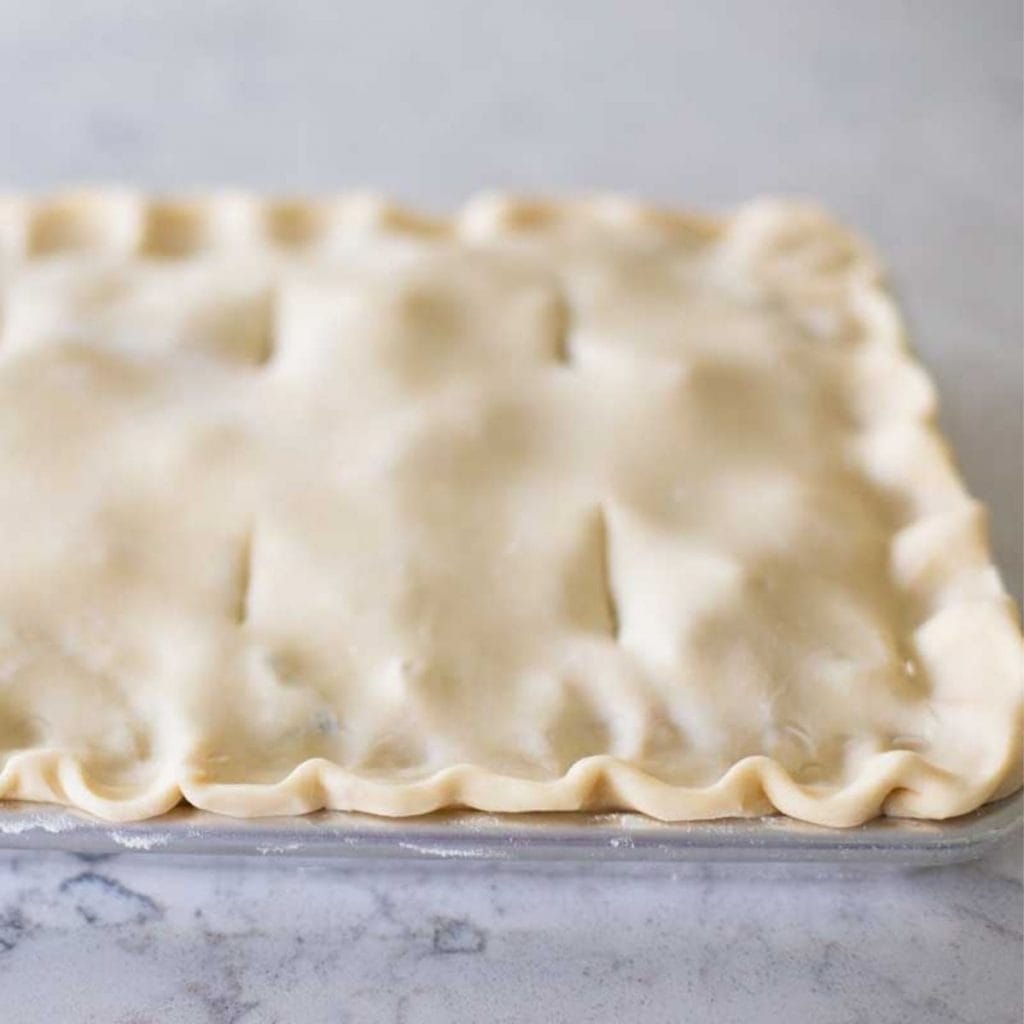
- Flaky Buttery Pie Crust From Scratch
- 5 Tips for Baking a Store Bought Pie Crust
- 📖 Recipe
- 💬 Comments
Why This is the Best Recipe
Why are creamy no bake desserts so comforting?? No one can resist layers of pudding or cheesecake on a sweet cookie crust.
I think this is the best graham cracker crust recipe because:
- Bake or No Bake: The choice is yours. Keep it extra easy or give it a toasted finish. Check out my notes to decide which route is best for your dessert.
- 9-inch or 9x13-inch: Any size you need in just one recipe card.
- Budget-Friendly: Don't waste your money on store bought graham cracker crumbs. Learn how to crush your own in a minute.
Ingredients
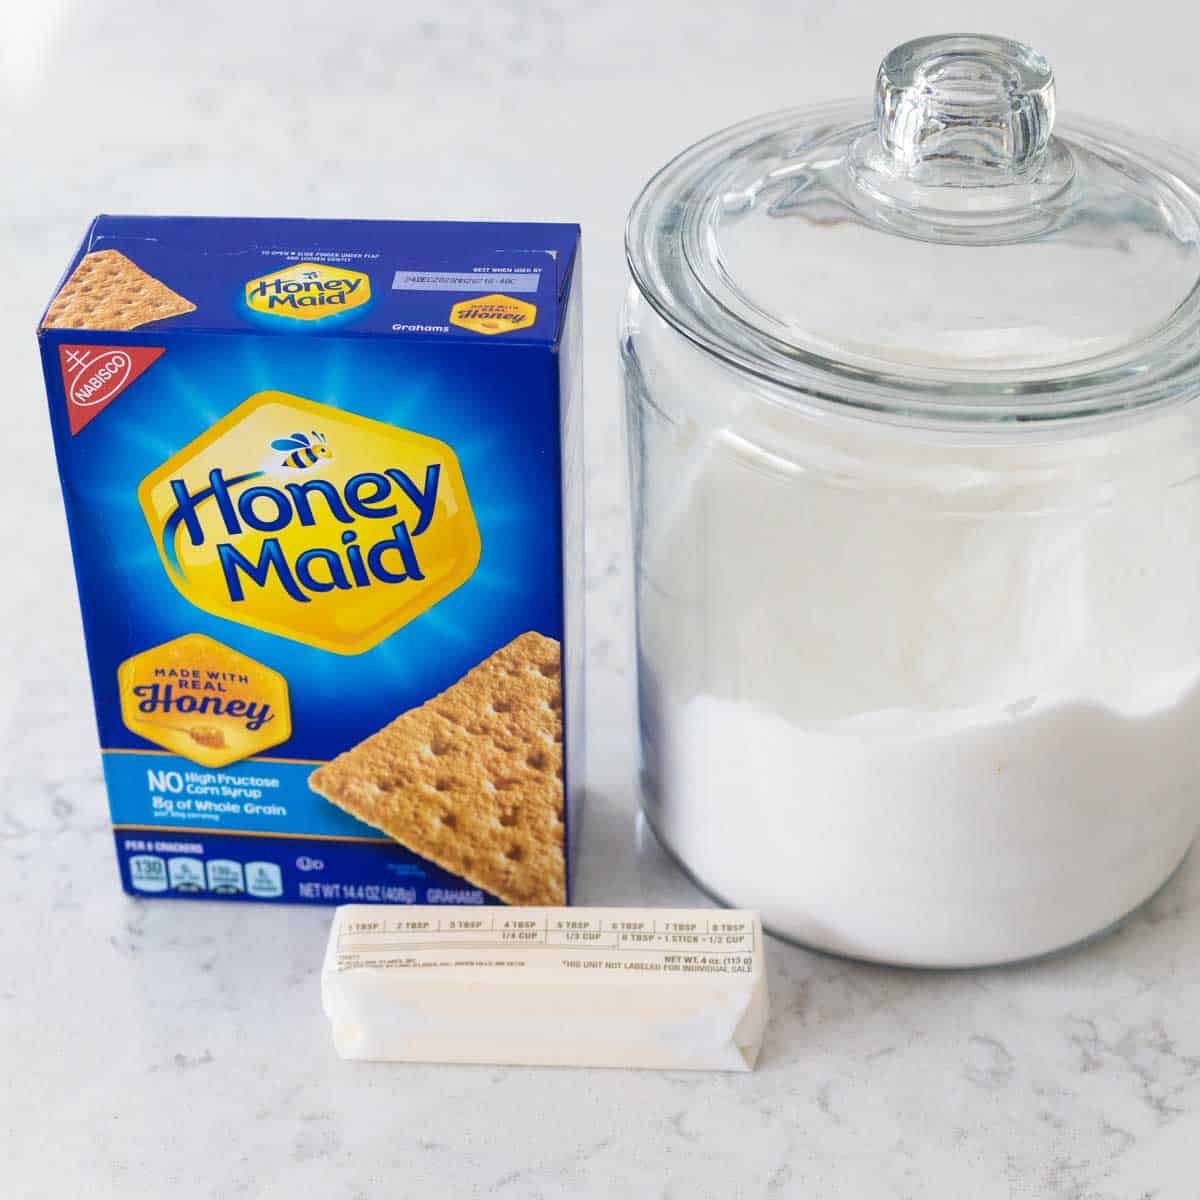
Whether you're making a 9-inch pie or a 9x13-inch layered dessert, graham cracker crusts start with the same easy ingredients:
- Graham Crackers: You can crush your own crumbs or buy the box of graham cracker crumbs at the store. I crush my own since the pre-crushed tend to be much more expensive.
- Butter
- Sugar
- Kosher Salt: This is optional, but our family loves that little hint of saltiness in our desserts.
Crush Your Own Graham Cracker Crumbs
Boxes of whole graham crackers are usually much more budget-friendly than pre-crushed graham cracker crumbs.
Since they crumble so easily, I don't mind adding this extra step.
Simply place the graham crackers in a zip-top plastic bag and pound them gently with a kitchen mallet until the crumbs are nice and fine.
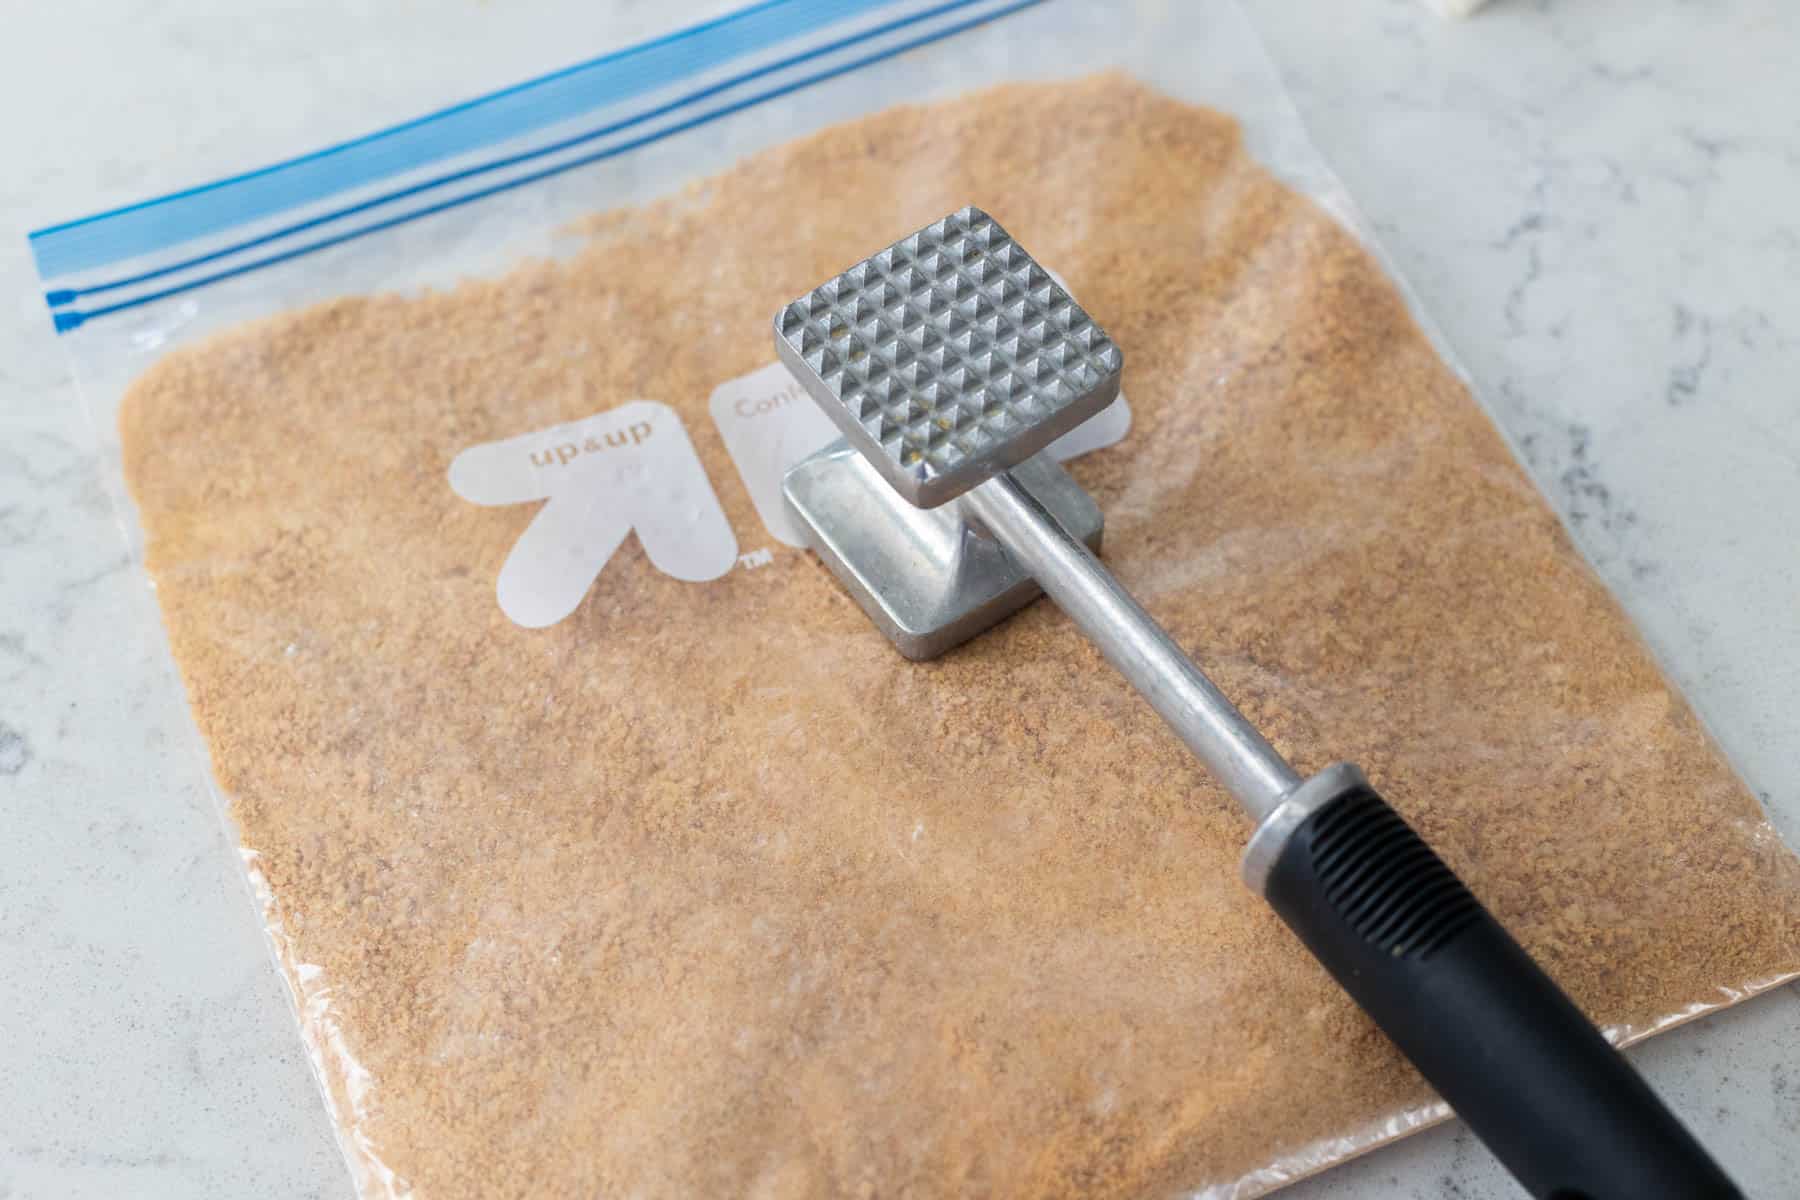
You could also crush them in a food processor if you have one.
Mix the Butter and Sugar
Add the crushed graham cracker crumbs to a mixing bowl.
Stir in the sugar and salt.
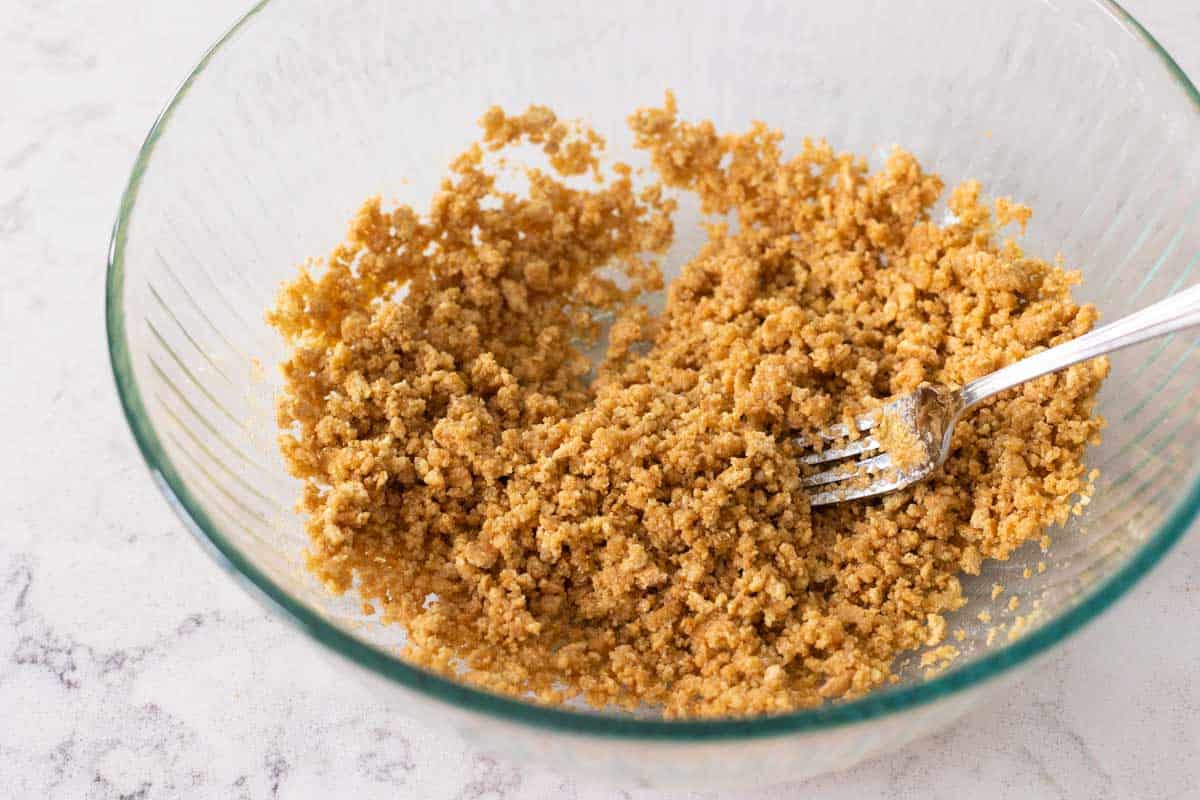
Melt the butter and pour it in. I like to mix them together with a fork so I can fluff all the dry crumbs together and make sure everything is nice and moistened in butter.
Press Into Pie Plate
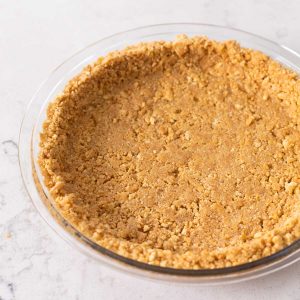
Pour the crust mixture into your pie plate or baking dish and spread it out into an even layer.
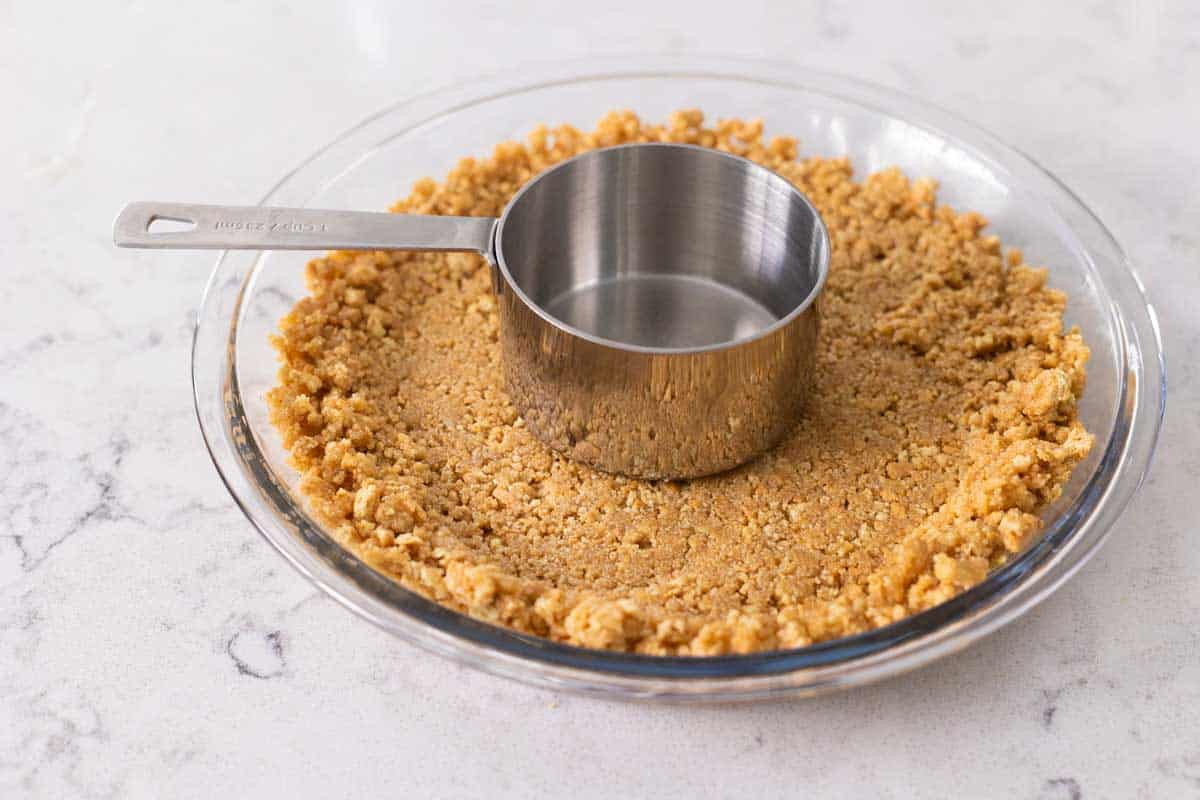
Then press the crust into place firmly with a measuring cup or your fingers.
For a pie plate, I like to use a measuring cup to start but I finish the side edges with my fingers to make sure the thickness is nice and even all around the pie plate.
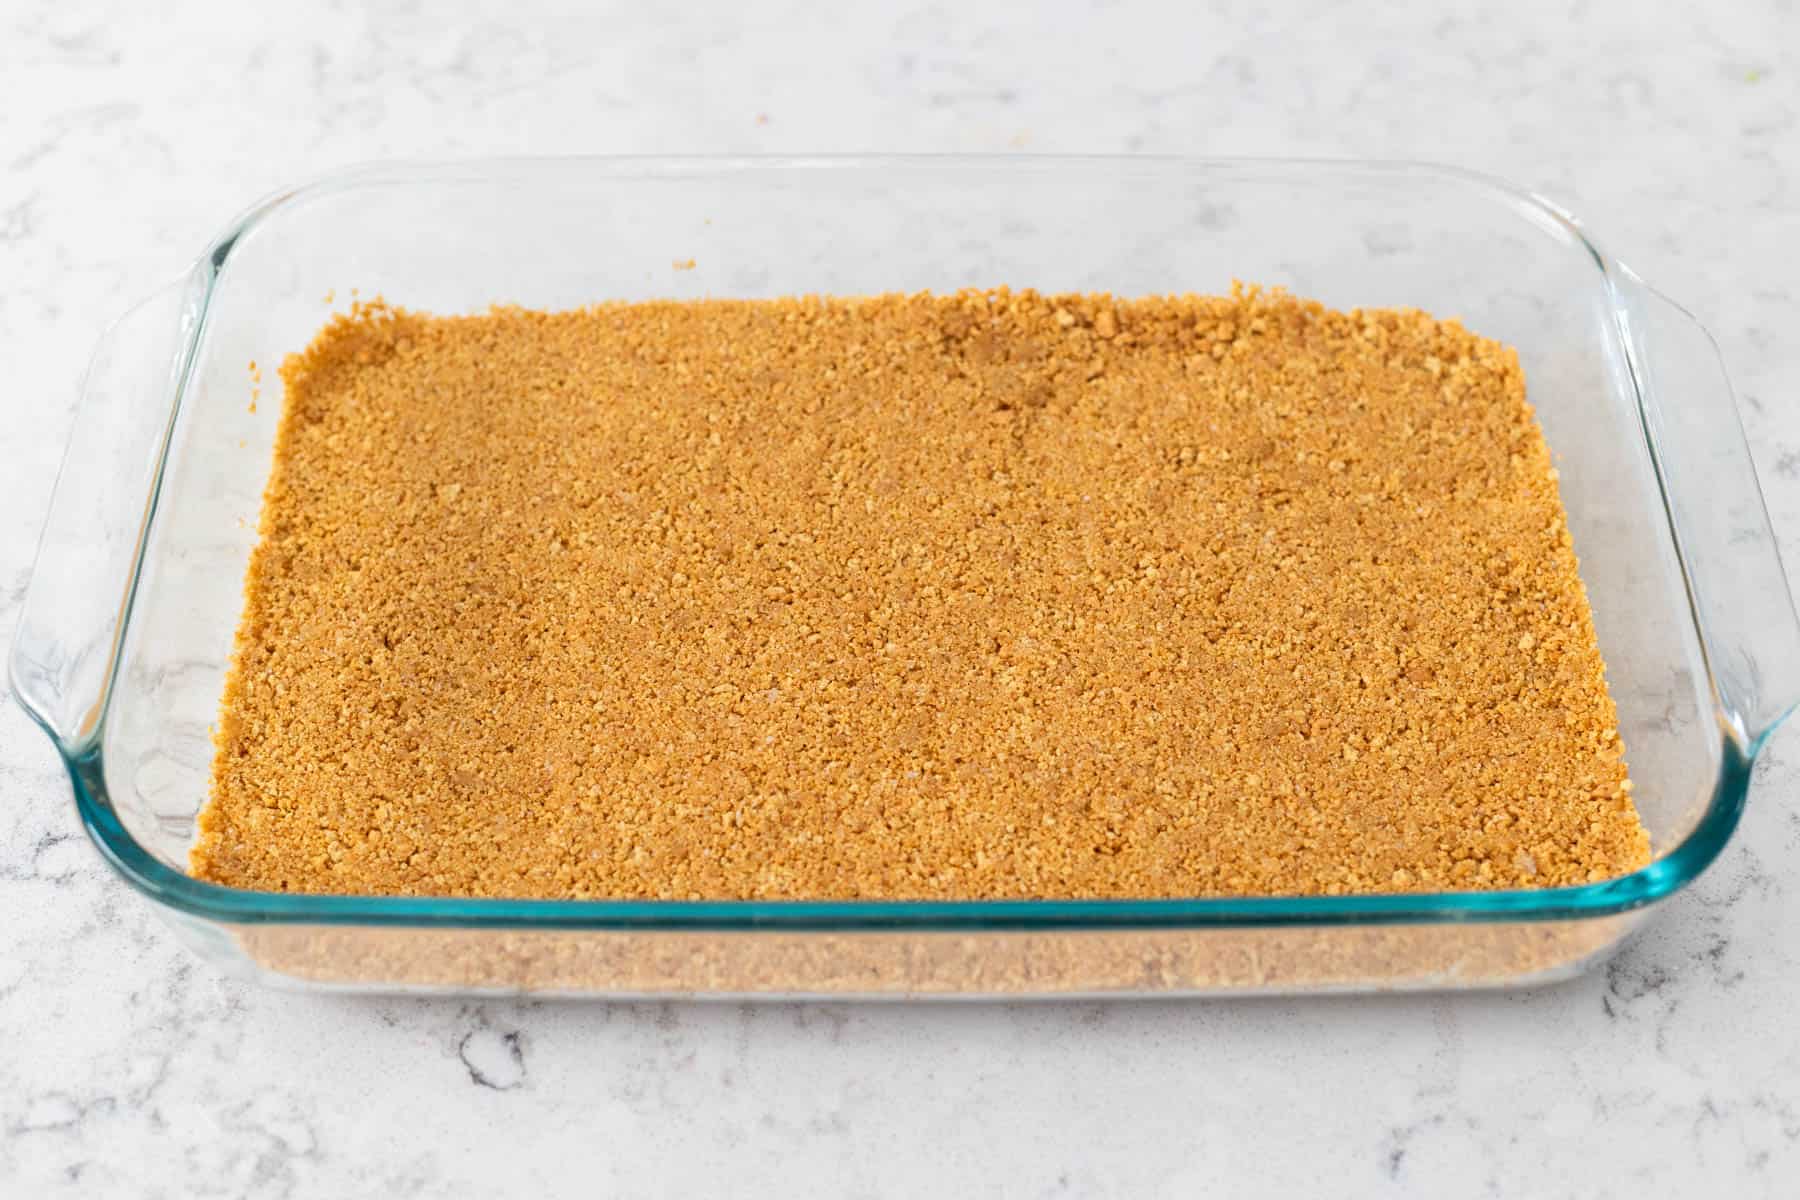
For a flat layer in a 9x13-inch baking dish, I just use the measuring cup.
Should You Bake the Graham Cracker Crust?
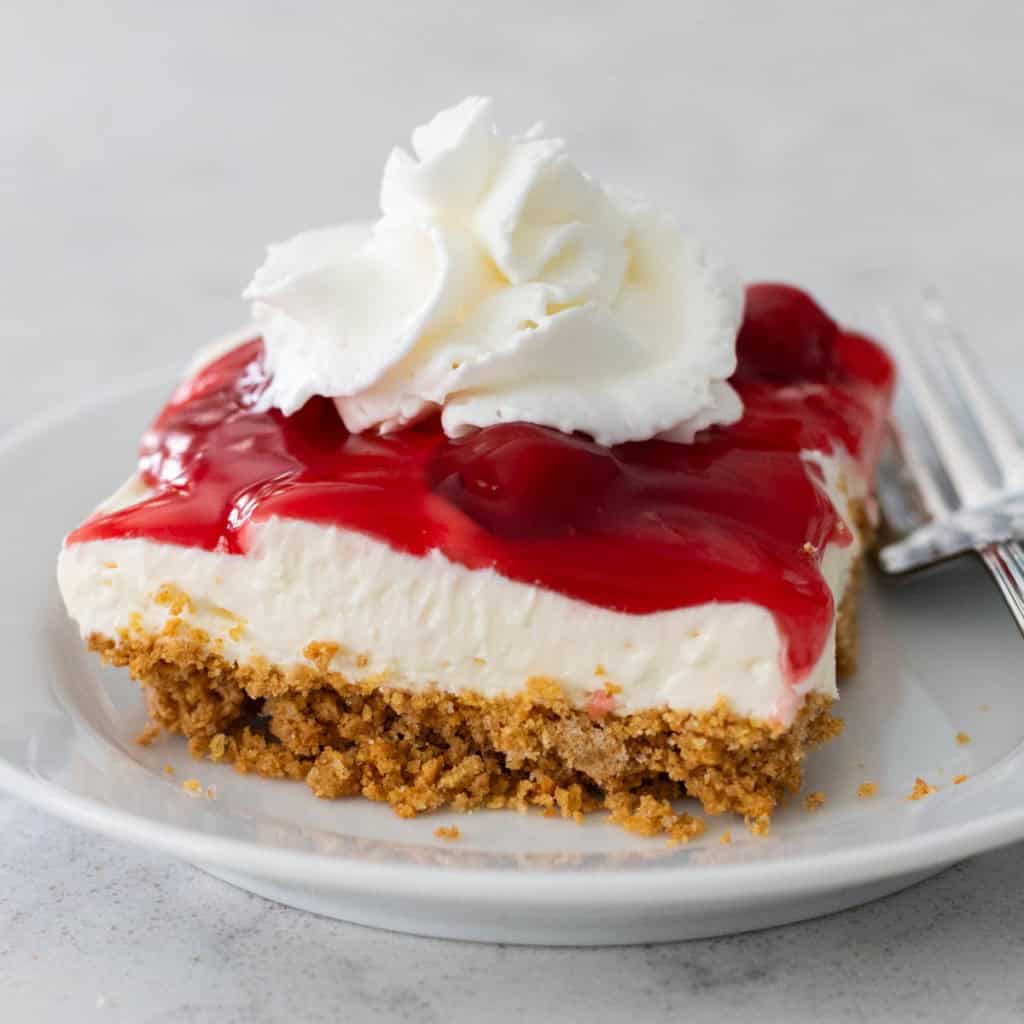
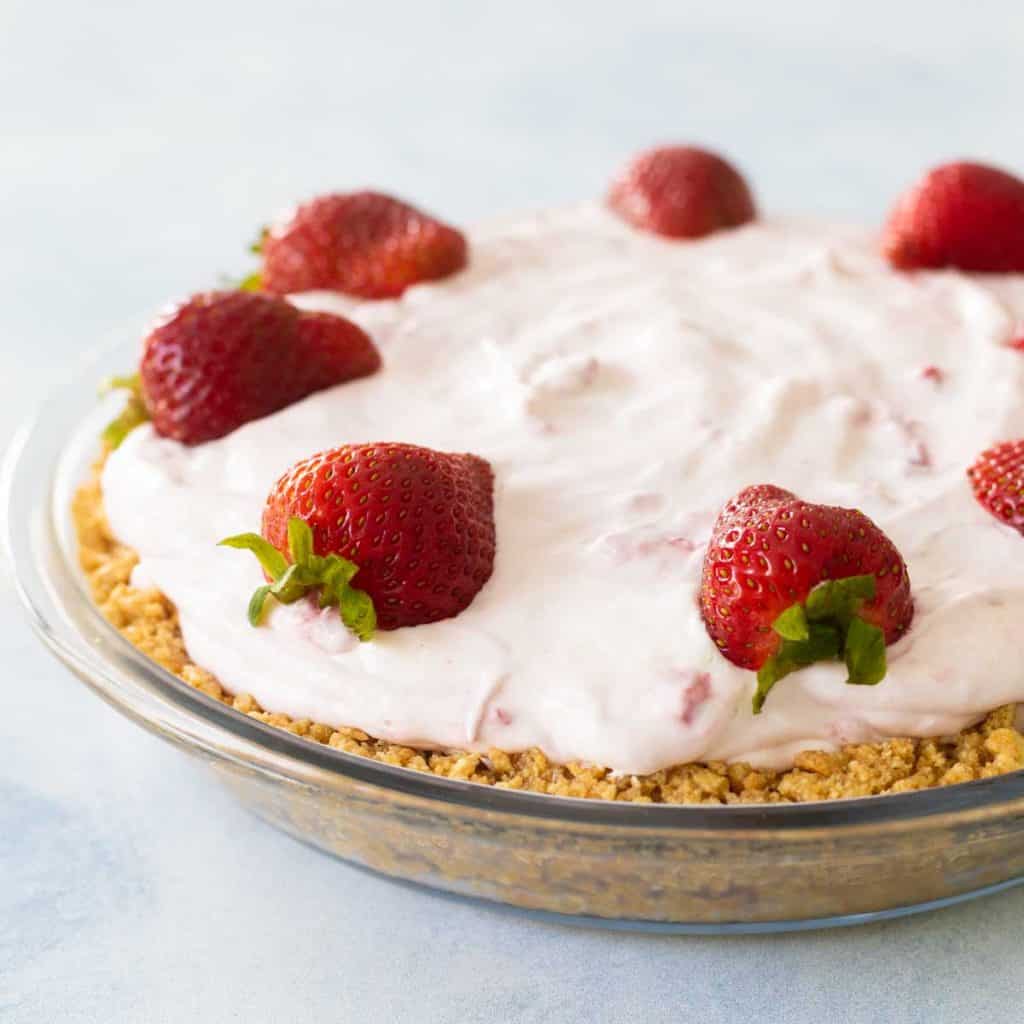
Most of my favorite dessert recipes that involve a graham cracker crust are no bake desserts like my cherry delight or my strawberry cream pie.
The wonderful thing about those treats is that you don't need to turn on the oven, so it is a great option to not bake your graham cracker crust.
It will absolutely firm up in the fridge if you chill it for one hour before filling it with the pie filling or next layer of your torte.
That said, if you love the flavor of a toasted golden brown graham cracker crust, you could bake it if you want to.
This will dry out the crust a little which can be an excellent option when you want it to hold up against a nice and creamy filling on top.
Baking Instructions
If you decide you do want to bake your graham cracker crust, simply preheat the oven to 350°F.
Bake the crust for 12 - 14 minutes or until lightly golden.
You'll need to plan for 45 minutes to let it completely cool before trying to add a creamy filling to it.
How to Use a Graham Cracker Crust
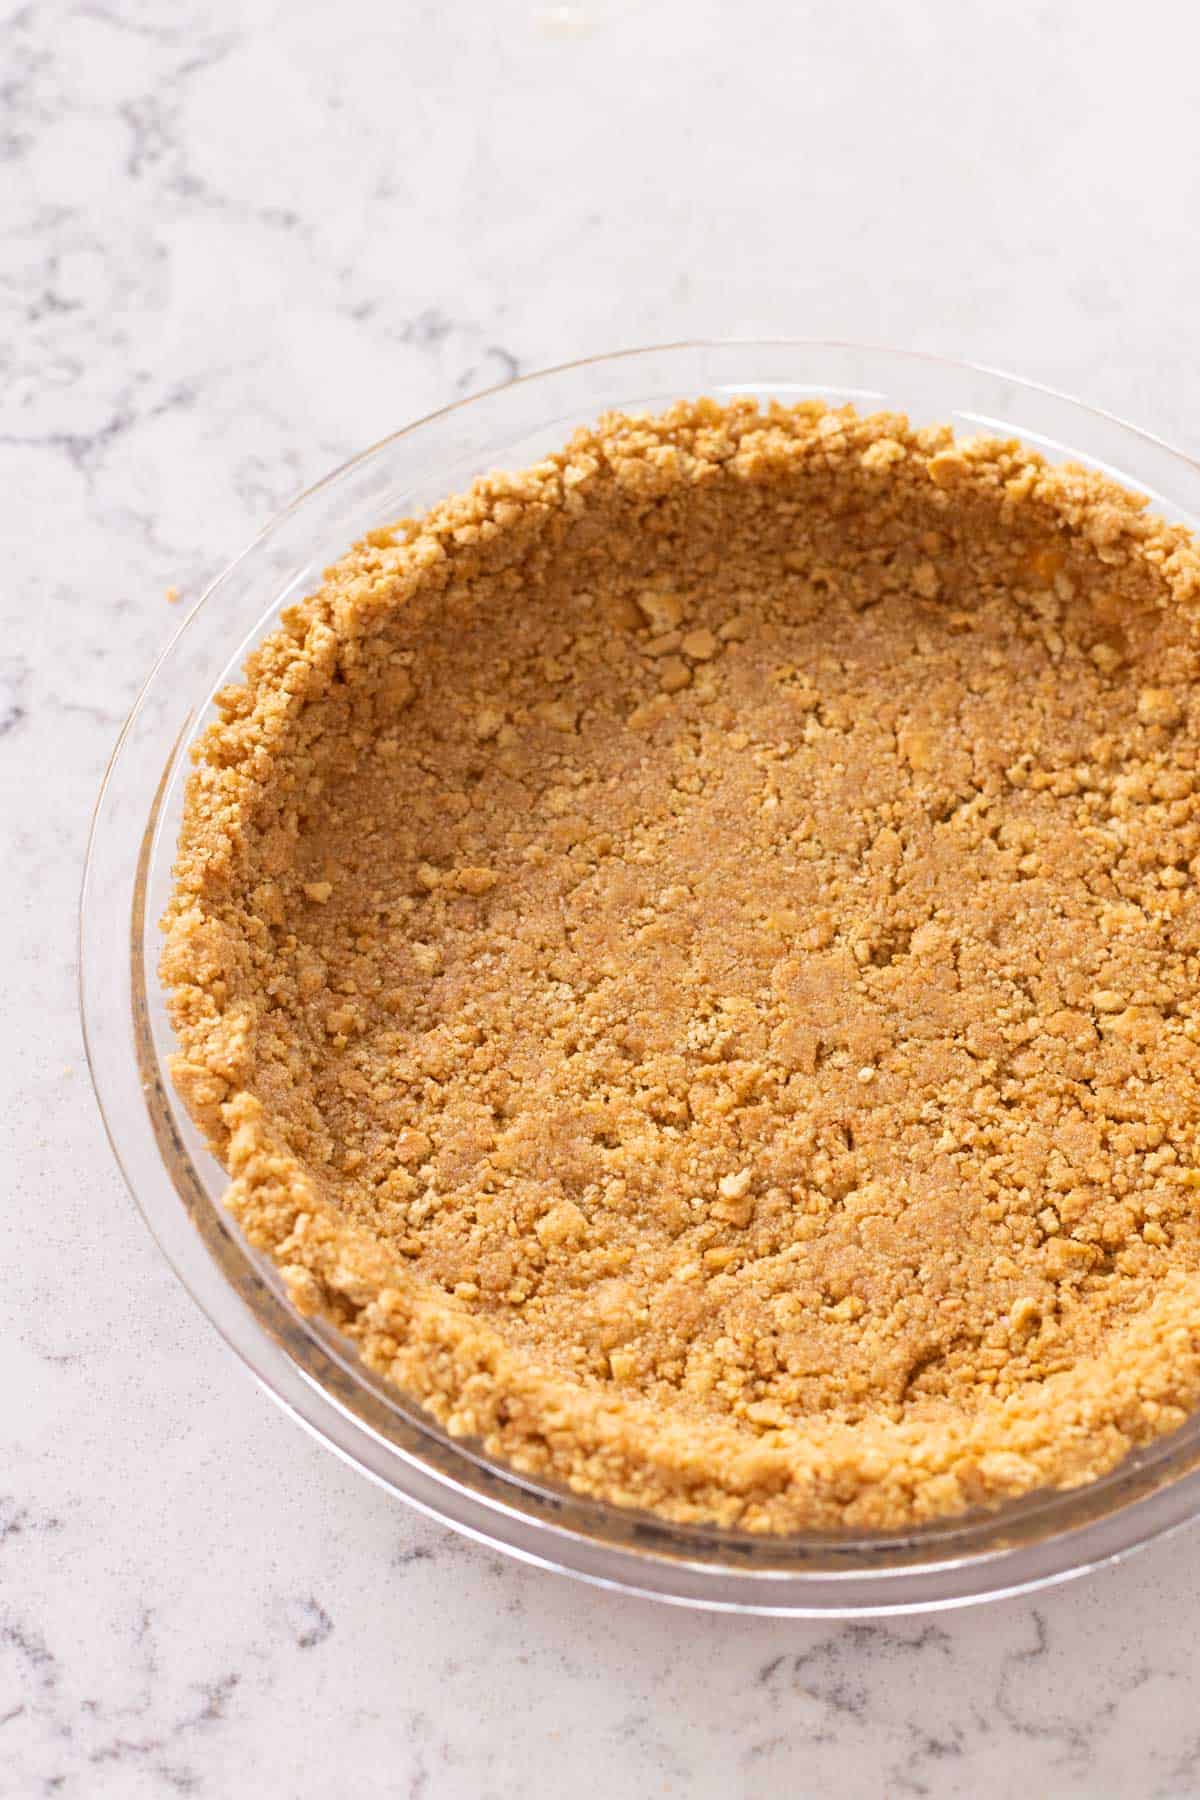
A graham cracker crust is a fantastic option for a creamy pie filling.
The texture of the graham cracker crumbs, sugar, and butter together make an excellent base for a cheesecake or pudding layered dessert.
You can even use it as the crust for my quick hello dolly bars topped with coconut and chocolate chip
More Easy Pie Crust Recipes
If you love baking easy pies for special occasions, you won't want to miss my Oreo cookie crust recipe and my favorite buttery pie crust for fruit pies and pot pies.
Busy bakers need all the shortcuts they can get, and I'm not ashamed to share my best store bought pie crust tricks, too.
📖 Recipe
Graham Cracker Crust
Ingredients
For a 9-inch Pie:
- 9 graham crackers crushed (about 1 1/2 cups)
- 6 tablespoons butter melted
- 3 tablespoons sugar
- 1 pinch kosher salt
For a 9x13-inch Baking Pan:
- 15 graham crackers crushed (about 2 cups)
- 8 tablespoons (1 stick) butter melted
- 6 tablespoons sugar
- 1 pinch kosher salt
Instructions
No Bake Graham Cracker Crust:
- Crush the graham crackers finely and add them to a mixing bowl.
- Add the sugar and the salt to the graham crackers and stir together
- Melt the butter and pour it into the mixing bowl. Stir the graham cracker mixture together until all the crumbs are evenly coated in butter.
- Press the graham cracker crust into your baking dish and chill in the fridge for 1 hour before using.
Baked Graham Cracker Crust:
- If you prefer to toast the graham crackers, you can bake your crust to give it a golden brown finish. Assemble the pie crust as directed above.
- Preheat the oven to 350°F. Bake the graham cracker crust for 12 - 14 minutes or until lightly golden. Cool for 45 minutes before using.
Save This Recipe to Your Recipe Box
Find this delicious recipe next time you visit by saving it to your very own recipe box on my site. All your favorites stored in one easy place!
