Flaky Buttery Pie Crust From Scratch

This buttery pie crust has just 4 ingredients and only uses butter, no shortening or oil. It is so easy to make with your food processor and can be made ahead the day before or frozen for later baking -- a great make ahead trick for holiday baking.
When I was a brand new newlywed, a friend of mine gave me a cookbook about pies. Her sweet note said something along the lines of: "Now that you're married, maybe you'll want to know how to bake pie."
Do only grown-ups bake pies? I'm not sure, but after some trial and error, I am SO excited to have finally found the world's most perfect all-butter pie crust.
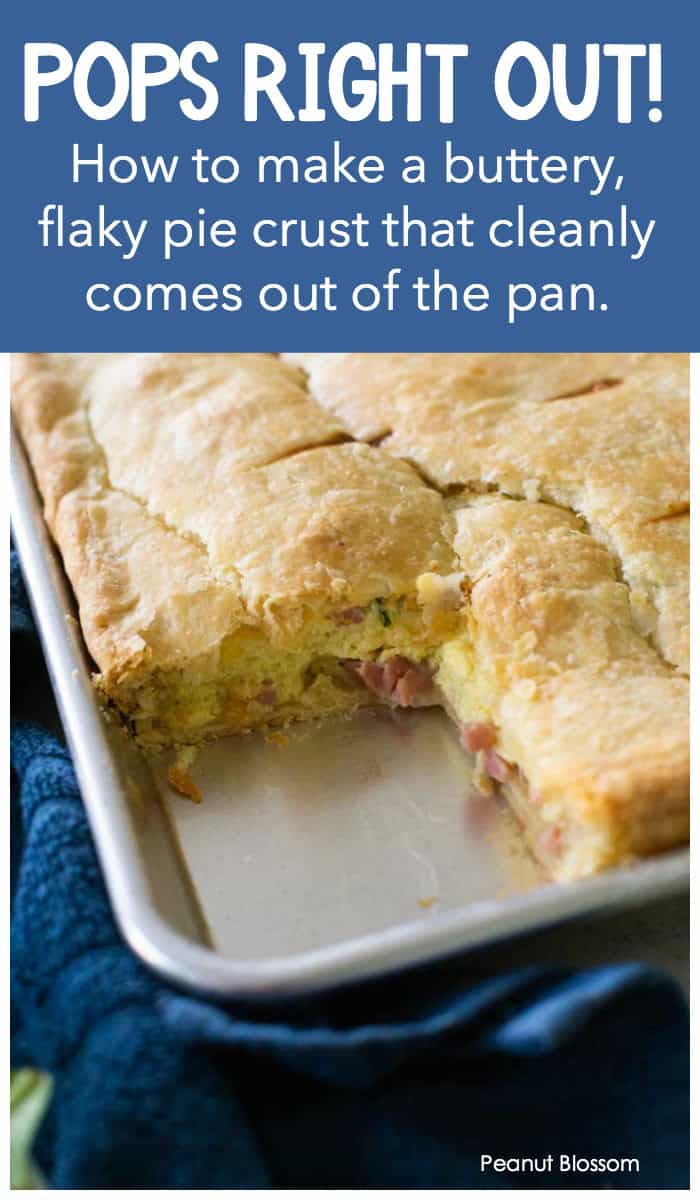
With simple tips for how to prepare the dough, roll it out, and how to bake it so that the slices of pie POP right out of the pan neat as a pin, you'll be on your way to baking easy homemade pies with the flakiest crust you've ever had!
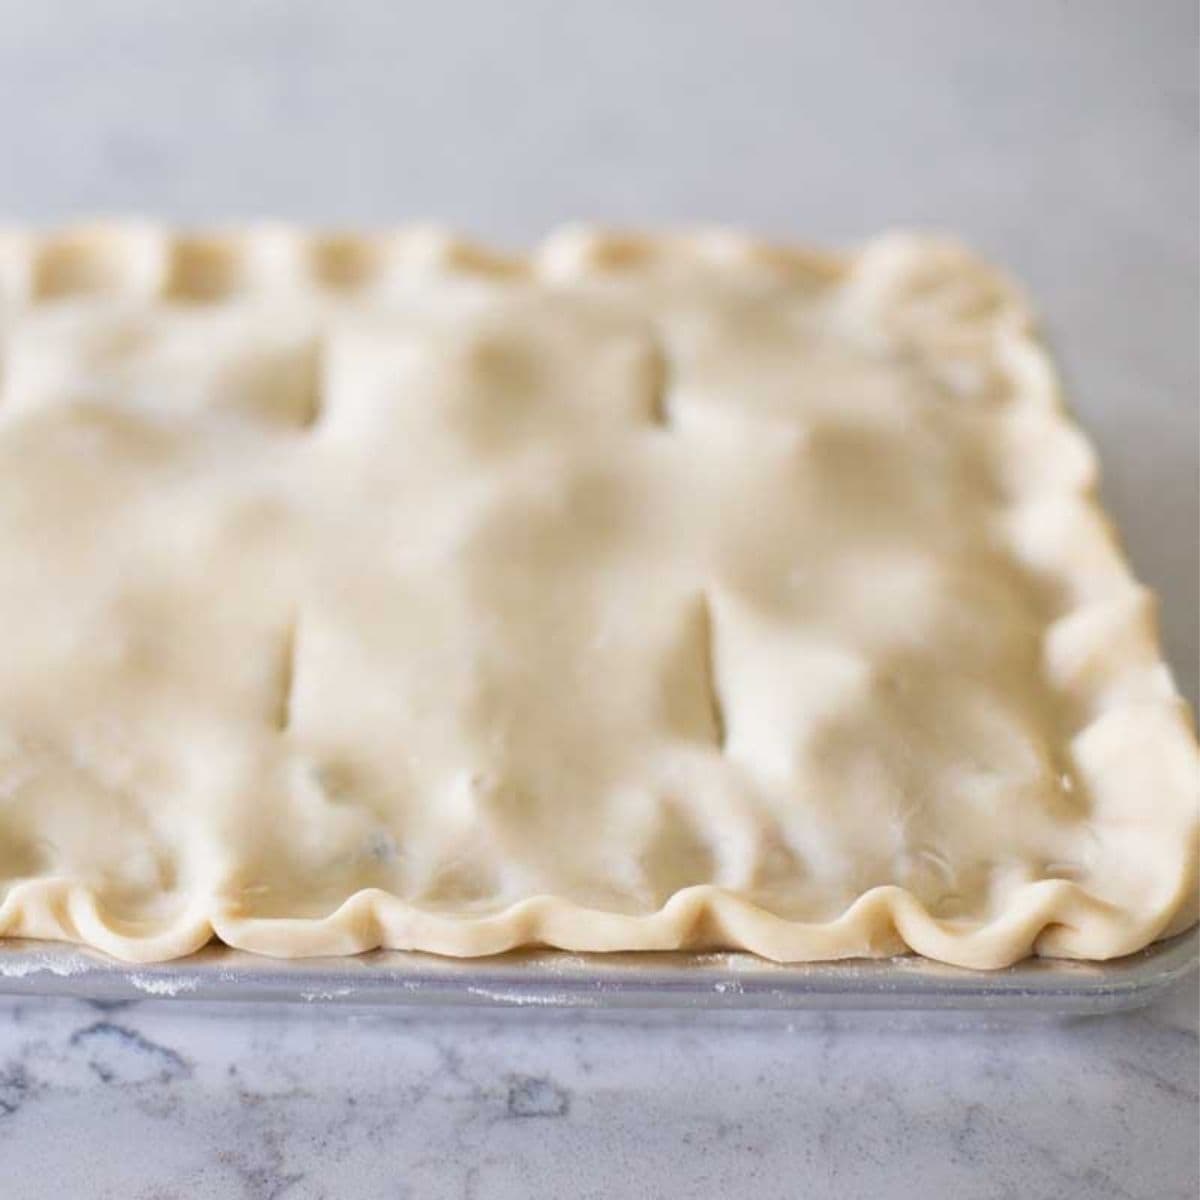
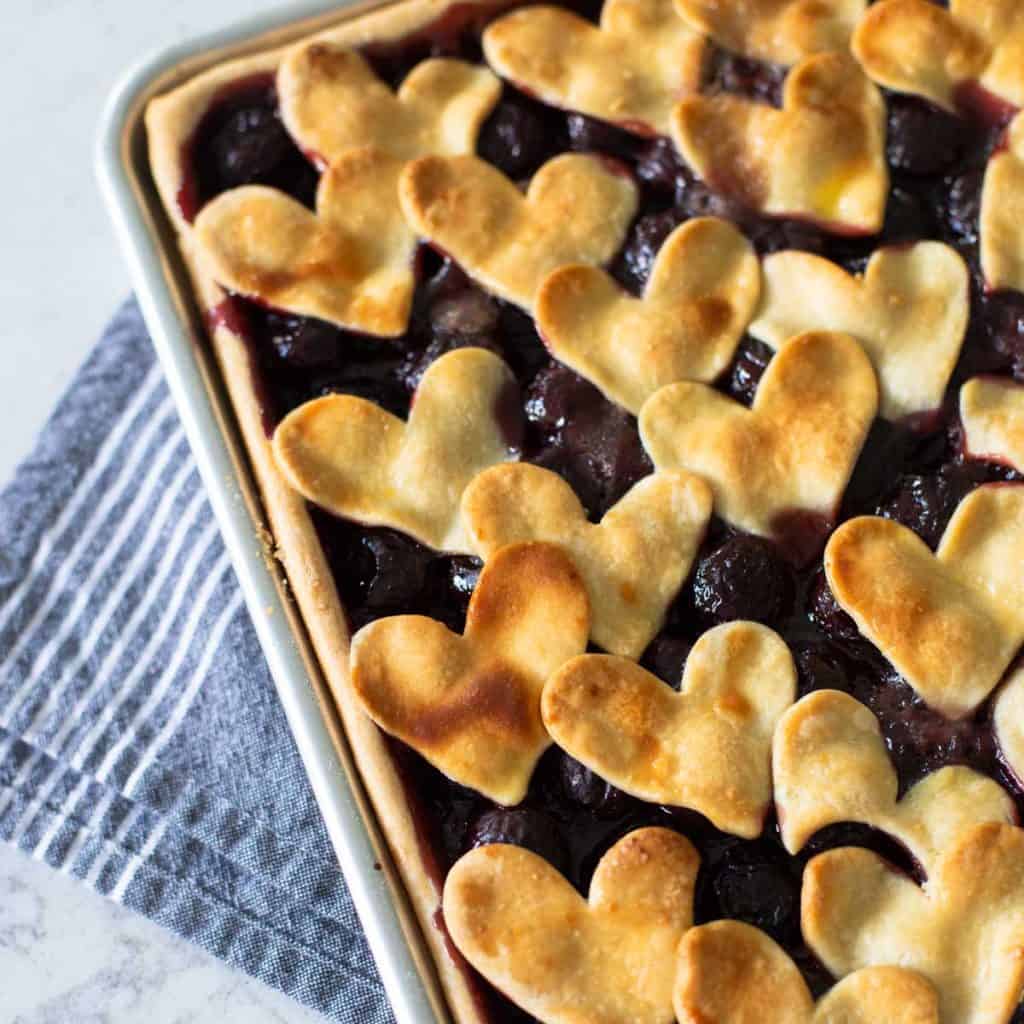
This recipe makes the perfect pie dough for a slab pie baked in a rectangular baking pan like this delicious cherry slab pie.
But you could adjust it for a classic round pie dish, too.
Ingredients
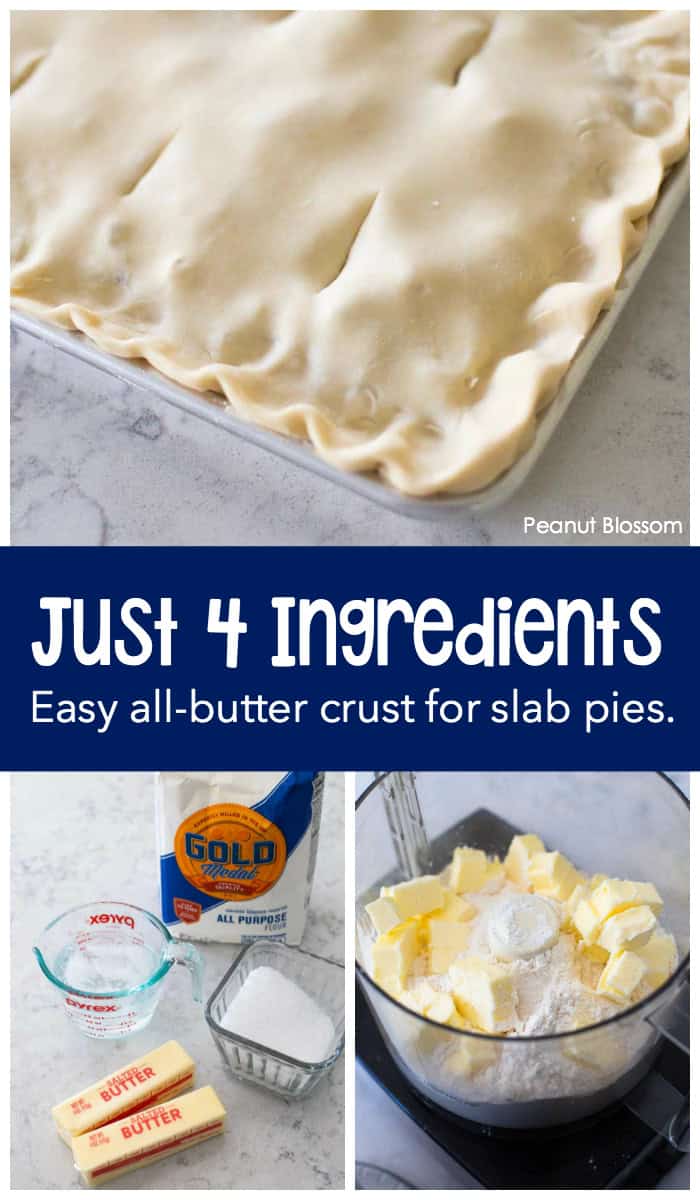
To make the perfect flaky buttery pie crust, your supply list is shockingly short. You only need 4 ingredients!
- Butter: You will need two whole sticks, cold. Most bakers will tell you to use unsalted. We use salted and it works just fine.
- Flour: General all-purpose flour is the perfect choice.
- Kosher salt: The best choice for baking.
- Ice water: The real key to perfect pie crust is COLD everything.
Want to Save This for Later?
Tools You'll Need
There are a few tools that will make the job of making perfect pie crust a lot easier. I strongly recommend:
- A food processor: I highly recommend this tool, but if you're really handy, a pastry cutter tool would work.
- A metal pie pan: After lots of trial and error, I have found these to be the world's very best pie pans. I use them for roasting everything, but I bought a special set to keep separately for nothing but pies. My roasting pans really get abused in the kitchen. Get my favorite pie pans here.
- A pie rolling mat: You could roll your crust out on the counter or a cutting board, but this mat lets you roll out the top crust and roll it up for storing in the fridge while you prepare the filling. I love this mat here.
Tips for Perfect Dough
Sometimes recipes with the shortest ingredients can have the most specific instructions.
Follow these pie crust tips and you'll ensure that the butter cut into the flour remains perfectly chilled before it is baked in the oven.
As the butter melts during baking, it will release steam inside the dough which creates air pockets that make your pie crust flaky.
Tip #1: Keep It Crazy Cold
Cold butter worked into the flour will help puff up the crust as it bakes. If you keep every last little thing as cold as possible before putting it into the oven, your butter pie crust is going to be nearly as flaky as a croissant.
When you make the dough, use straight-from-the-fridge butter and ice water.
Put the dough back into the fridge as soon as the dough is prepared and let it chill for 4 hours.
Use COLD filling in your assembled pie. If you try to put a hot filling (like a pot pie), it will warm up the butter and you'll lose the flake. Prepare your filling and chill it down before adding to the crust.
Pop your assembled pie back into the freezer for 5 - 10 minutes before you put it into the oven.
Tip #2: Work Quickly
The entire dough prep should take less than 3 minutes before the dough is put back into the fridge to chill.
Prep the flour, ice water, and salt before you get the butter out of the fridge.
Pulse the butter into the flour. Pour the ice water in, and process the dough until a ball forms.
Pop the dough onto a piece of plastic wrap and put it back in the fridge.
Tip #3: Roll and Chill
Split the dough into two halves -- one slightly larger than the other. The larger ball will become the bottom crust, the smaller one will become the top.
Roll out the larger bottom crust and lay it in your pie pan. Put it in the fridge to chill.
Roll the smaller top crust out and roll it up in your pie mat and put it in the fridge to chill.
Tip #4: Even Baking Surface
This is the MOST important tip on this entire page:
When you go to preheat your oven to bake the pie, place a large cookie sheet upside down on the rack where you plan to bake the pie.
Let the cookie sheet heat up with the oven.
Place your pie directly on the hot cookie sheet when it bakes.
The solid heated surface will help the entire pie crust to cook evenly and helps ensure that the middle of the pie will be just as crispy as the outer edges.
It works like a charm!
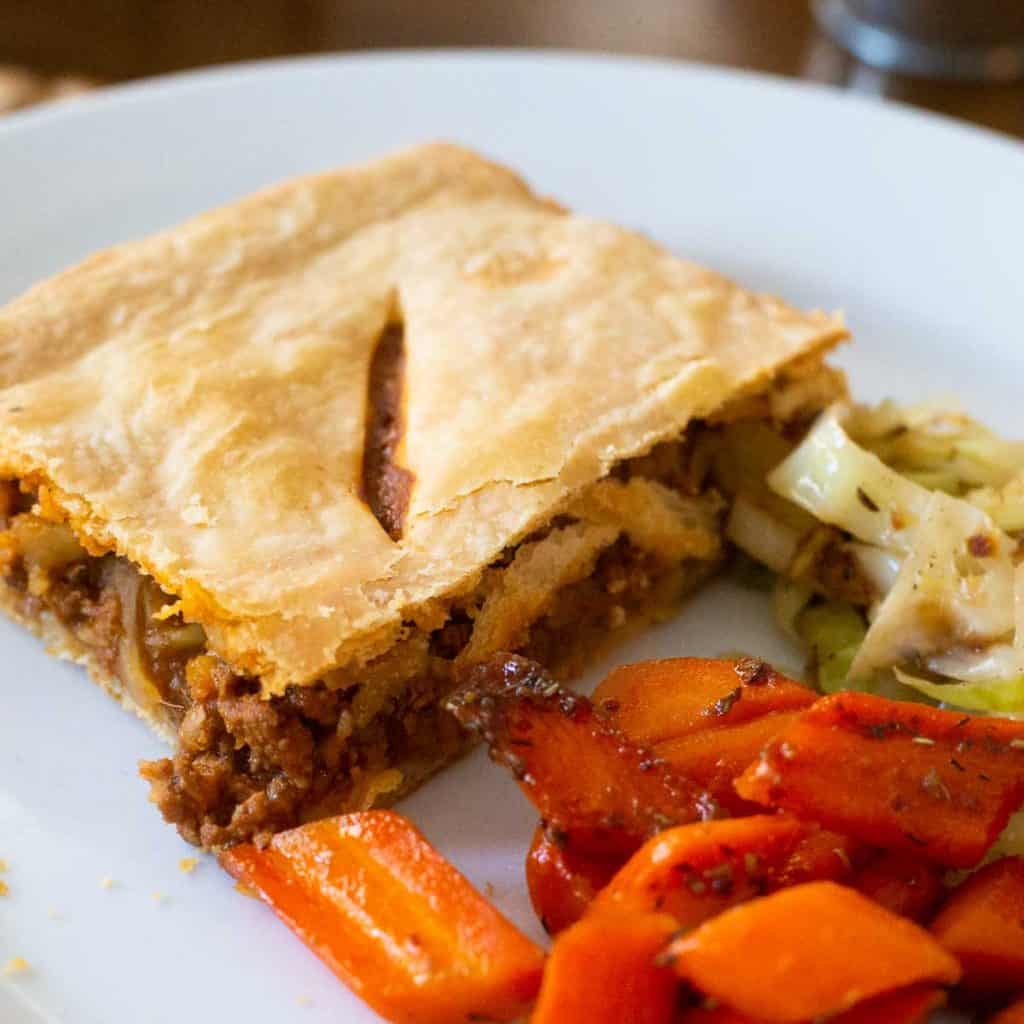
I've made multiple pies over the last few months, both sweet and savory. Every last one has been completely to die for.
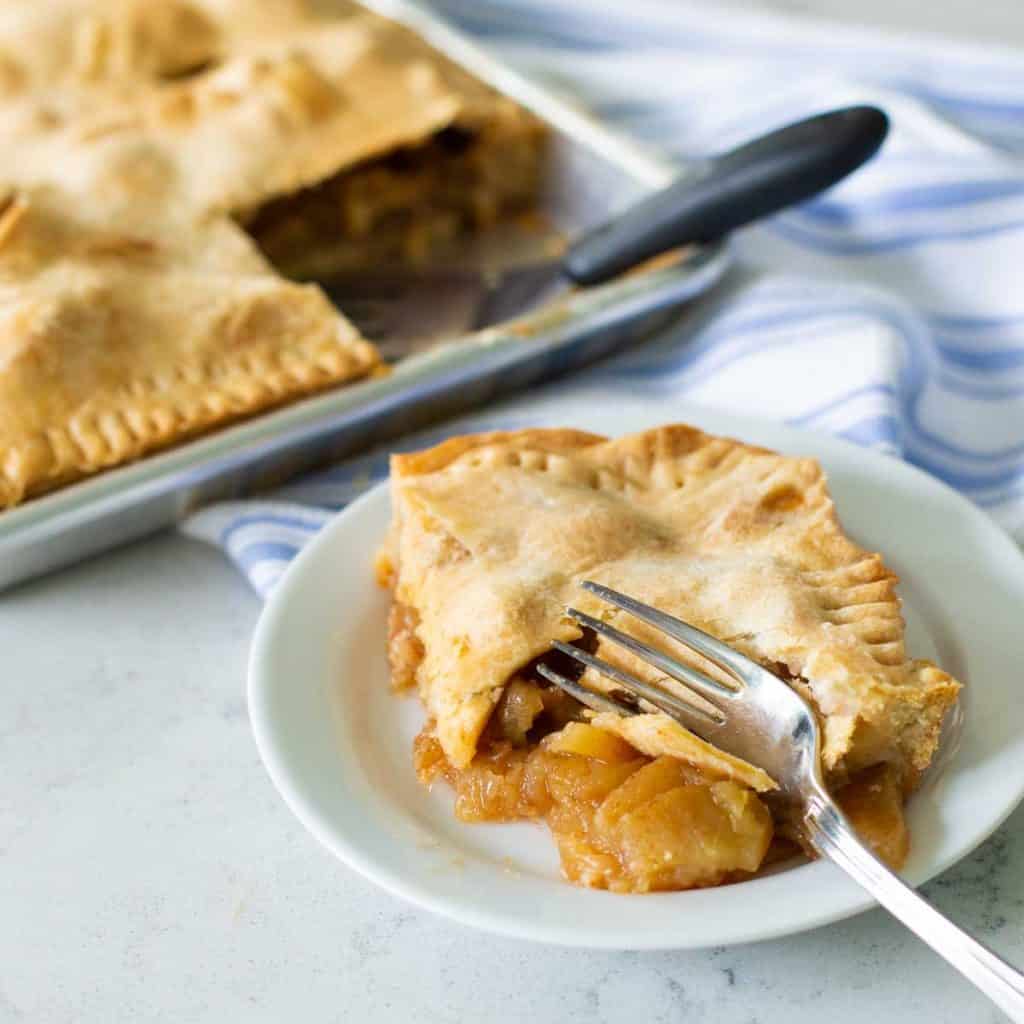
I've never in my life tasted pie crust so flaky and buttery and amazing. My family fights over the corner pieces because there's more pie edge to enjoy.
Every last one has sliced up miraculously cleanly and popped right out of the pan. The bottom crust is just as delicious as the top.
Recipes with Pie Crusts
From sweet to savory, this buttery pie crust is perfect for my favorite classic round apple pie and my favorite apple slab pie. Don't miss the delicious cherry slab pie, too.
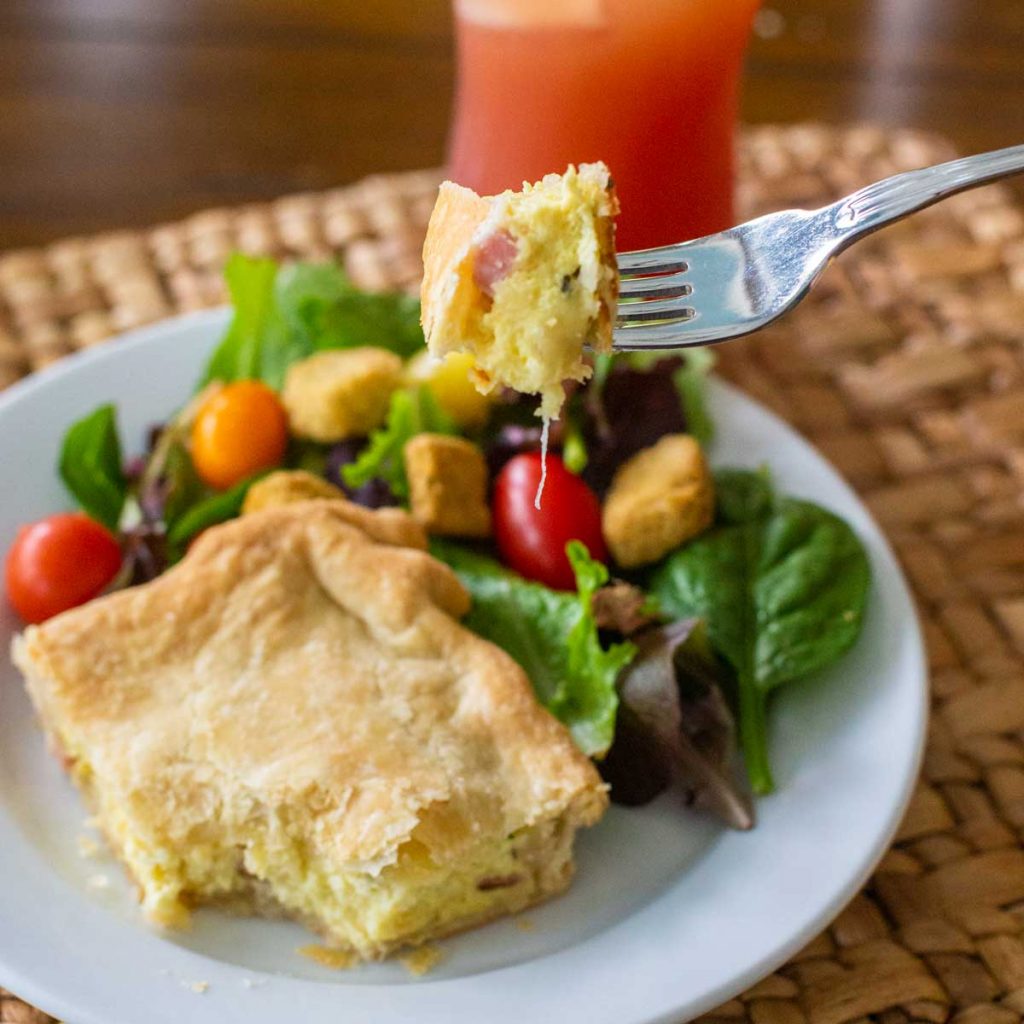
I've also used it in my popular egg and ham breakfast pie and the make ahead ham slab pot pie.
📖 Recipe

Flaky Butter Pie Crust
Ingredients
- 1 cup (2 sticks) butter cut into large cubes and chilled
- 2 1/2 cups all purpose flour
- 1/4 tsp kosher salt
- 1/2 cup ice water fill the cup with 1/2 cup water and then add lots of ice
Instructions
To Prepare the Dough:
- Chop the butter into large chunks and then place back in the fridge to chill for 20 minutes. (If you're in a rush, just work really quickly and get the dough back in the fridge as fast as possible.)
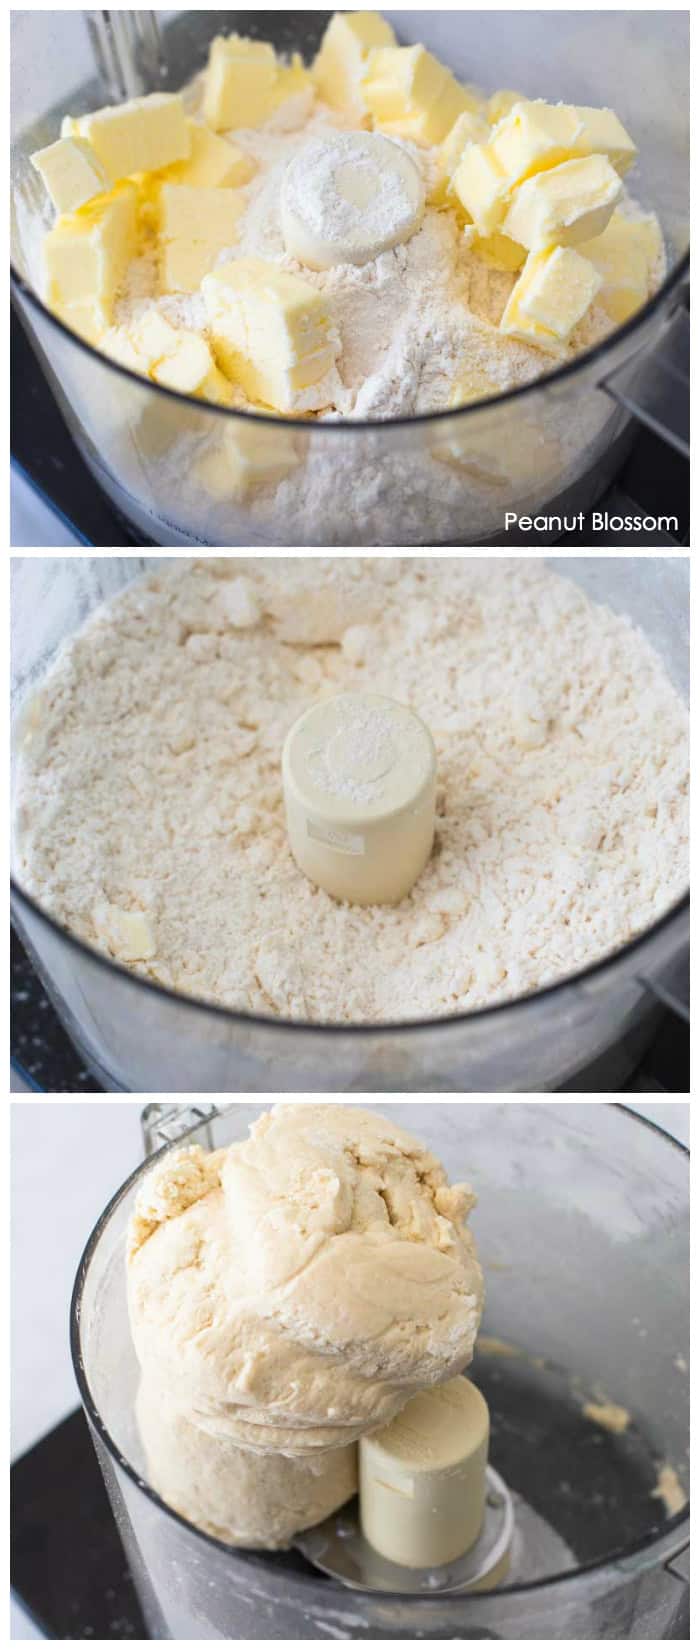
- Add the flour and salt to the bowl of a food processor. Sprinkle the cubes of butter over the top. Pulse 10 - 15 times or until the butter is in small pieces all throughout the flour.
- With the lid on the processor, slowly drain the ice and drizzle in the water through the feeding tube of the lid while the dough runs. Process the dough until a ball just begins to form. Less than one minute, usually.
- Pat the dough ball into a squat rectangle shape on a piece of plastic wrap. Wrap and cover it and place in the fridge to chill for at least 4 hours before you bake. Don't rush this step if you can avoid it, the resting period is what helps to make the crust extra flaky.
To Roll the Dough:
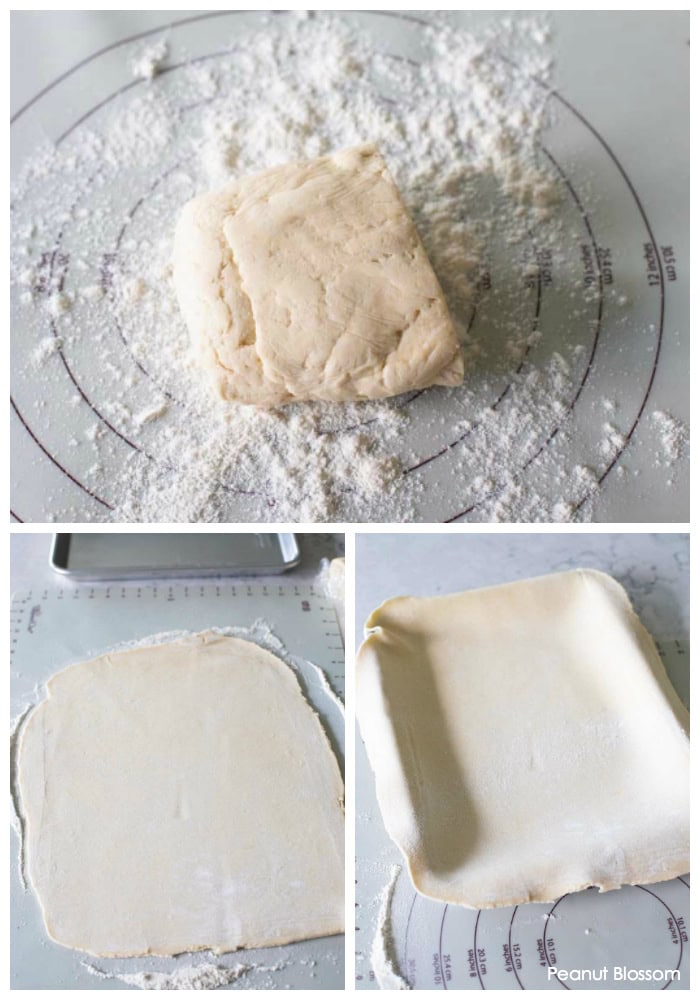
- Divide the dough into two sections -- 1 slightly larger than the other. The larger half will serve as the bottom crust.
- On a lightly floured surface, roll out the bottom crust and lay it into your pie pan. Be sure to flour your rolling pin so it doesn't stick. Place in the fridge to chill.
- Sprinkle a little more flour on your surface and roll out the top crust. Roll it up in the baking mat and store in the fridge to chill.
To Assemble the Pie:
- Any filling you use should be COLD. Do NOT try to put a hot filling directly into your chilled pie crust. Prepare hot fillings earlier in the day so they can chill before using.
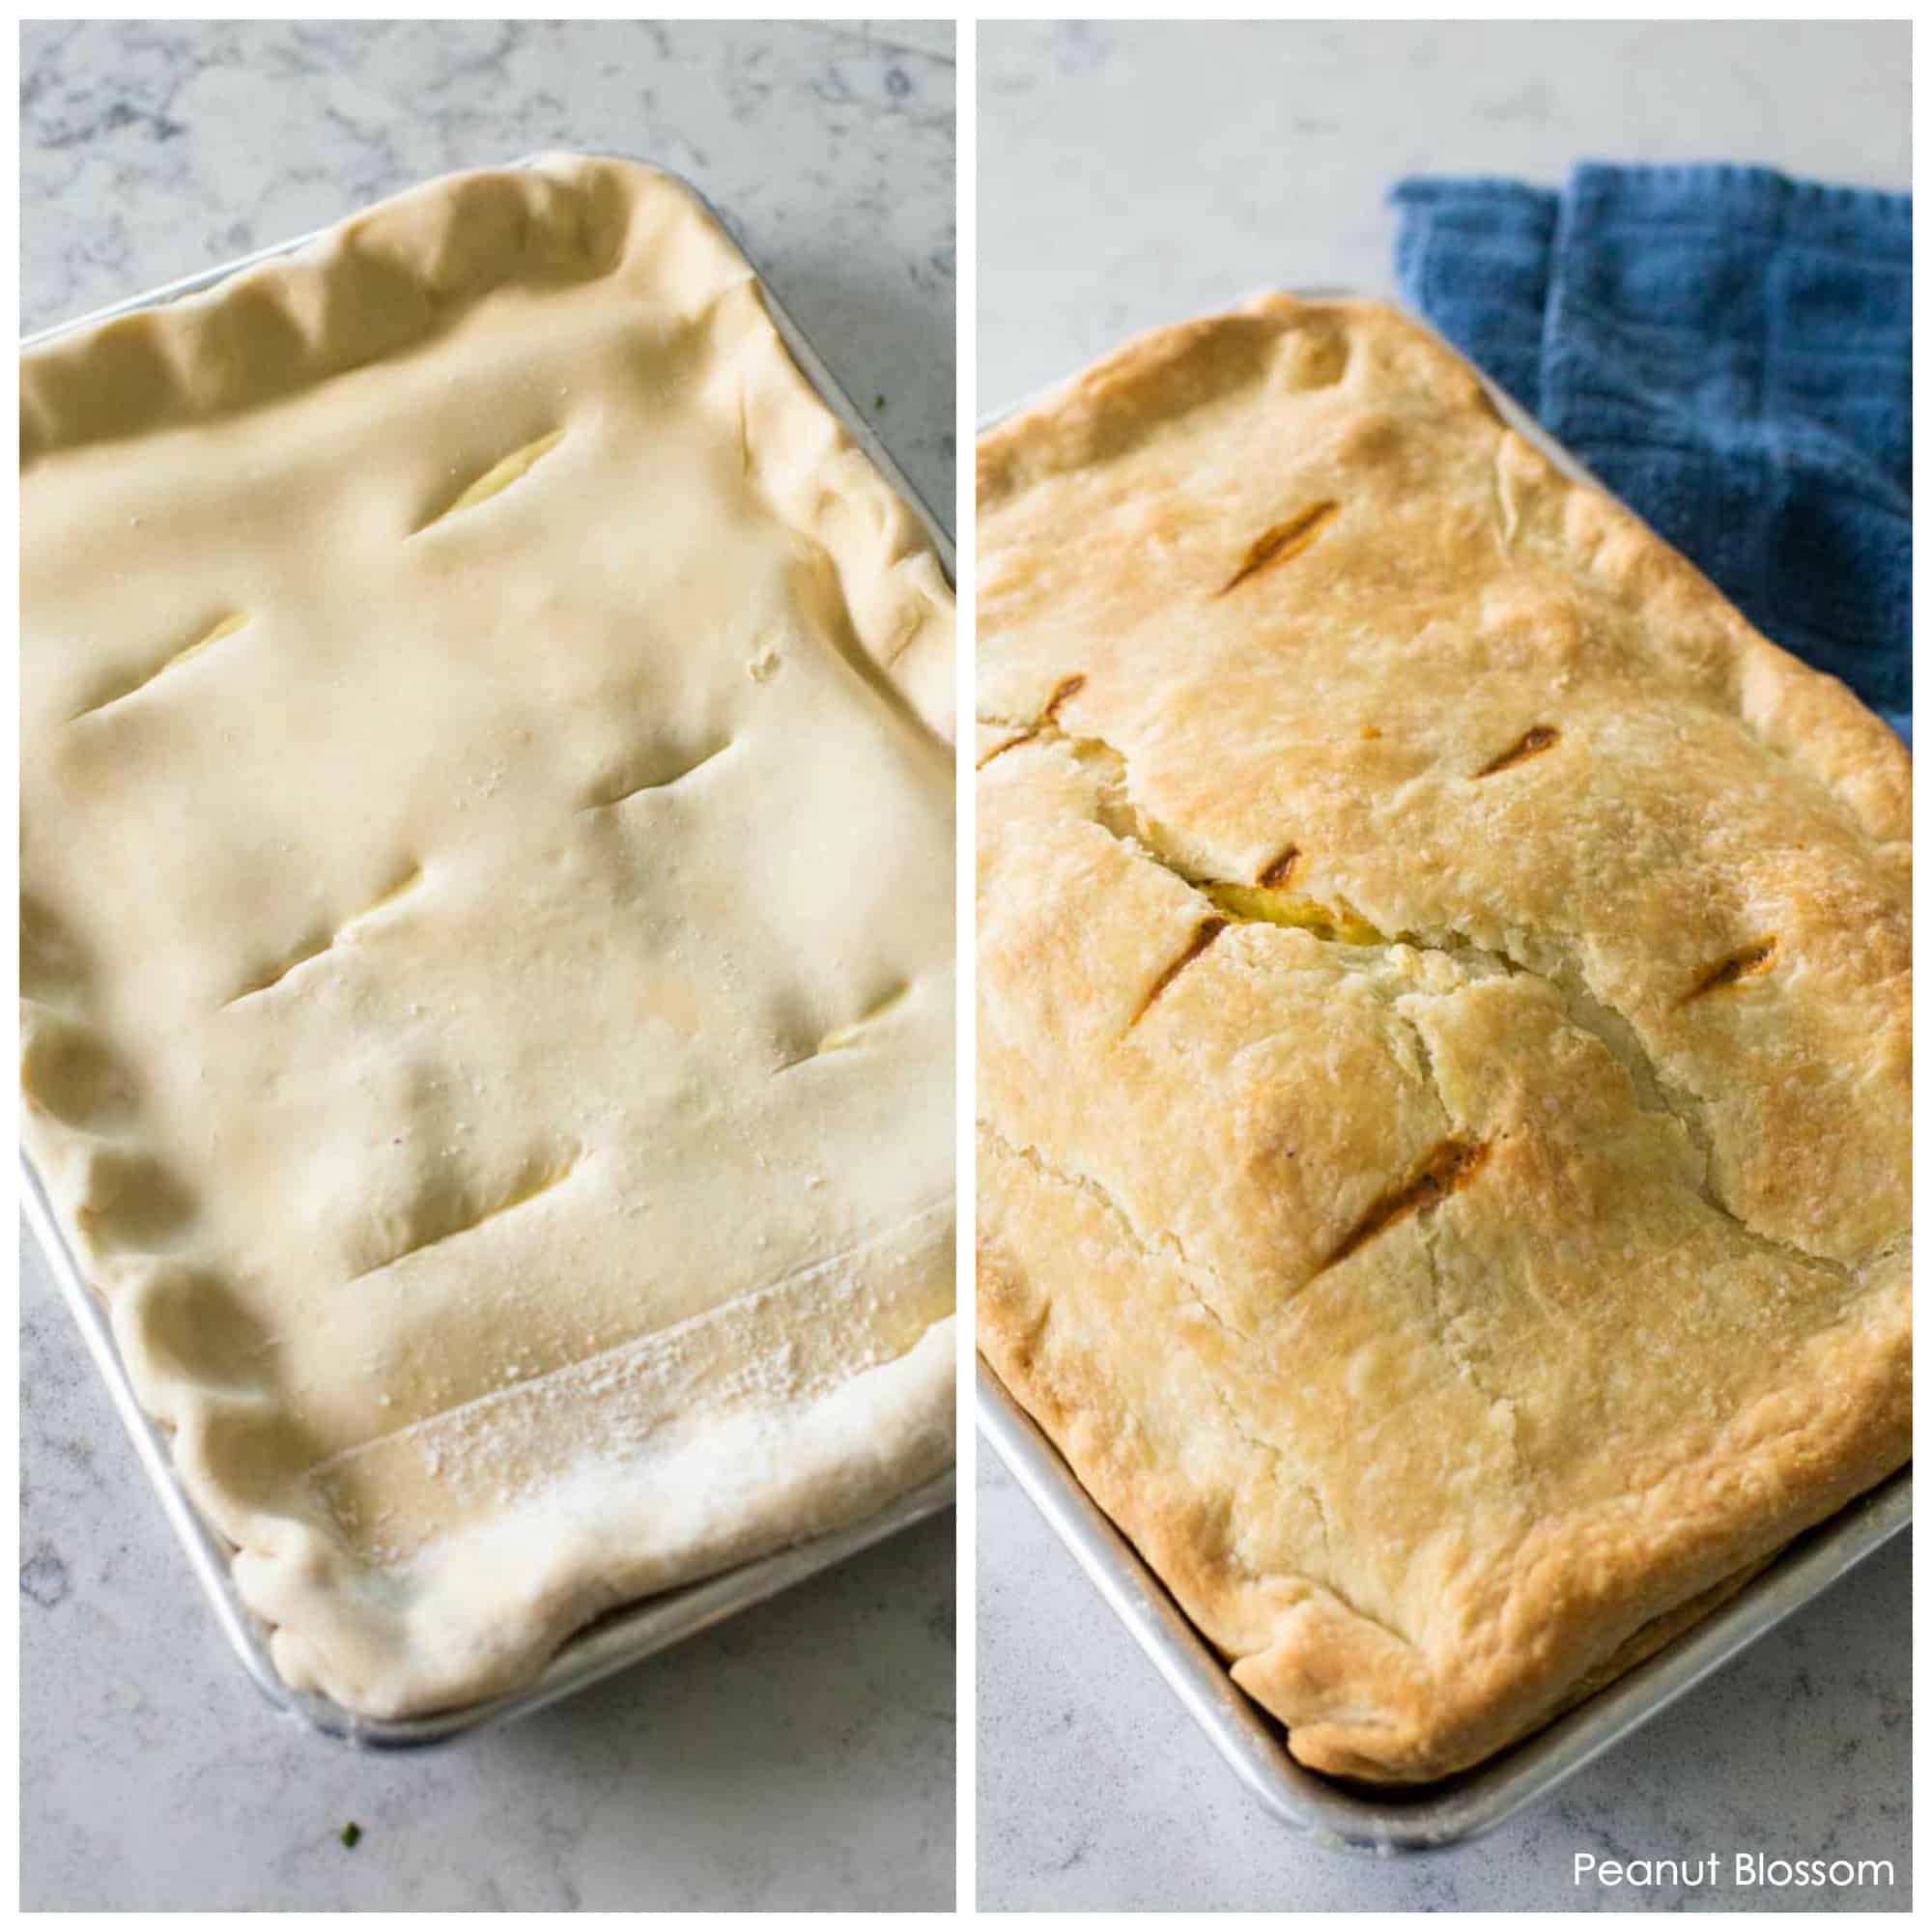
- Fill the bottom crust with your filling of choice. Gently unroll the top crust and lay it over the pie. Crimp the edges together and cut venting slices in the top.
- Place your assembled pie back in the fridge while the oven preheats.
To Bake the Pie Crust:
- Place a cookie sheet upside down on the oven rack you plan to bake your pie. Let it preheat inside the oven.
- Heat the oven to 375°F.
- Place your pie directly on the preheated cookie sheet. The hot surface will help to evenly cook your bottom pie crust.
- Bake for 40 - 45 minutes or until your filling is done and the crust is golden brown.
Recipe Notes
Save This Recipe to Your Recipe Box
Find this delicious recipe next time you visit by saving it to your very own recipe box on my site. All your favorites stored in one easy place!
3 Comments