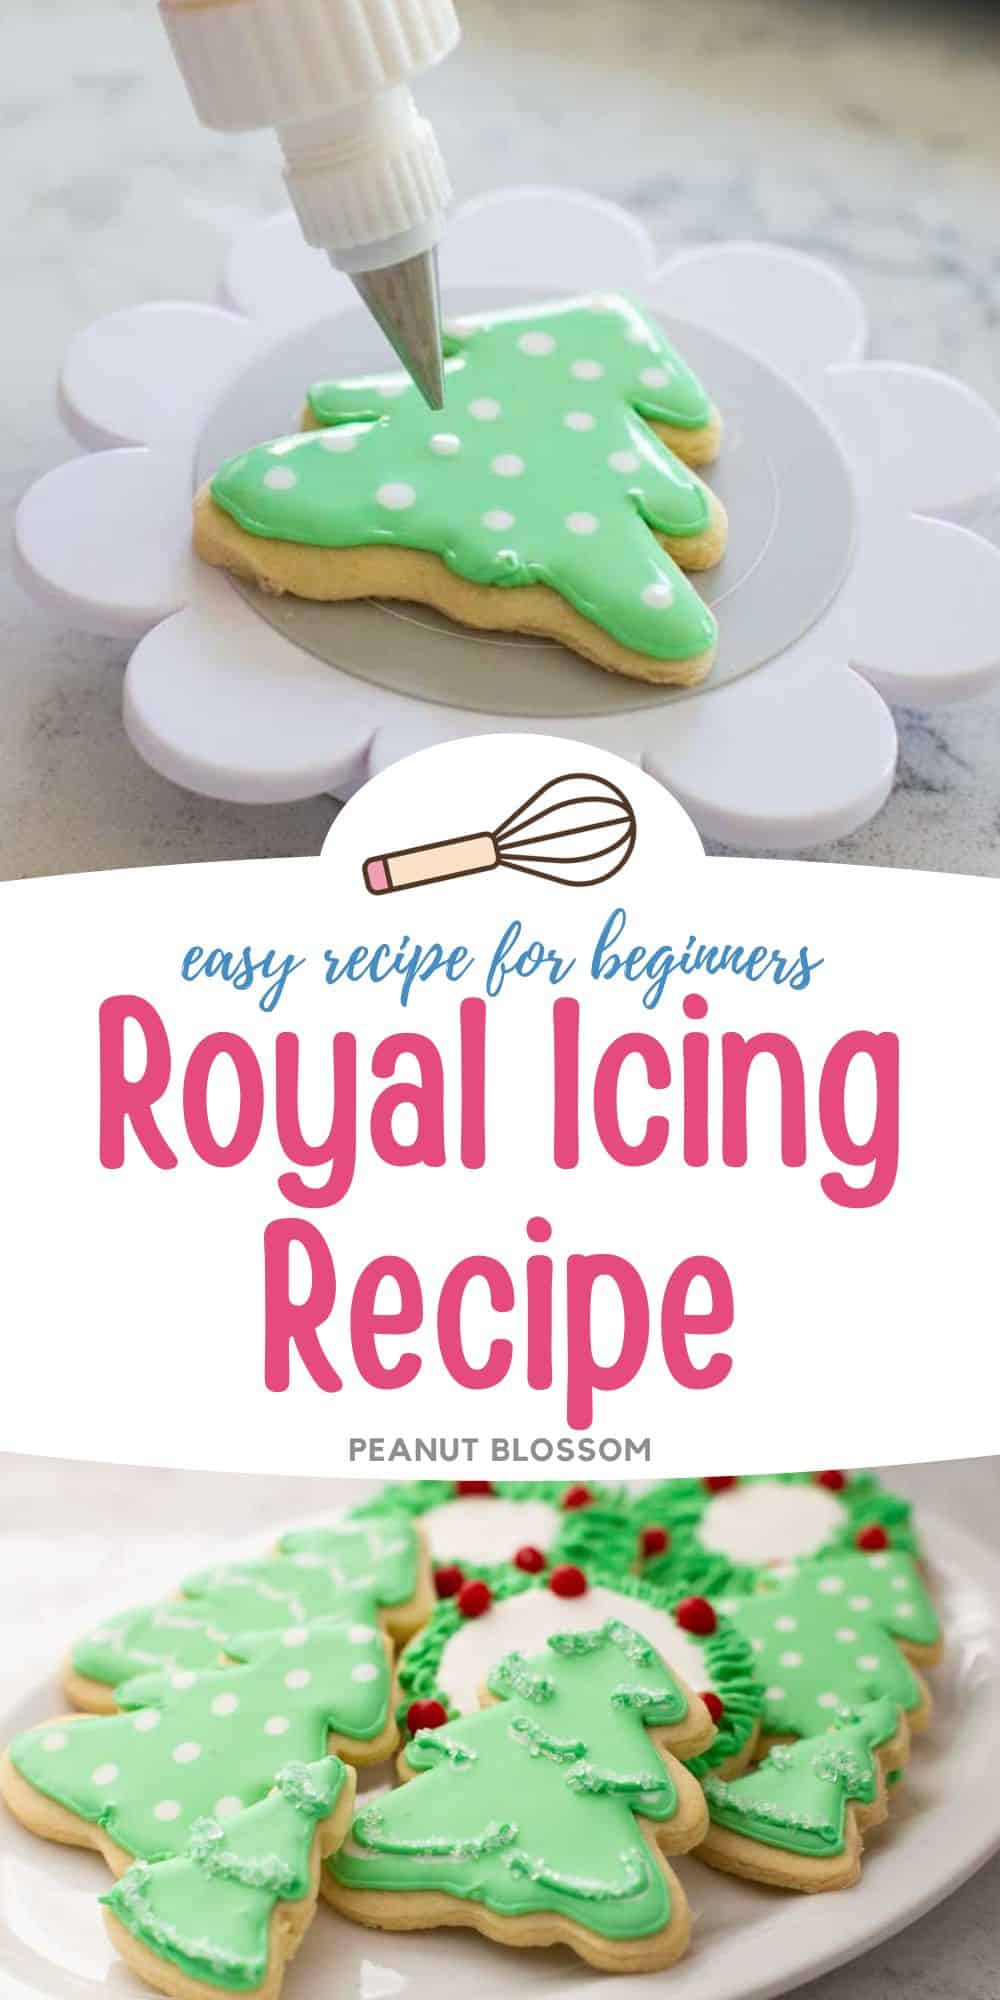
Easy Royal Icing Recipe

This easy royal icing recipe is perfect for decorating simple but stunning sugar cookies for any celebration all year long. Learn all the tricks for mixing up the simple ingredients, how to tint the frosting with food gels, and mix the perfect consistency for both piping and icing for flooding.
Learning how to decorate sugar cookies with royal icing has been a personal goal of mine for years.
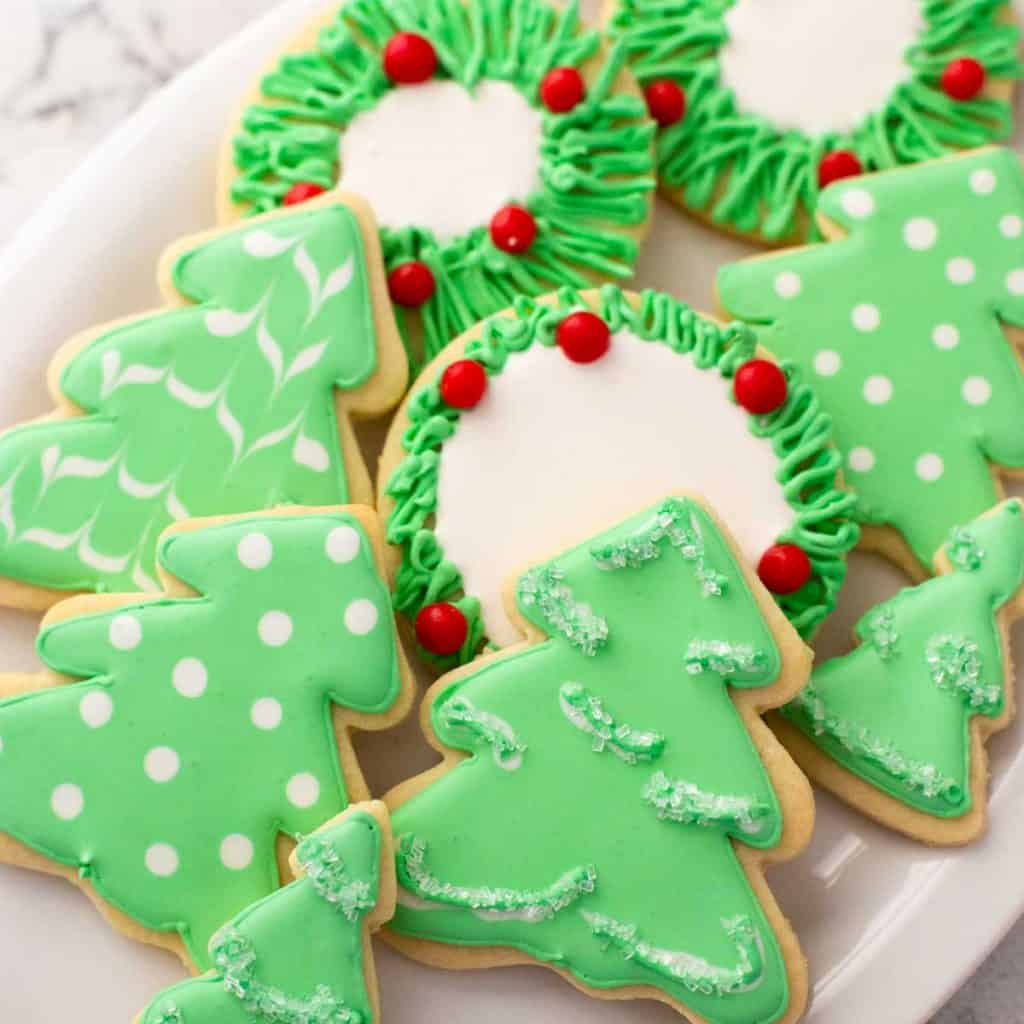
My girls and I enjoy making a tray full of simple but stunning sugar cookie cut-outs before each Christmas using these easy Christmas cookie designs.
Over the years, I've perfected the recipe for cookie decorating with kids, but today I want to talk you through everything you need to know to make this an easy cookie project you can turn to any time of year.
What Is Royal Icing?
If you're unfamiliar with this popular cookie frosting, royal icing is a simple cookie glaze that is mixed together with food gel to make any color you desire.
The glaze has two essential consistencies:
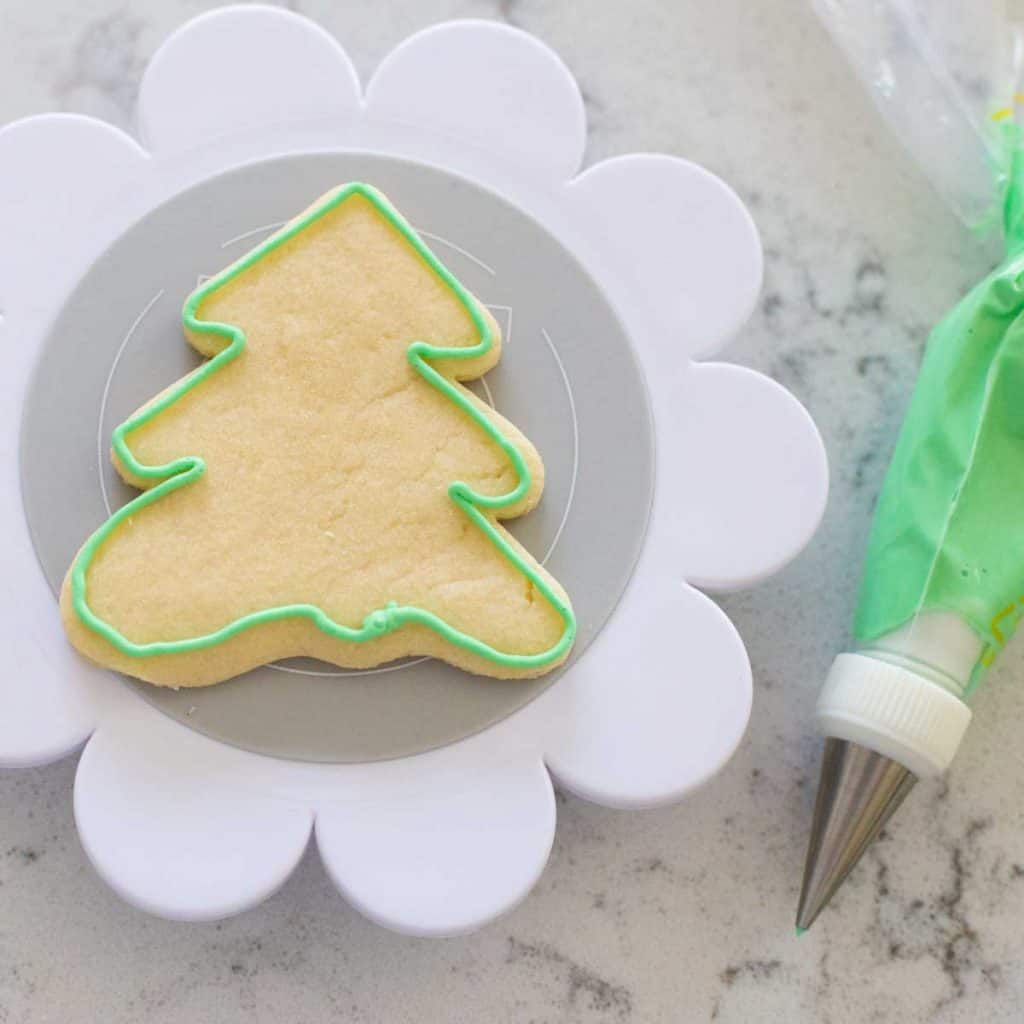
- Piping Icing: Thicker and more stable, used for creating the edges and borders of the cookie design as well as decorative textures for the top of the cookie.
- Flooding Icing: Smoother and runnier, used to fill in the patterns this texture dries to a very smooth, polished finish.
Ingredients
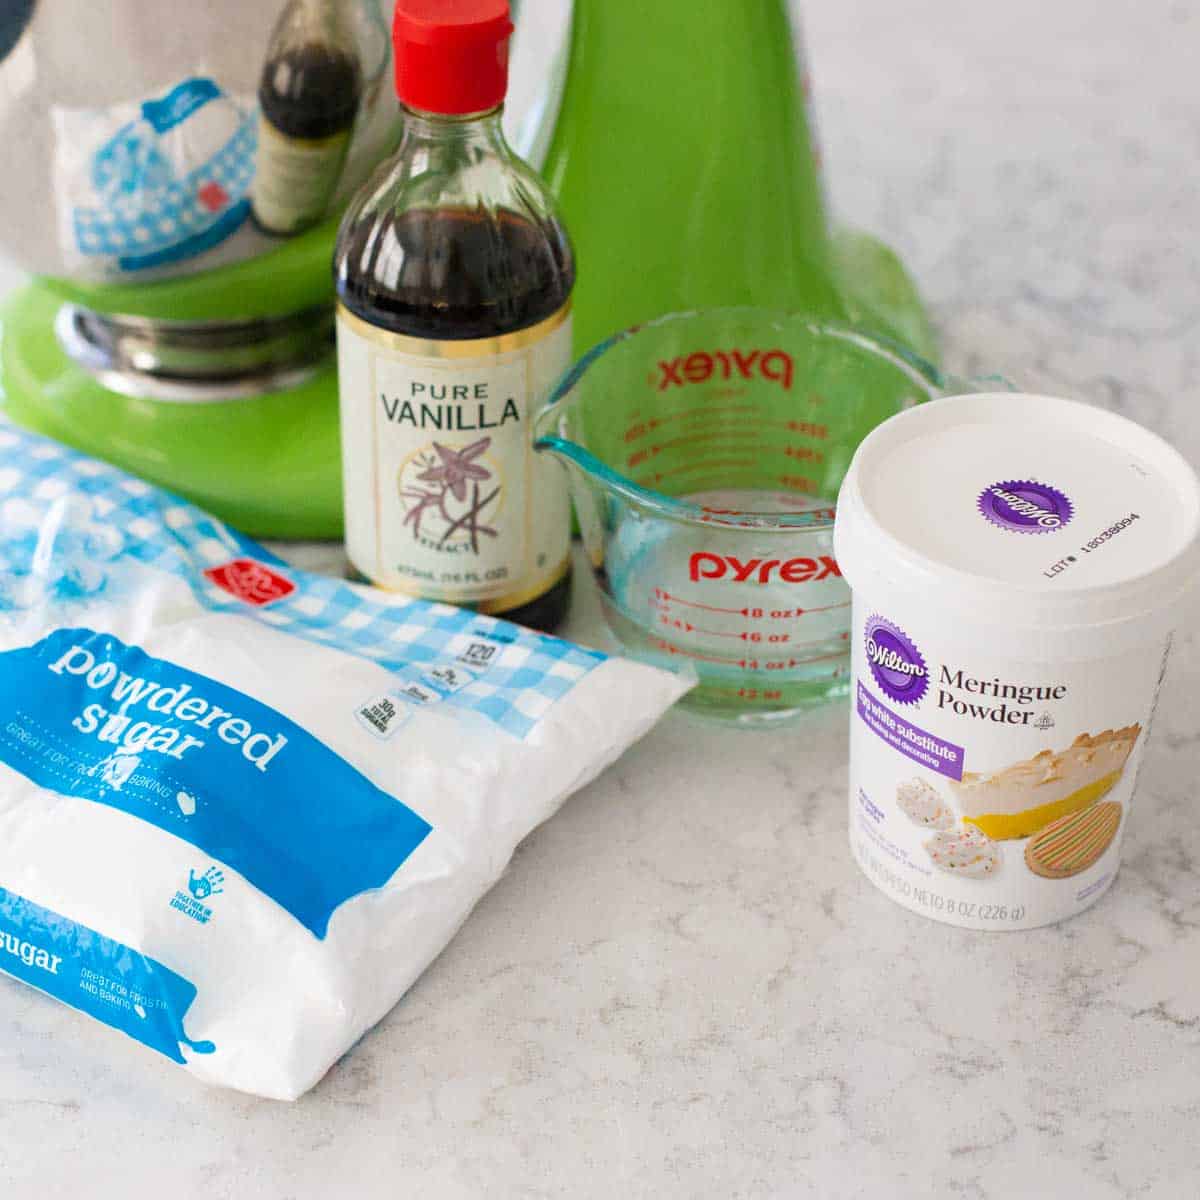
The ingredients for royal icing are so very simple, there's just one easy secret ingredient you may have to pick up before you start.
- Meringue Powder: Made from dried egg whites powder, this helps stabilize the icing and gives it that gorgeous smooth finish. You can buy it at local baking supply stores, Michael's, or even this budget-friendly 3-pack on Amazon here.
- Vanilla Extract: Some bakers prefer to use a clear vanilla extract to keep their icing bright white. I personally don't mind the warmer tone to our icing and like to keep things easy so I just use our regular vanilla.
- Powdered Sugar: Also known as confectioner's sugar. You'll need 1 pound if you are decorating sugar cookies and 2 pounds if you are building gingerbread houses.
- Water: Just from the tap!
Supplies You Need
- Mixer: A stand mixer with a paddle attachment does make the mixing of this very-stiff frosting much easier but you could probably do it with a handmixer if you prefer.
- 1-cup measuring cups: The built-in spout makes these small cups the ideal tool for tinting icing. You can more easily pour the flooding consistency into a decorating bottle and skip the funnels. I love this 2-pack of cups here.
- STRONG spatula/scraper: This is a very thick, very stiff frosting to start. A heavy-duty scraper will help as you mix the icing and need to scrape the mixing bowl walls. Flimsy scrapers won't hold up well.
- Plastic wrap: For keeping air off the finished icing before you can use it.
- An airtight container: I just use Pyrex containers with an airtight lid. You can use any storage container you prefer.
- Piping bags with couplers: For more tips, see the Piping Consistency notes below.
- Food gels: Royal icing is sensitive to liquids. To maintain the proper consistencies, I prefer using thick food gels instead of food color drops. This beginner set of food gels has everything you might need for a wide variety of projects.
- Kabob skewers/toothpicks/cookie pricks
How to Make the Icing
You can make the icing a couple days ahead of when you want to decorate your cookies. I love to prep it and save my time and energy for a fun decorating session later.
First, add the powdered sugar and meringue powder to the bowl of your mixer and combine them on low speed with the paddle attachment.
Second, with the paddle still turning, drizzle in the vanilla extract.
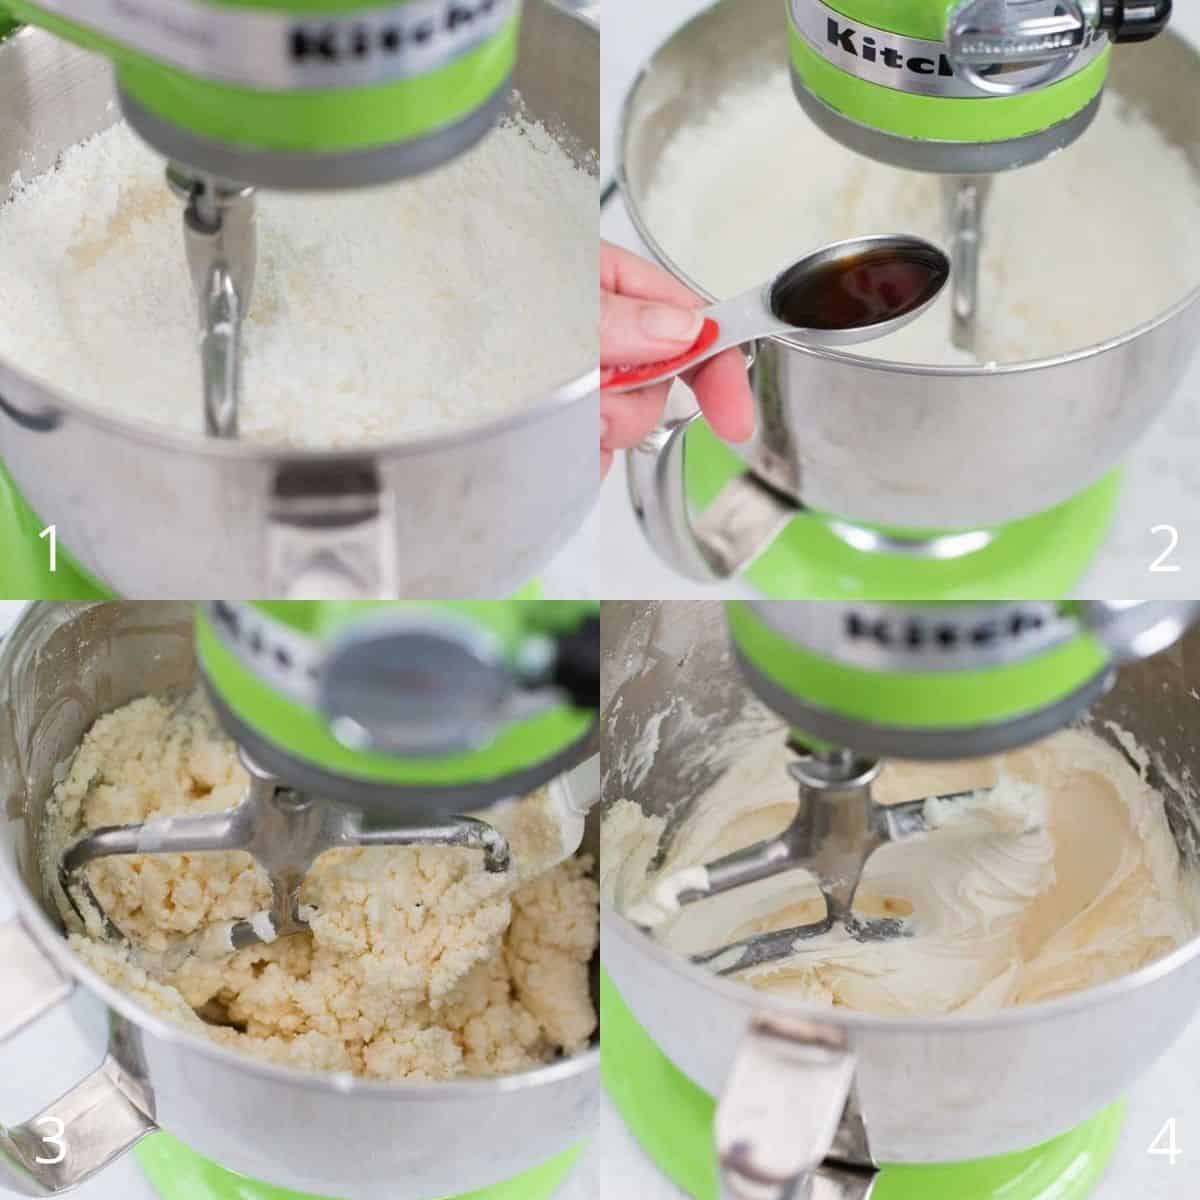
Third, drizzle in HALF of the water with the mixer still turning on low. Let it turn until the mixture becomes very course. Pause the mixer and scrape the sides.
Finally, add the remaining water just a tablespoon or so at a time, as the machine continues to mix. You may not need the entire remaining water.
The royal icing should look smooth but be very thick. Turn the speed up to high and beat the frosting for 3 - 4 minutes or until it is lighter, fluffy, and starts to form medium-soft peaks.
The Most Important Thing To Do
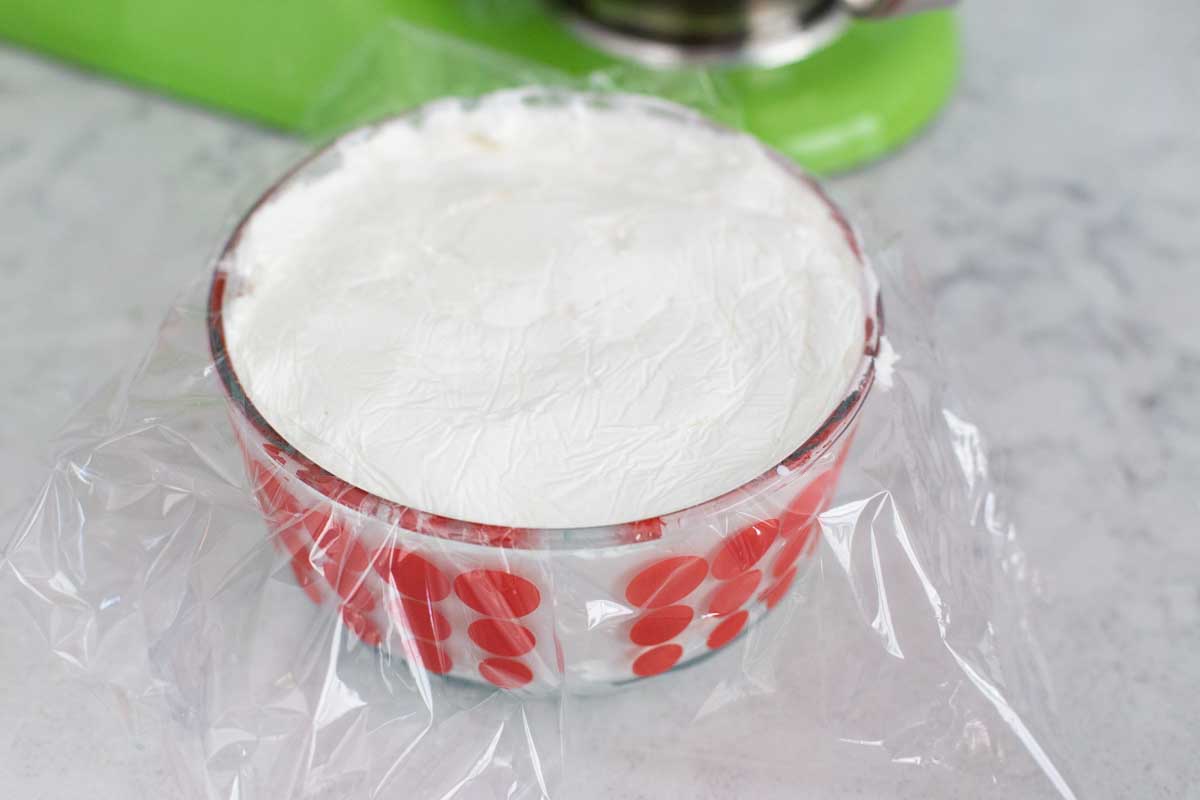
Once the icing has formed the right texture, you immediately want to store it in your airtight container to prevent the surface from drying out.
Once it begins to dry, the icing will form crispy chunks that will prevent you from getting that smooth finish.
Fill your container as full as possible. Then place plastic wrap directly on the icing, covering the entire surface. Then you can seal the container with the lid.
This buys you all the time you need to clean up your workspace and get everything you need ready for creating the tinted icings for your cookie project.
You can store the icing in this container for 2 - 3 days before using if desired.
How to Color the Icing
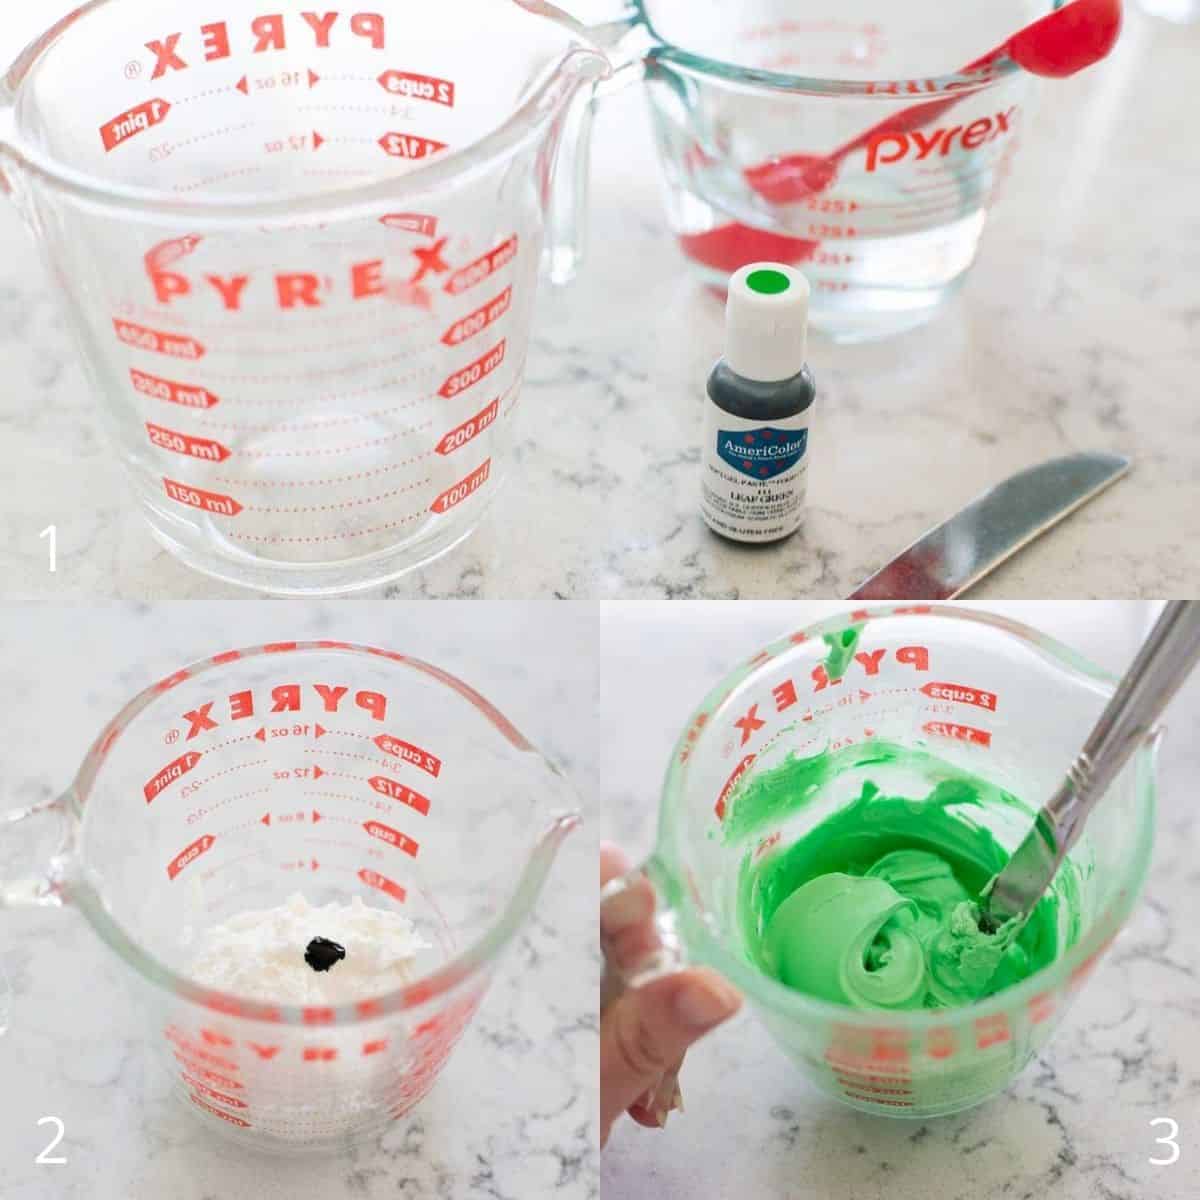
Once you're ready to tint the icing, simply gather these basic tools:
- A measuring cup filled with water
- A teaspoon
- The food gels you want to use
- A container to mix the icing with the gel
- A knife or spoon for mixing
- The piping bags or decorating bottles to store the tinted icing
Want to Save This for Later?
Scoop out a portion of the thick royal icing base you mixed earlier and add it to your mixing container. I love using a 1-cup measuring cup with a spout for this.
NOTE: Immediately cover the container back up with the plastic wrap and lid before you do anything else.
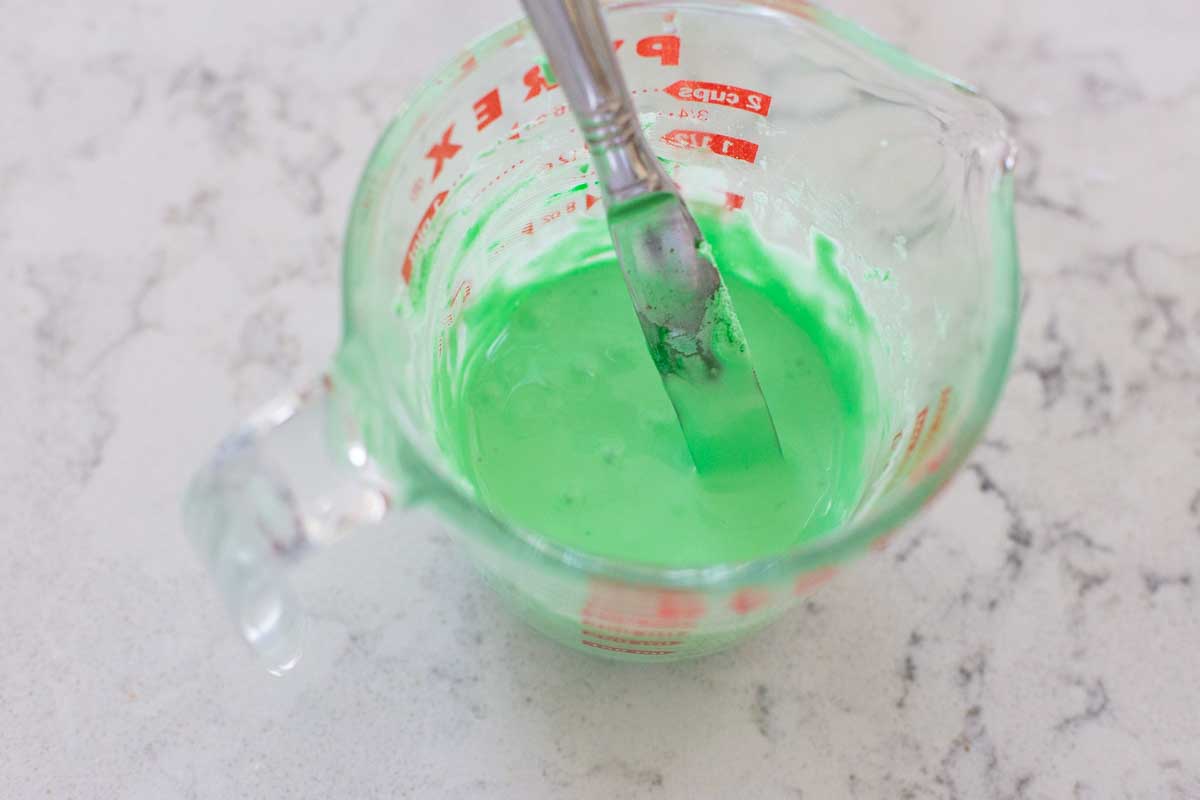
Add a drop or two of your desired food gel color and mix it in with a spoon or knife until it is smooth.
Remember, you can always add more color but you can't take it out. If you accidentally add to much color, you could scoop more from the base container if needed.
A Note on Color Palettes
For your first try at working with royal icing, I strongly encourage you to pick a design that has just one tinted color and use plain white as your second color. I call these "2-color" cookies.
There are countless stunning cookie designs you could choose with this very easy color palette.
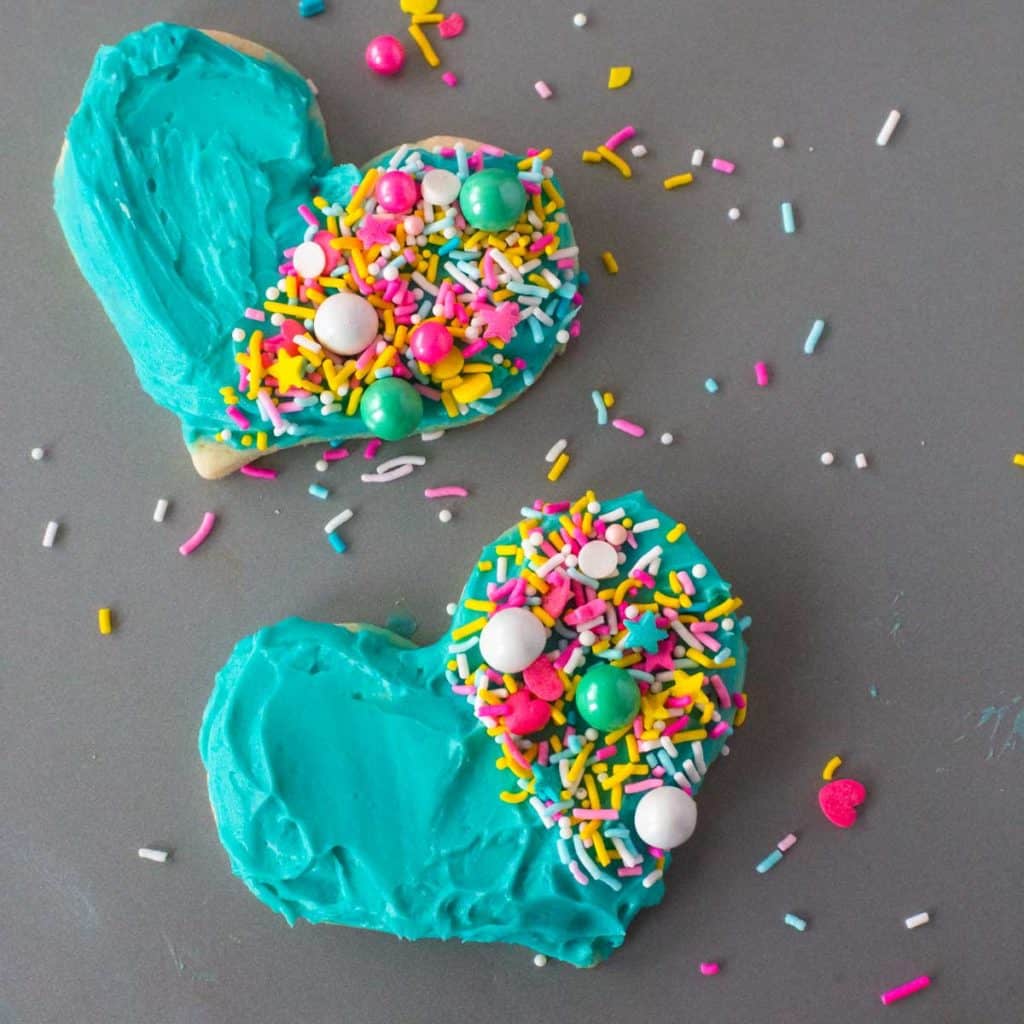
Additionally, by using a variety of sprinkles for accent if desired, all-white royal icing cookies can be absolutely gorgeous, too.
Don't feel the need to start with complicated color mixes right from the beginning, especially if you're baking with kids.
Make the Piping Icing
Now that your icing has been tinted the color you desire, it is time to make the two consistencies you need for decorating.
For the piping icing, add just a teaspoon of water to your tinted icing and stir it in. The texture should still be very thick but smooth and pliable.
Prepare your piping bags:
Trim the tip off a plastic piping bag and add the funnel-like piece from the coupler inside the bag with the narrow side facing downwards.
Then place the icing tip over the edge of the coupler and bag.
Finally, screw on the round ring to secure the tip into place. If you want to switch piping tips mid-project, you can easily unscrew the ring and swap the tips.
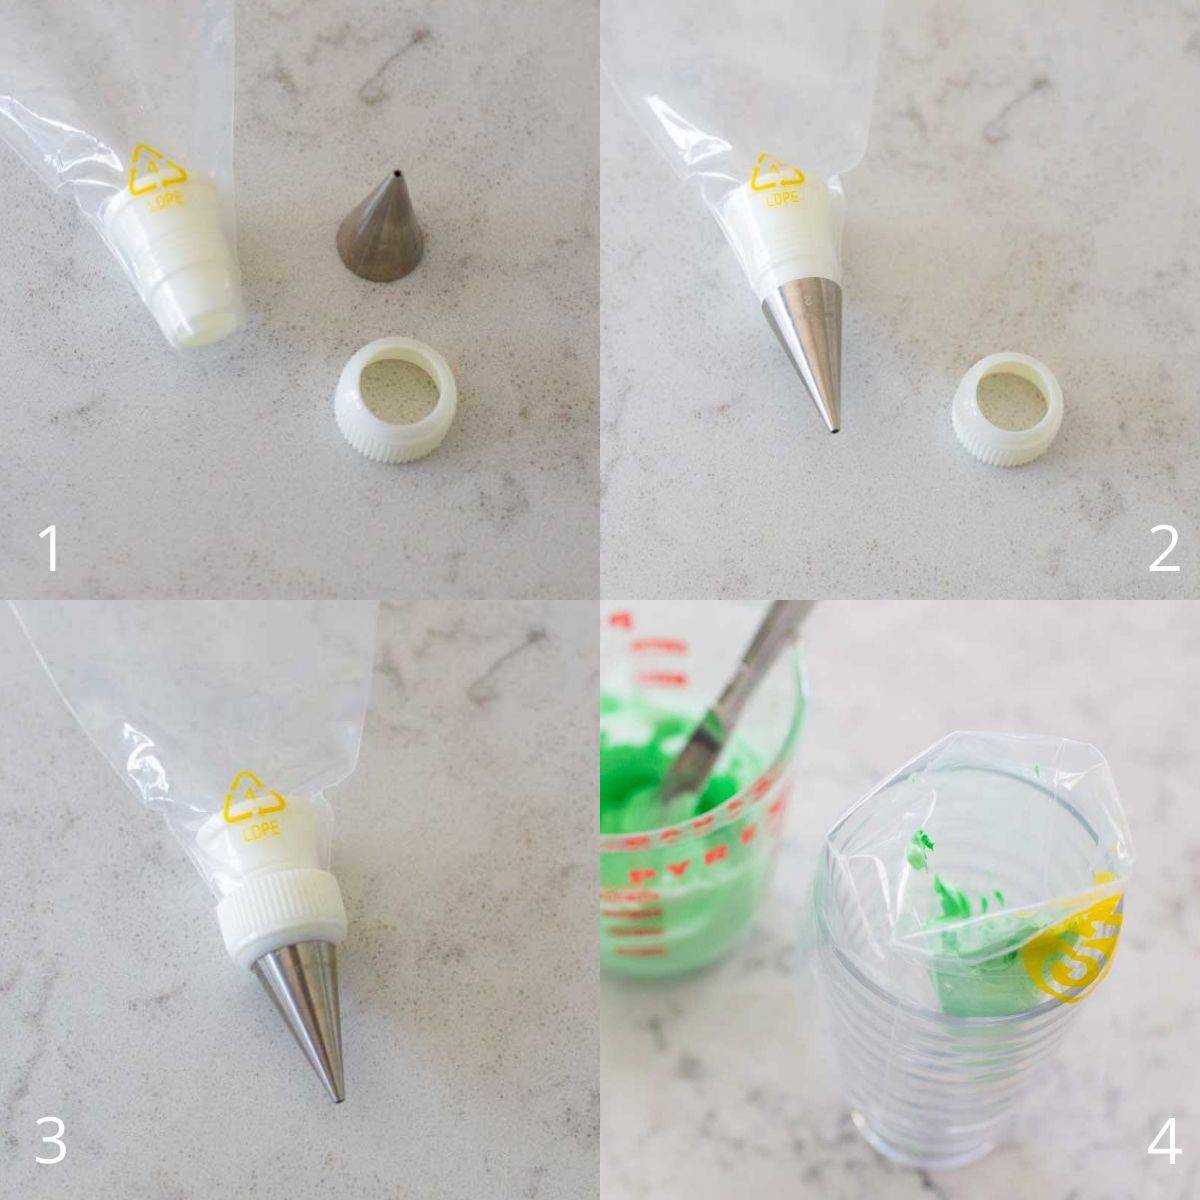
Place the empty piping bag inside a drinking glass or mason jar with the piping tip down. Fold the edges of the bag over the sides of the cup. This will hold it in place and open while you scoop the piping frosting into the bag.
Squeeze the icing in the bag towards the tip, twist the edge of the top of the bag closed, and you're all set.
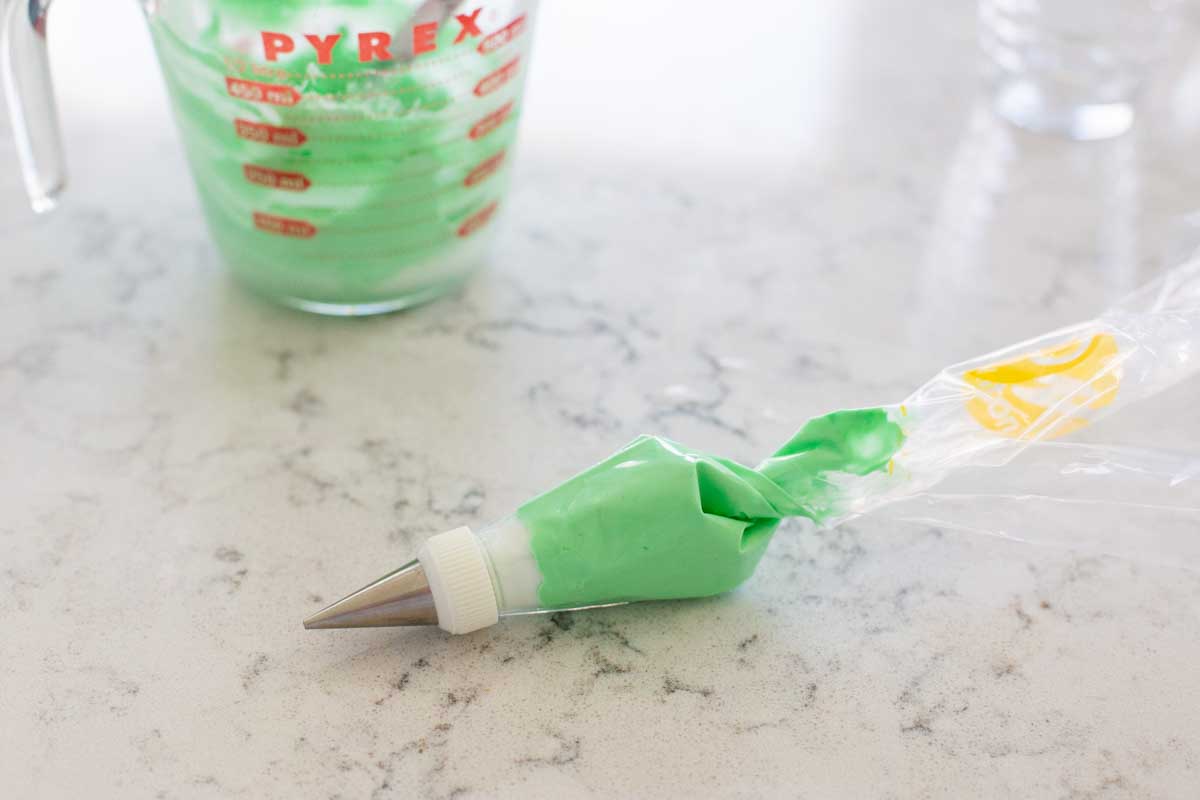
IMPORTANT NOTE: Most piping bags have a fill line. Do not overfill your piping bag or they will be very difficult to twist closed and keep airtight.
Make the Flooding Icing
Now it is time to thin out the remaining thick icing and turn it into flooding icing.
Add more water just one teaspoon at a time to the measuring cup and stir it in.
Keep adding the water until the text of the icing is smooth, glossy, and the pulls from your spoon or knife disappear back into the surface smoothly within 2 - 3 seconds.
Stir it like this:
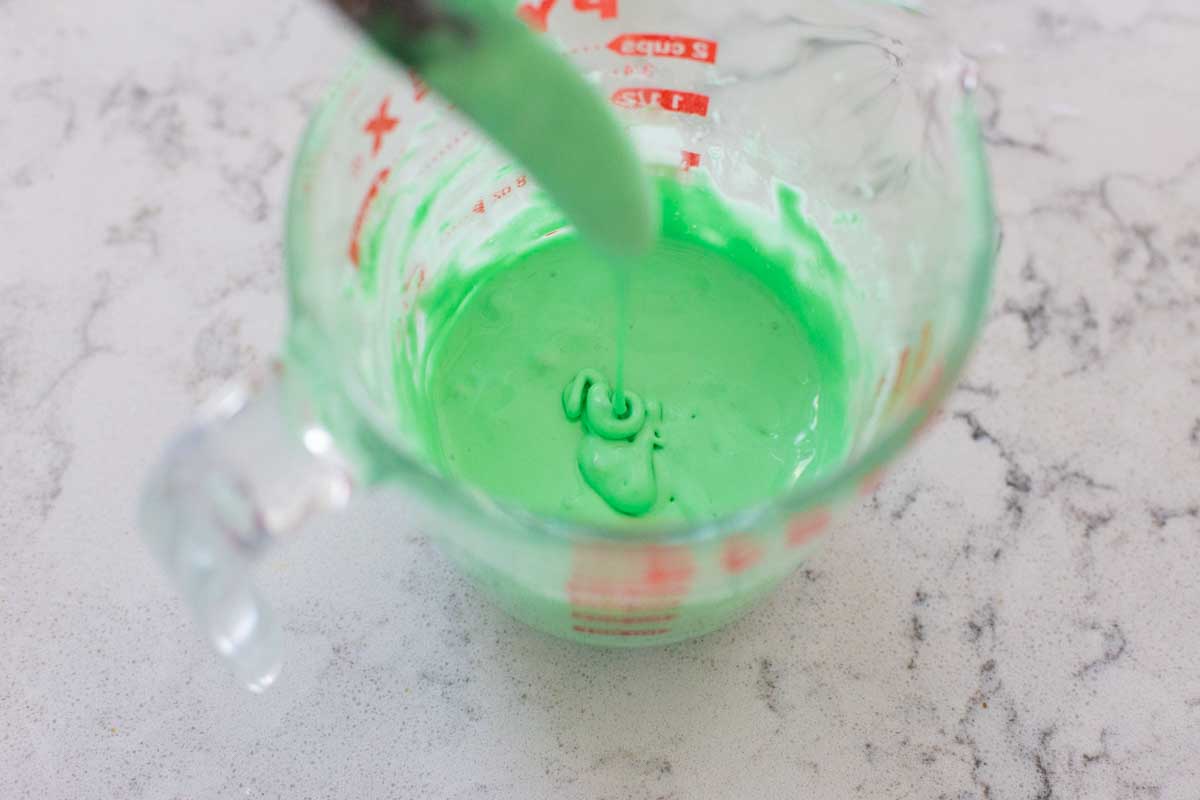
And then it should look like this:
Transfer the smooth icing to a decorator bottle fitted with an icing tip for storage.
The built in spout on the measuring cup will make that task very easy.
Make-Ahead & Storage Tips
Though the steps may look like a lot of work, the whole process is really very easy, especially if you do it a day in advance.
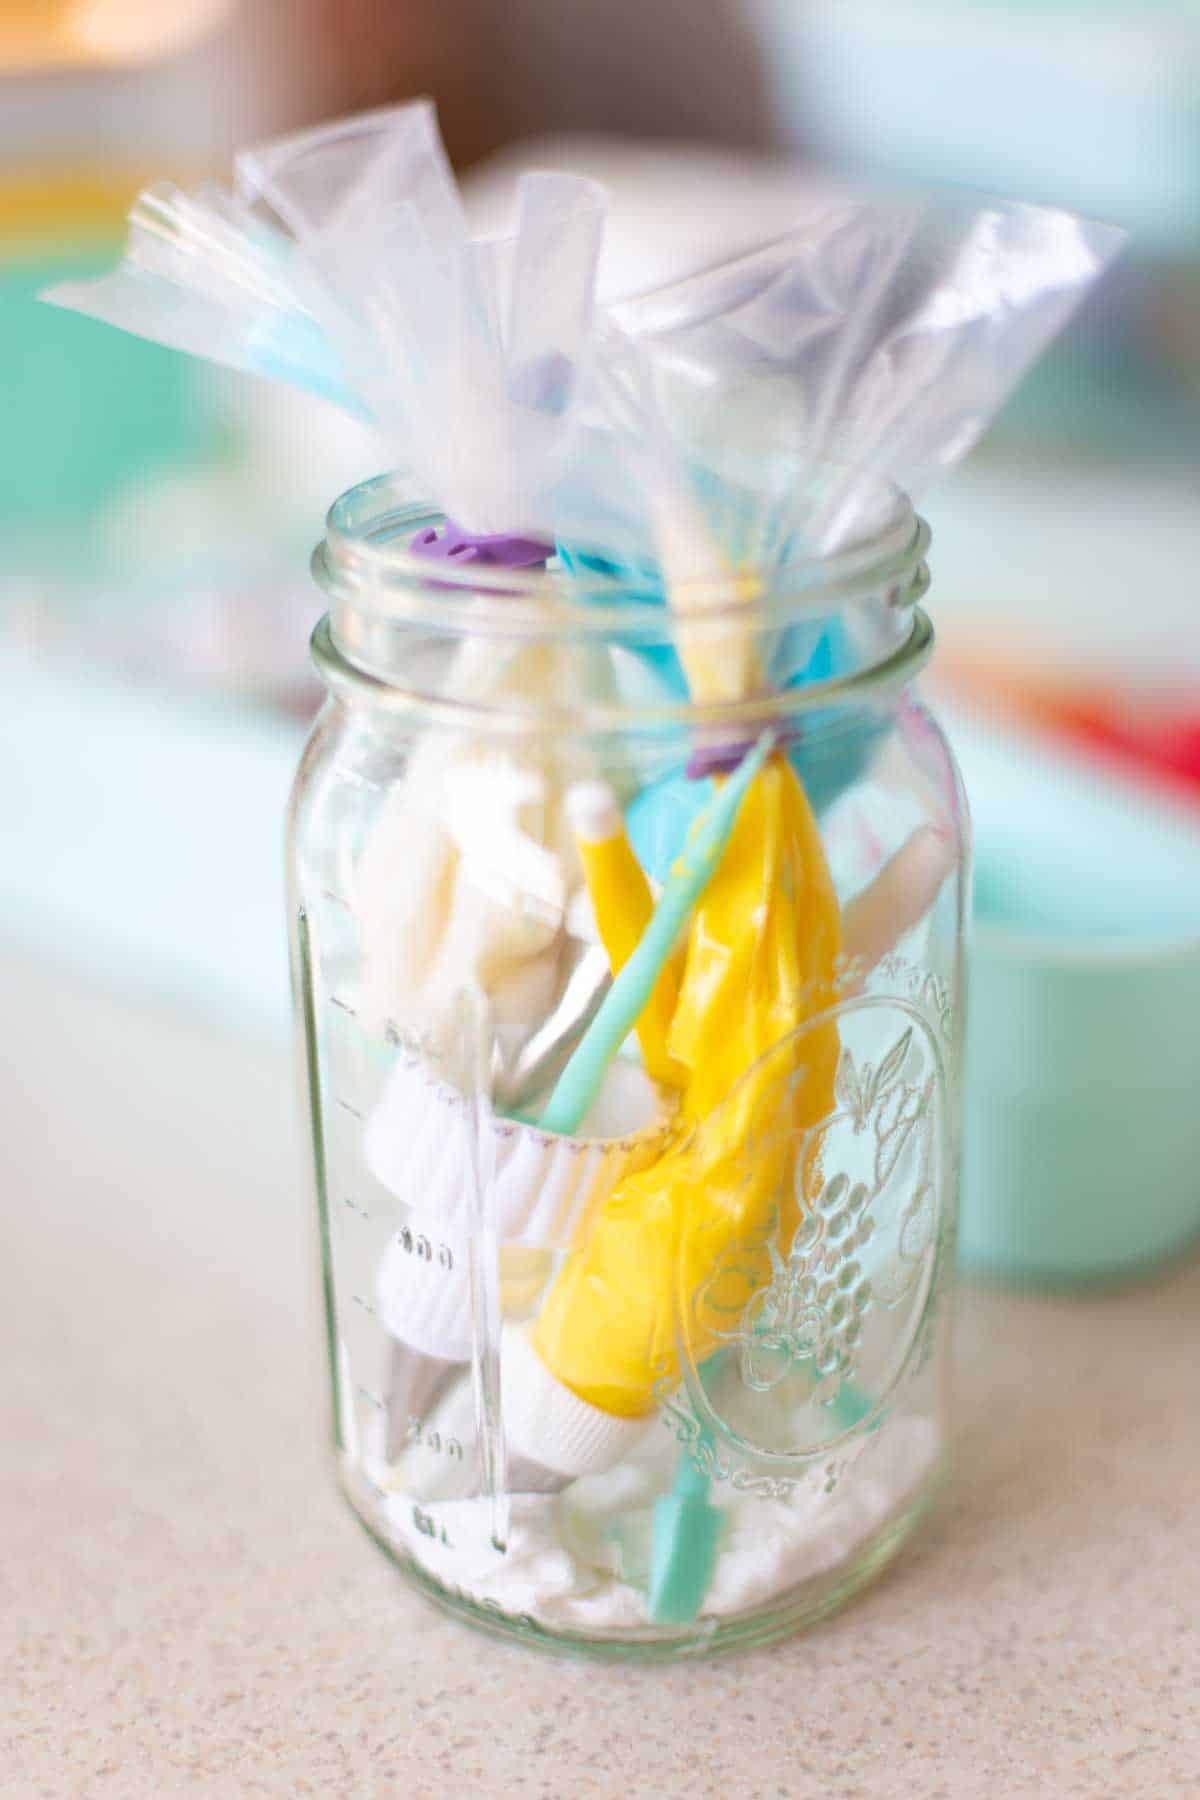
I love this set of rubber icing bag ties for keeping my filled piping bags closed and airtight.
I fill a very large mason jar with a dampened paper towel folded on the bottom. I store my piping bags, tip down agains the paper, for a day or so before decorating.
For the flooding icing containers, I love this decorator's bottle set because it includes:
- 4-pack of squeeze bottles (2 large, 2 small) with couplers and metal tips
- Airtight storage tips
- A long paddle for mixing up the icing inside the bottle if it slightly separates after sitting overnight
You can make the royal icing 2 - 3 days in advance and simply store it at room temperature as long as it is airtight.
Learn How to Use the Icing
Now that your royal icing is all prepped and ready to go, you're ready to learn how to use it for decorating your cookies.
More Sugar Cookie Decorating Tips
Looking to do some cookie decorating with kids?
Or maybe you just want a fun, creative baking hobby.
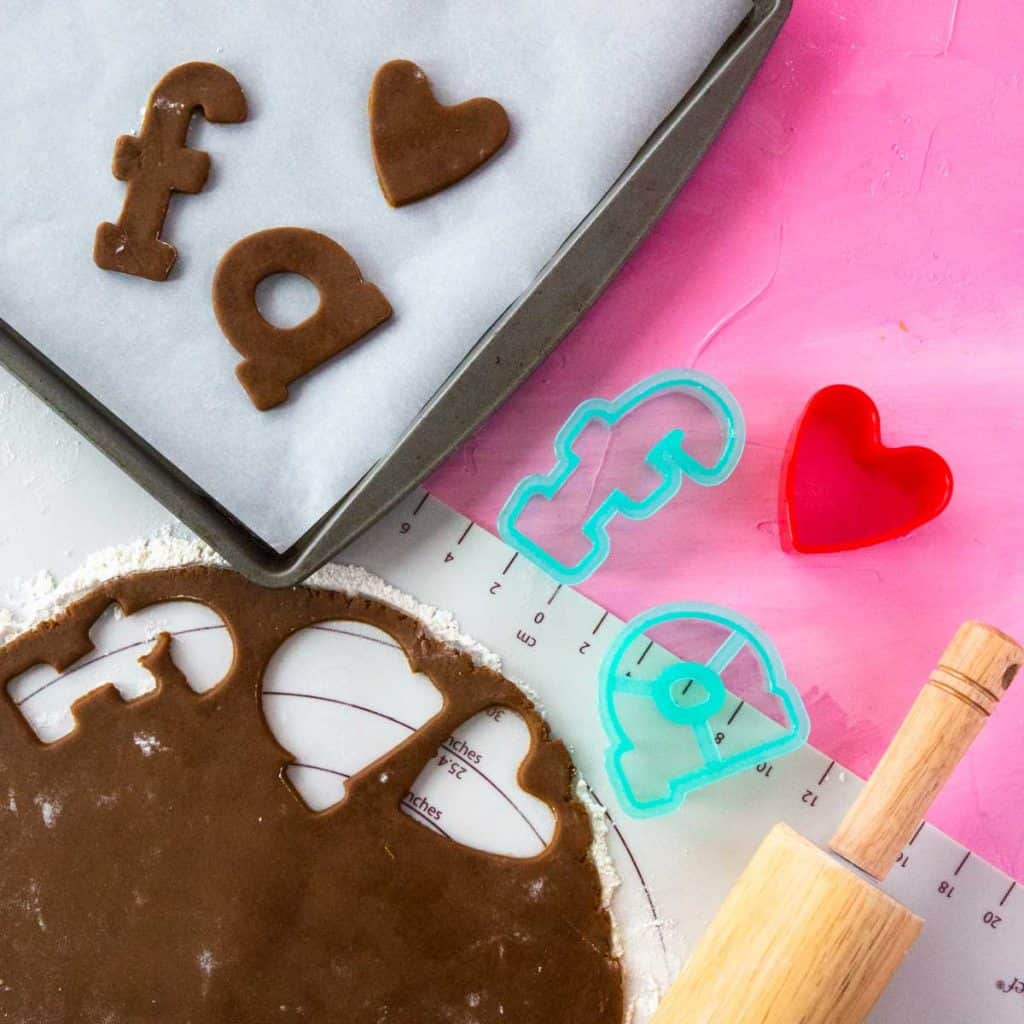
Start with the best cut out sugar cookie recipe and read more about my easy timeline for baking and decorating here:

📖 Recipe

Easy Royal Icing
Ingredients
- 1 pound powdered sugar
- 3 tablespoons meringue powder
- 1 1/2 tsp vanilla extract
- 1/2 cup warm water
Instructions
- Add the powdered sugar and meringue powder to the bowl of an electric mixer fitted with the paddle attachment. Stir them together on low speed.
- With the mixer still slowly stirring, drizzle in the vanilla extract. Then drizzle in the first 1/4 cup of water.
- Stop the machine and scrape down the sides of the bowl, mixing up anything clinging to the bottom. The mixture will be VERY thick and hard to scrape so use a sturdy scraper.
- With the mixer turning on medium-low speed, continue to add the remaining 1/4 cup water, 1 tablespoon or so at a time, until the icing comes together. It will be very thick and you may not need the entire bit of water.
- Once the icing has come together, scrape the bowl again and then beat the icing on medium-high speed for 2 - 4 minutes or until medium-soft peaks form--the icing forms a peak that falls over.
- Immediately transfer the icing to an airtight container and cover with plastic wrap pressed onto the surface. This will give you time to divide the batch into smaller portions for tinting and making the piping and flooding consistencies without your master batch drying out from the air.
To Use the Icing:
- First, divide the batch and tint it with the color of food gel you desire.
- Then, divide each color into piping and flooding consistencies as needed for your cookie design. For full instructions, see photos in post for visual cues on texture.
Recipe Notes
Save This Recipe to Your Recipe Box
Find this delicious recipe next time you visit by saving it to your very own recipe box on my site. All your favorites stored in one easy place!
Comments
No Comments