Make-Ahead Potato Latkes


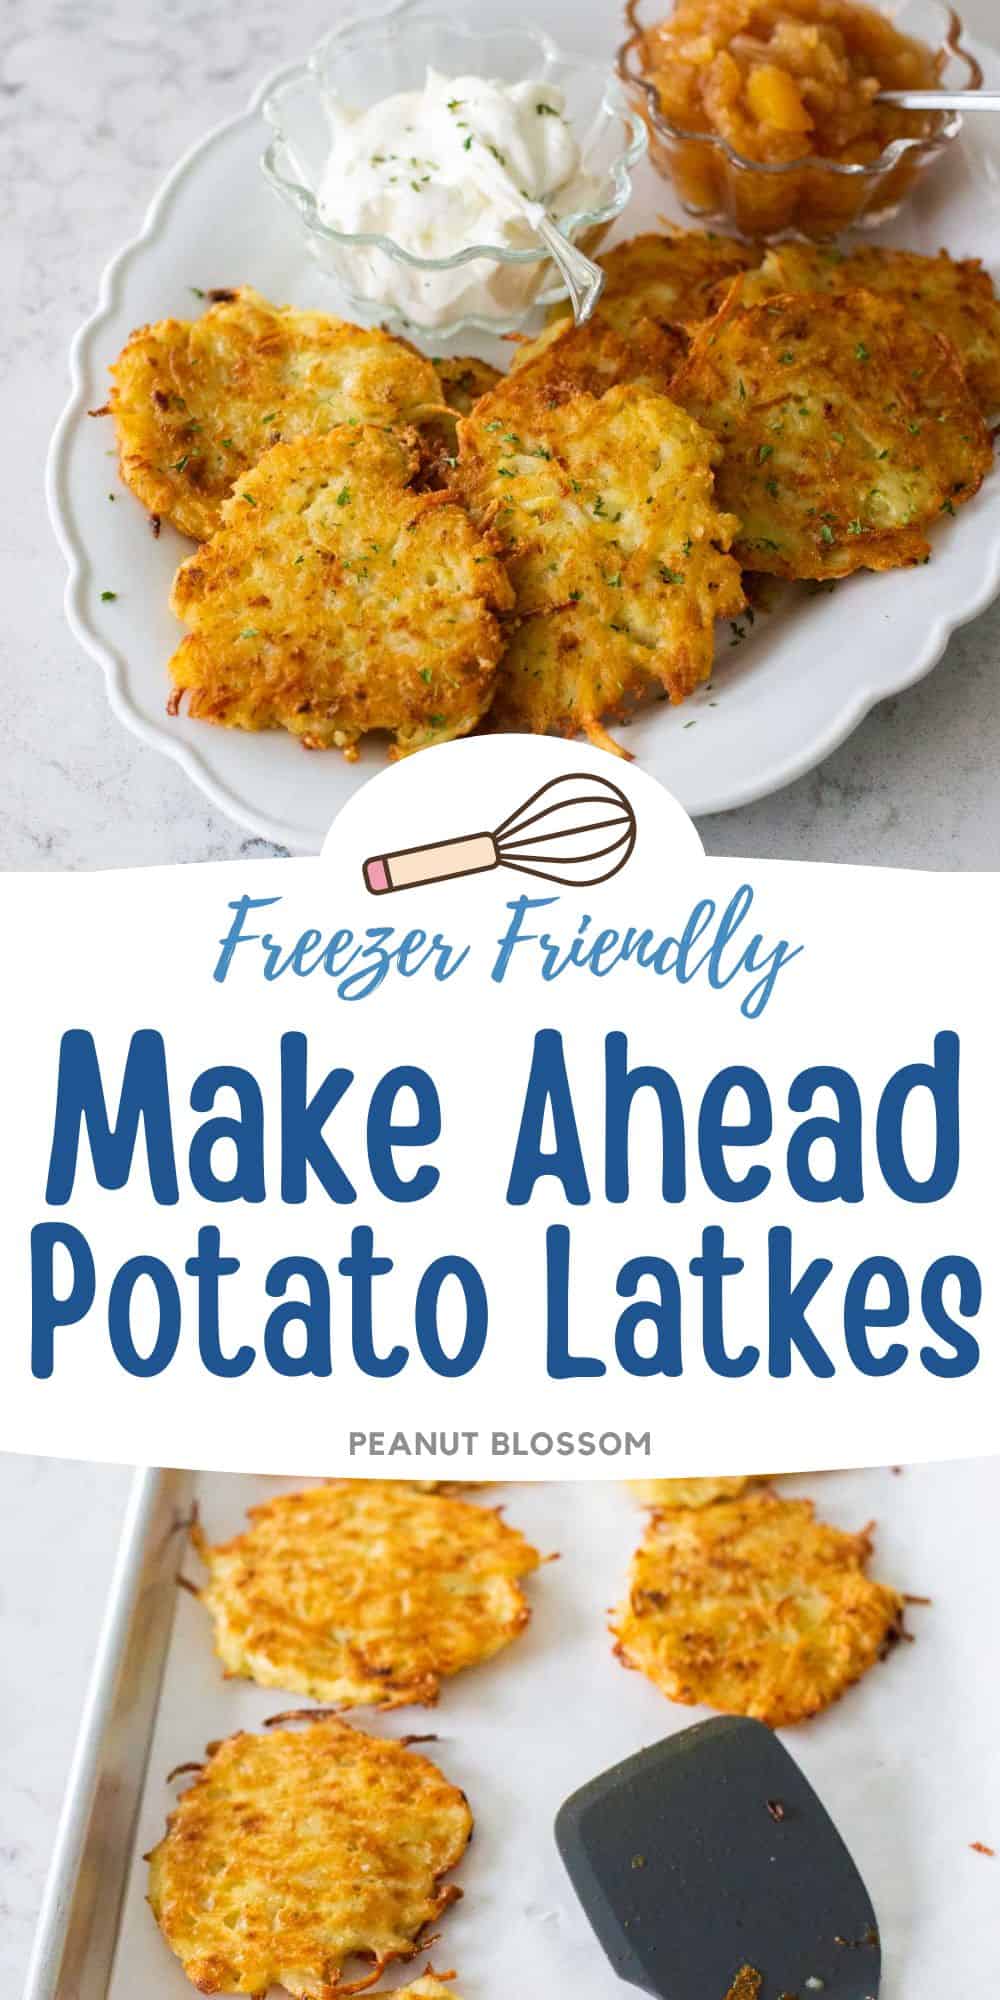
Save time with make ahead potato latkes for your Hanukkah celebration or family gathering. This big batch of potato pancakes can be cooked in advance and frozen or stored in the fridge. Reheat them in the oven or air fryer for perfectly crispy latkes.
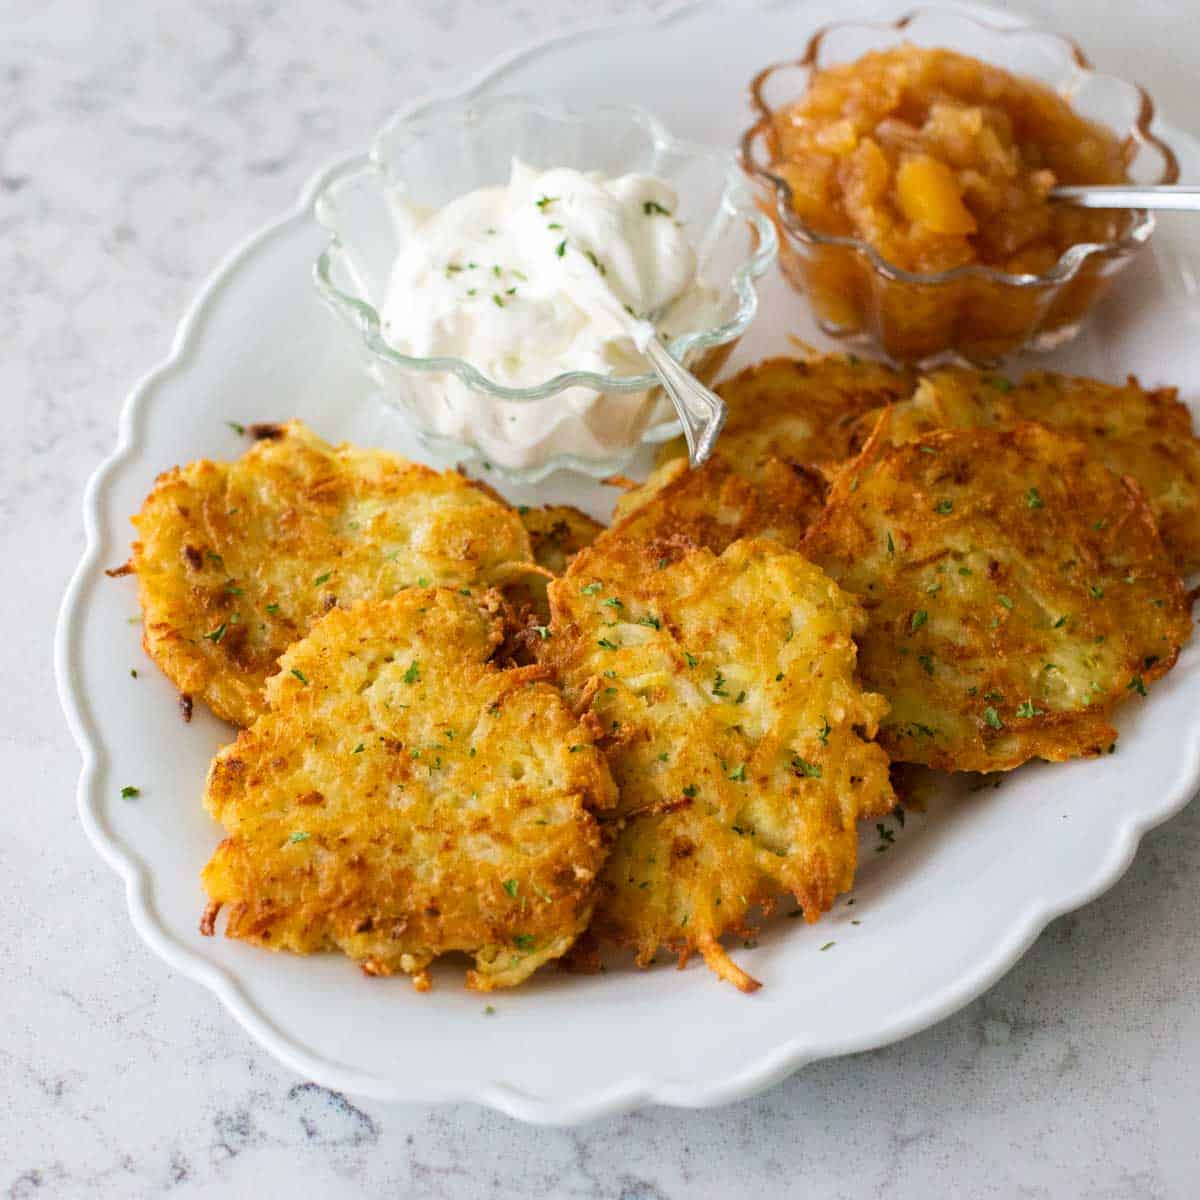
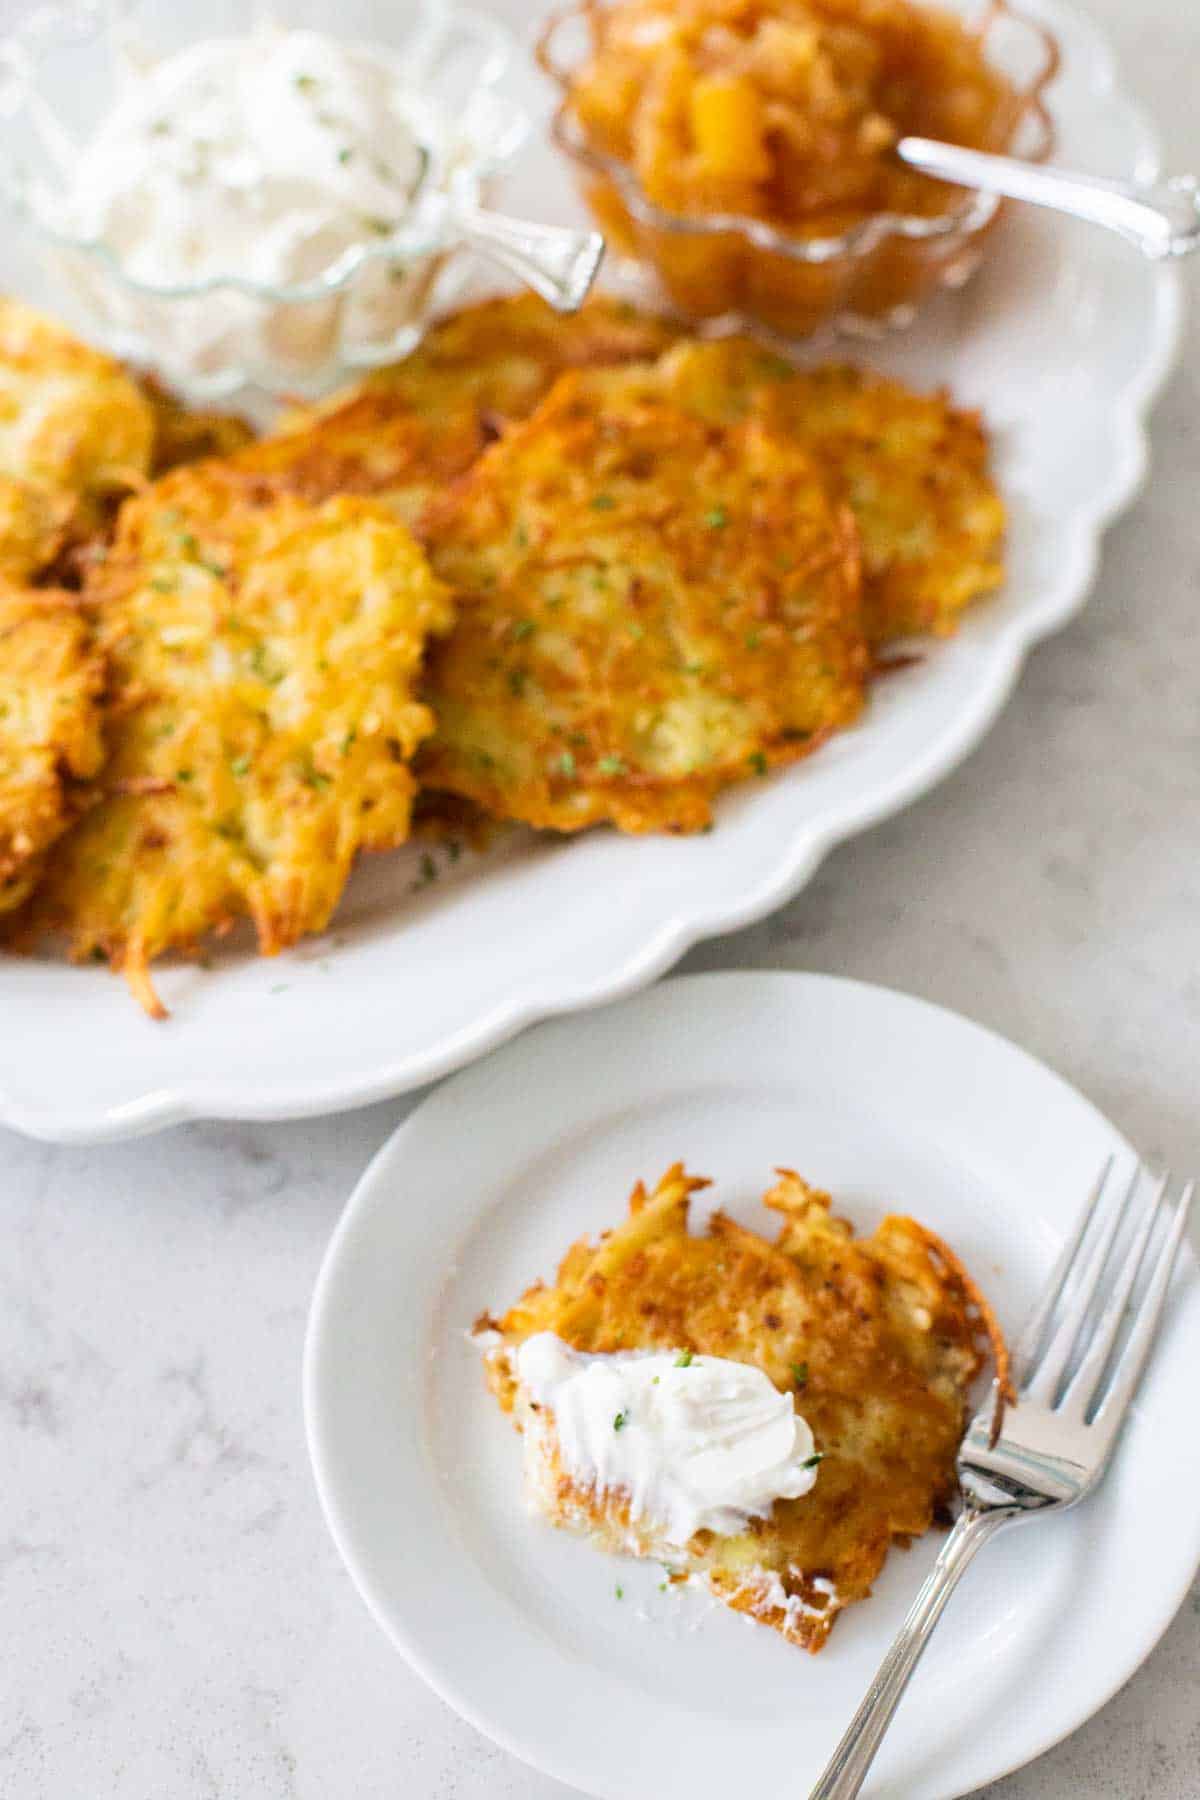
Warm and crispy potato latkes, or potato pancakes, are a delicious and easy side dish for so many family celebrations because they can be made ahead and reheated just before serving.
This traditional Jewish recipe is often served for Hanukkah celebrations but my family has long loved this tasty potato recipe, especially when they are served with warm applesauce or dollops of sour cream with fresh chives.
Though I am Catholic, my surprising Ancestry DNA test revealed I am over 10% Jewish! I loved sharing this recipe with my kids and talking to them about our family background during a special family dinner.
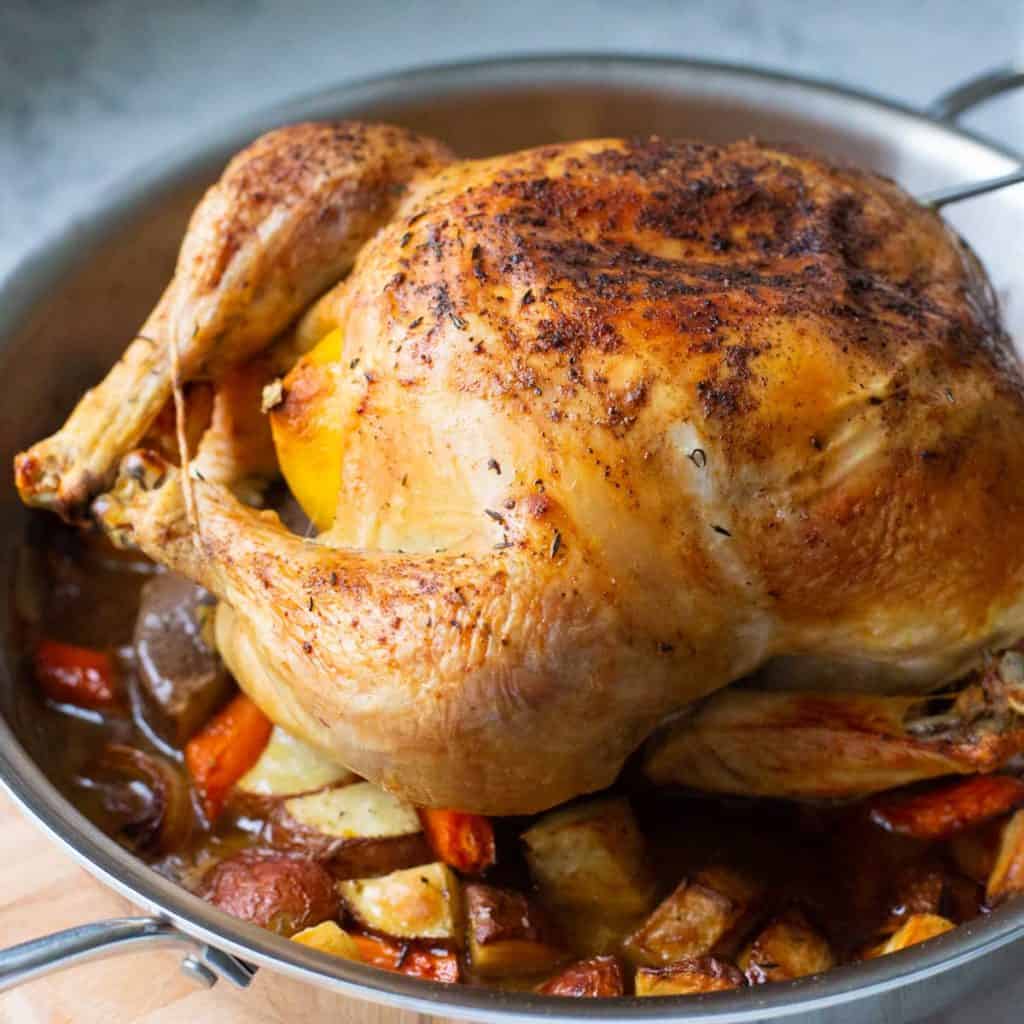
Pair them with my favorite roast chicken and an easy challah bread from the bread machine for a simple feast.
Why This is the Best Recipe
My husband is a meat and potatoes kind of guy so we eat a lot of potatoes but I think this is the best make ahead potato latke recipe because:
- Easy to Make Ahead: Latkes take some work, get that out of the way in advance!
- Freezer Friendly: You can store them in the freezer, just follow my reheating tips.
- So Delicious: Crispy on the outside and so yummy on the inside.
- Perfect for Entertaining: This makes a nice hearty batch so you'll have plenty to share.
Ingredients
Delicious potato latkes only take a few key ingredients:

- Russet Potatoes
- Onions
- Eggs
- Flour
- Baking Powder
- Salt & Pepper
- Canola Oil for frying
See the recipe card for full details and quantities.
Prevent the Potatoes From Turning Color
There are two key tricks to ensuring your potato pancakes don't turn funny colors before you're able to cook them.
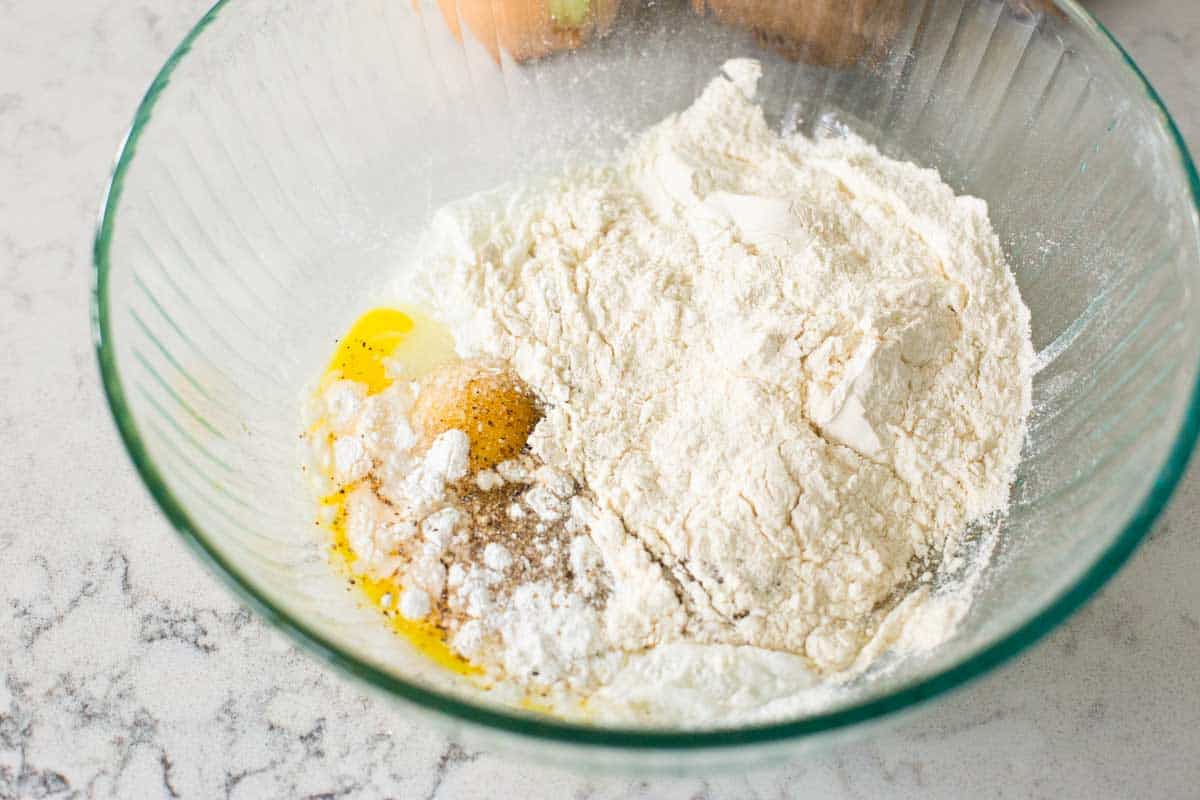
First, prepare the batter bowl so it is ready for the shredded potatoes immediately.
Add the eggs, flour, baking powder, salt, and pepper. There's no need to mix it together at this point. Just set it aside.
Second, the potatoes need to be the last thing to get shredded so they have the least amount of time in the air.
Shred the onions in your food processor first, then do the potatoes.
How to Shred the Potatoes
Whole potatoes are too large to run through a food processor without a little help.
Peel the potatoes and cut them into quarters. Then process them with the steel grating disc in your food processor.
Pour the grated potatoes and onions into a large strainer in your kitchen sink and press them to remove as much water as you can.
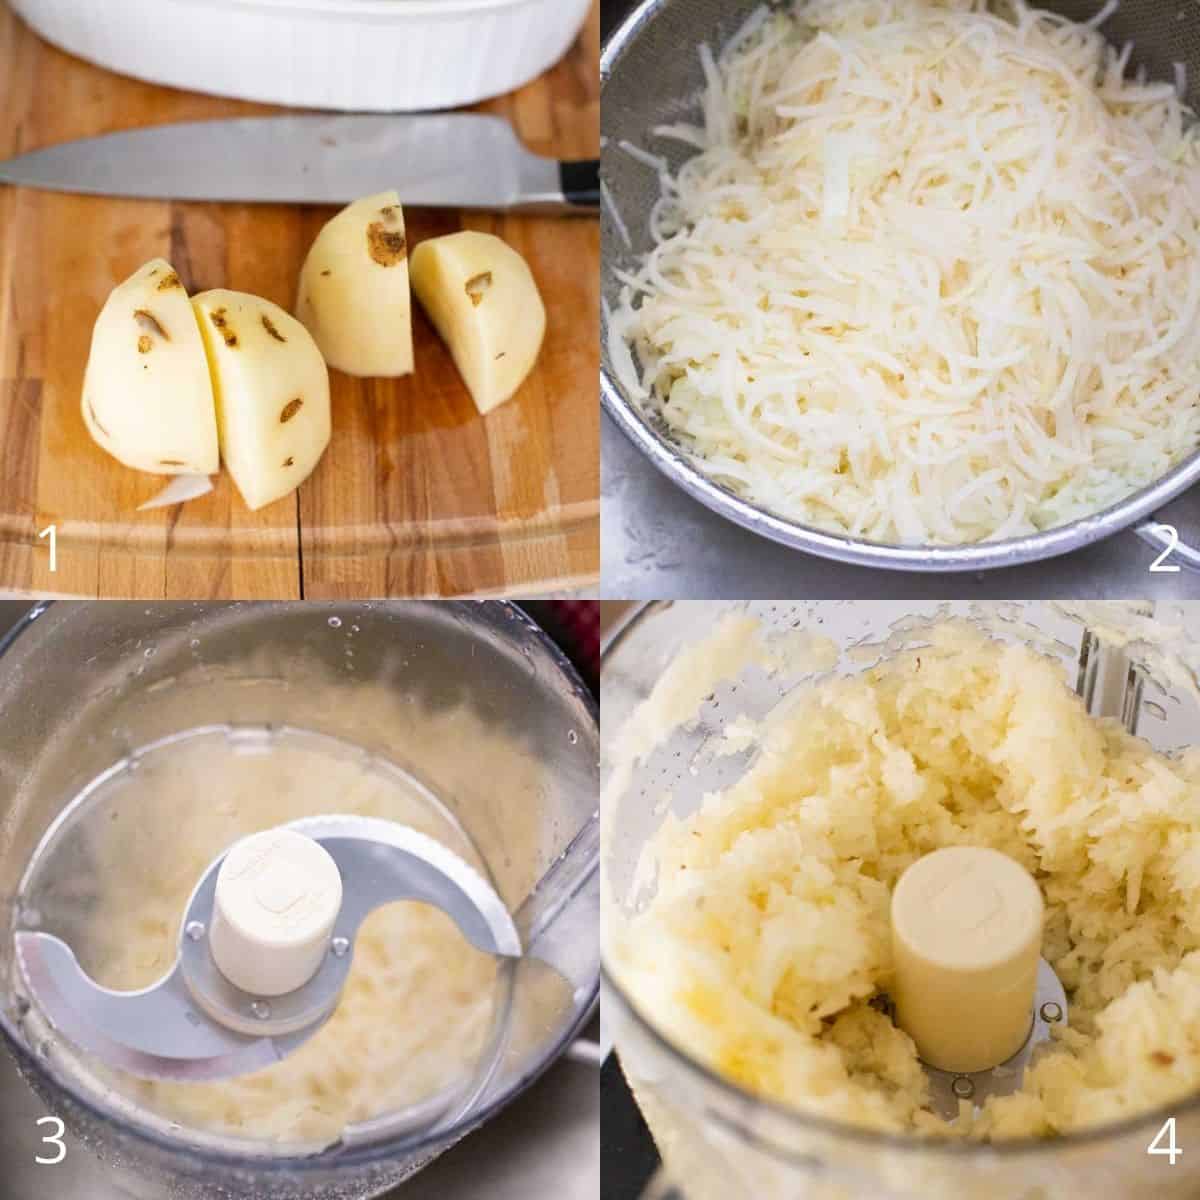
You'll notice the shreds look like long hash brown strips at this point.
To improve the texture and appearance of the latkes and mimic the hand grated texture, place the steel blade in your food processor bowl and add half of the potato mixture back to the bowl.
Pulse 10 times until the potatoes are more grated and stir them back into the potatoes in the strainer. Press to release and drain the liquid again.
How to Prepare the Potato Pancakes
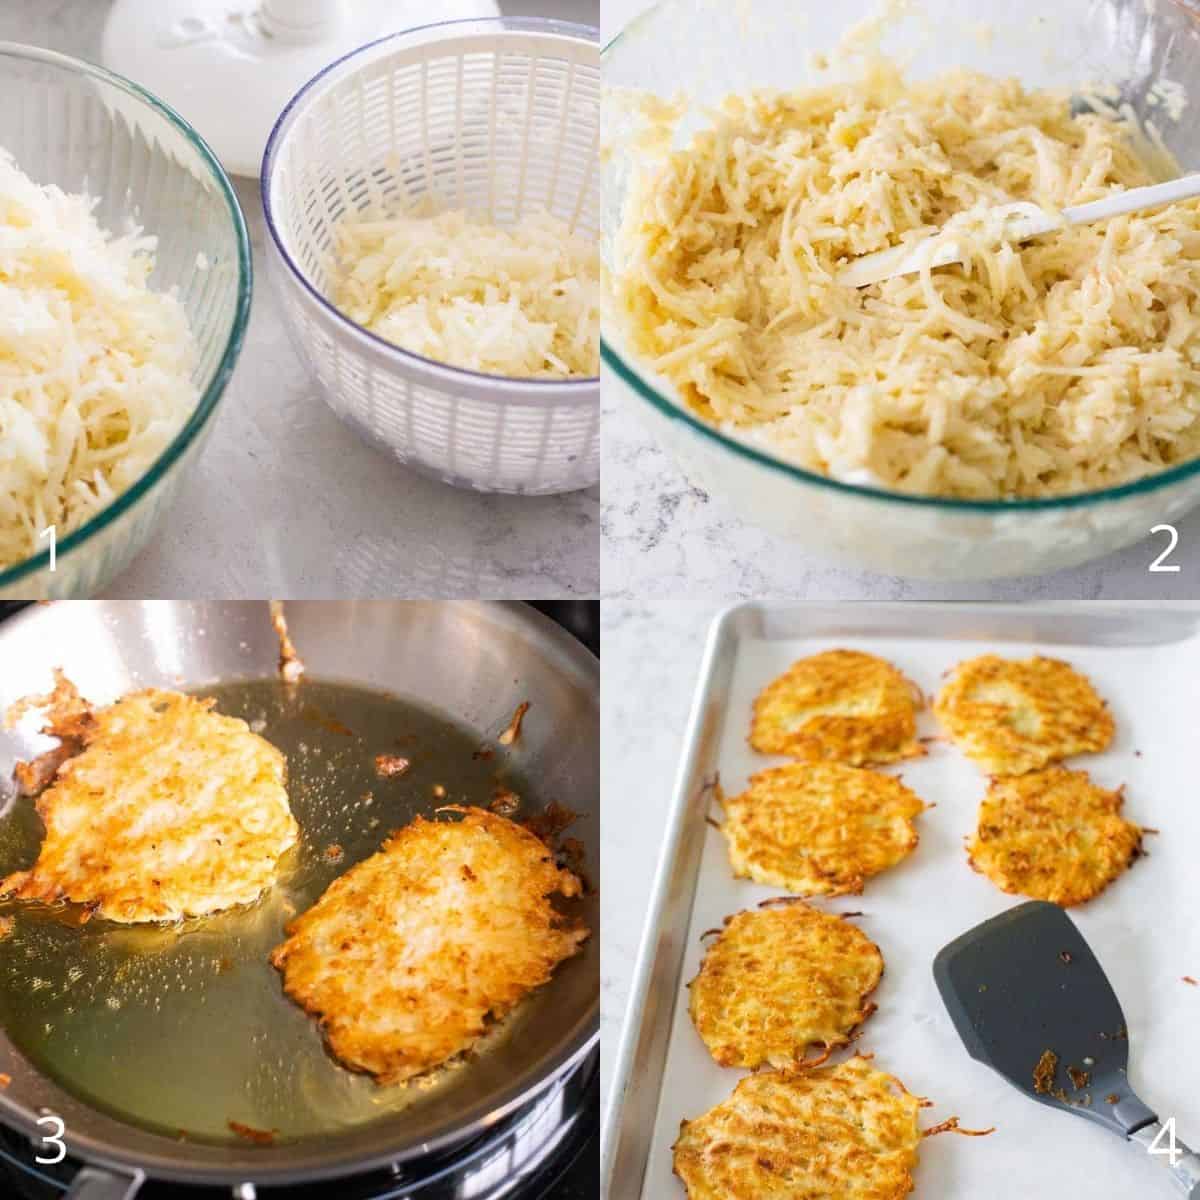
Once the potatoes and onions have been grated and drained, run them 2 cups at a time through a salad spinner to remove all the liquid you can.
I ran the salad spinner on each portion of potatoes twice, draining the liquid in between turns.
Want to Save This for Later?
Immediately put the spun potatoes into the prepared egg bowl and repeat the salad spinner with the remaining potatoes in the strainer.
Once all the potatoes are strained and added to the egg bowl, quickly mix everything together with a large spatula until evenly coated with egg and flour.
How to Fry the Latkes
I experimented with baking the latkes on a baking sheet and frying them in a skillet. For the very best texture and golden brown crispness, the frying pan won by a long shot. The baking pan just simply didn't crisp them the way the pan could.
Pour 1/4 cup of canola oil in a large skillet and heat it over medium-high heat until the oil shimmers.
Scoop a portion of the prepared potato mixture with a metal measuring cup and flip it over into the frying pan. Immediately flatten the scoop with the flat side of a spatula to form a round pancake.
Only add as many latkes as you can fit into your skillet with several inches between them. If you overcrowd the pan, they will steam rather than fry and you won't have enough space to flip them over.
Cook for 3 - 4 minutes or until the bottoms are golden brown and crispy and the pancakes are firm enough to flip.
Flip them over and cook on the other side for another 3 - 4 minutes or until both sides are golden brown.
Immediately transfer to a plate lined with paper towel to drain some of the oil.
You may have to add more oil to the pan as you cook the batches of latkes and they absorb the cooking oil. The pan should always have an even coating of oil on the bottom.
Make-Ahead Tips
Though the recipe is fairly easy to make it does take a bit of time that you may not want to spend in the middle of a holiday gathering.
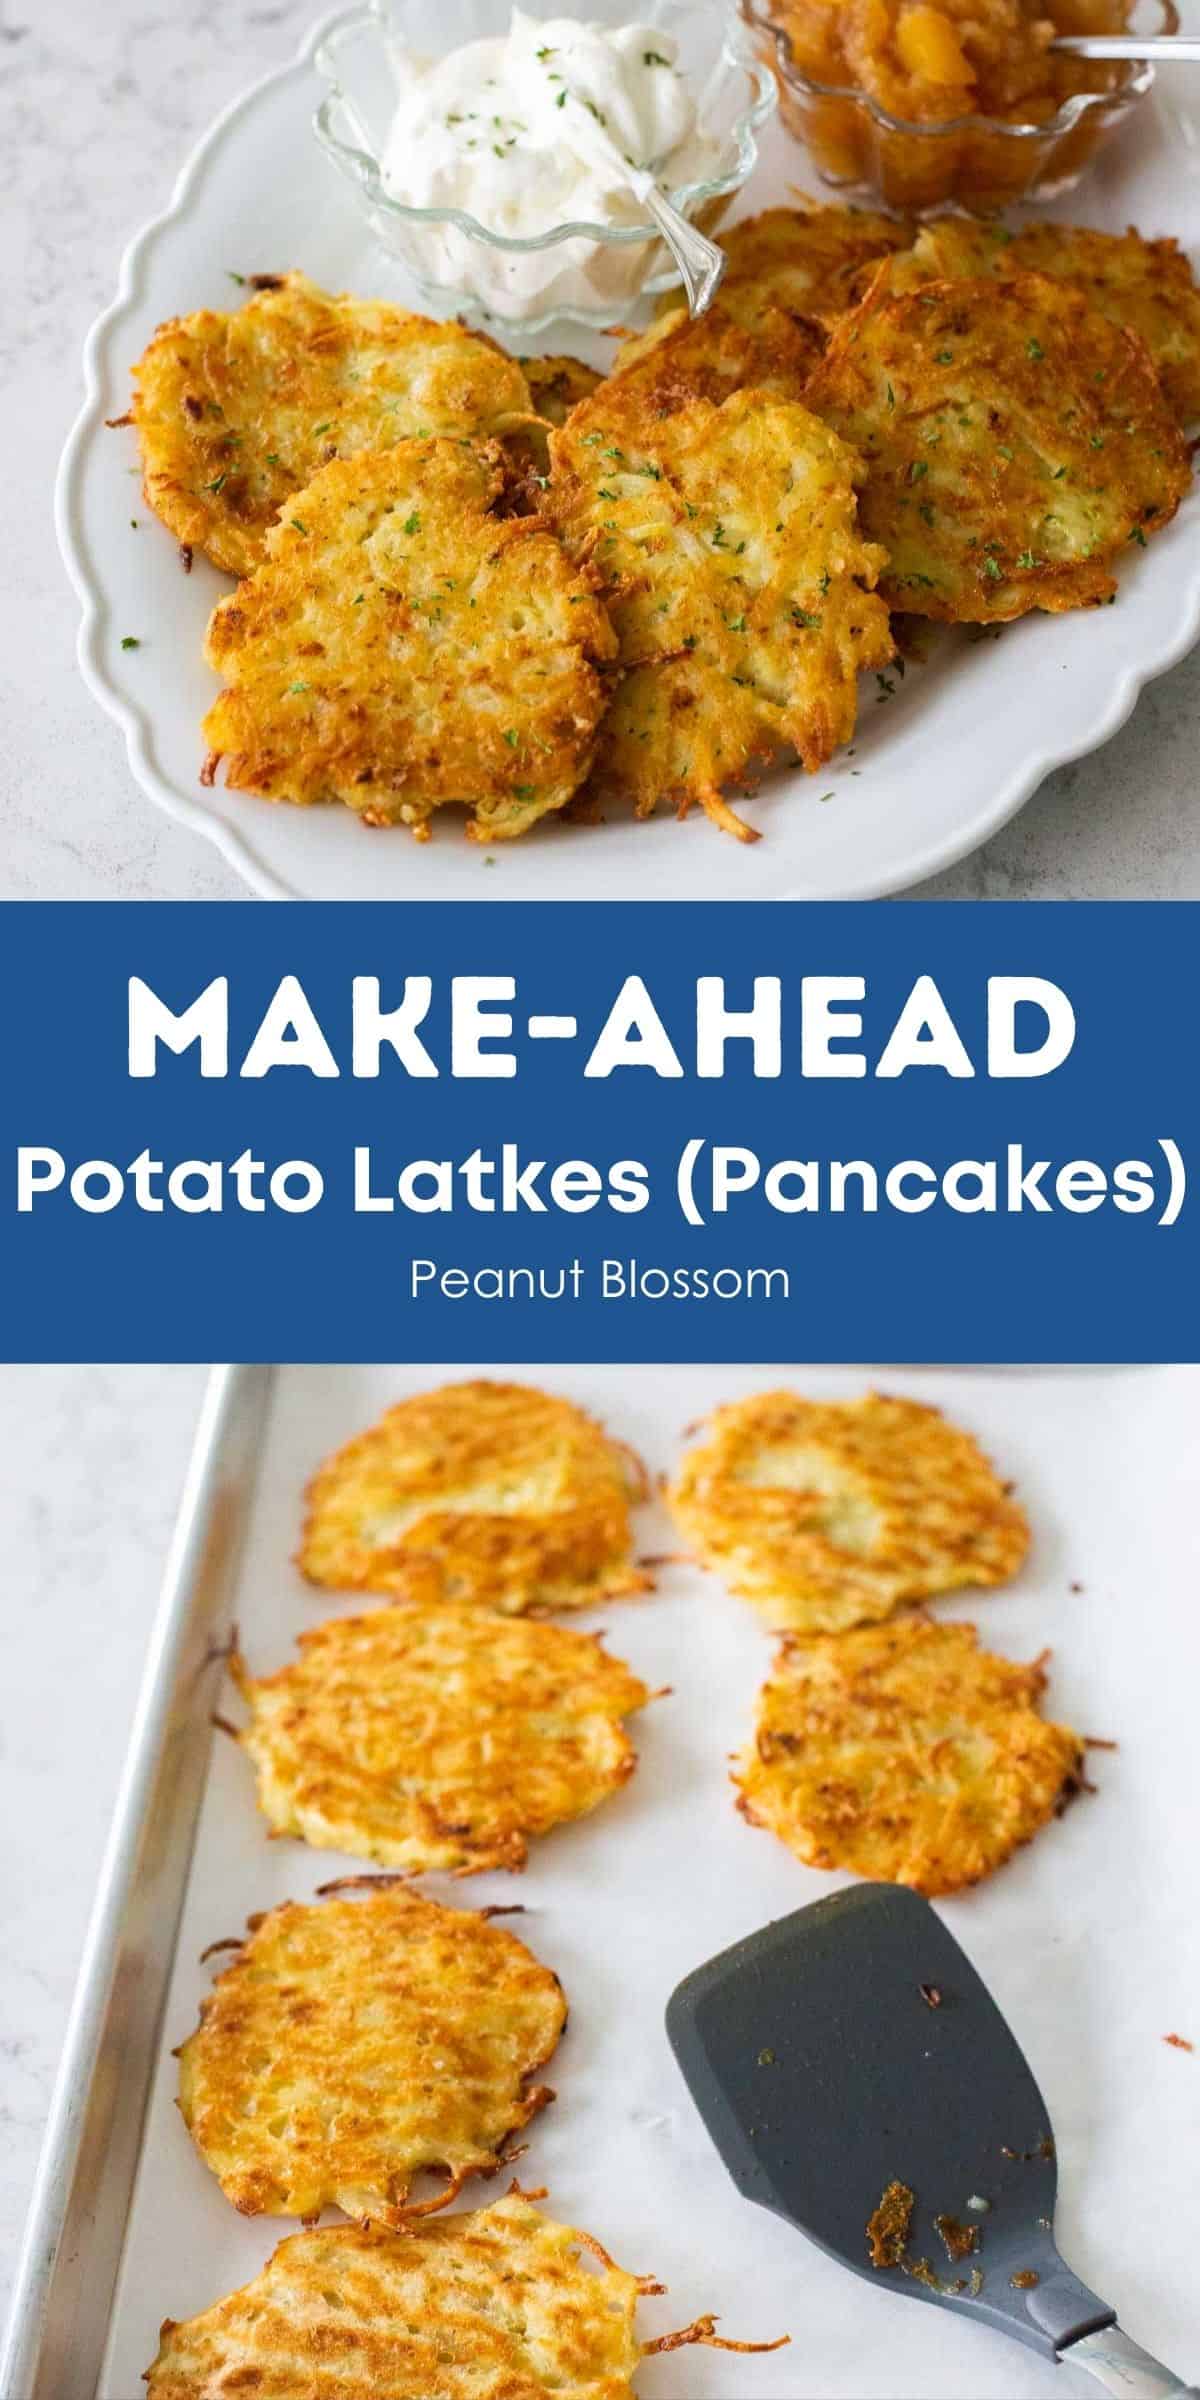
If you want to make them ahead of time, prepare the latkes completely all the way through the frying step and drain them on the paper towel lined plate.
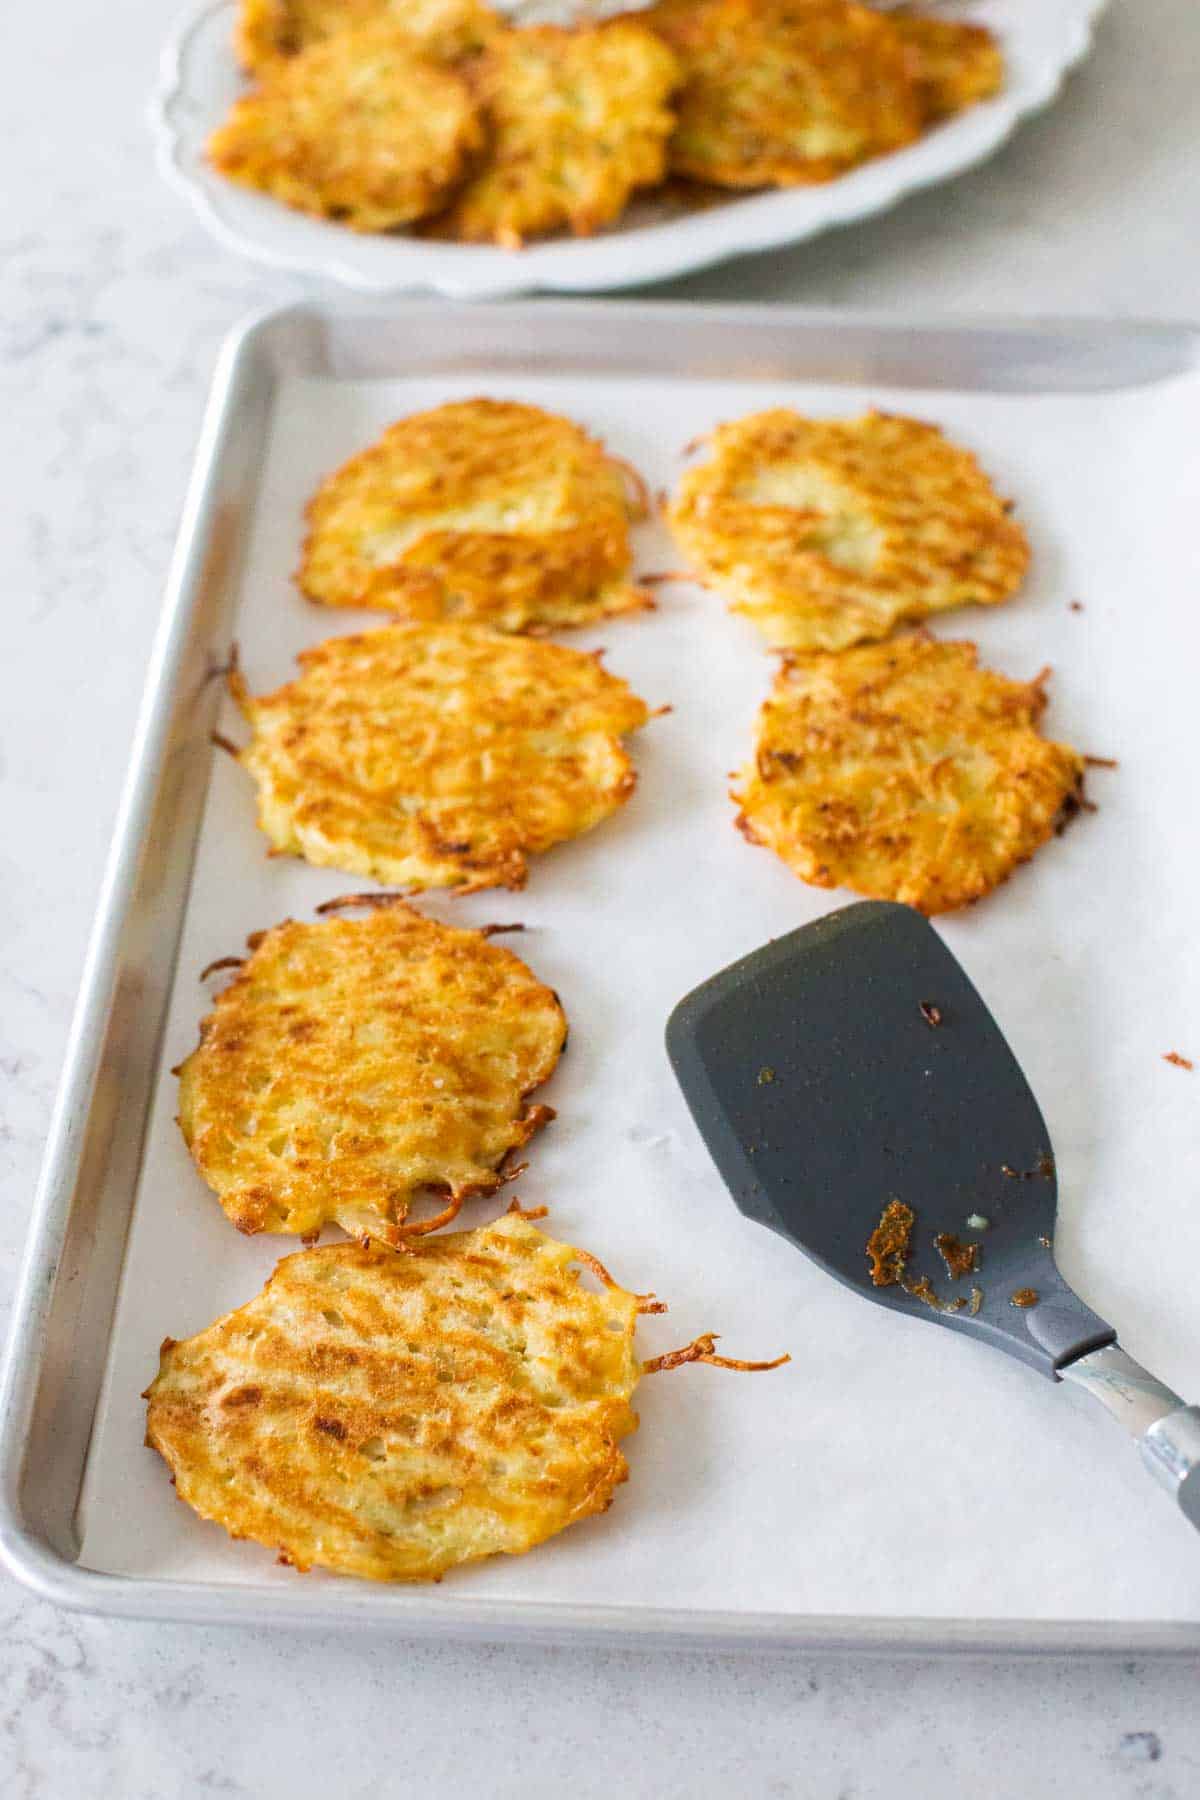
Then lay the latkes in a single layer on a large baking pan. If you have more pancakes than will fit on the sheet, add a layer of parchment paper between them so they don't stick together or use a second baking sheet.
Store them in the fridge for up to 24 hours.
How to Freeze the Latkes
You could also completely cook the potato pancakes and store them in an airtight container with parchment or wax paper in between the layers to prevent them from sticking. Thaw in the fridge overnight before using.
How to Reheat the Latkes
When you're ready to reheat them and serve, preheat the oven to 350°F and bake the latkes on a large baking pan in a single layer with some space around each pancakes so the air can circulate.
Cook them for 5 minutes or so until they are heated through and crispy on both sides.
Air Fryer Latkes
The shredded potato batter is initially very soft and would be difficult to cook in the air fryer for the first round, but fried potato latkes reheat perfectly in the air fryer!
Preheat the air fryer to 400°F for 5 minutes. Then add the latkes in a single layer in the fry basket and cook for 4 - 5 minutes or until heated through and crispy.
Do not overcrowd the air fryer basket or the latkes will steam rather than crisp up and may heat unevenly.
Serving Suggestions
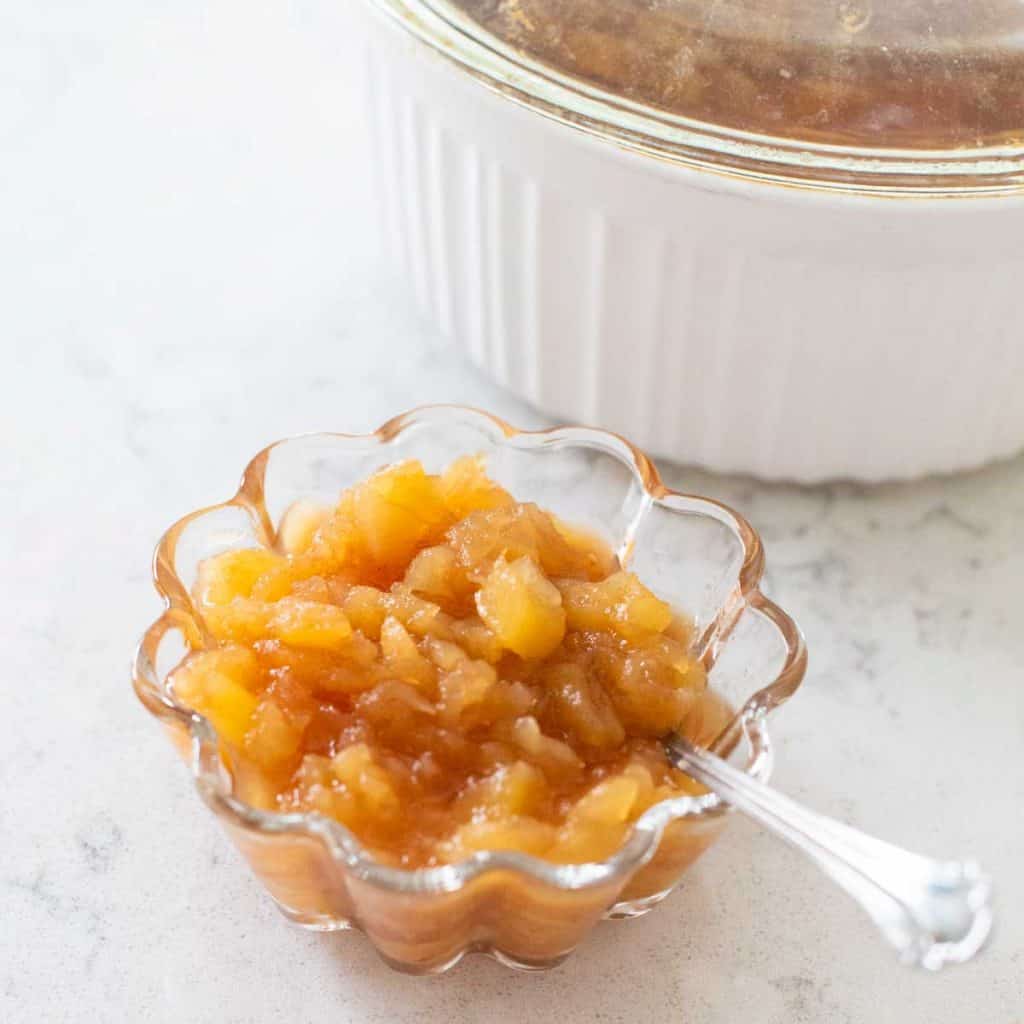
Crispy potato latkes are absolutely delicious served with a pinch of salt over the top and a cup of sour cream and homemade applesauce on the side.
My microwave applesauce only takes 10 minutes and is the perfect partner for the potato pancakes.
Since you could reheat the latkes in the air fryer, they'd make a great side dish for my oven roasted chicken with vegetables. You could skip the potatoes in that recipe and just add extra carrots or other root vegetables.
More Jewish Holiday Recipes
If you're trying to plan a make-ahead Rosh Hashanah or relaxing Hanukkah dinner, don't miss my other easy recipes that are perfect for a festive family meal:


📖 Recipe

Make Ahead Potato Latkes
Ingredients
- 4 eggs
- 1 tablespoon kosher salt
- 1 teaspoon fresh cracked black pepper
- 1 cup flour
- 2 teaspoons baking powder
- 2 onions
- 4 large Russet potatoes washed
- Olive oil or Canola oil for frying
Instructions
Prepare the Potatoes
- In order to prevent the potatoes from turning color, it is important to mix together the latke mixture very quickly. Start by preparing the filling ingredients in the largest mixing bowl you have.
- Crack the eggs and add the salt, pepper, flour, and baking powder to the bowl. You do not need to mix them together, just set them aside while you prepare the vegetables.
- Peel the onions and cut them into halves. Run them through a food processor fitted with the coarse grate disc.
- Roughly peel the potatoes, it is ok if a little skin remains. Cut them into quarters and run them through the food processor.
- Pour all the grated veggies into a strainer in the sink and rinse them with cold water. Shake the strainer to drain as much liquid as you can.
- Return the food processor bowl to the base of the machine and place the circular blade inside. Add about half of the potato-onion mixture back to the food processor and pulse it for 10 pulses. Mix the extra-grated veggies back into the strainer. This gives the latkes a nice hand-grated texture.
- Working in batches, spin two - three handfuls of veggies in a salad spinner to remove as much liquid as possible. Drain and spin once more. Pour the veggies into the prepared mixing bowl and repeat until all the potatoes have been spun.
- Quickly mix together the potato mixture with the eggs and flour using a large spatula. Continue to stir and fold it together until all the potatoes and onions are coated in egg and flour.
Fry the Latkes
- In a large skillet over medium-high heat pour 1/4 cup of cooking oil. Once the oil is shimmering, use a 1/4 cup metal measuring cup to portion out a latke. Turn it over into the pan and use a spatula to flatten it into shape. Repeat until the pan is filled with latkes that still have 1 inch of space around each side. My 8-inch skillet could only fit two or three without over crowding the pan.
- Once the first side is golden brown, use a spatula to flip the latkes over and brown the other side. 8 - 10 minutes total.
- Transfer the cooked latkes to a plate lined with paper towel to drain some of the oil.
Make Ahead Tips
- Once the latkes are golden brown, they should be served immediately with a sprinkle of salt and on a platter with sour cream and applesauce for topping.
- If you prefer to make them ahead, line a large baking pan with parchment paper and lay the latkes out in a single layer. Let them cool completely and then cover with plastic wrap and store in the fridge for up to 24 hours.
- Preheat the oven to 350°F and bake the latkes until heated through and crispy before serving, about 5 minutes.
Freezing Tips
- Completely cooled latkes can be frozen with layers of parchment or wax paper in between the layers to prevent them from sticking to one another. Store in an air-tight container.
- Thaw in the fridge overnight or bake directly from frozen until heated through and crispy.
Recipe Notes
Save This Recipe to Your Recipe Box
Find this delicious recipe next time you visit by saving it to your very own recipe box on my site. All your favorites stored in one easy place!
I have been making Latkes for over 16 years for Hanukkah. Tonight I made 50 of the most beautiful, tasty and easy Latkes I have ever created THANKS TO YOU!!! WHERE HAVE YOU BEEN MY WHOLE LIFE! Be blessed mightily! Baruch Haba B'shem Yahuah!!!!!!!