Easy Buttermilk Waffles

This buttermilk waffles recipe is perfect for beginner bakers to make for their families. Kids will love having a big double batch of batter to make homemade freezer waffles for busy school mornings.

The great debate every weekend in our family is: Pancakes or Waffles??
We each have our favorite breakfast recipes that we rotate through but these easy buttermilk waffles come up a lot more frequently than most.
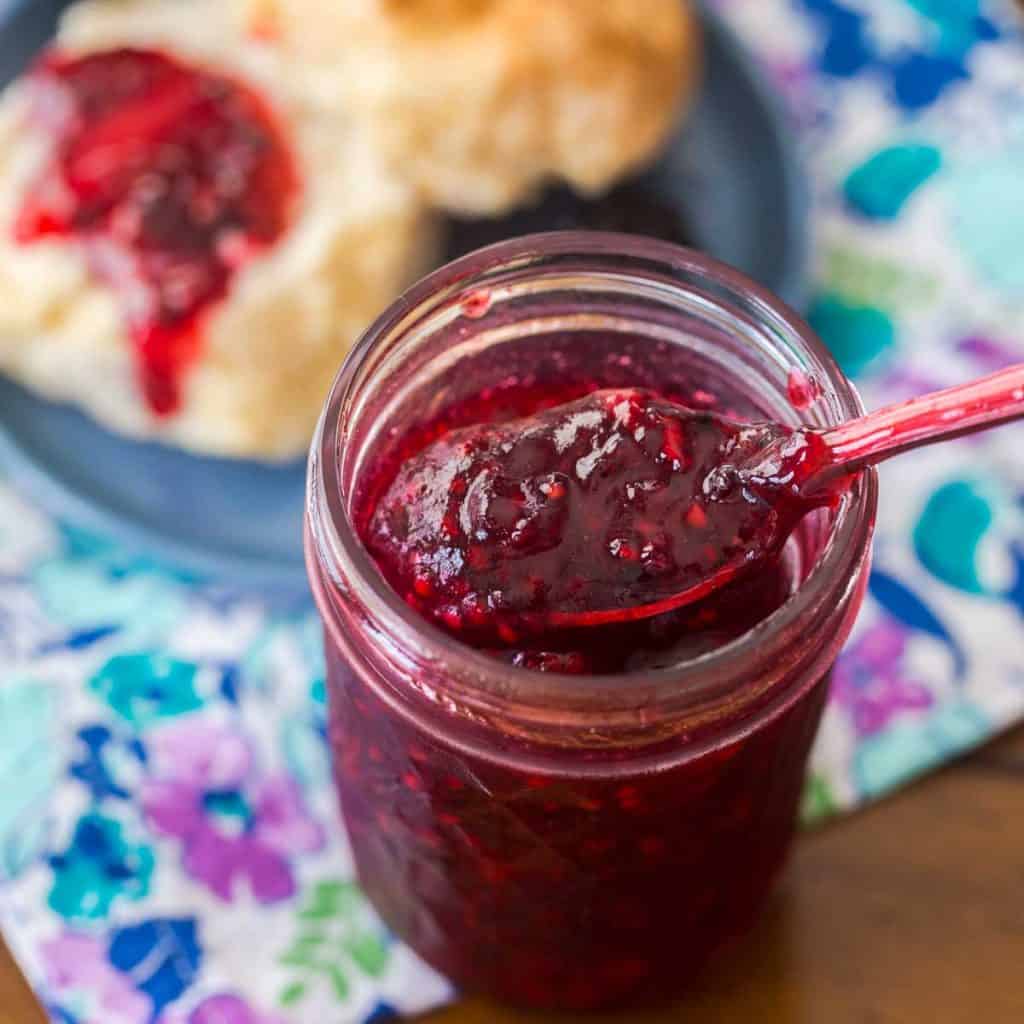
The last time I made them, I had just finished making the homemade blackberry jam and I knew I just HAD to have them on the fresh waffles with a smattering of fresh blackberries on top. It was everything I hoped it would be.
I was so hungry that morning, we sat down to enjoy our waffles before I had finished griddling up the entire batch of batter.
When breakfast was over, I headed back to the waffle iron to finish off the remaining waffles for breakfast leftovers the next day.
But if you can find the strength to be patient, you can make the entire batch of waffles and serve them family style at the brunch table for everyone to enjoy together.
Jump to:
- Why This is the Best Recipe
- Ingredients
- Make the Waffle Batter
- Griddle the Waffles
- How to Serve Waffles Family Style
- How to Get Crispy Waffles
- Make Ahead and Freezer Tips
- Serving Suggestions
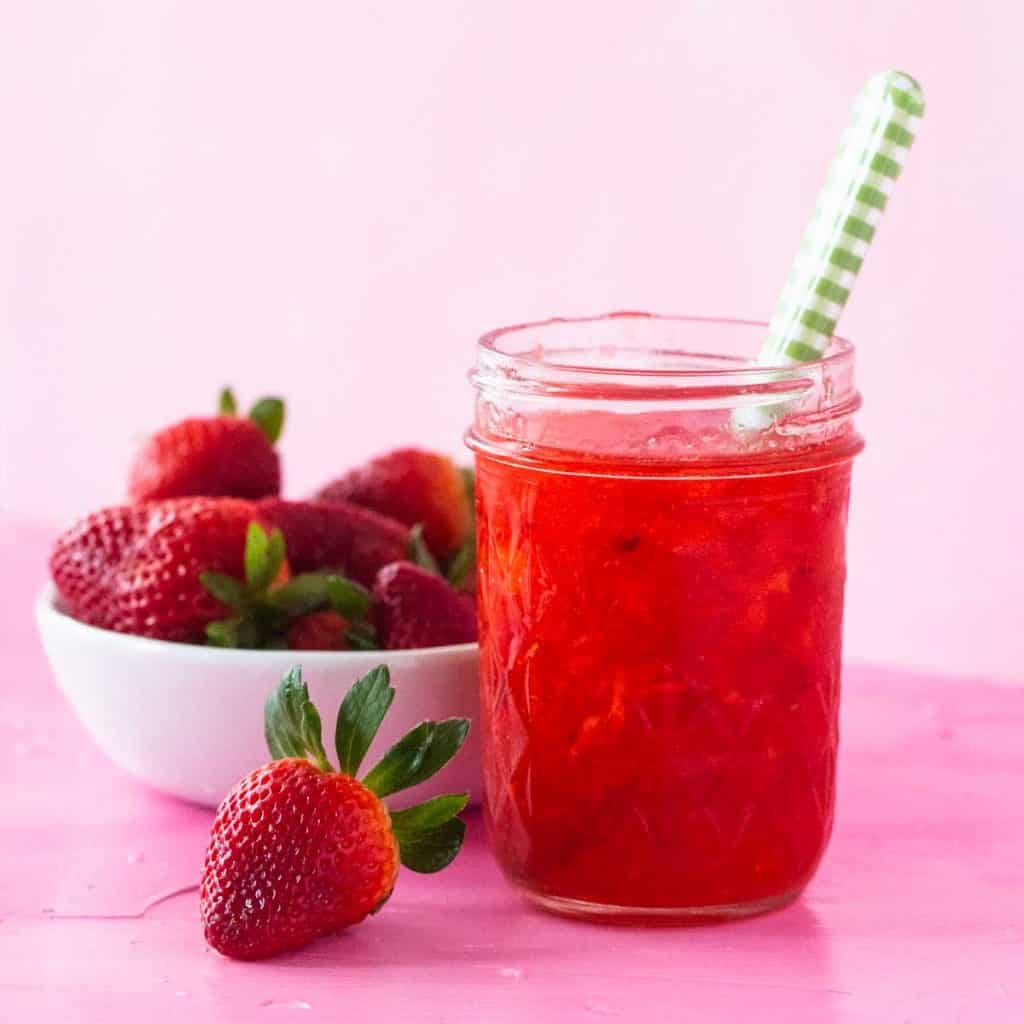
- No-Cook Strawberry Freezer Jam
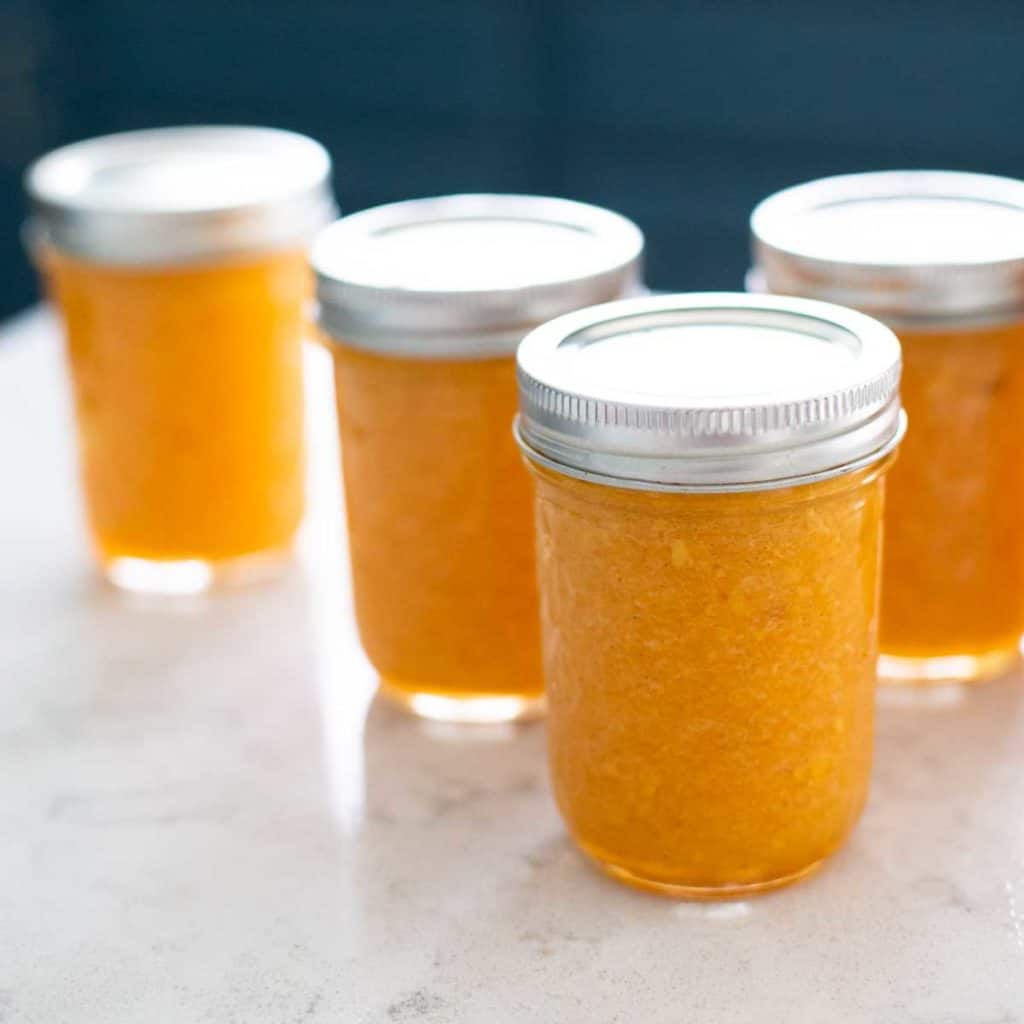
- Peach Vanilla Bean Freezer Jam
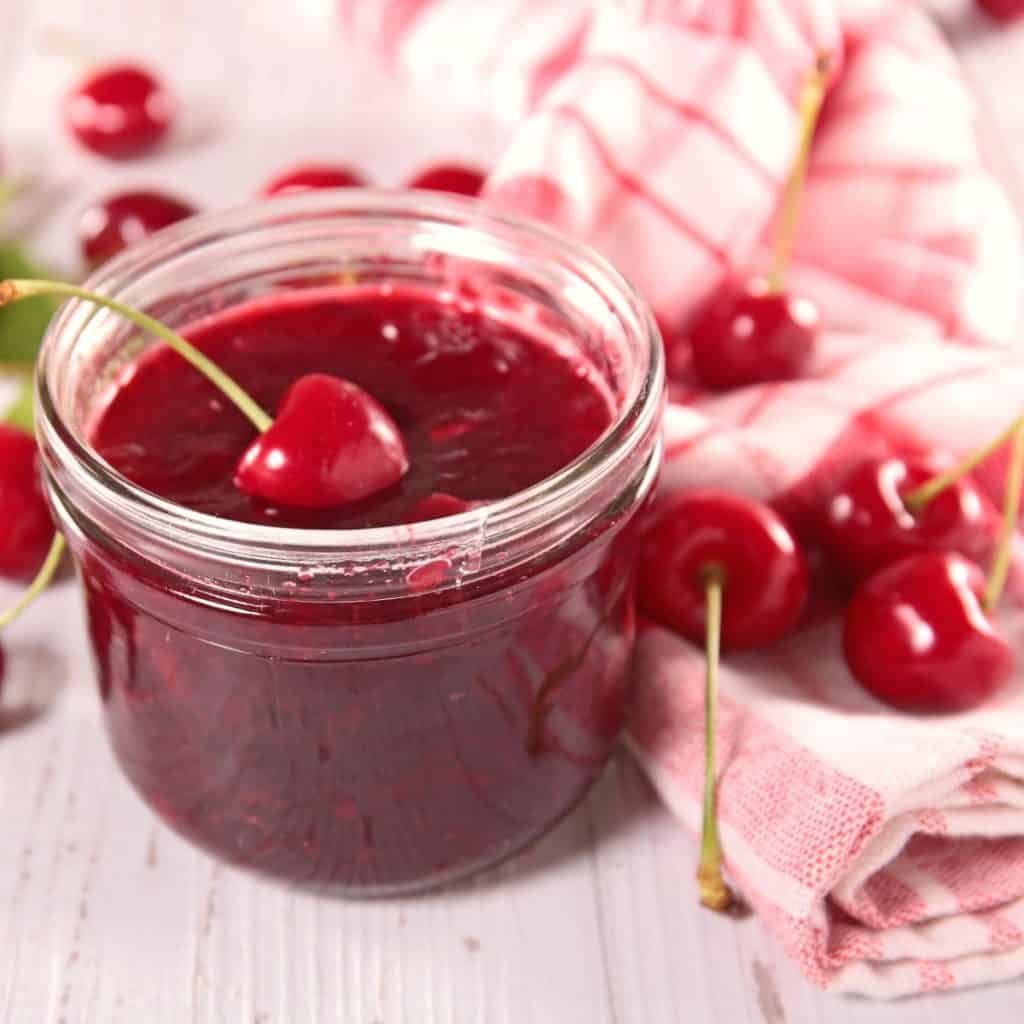
- Cherry Freezer Jam
- Blackberry Freezer Jam {No-Cook, No Corn Syrup!}
- Waffle Recipe Variations
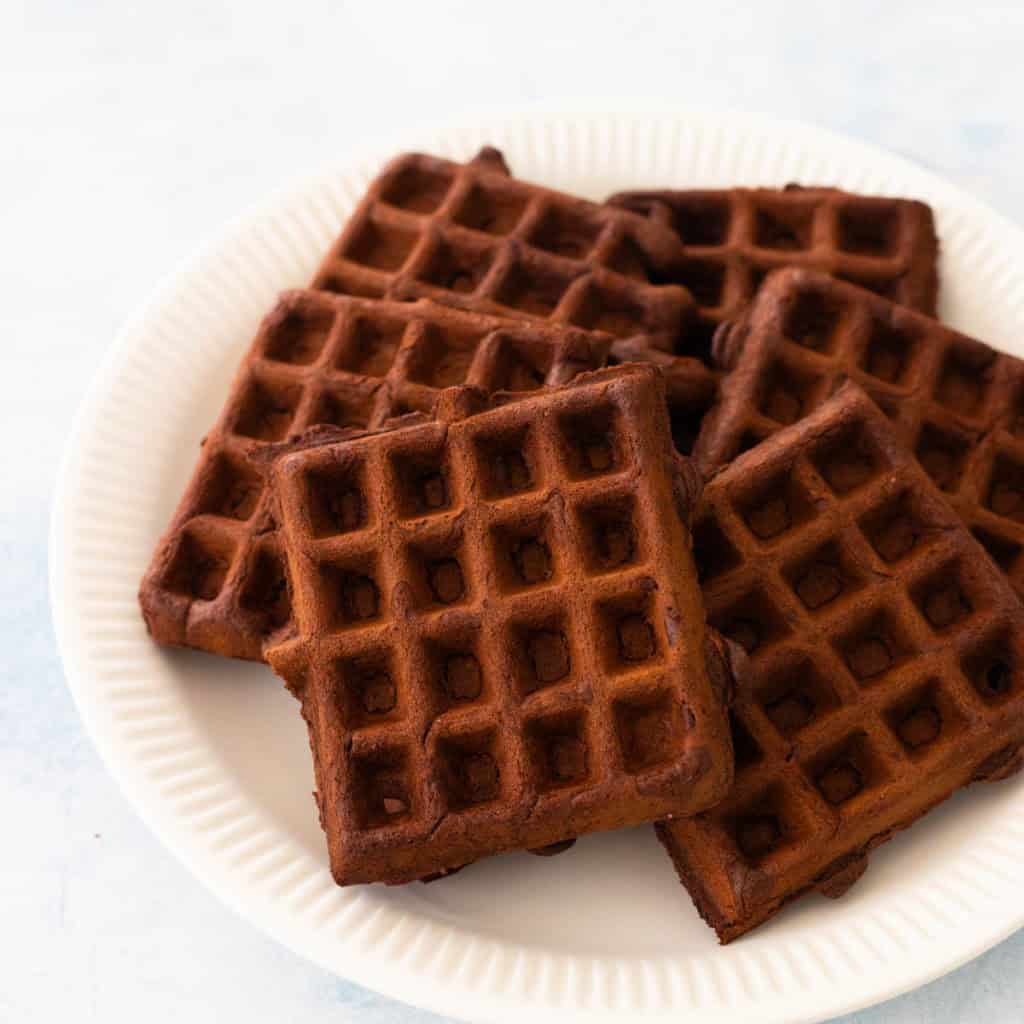
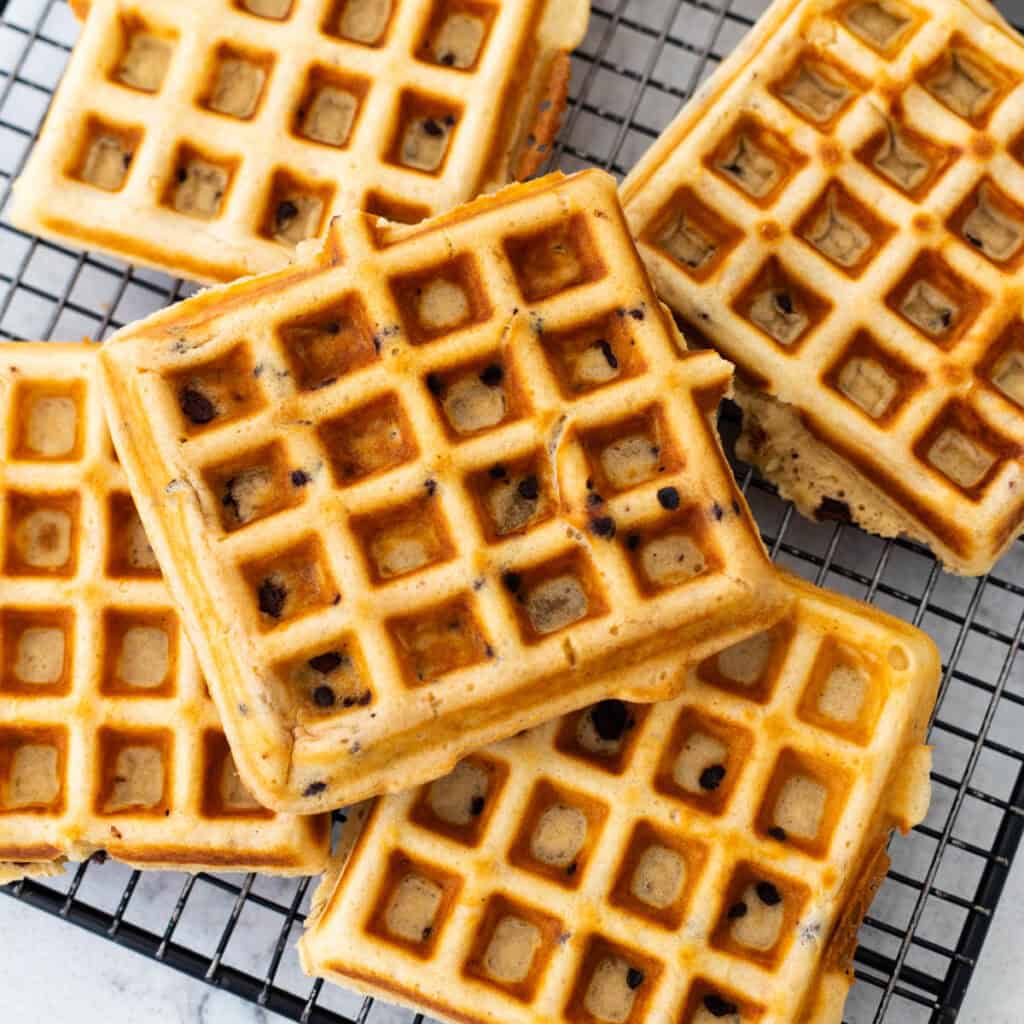
- Chocolate Belgian Waffles
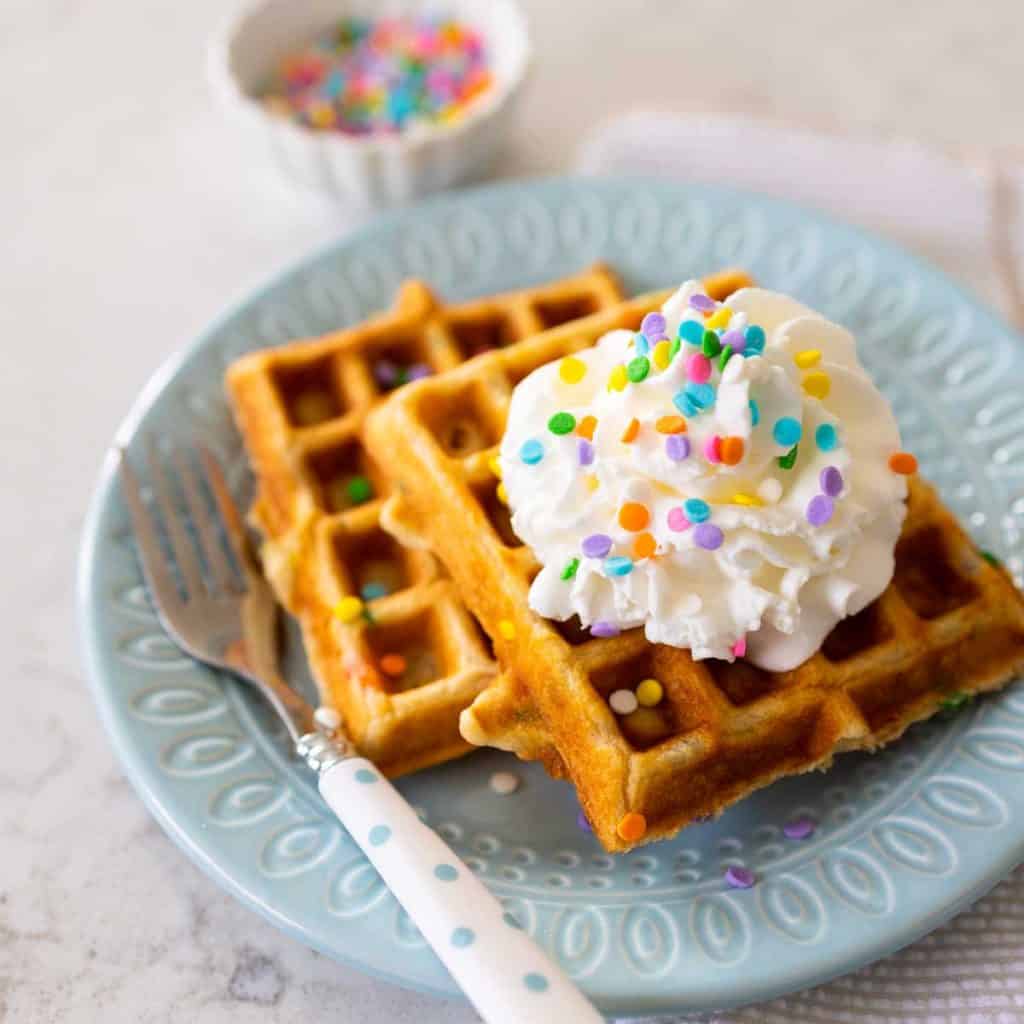
- Birthday Cake Waffles
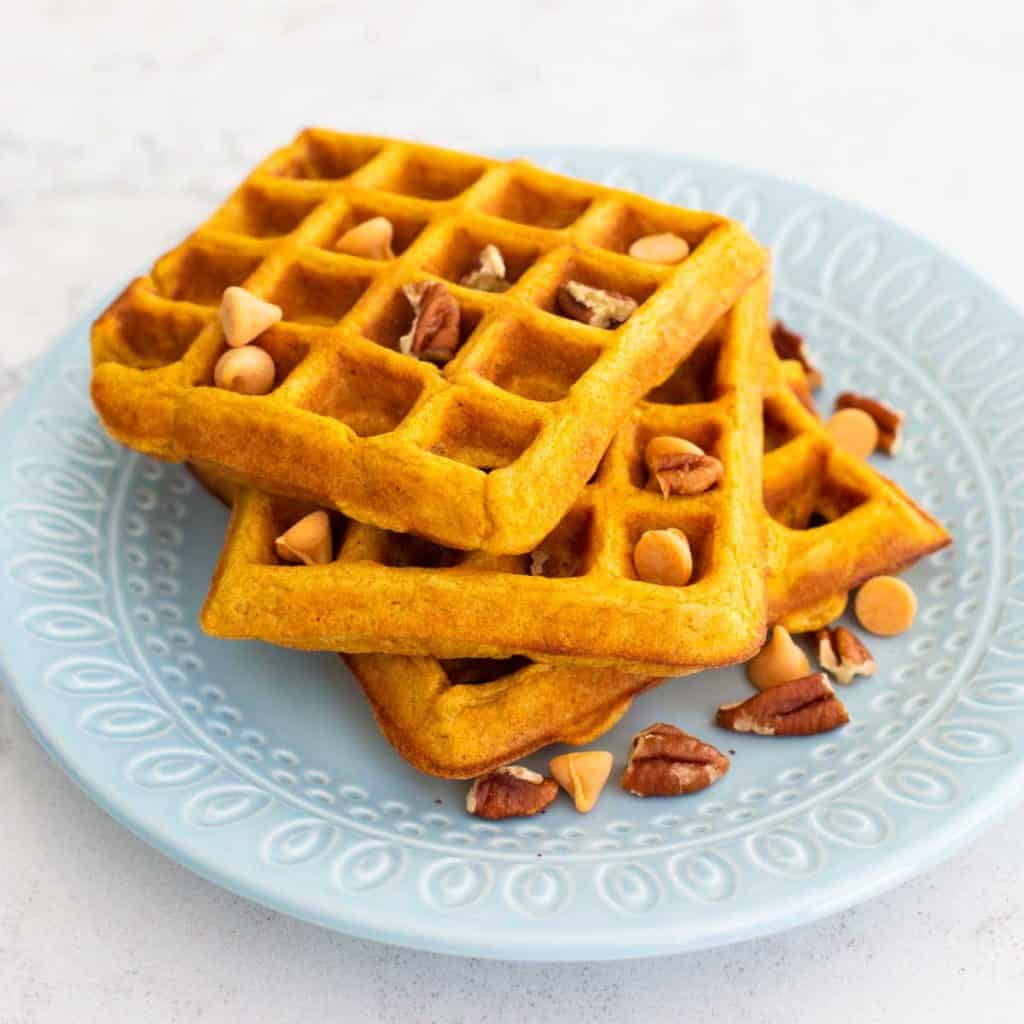
- Pumpkin Pecan Waffles
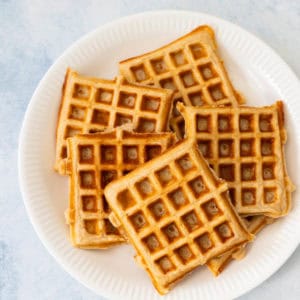
- Peanut Butter Waffles with Chocolate Chips
- 📖 Recipe
- 💬 Comments
Why This is the Best Recipe
Once you've got a waffle iron, you need to have the best buttermilk waffles recipe to go with it. I absolutely love this one because:
- Easy to Prep: Mixing up the waffle batter just takes a minute or two.
- Perfect Golden Brown and Crispy: The waffles bake up a gorgeous golden brown color, be sure to read my tricks for getting them nice and crispy!
- Freezer Friendly: When I've got buttermilk getting close to the sell-by date, I can whip up a batch of these waffles and freeze them. My kids pop them in the toaster before school. So easy.
Ingredients
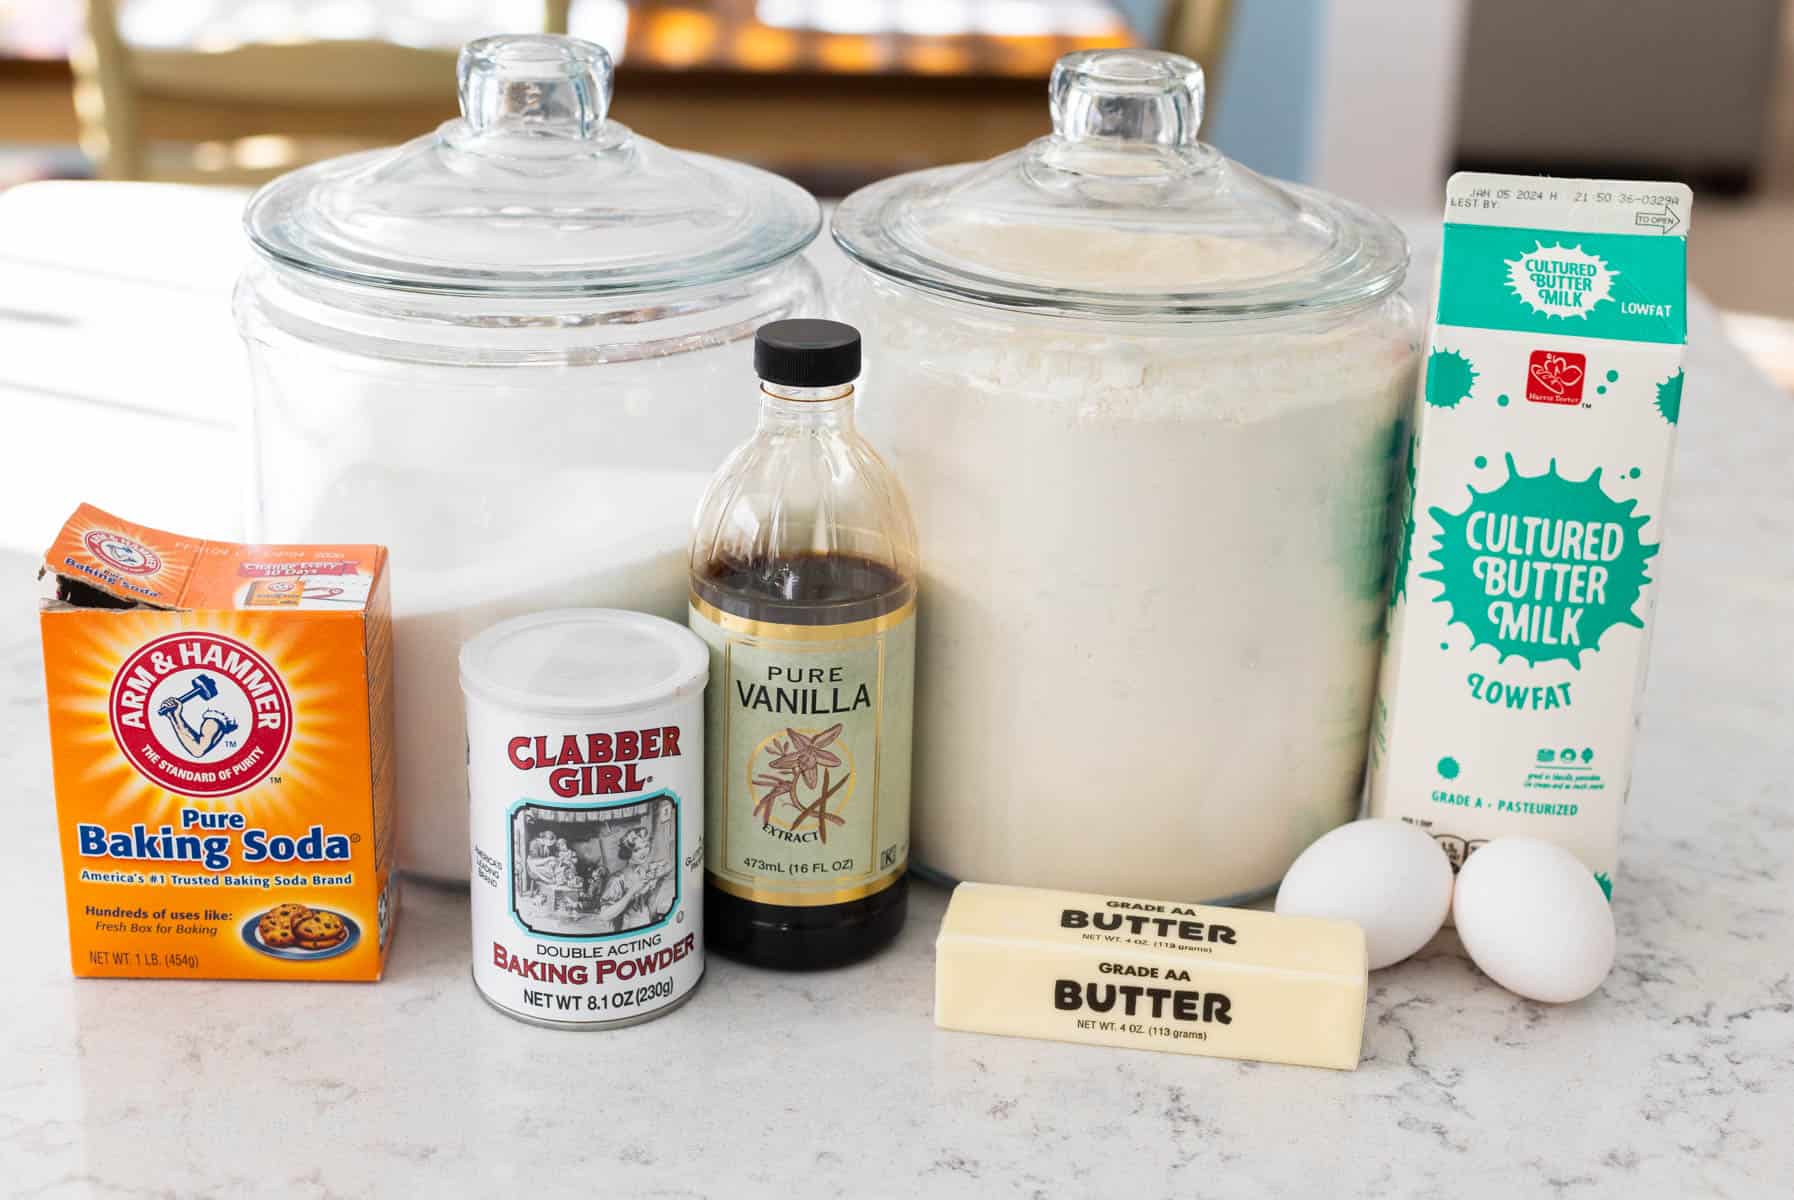
I love how wholesome homemade from-scratch buttermilk waffles are to make. Just take a peek at the short list of ingredients:
- Flour
- Sugar
- Baking Powder
- Baking Soda
- Buttermilk
- Eggs
- Butter
- Vanilla Extract
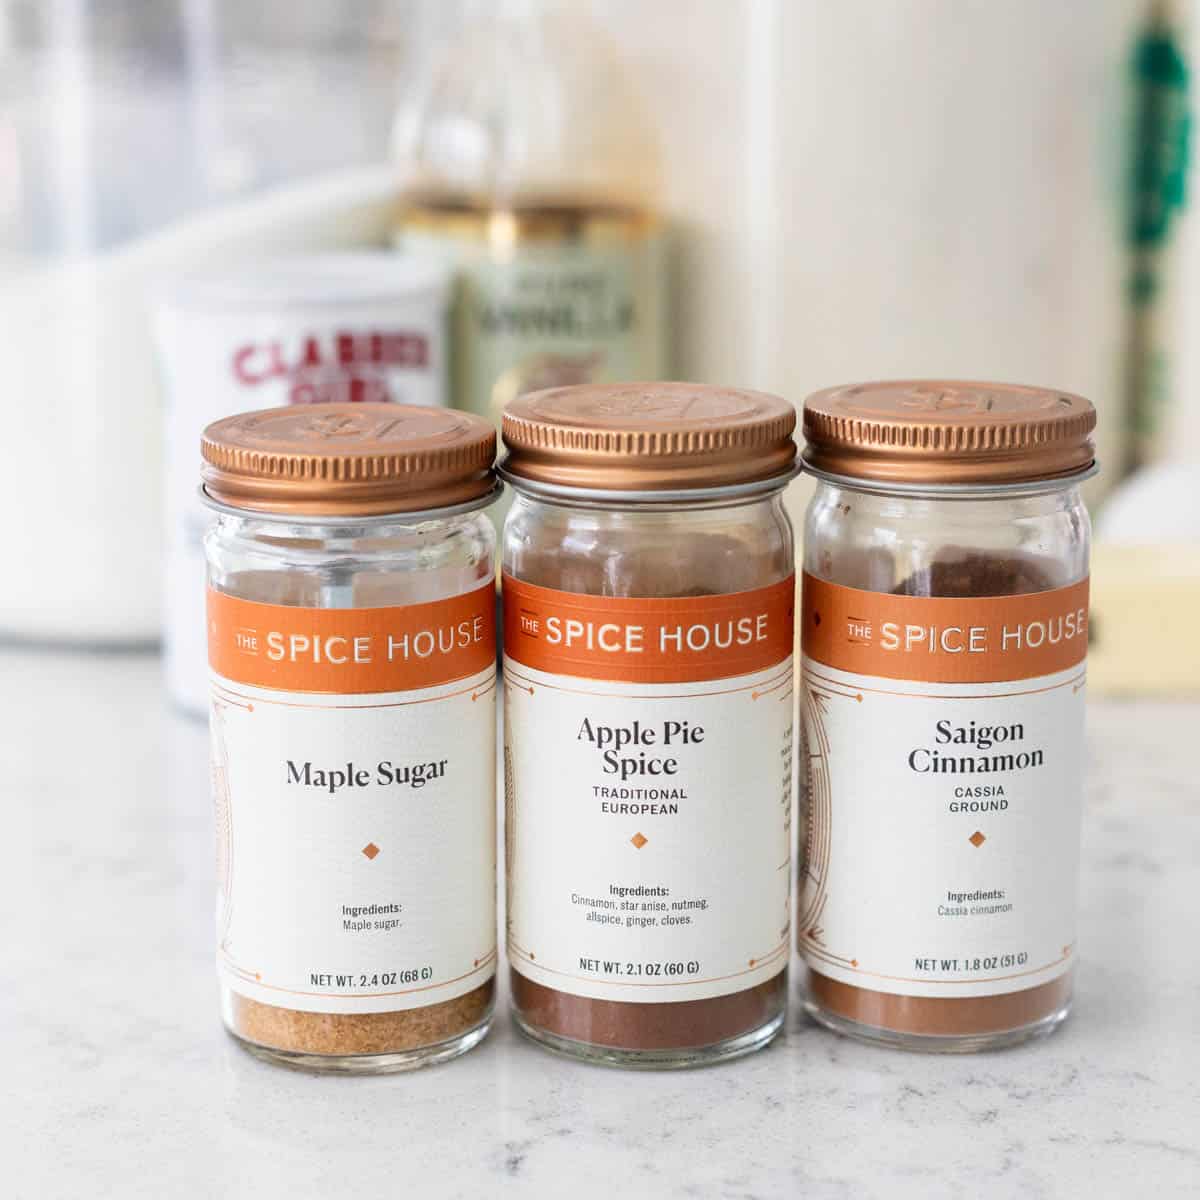
- Waffle Spices: Optional. I love plain vanilla waffles, but I think these buttermilk waffles are even more delicious with a dash of warm spice in the batter. My personal favorites include cinnamon, apple pie spice, and maple sugar. I mix and match using these based on what we're in the mood for, they're all great picks.
However, if you're looking for a gluten-free option, you'd want to check out these gluten-free waffles instead.
Make the Waffle Batter
Making waffle batter is easy peasy.
Start by adding all the dry ingredients to a large mixing bowl.
Whisk together the flour, sugar, baking powder, baking soda, and any spices you plan to add. (See my note in the ingredients list above.)
In a separate bowl, measure the buttermilk. Add the eggs and vanilla and whisk them together until smooth.
Melt the butter and set aside to cool slightly.
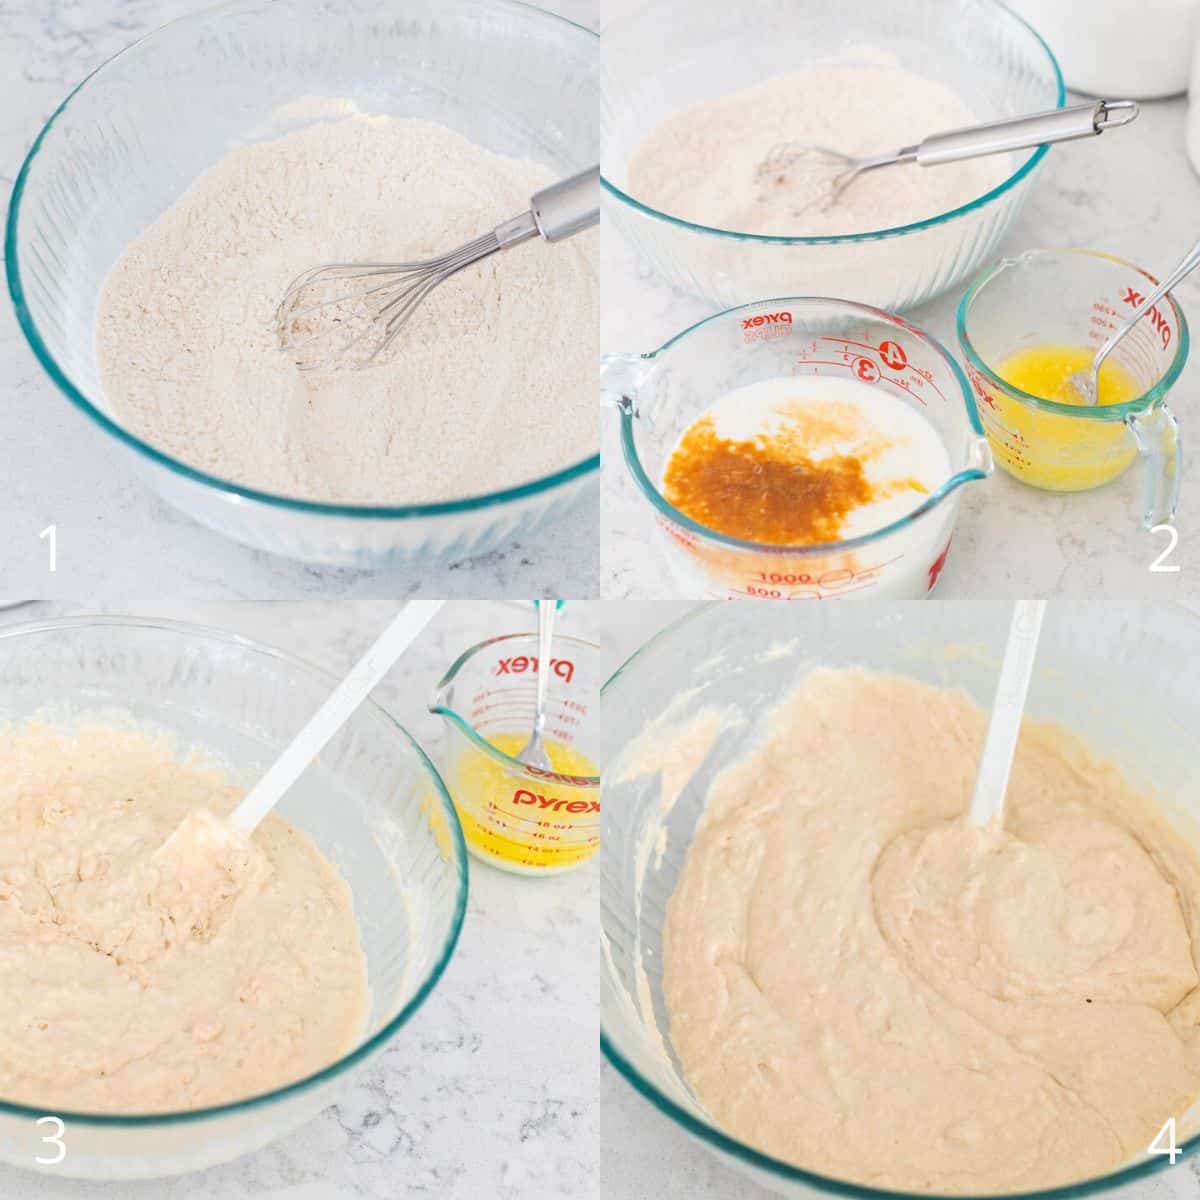
Pour the buttermilk mixture into the dry flour bowl and stir it in. It will still be slightly thick.
Then stir in the melted butter very slowly as you continuously stir. This helps prevent the eggs from cooking from the heat of the butter.
The waffle batter will be slightly lumpy and that's ok! Just be sure you've mixed in all the big dry pockets of flour.
Griddle the Waffles
To cook the buttermilk waffles, preheat your waffle iron according to the directions it came from. Mine has a light that turns green on it so I know it is ready.
Spray the griddle with cooking spray and then fill the waffle wells.
Our waffle iron takes about 1/3 cup of batter for each well.
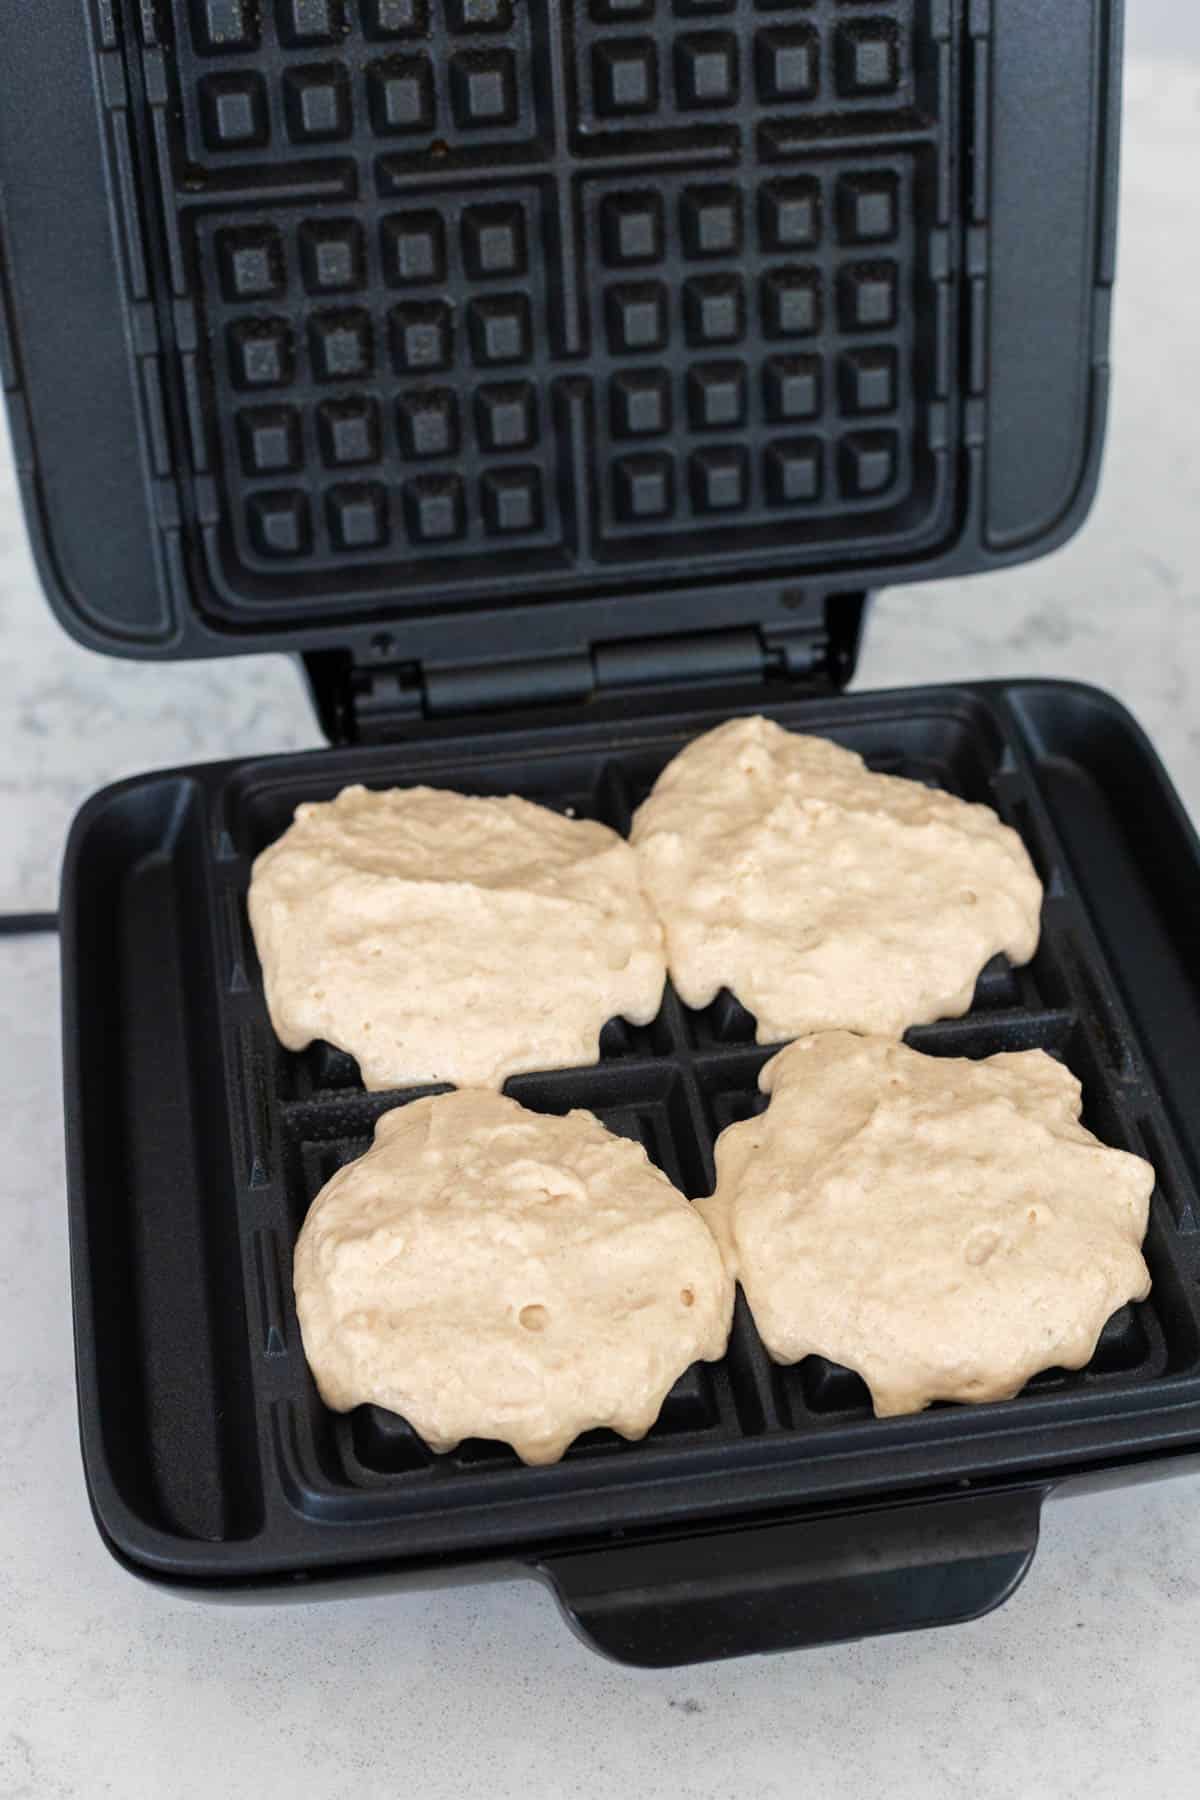
Close the waffle iron and cook according to the directions for your appliance.
My waffle iron takes 4 minutes to cook the waffles to a perfect golden brown:
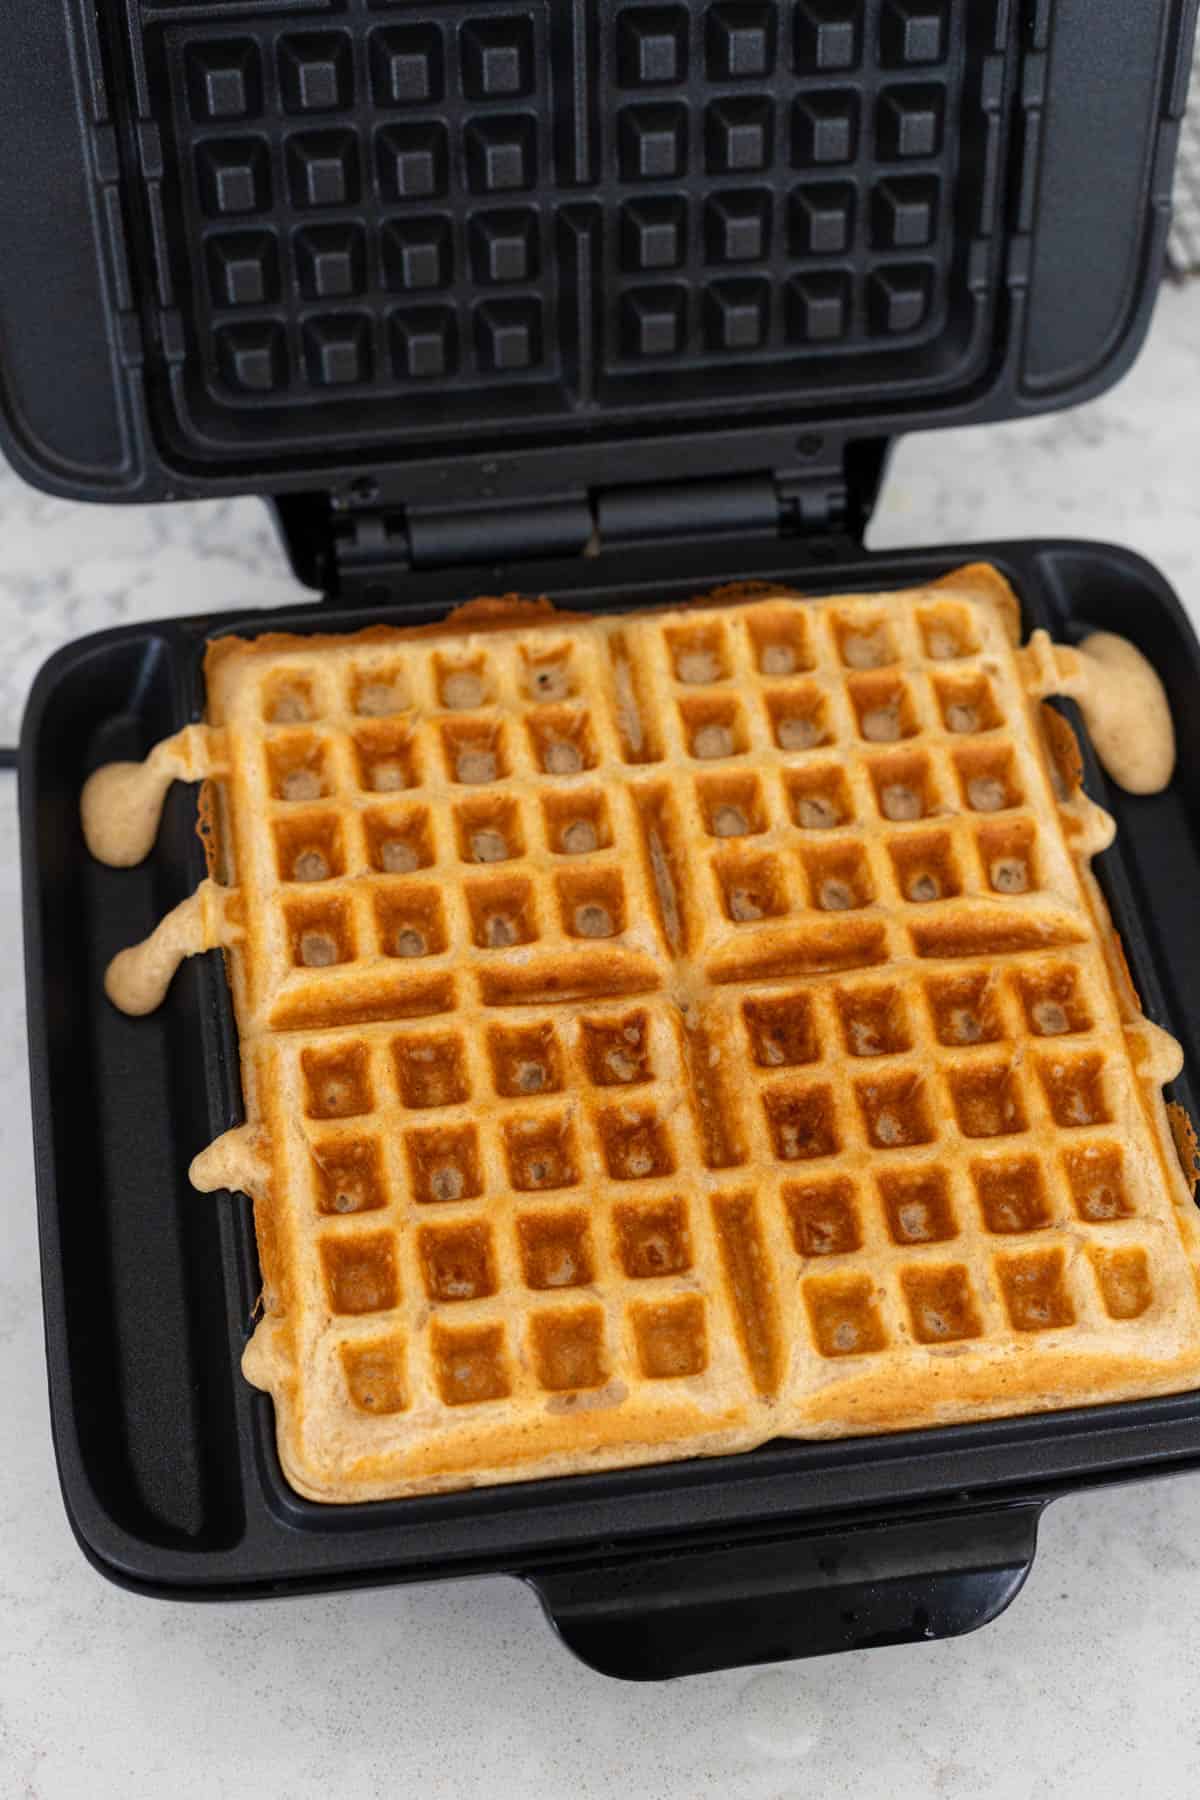
Use a pair of tongs to remove the waffles from the iron and then repeat as needed to finish the batch of waffle batter.
How to Serve Waffles Family Style
The last thing I want to do during the weekend is feel like a short order cook in my own kitchen. Serving up hot waffles fresh from the waffle maker, one at a time to whoever has an empty plate, is not a relaxing way to spend the morning.
Instead, I prefer to preheat the oven to 220°F with a large baking sheet inside.
As I prepare the waffles, I transfer them directly to the oven to keep warm so that I can serve a large platter of waffles all at once and sit down and enjoy breakfast with my family.
This is an especially great trick because the waffles tend to get even crispier edges that simply soak up the softened butter and maple syrup!!
How to Get Crispy Waffles
Unless you have the budget for a high-end waffle maker, I think you will find that most budget-friendly waffle makers tend to make semi-soft sided waffles.
Even our waffle maker that cooks them to that perfect golden brown color still doesn't get them quite as crispy as we love.
Here are my top 2 tricks for Extra Crispy Waffles:
- Warm Them in the Oven: Use my family-style trick and heat them in the oven at 220°F while you are preparing all the waffles. They'll dry out just a bit and get nice crispy edges.
- Toast the Waffles: We LOVE make ahead waffles because we reheat them in the toaster. Not only do they warm through but they get perfectly crispy on the outside. We think they're even more delicious the next day!
Make Ahead and Freezer Tips
I usually make a big double batch of batter because our family LOVES leftover waffles during the week.
Store them in single layers between waxed paper and we just pop them in the toaster to heat through.
One or two light rounds of toasting and the buttermilk waffles come out crisp and fresh, almost more delicious than the first day we make them if that is even possible!
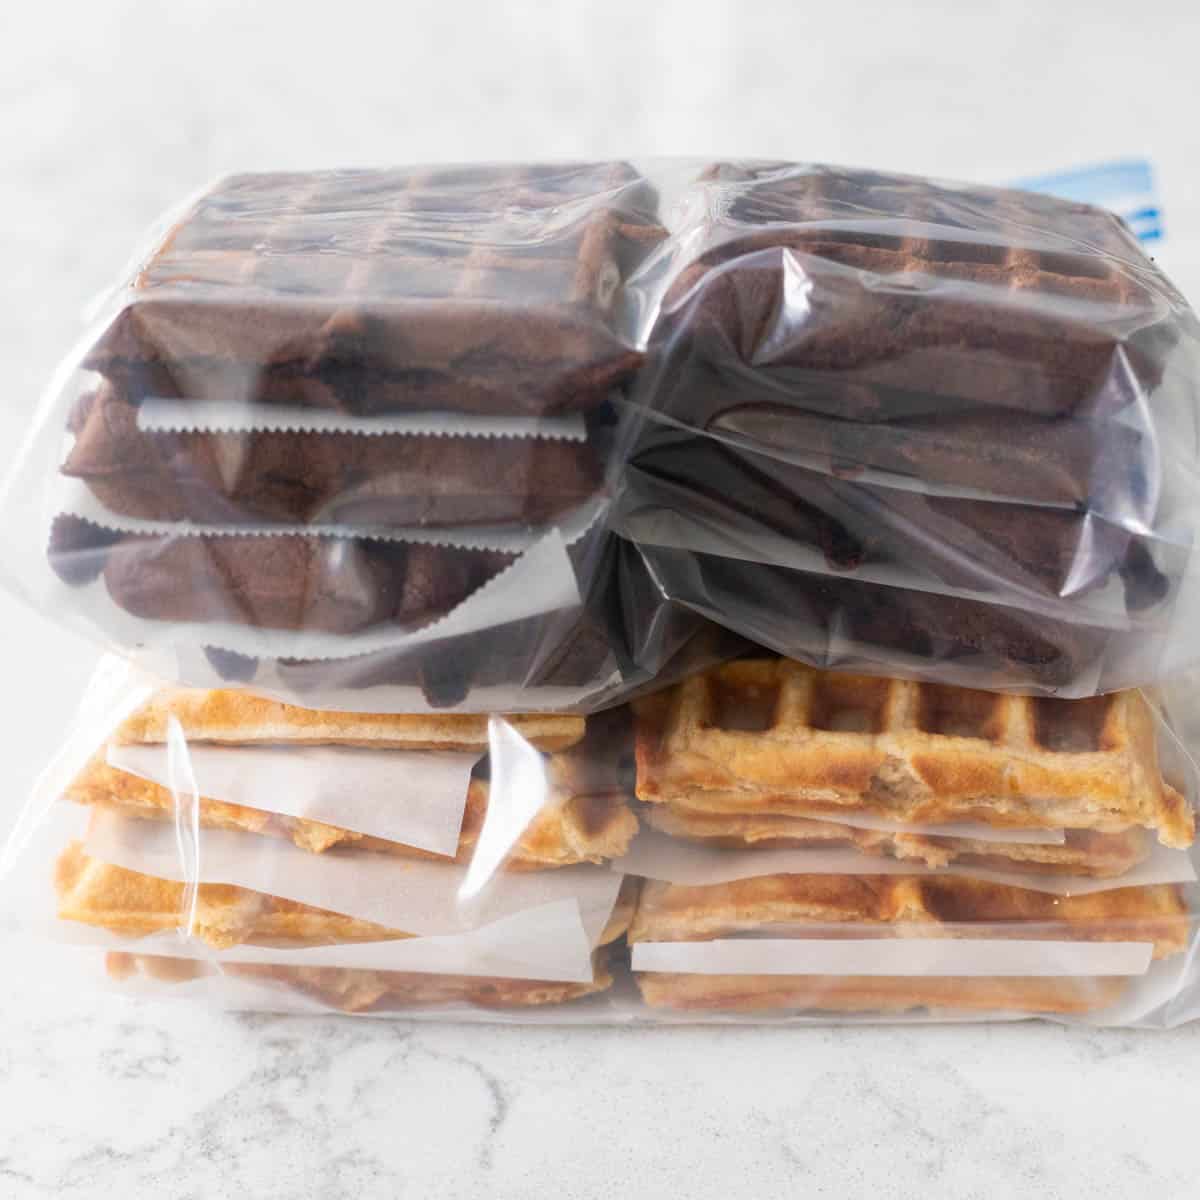
But if your kids get tired of having waffles every day, you can absolutely freeze these waffles for another day.
Just be sure to keep the waxed paper between them so they don't stick together.
You can toast the waffles directly from frozen but it may require another round of toasting to make sure they are heated all the way through.
Alternatively, you could thaw them in the microwave for 1 minute and 30 seconds on 50% power and then finish them in the toaster.
Serving Suggestions
Our favorite part of this homemade waffles recipe is that you can top it with all different kinds of flavored syrups or spreads and completely change the experience.
It's a perfect base vanilla waffles recipe to top with any of these ideas:
- Blackberry freezer jam and fresh blackberries on top
- Strawberry freezer jam and a sprinkle of chocolate chips
- Peach vanilla bean freezer jam and whipped cream
- Lemon curd with sliced strawberries or blueberries
- Cherry jam with whipped cream
- Maple syrup and chopped pecans
- A spread of Nutella and fresh sliced strawberries
- A spread of almond butter and fresh blueberries
Waffle Recipe Variations
If you love buttermilk waffles, you won't want to miss these fun waffle variations!
My chocolate Belgian waffles and my birthday cake waffles are perfect for a busy school morning or a relaxing weekend brunch, too.
Make the pumpkin pecan waffles with or without butterscotch chips. Or serve up my peanut butter chocolate chip waffles with strawberry jam.
📖 Recipe
Easy Buttermilk Waffles
Ingredients
- 2 cups all-purpose flour
- 2 tablespoons sugar
- 2 teaspoons baking powder
- 1 teaspoon baking soda
- 1 teaspoon pie spice
- 1/2 teaspoon salt
- 8 tablespoons (1 stick) butter melted
- 2 cups buttermilk
- 2 eggs
- 1 teaspoon vanilla extract
- Cooking spray for waffle iron
Instructions
- Preheat the oven to 220°F. Place a large cookie sheet in the oven to warm up.
- Preheat your waffle iron and set the cooking spray and a pair of tongs nearby.
- In a large mixing bowl, whisk together the flour, sugar, baking powder, baking soda, pie spice, and salt.
- Place the butter in a microwave safe bowl and melt on high for 20 - 30 seconds. Set next to the mixing bowl and let it cool slightly while you measure the next few ingredients.
- In a large measuring cup, measure the buttermilk. Crack the eggs into the cup. Add the vanilla extract. Whisk the wet ingredients together until smooth.
- Pour the buttermilk mixture into the dry ingredients and stir together. Batter will be slightly lumpy but there should be no dry pockets of flour. Then, slowly drizzle in the melted butter while whisking the batter constantly. This will help prevent the warm butter from cooking the raw eggs in the batter.
- Spray your waffle iron with a light coat of cooking spray and then pour the batter into your waffle wells according to the instructions for your machine. For our 4-waffle iron, we use a 1/3 cup measuring cup to scoop batter into each waffle well. Cook the waffles for 3 - 6 minutes, depending on your iron. Waffles should be golden brown.
- Use the tongs to transfer the waffles to a clean plate and then transfer them from the plate to the cookie sheet in your oven. Keeping the waffles in a single layer in the oven while you cook the remaining batch will help ensure the waffles are crispy and warm when you serve them family-style.
Recipe Notes
Make Ahead Tips
You can cook all the waffles in batches in your waffle iron. Let them cool completely and then wrap them in layers of wax paper in an airtight baggie. Keep in your fridge for 3 - 5 days and reheat in the toaster to make them crispy.How to Freeze the Waffles
Wrap in single layers with wax paper and store them in an airtight bag or container in the freezer for 3 months. Let thaw overnight before reheating or thaw them in the microwave for 1 minute, 30 seconds on 50% power and then toast them in the toaster to get them nice and crispy.Save This Recipe to Your Recipe Box
Find this delicious recipe next time you visit by saving it to your very own recipe box on my site. All your favorites stored in one easy place!

I know what to do next morning. That's cool much.
The article is very useful for us, please update every day
The article is very useful for us, please update every day