No-Bake Peanut Butter Pie
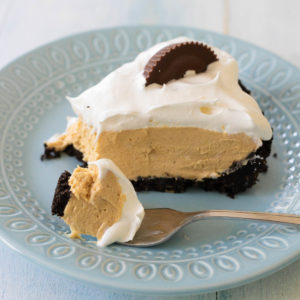
No-bake peanut butter pie with Reese's peanut butter cups on top is a fantastic make ahead party dessert you can chill in your fridge up to 2 days in advance.
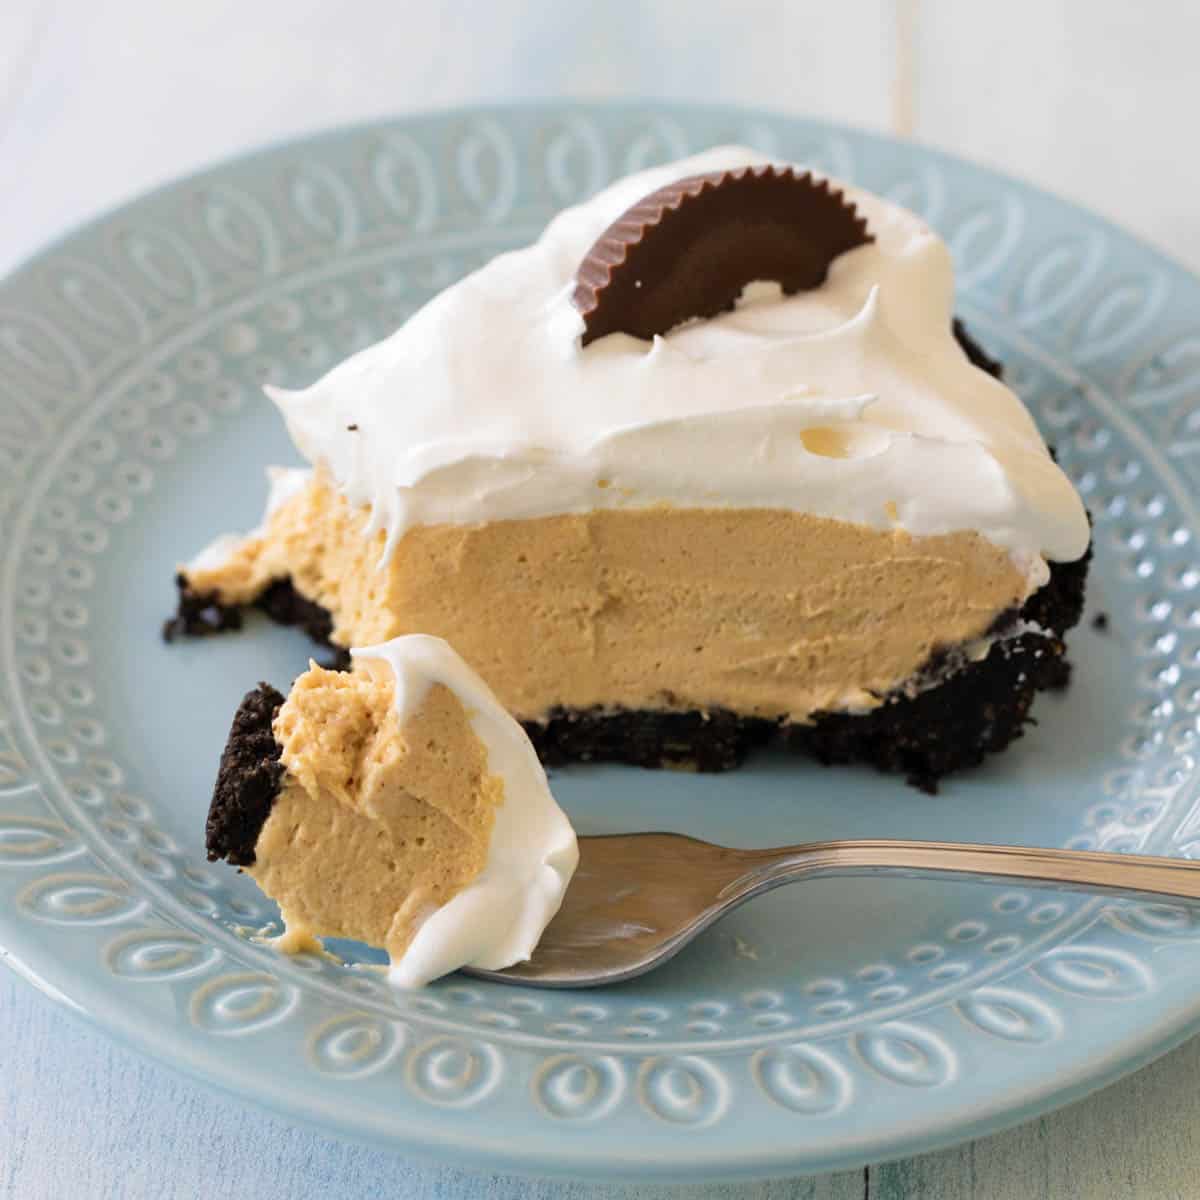
Chocolate and peanut butter is one of my husband's favorite flavor combinations.
Offer him a slice of this creamy no-bake peanut butter pie with a chocolate Oreo cookie crust and actual Reese's peanut butter cups on top? There's no way he'd turn that down.
Thankfully this easy recipe only takes a few minutes of hands-on time to prep and can be chilled in the fridge for a couple days before a party.
Why This is the Best Recipe
Make ahead desserts are one of my favorite hosting tricks for special events and holidays. I think this is the best no-bake peanut butter pie recipe because:
- Just Like a Peanut Butter Cup: If you love chocolate peanut butter cups, you'll love the chocolate crust, peanut butter filling, and actual peanut butter cups on top.
- Cool and Creamy: The peanut butter filling is light and fluffy but still filled with plenty of peanut butter flavor.
- Make Ahead Friendly: You can chill the peanut butter pie for up to 2 days in advance or even freeze it for later if you want.
Ingredients
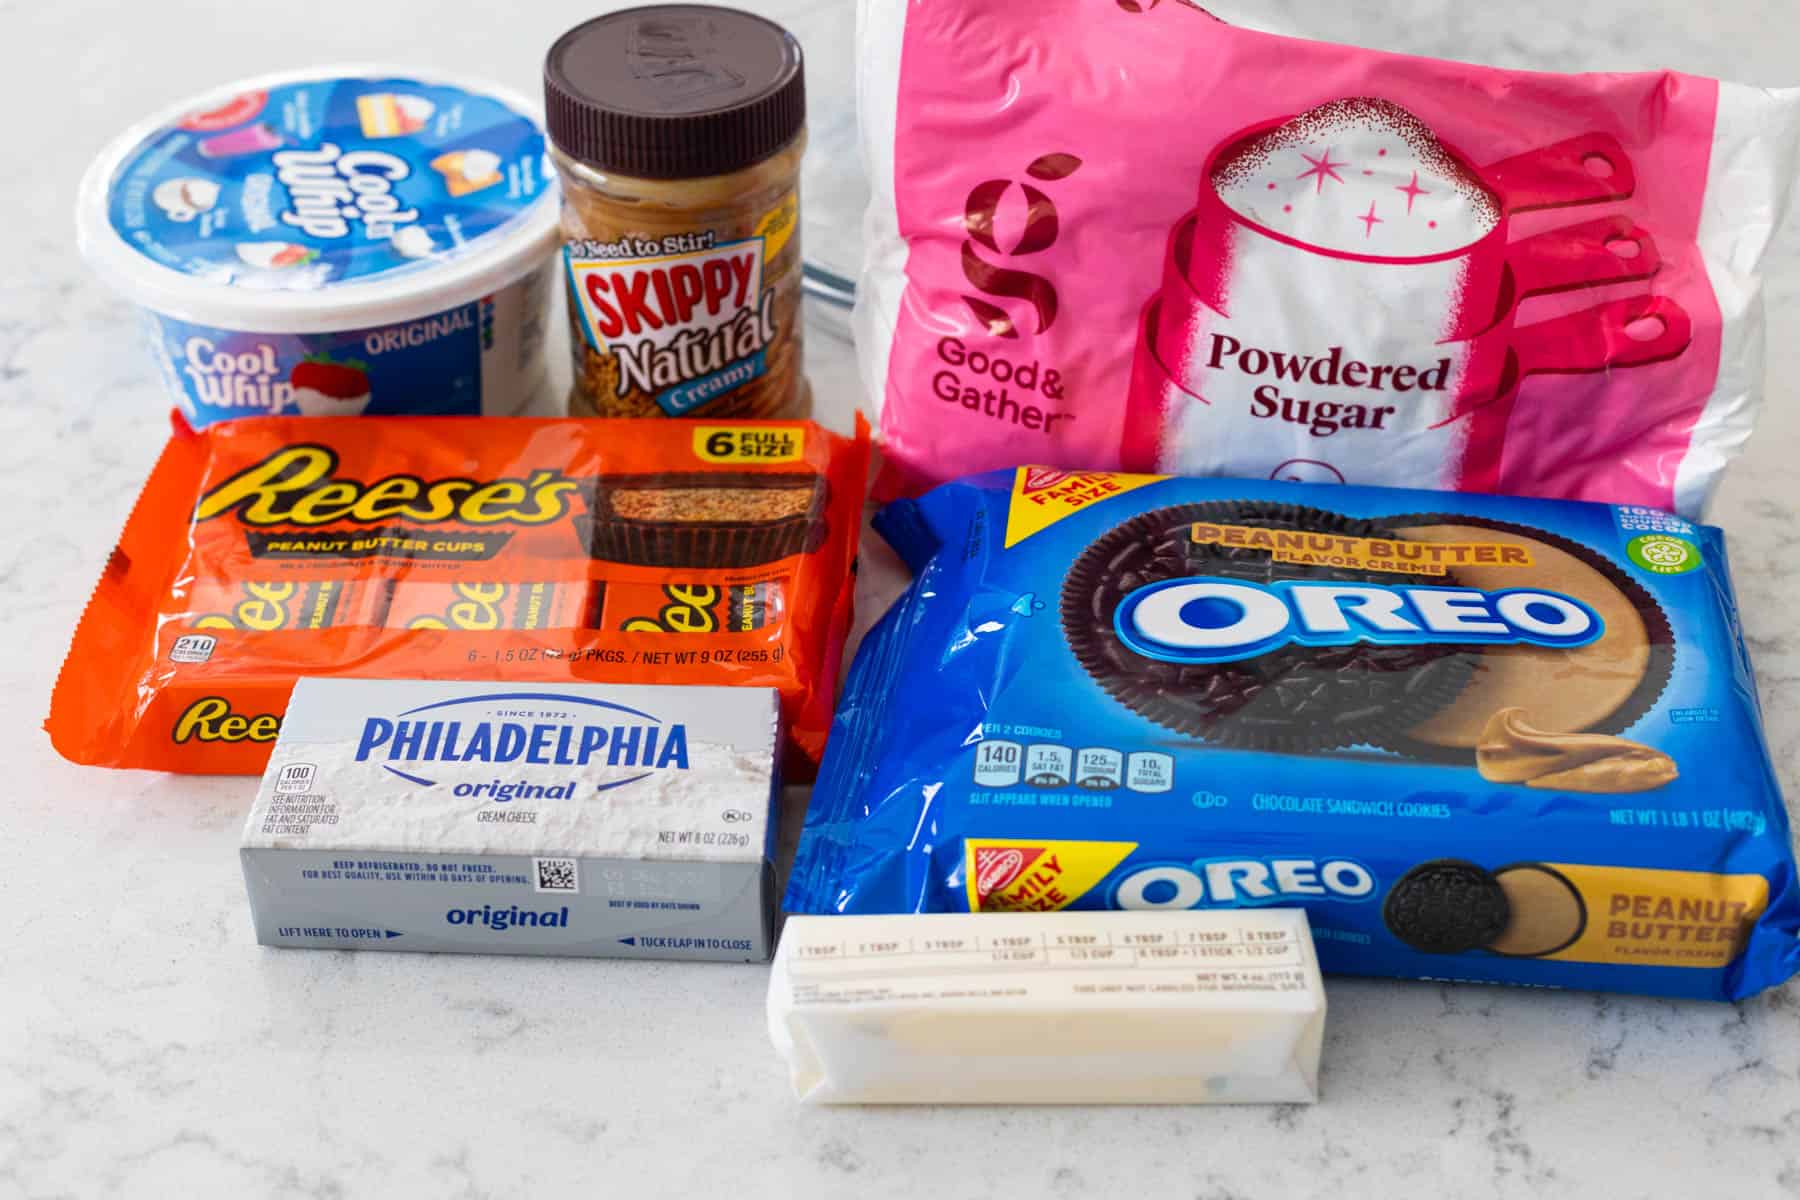
This easy no-bake dessert only needs a few ingredients:
- Chocolate Sandwich Cookies: I used peanut butter flavored Oreos to add even more peanut butter oomph to the recipe. You could use plain Oreos if you prefer.
- Reese's Peanut Butter Cups: I used these just for garnish, but if you are a serious peanut butter cup lover, you could chop up even more of them and fold them into the peanut butter filling.
- Creamy Peanut Butter: It is important to use regular creamy peanut butter. You'll be blending it into the cream cheese and nuts would get in the way. If you love crunchy peanut butter, I'd suggest folding whole peanuts into the filling along with the whipped topping.
- Cream Cheese
- Butter
- Powdered Sugar
- Whipped Topping
Make the Oreo Cookie Crust
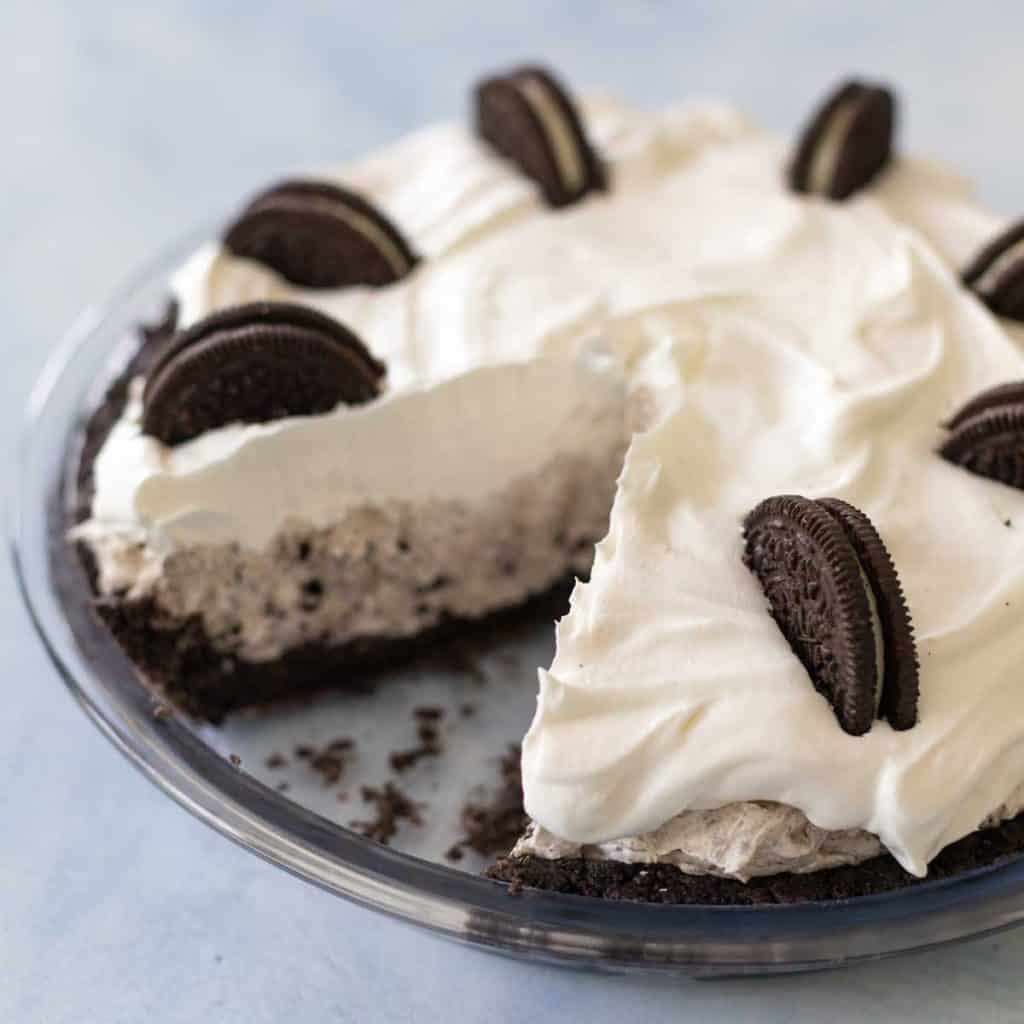
A no-bake Oreo cookie crust is one of the easiest pie crust recipes ever.
I have a separate post with step-by-step photos if you need them, you can see the Oreo cookie crust recipe here.
The full instructions are in the recipe card below, too.
For this recipe, I started with peanut butter filled Oreos and just crushed them in seconds in my food processor:
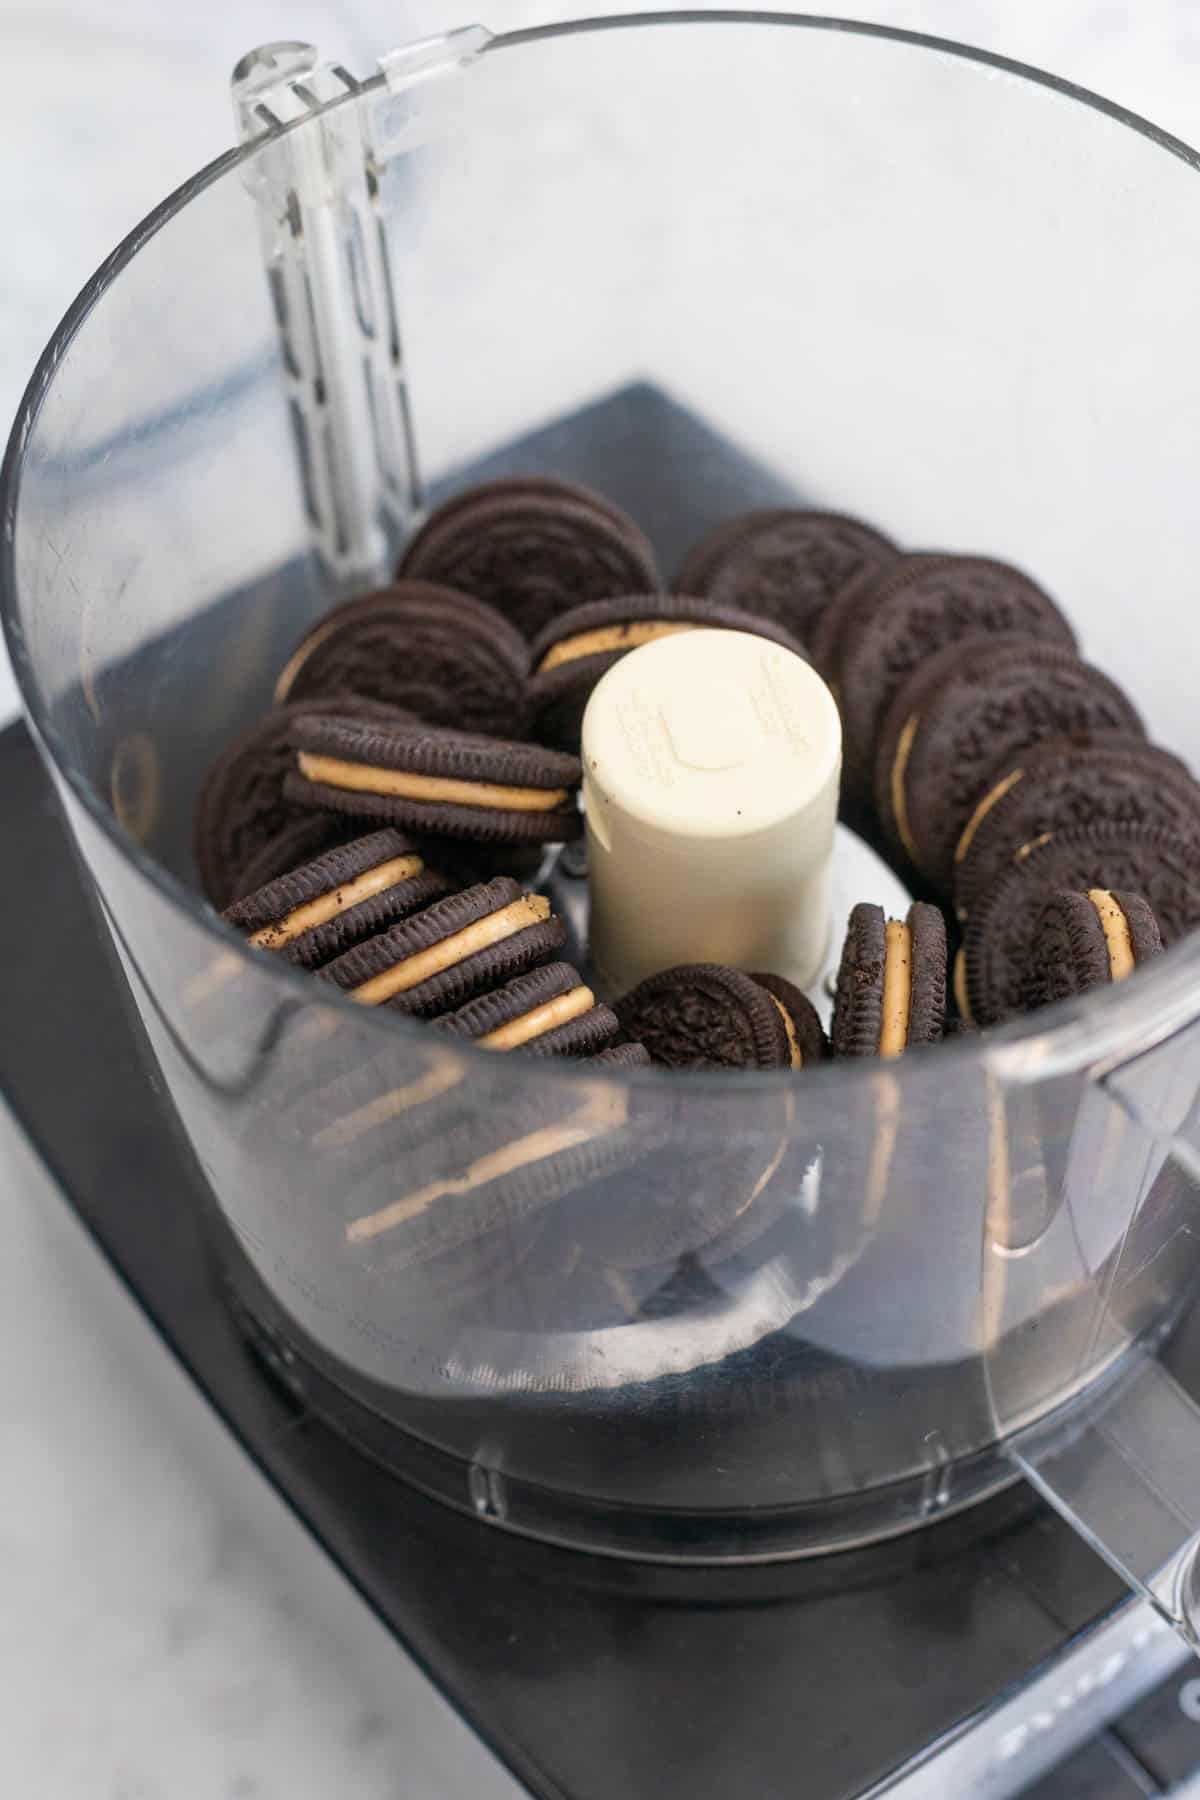
It is important to chill the cookie crust for one hour before you try to fill it.
Want to Save This for Later?
Make the Peanut Butter Filling
To make the peanut butter filling, start by placing the cream cheese, peanut butter, and powdered sugar in the mixing bowl.
Beat them together, the mixture will be quite thick.
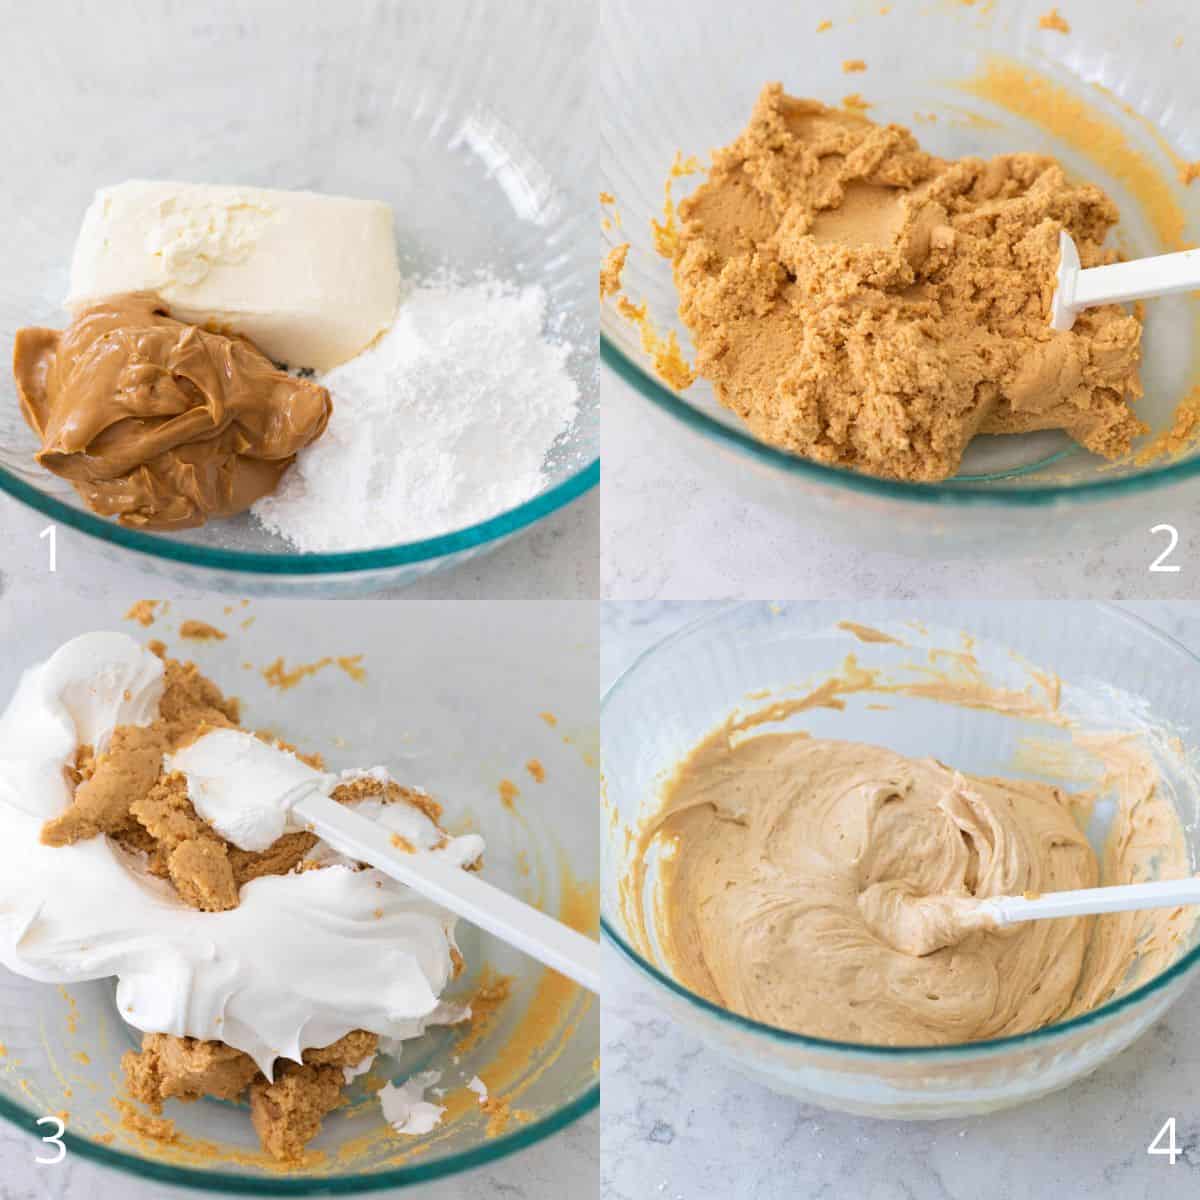
Fold in one of the containers of whipped topping. I started by adding just about half of it to help loosen up the thick peanut butter mixture.
Then I added the remaining half and it was easier to fold in. It should be thick and creamy.
NOTE: If you want to add chopped peanut butter cups or whole peanuts to your pie filling, now is the time to fold them in.
Assemble the Peanut Butter Cup Pie
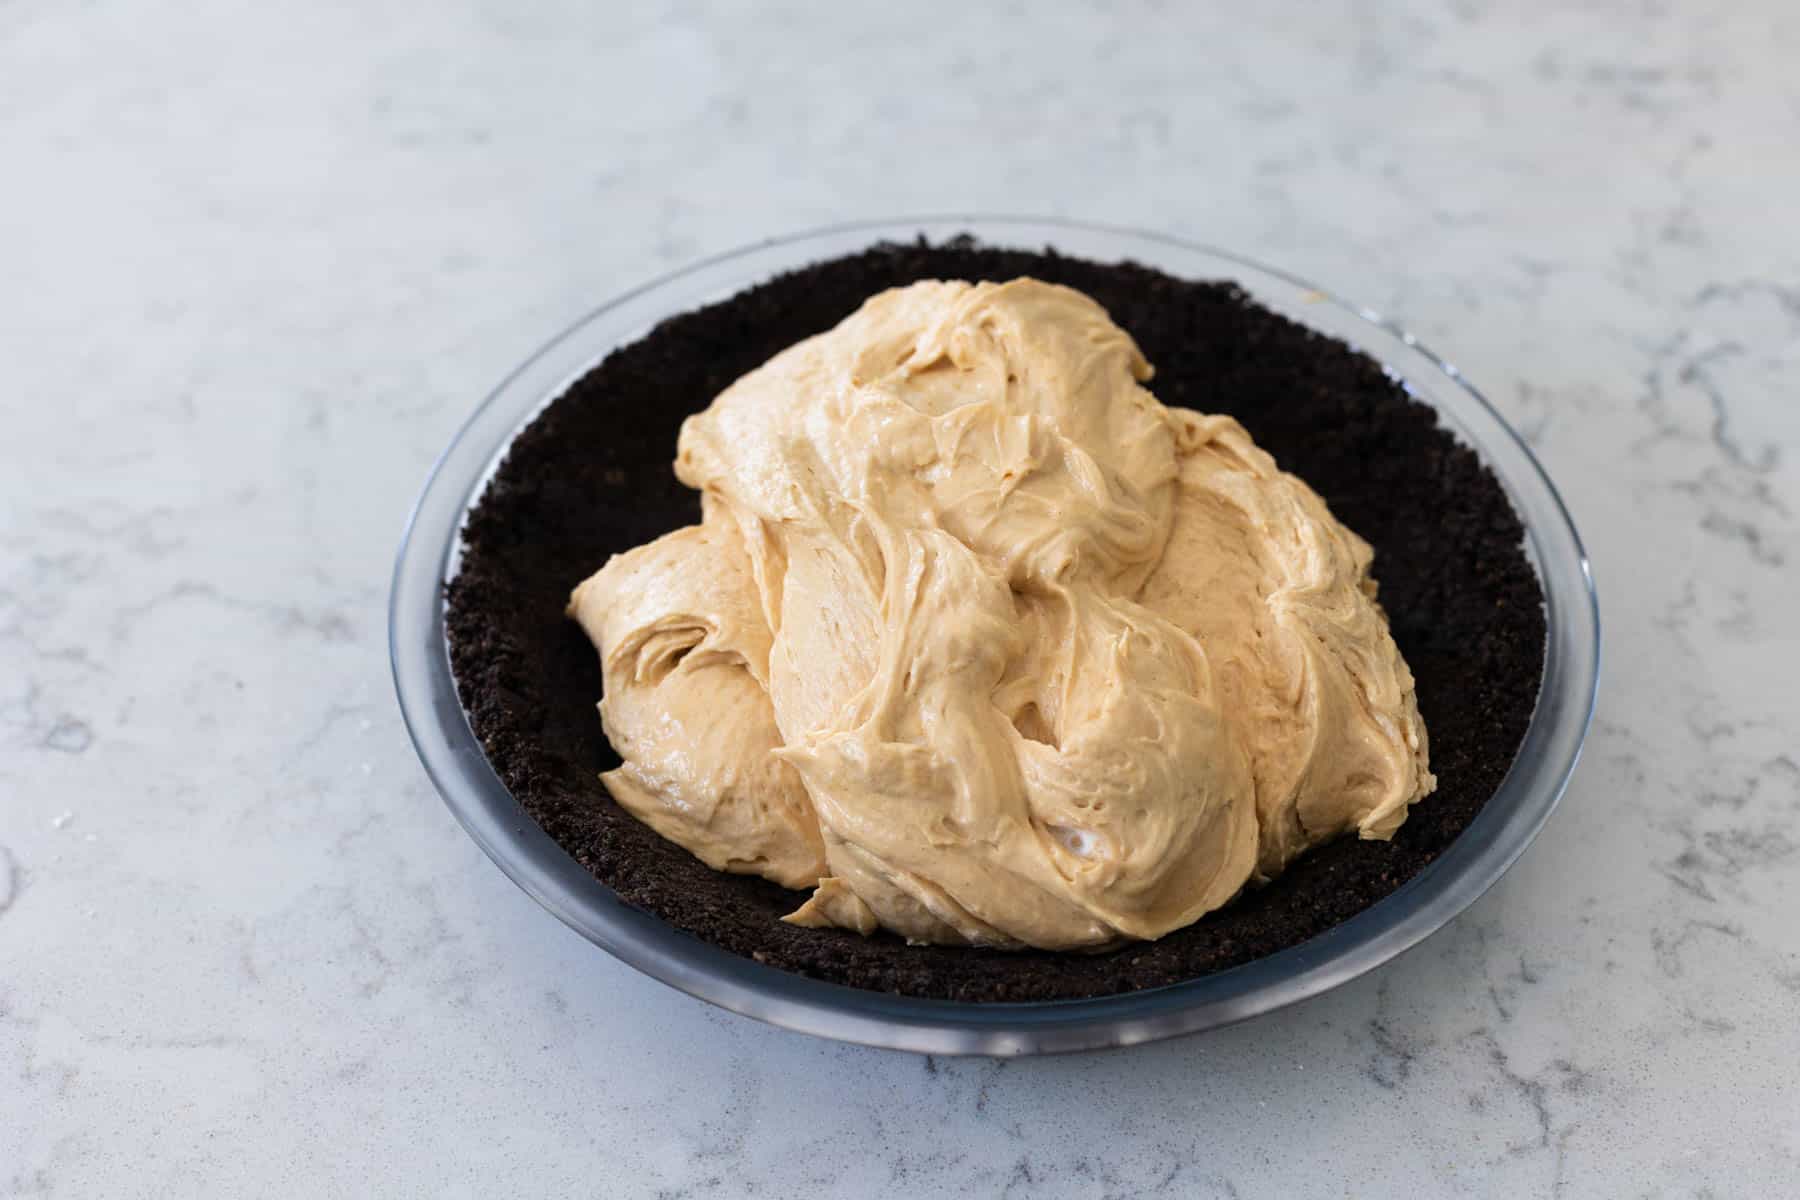
Spoon the peanut butter filling into the prepared chocolate cookie crust and spread it out into an even layer.
Chill the pie for 3 hours at this point so that the filling can set up.
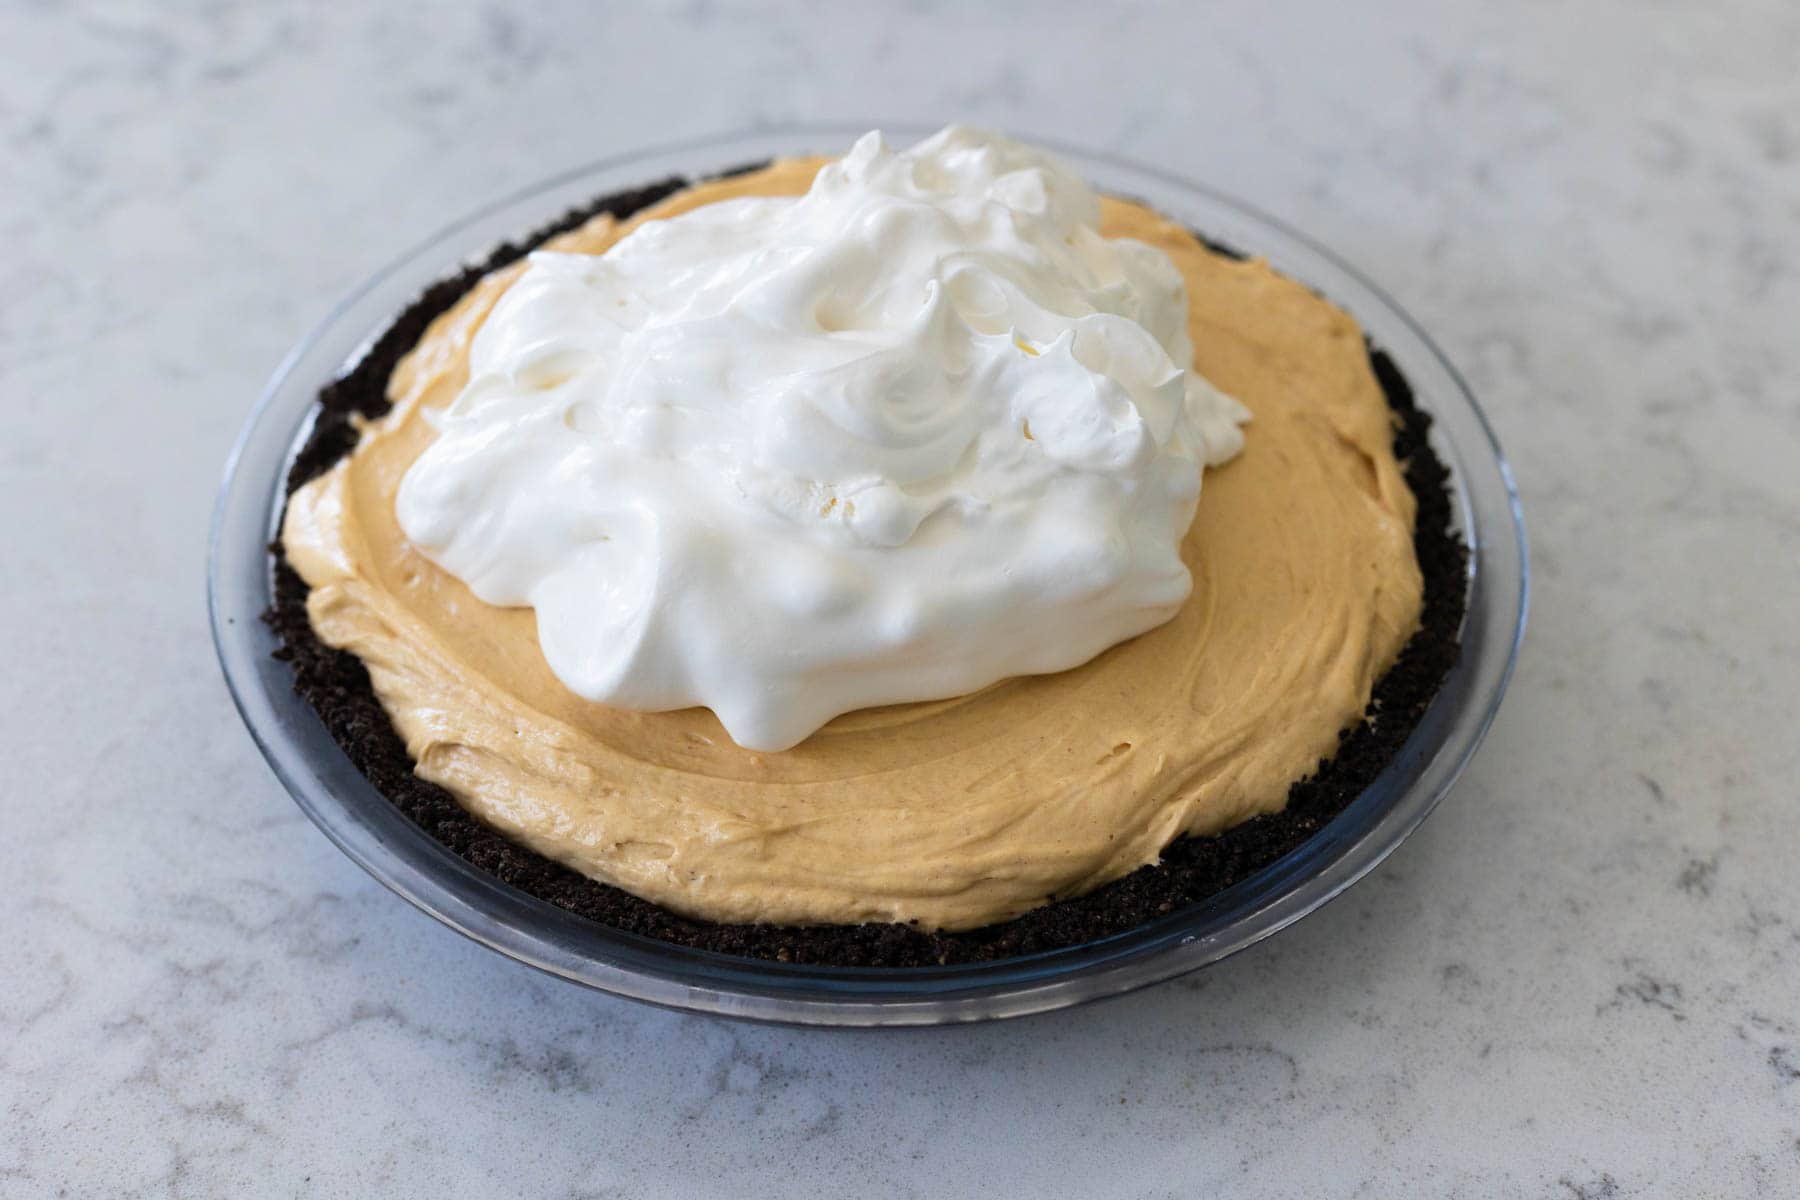
Use the second container of whipped topping as the "frosting" on top just before you plan to serve it.
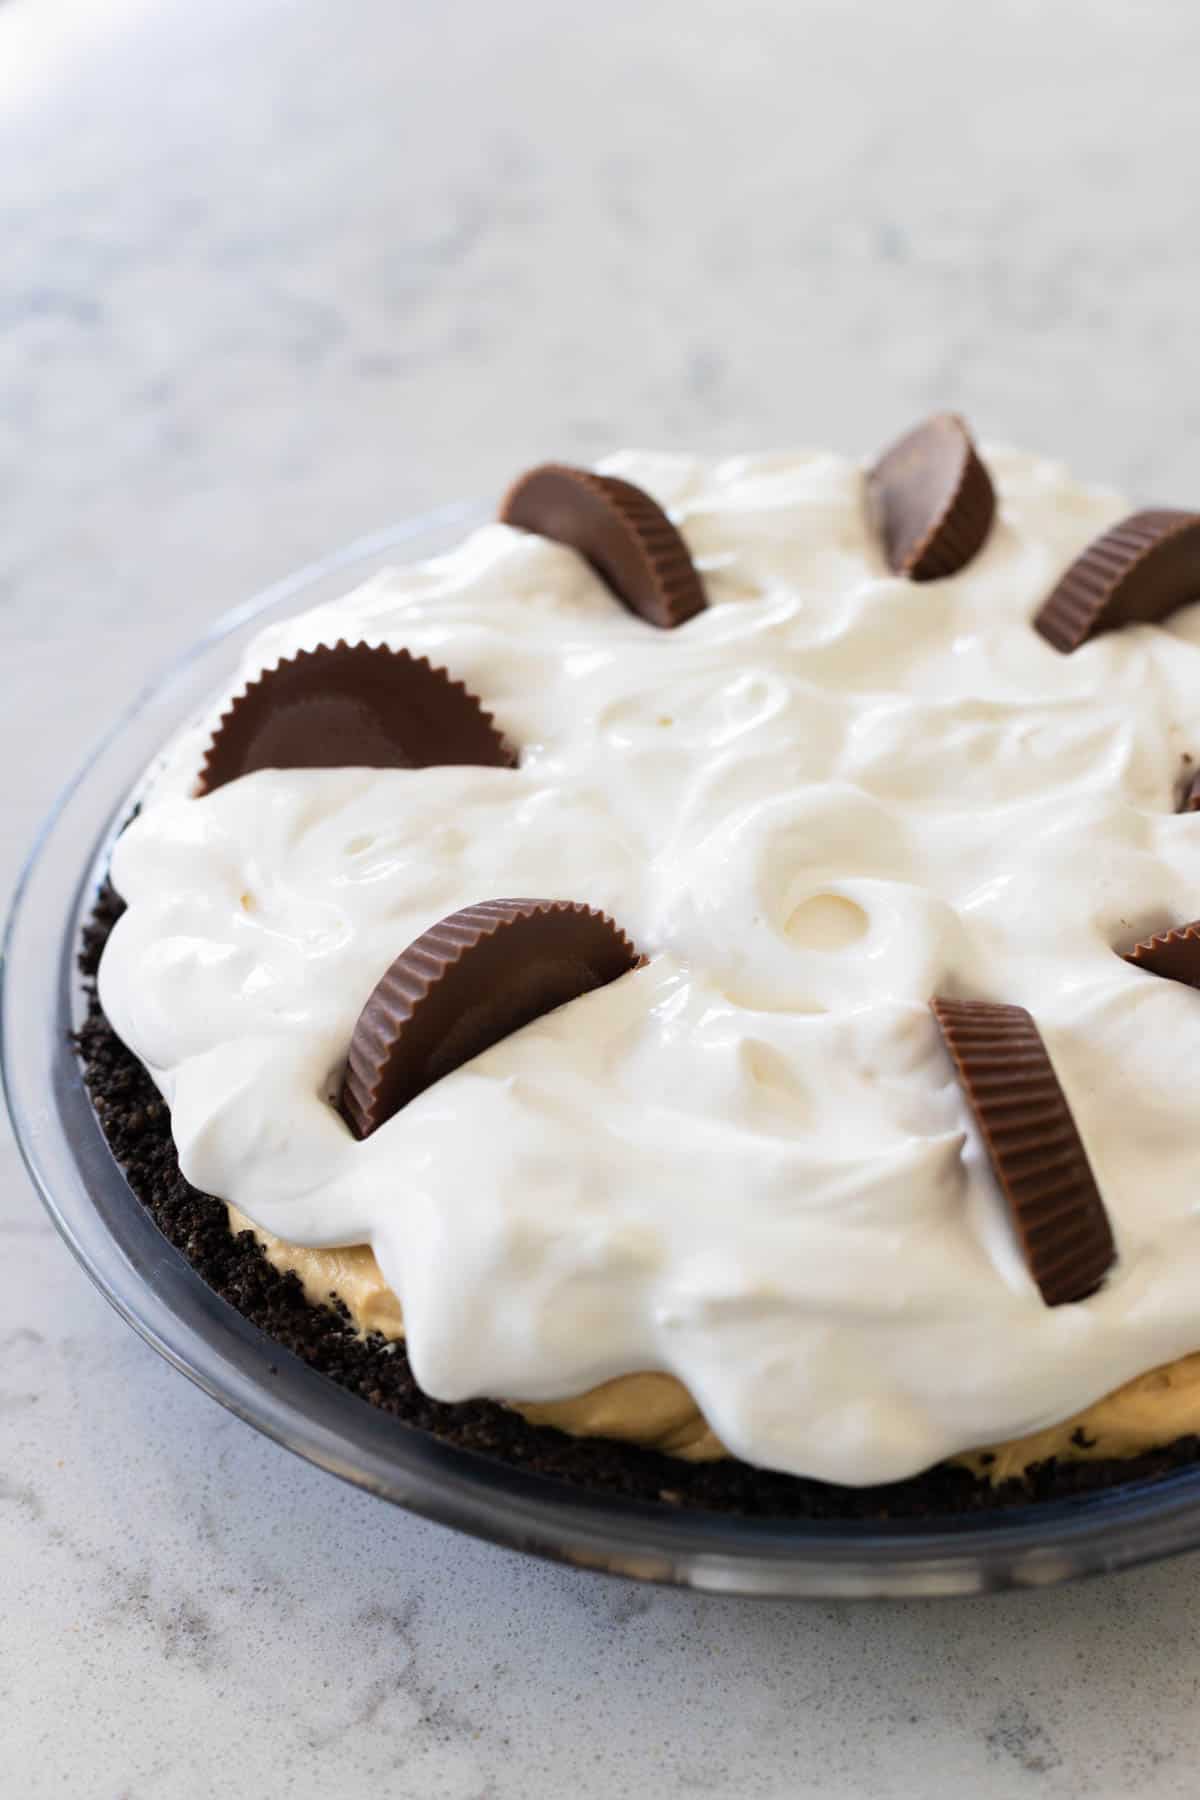
Garnish the peanut butter pie with Reese's peanut butter cup halves.
I ran my chef's knife under hot water to warm the blade so it would slice through the peanut butter cups without breaking them.
Place them cut side down all around the pie edge like this:
Make Ahead and Freezer Tips
You can prep the chocolate cookie crust and peanut butter pie filling up to 2 days in advance of your special event.
Save the final frosting and garnish for just before serving so the Cool Whip doesn't deflate.
You can freeze the peanut butter pie by placing it in the freezer for one hour to set the filling.
Then wrap it tightly in plastic wrap and freeze for up to 6 months.
To thaw the frozen pie, unwrap the pie and place it in the fridge to thaw overnight. Then frost and decorate as suggested.
Serving Suggestions
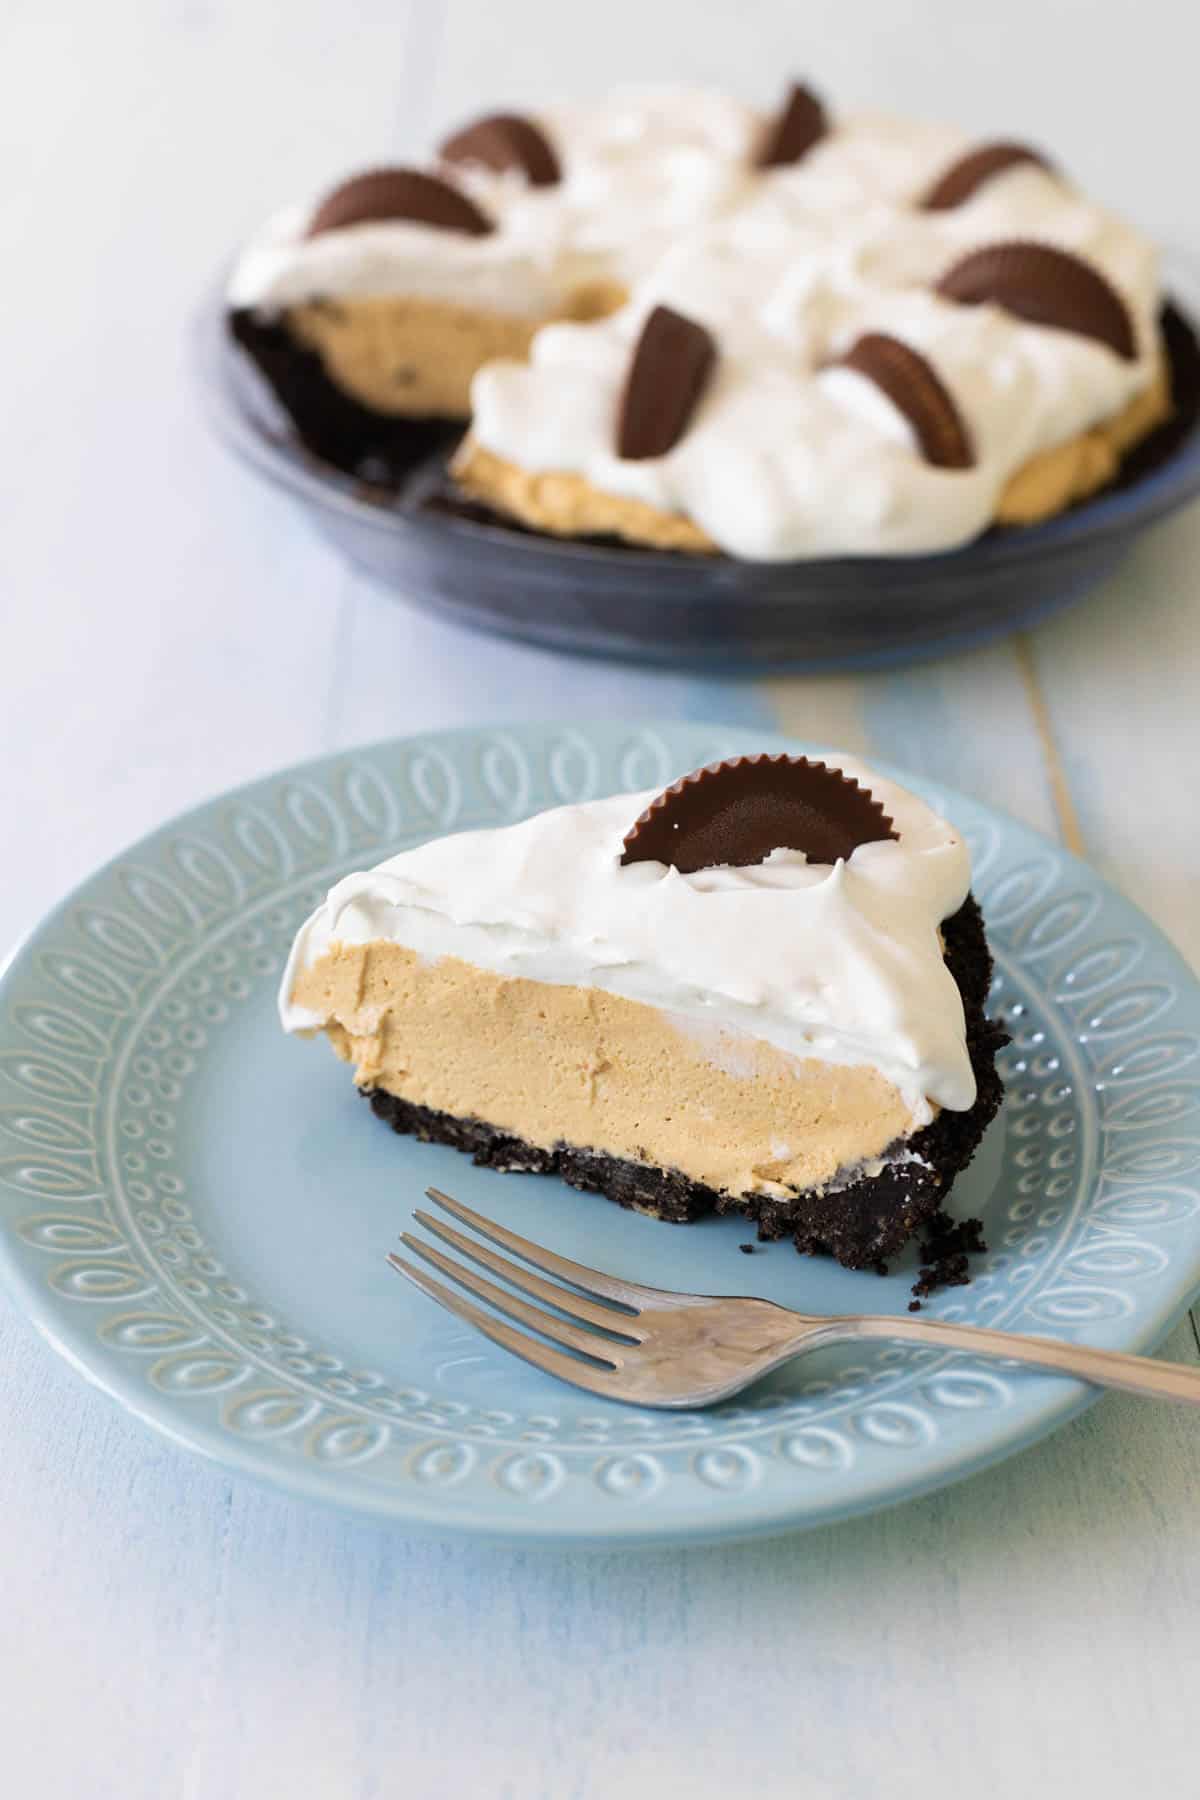
This cool and creamy peanut butter dessert is an easy recipe to make for a special treat for your family.
It is also delicious enough to make for a festive event like Pi Day, it would be a great Father's Day desserts, or a fun addition to your dessert table during the holiday season.
More No Bake Pie Recipes
Love easy, no-bake pies? So do we! Don't miss these other family-favorites:
📖 Recipe
No-Bake Peanut Butter Pie
Ingredients
- 24 chocolate sandwich cookies I used peanut butter filled Oreos
- 5 tablespoons butter melted
- 1 (8 oz) brick of cream cheese softened
- 1 cup creamy peanut butter
- 3/4 cup powdered sugar
- 2 (8 oz) containers of whipped topping like Cool Whip, thawed
- 4 Reese's peanut butter cups sliced in half for garnish
Instructions
Make the Oreo Cookie Crust:
- Crush the chocolate sandwich cookies in a food processor. You can also place them in a plastic ziptop bag and crush them by hand with a kitchen mallet.
- Combine the crushed cookies with the melted butter in a mixing bowl until everything is evenly coated in butter.
- Transfer the cookie crumbs to a 9-inch pie plate and press into place. Chill the cookie crust for one hour.
Make the Peanut Butter Pie Filling:
- Place the softened cream cheese, peanut butter, and powdered sugar in a mixing bowl and beat them together on medium-high until light and fluffy. Scrape the bowl to ensure everything is well mixed. This will take about 2 - 3 minutes.
- Fold in just one of the containers of whipped topping. Don't over stir, you want the whipped topping to add lots of air and fluff to the mixture.
- Scrape the peanut butter filling into the prepared cookie crust and smooth into an even layer. Chill for at least 3 hours.
Frost and Garnish the Pie:
- Use the second container of whipped topping to "frost" the pie. Spread it into a pretty top layer.
- Slice the Reese's peanut butter cups in half. This is done easiest with a knife that has been dipped under running hot water first. Place one half of a peanut butter cup, cut side down, in a pretty ring around the edge of the pie as shown in the picture above. Slice and serve.
Save This Recipe to Your Recipe Box
Find this delicious recipe next time you visit by saving it to your very own recipe box on my site. All your favorites stored in one easy place!


Comments
No Comments