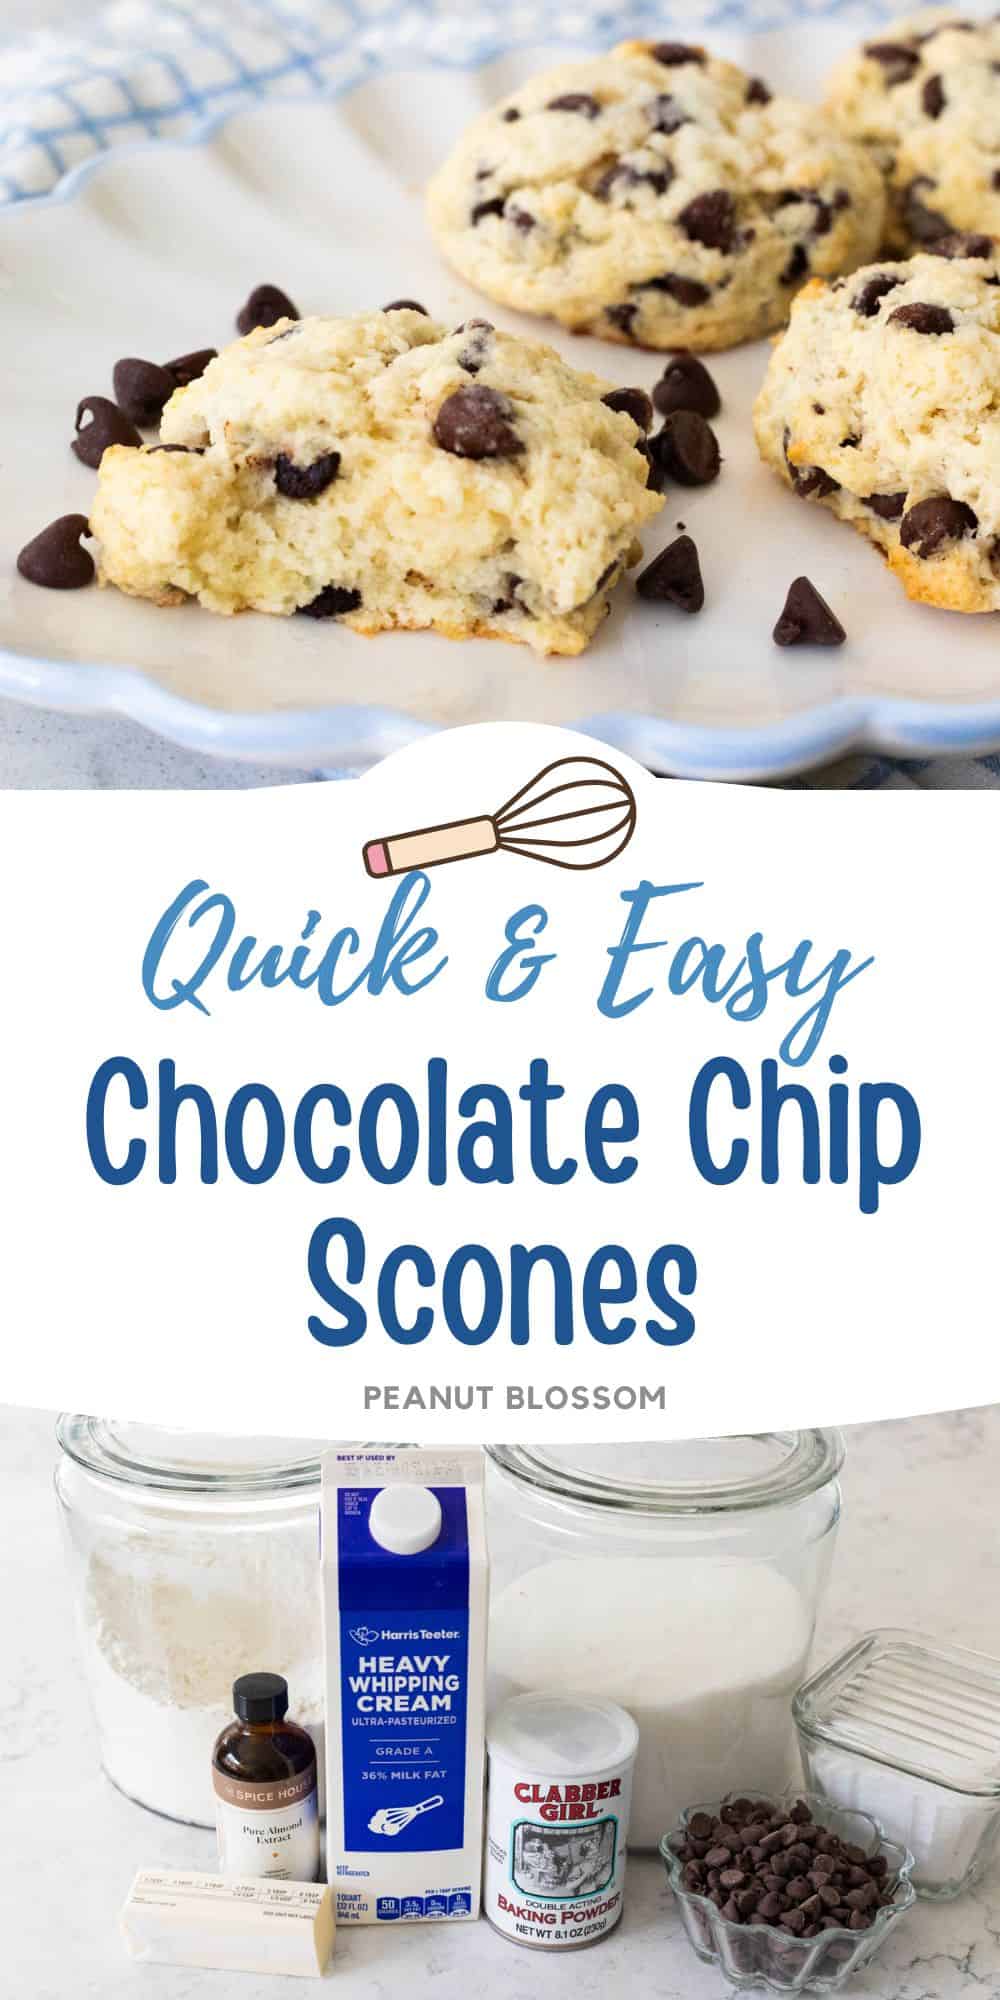
Chocolate Chip Scones

Chocolate chip scones are a quick and cozy breakfast pastry that comes together in one bowl in under 30 minutes. They're perfect for a special breakfast, a sweet afternoon treat at tea time, or a quick dessert the whole family will love.

While some families do a weekend donut run as a special treat, my family is much more likely to bake up a batch of homemade scones in a wide variety of flavors.
These easy chocolate chip scones use basic pantry ingredients you probably already have, are stirred together in just one bowl, and are often ready to go in the oven before it has even finished preheating!
My daughter has been baking these all by herself since she was little, they're a family favorite for such good reason.
As the holidays approach, be sure to print out a copy of the recipe. You'll be thrilled to have it for easy entertaining of overnight guests!
Why This is the Best Recipe
- Easy One Bowl Recipe: The dough for the scones is mixed together in just one bowl. You'll have it done before the oven is preheated!
- Kid-Friendly: This is one of the very first recipes my daughter learned how to bake all by herself.
- Budget-Friendly Treat: Want something sweet without spending a ton? This recipe uses common pantry ingredients you probably already have!
Ingredients
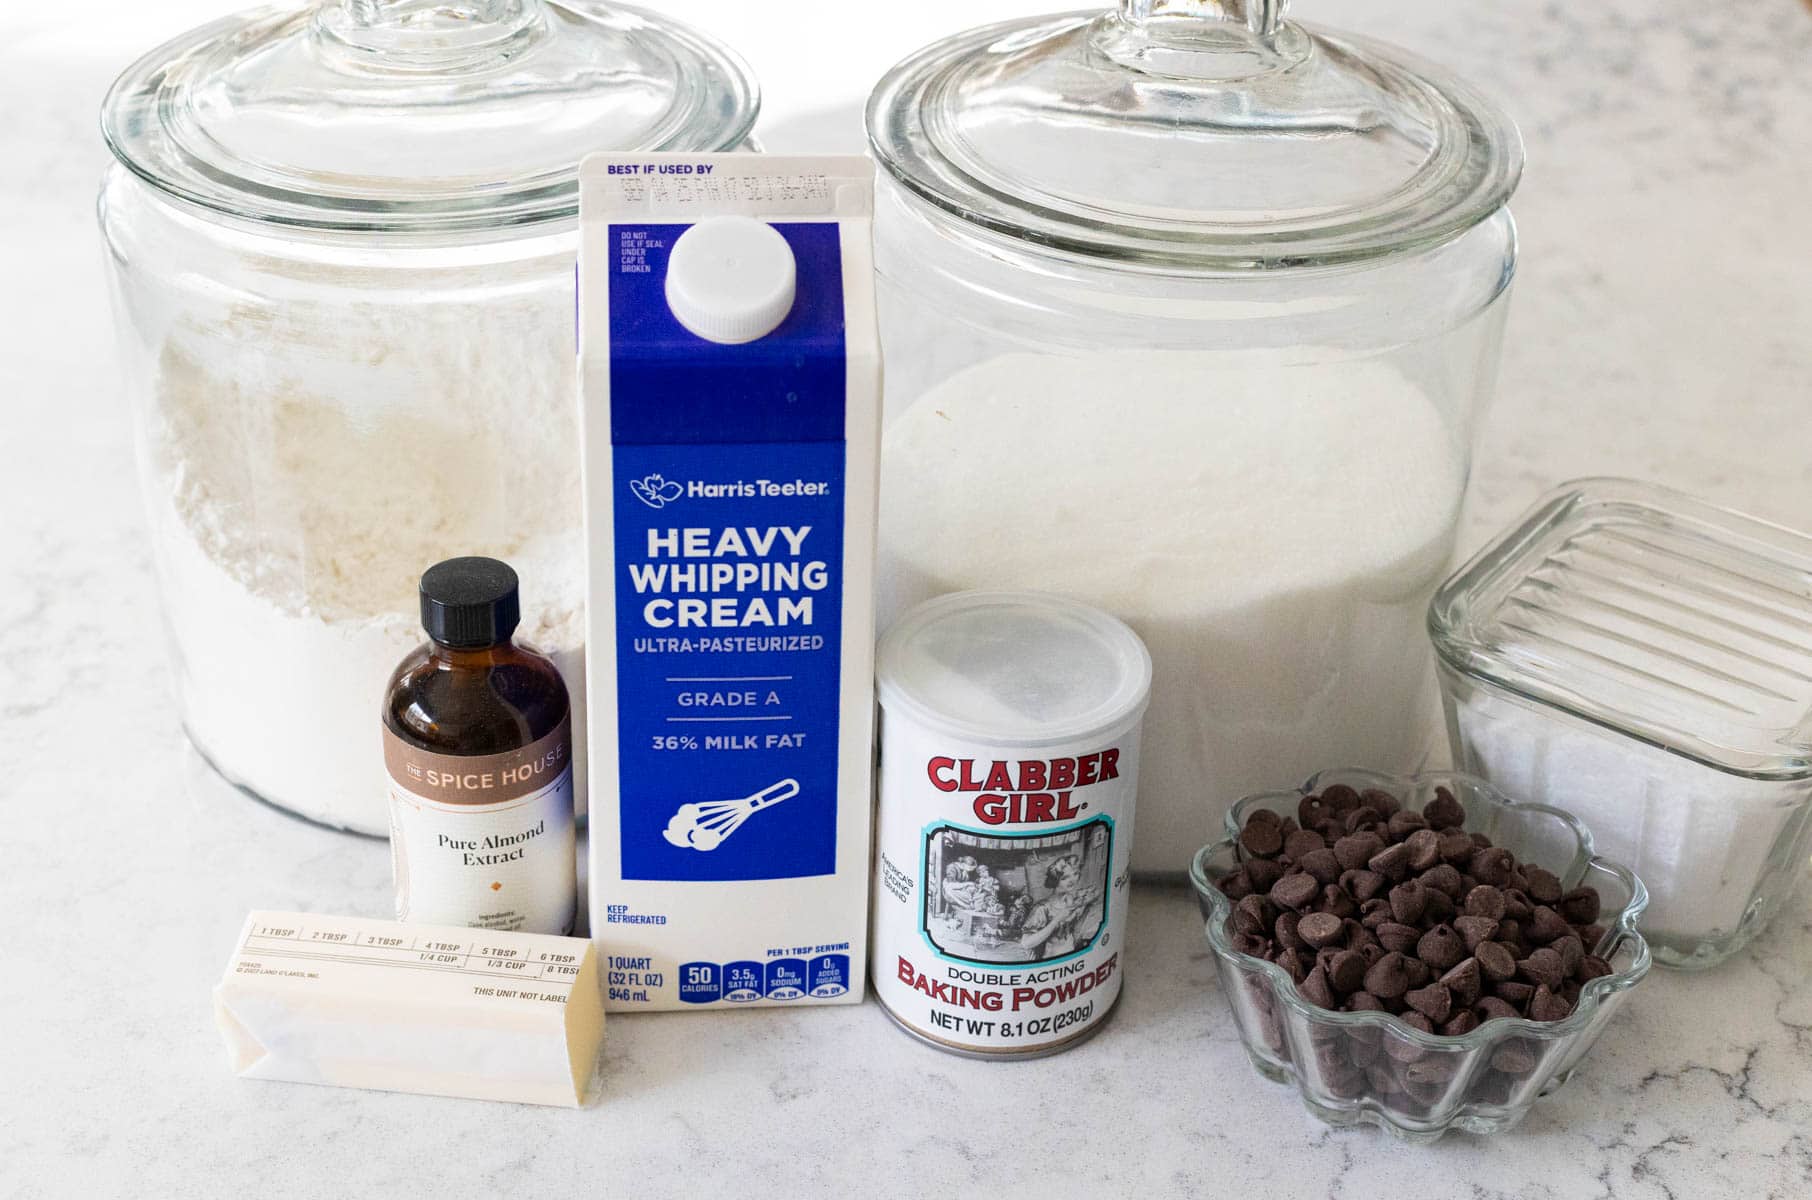
With just a few pantry staples, you can whip these up any time you're craving something sweet:
- Heavy Whipping Cream: If you want to try using milk instead, I recommend whole milk to mimic the same richness as the cream. 2% milk won't have enough fat in it, so you'll want to use 3/4 cup milk with 4 tablespoons of melted butter instead.
- Butter
- Chocolate Chips: I buy the giant bag at Costco so we can measure out just what we need for this recipe!
- All-Purpose Flour
- Sugar
- Baking Powder
- Salt
- OPTIONAL: Almond Extract: If you want nut-free scones, just omit this but my daughters and I agree that almond extract makes baked goods taste utterly amazing.
Want to Save This for Later?
Prep the Dough
Add the flour, sugar, and baking powder with a pinch of salt to a large mixing bowl and whisk them together.
Add the chocolate chips and stir them in.
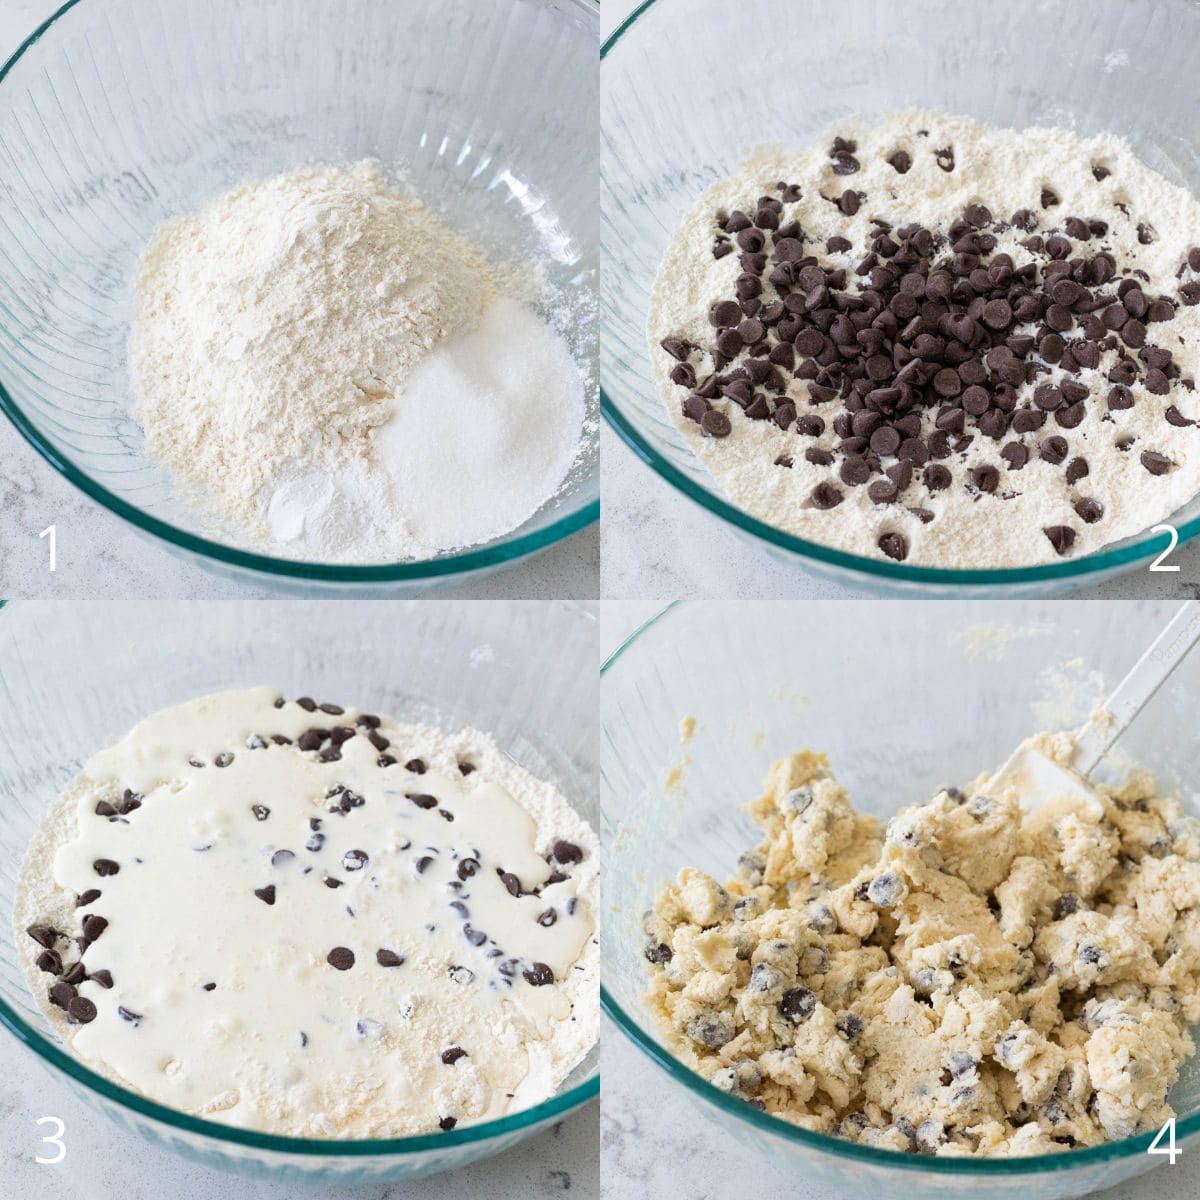
Pour the heavy cream into the bowl and stir it in. The dough will begin to form and will be a bit thick and sticky.
You may find it easiest to give the dough a quick knead by hand at the very end to incorporate all the dry flour but do not over mix it.
Shape the Scones
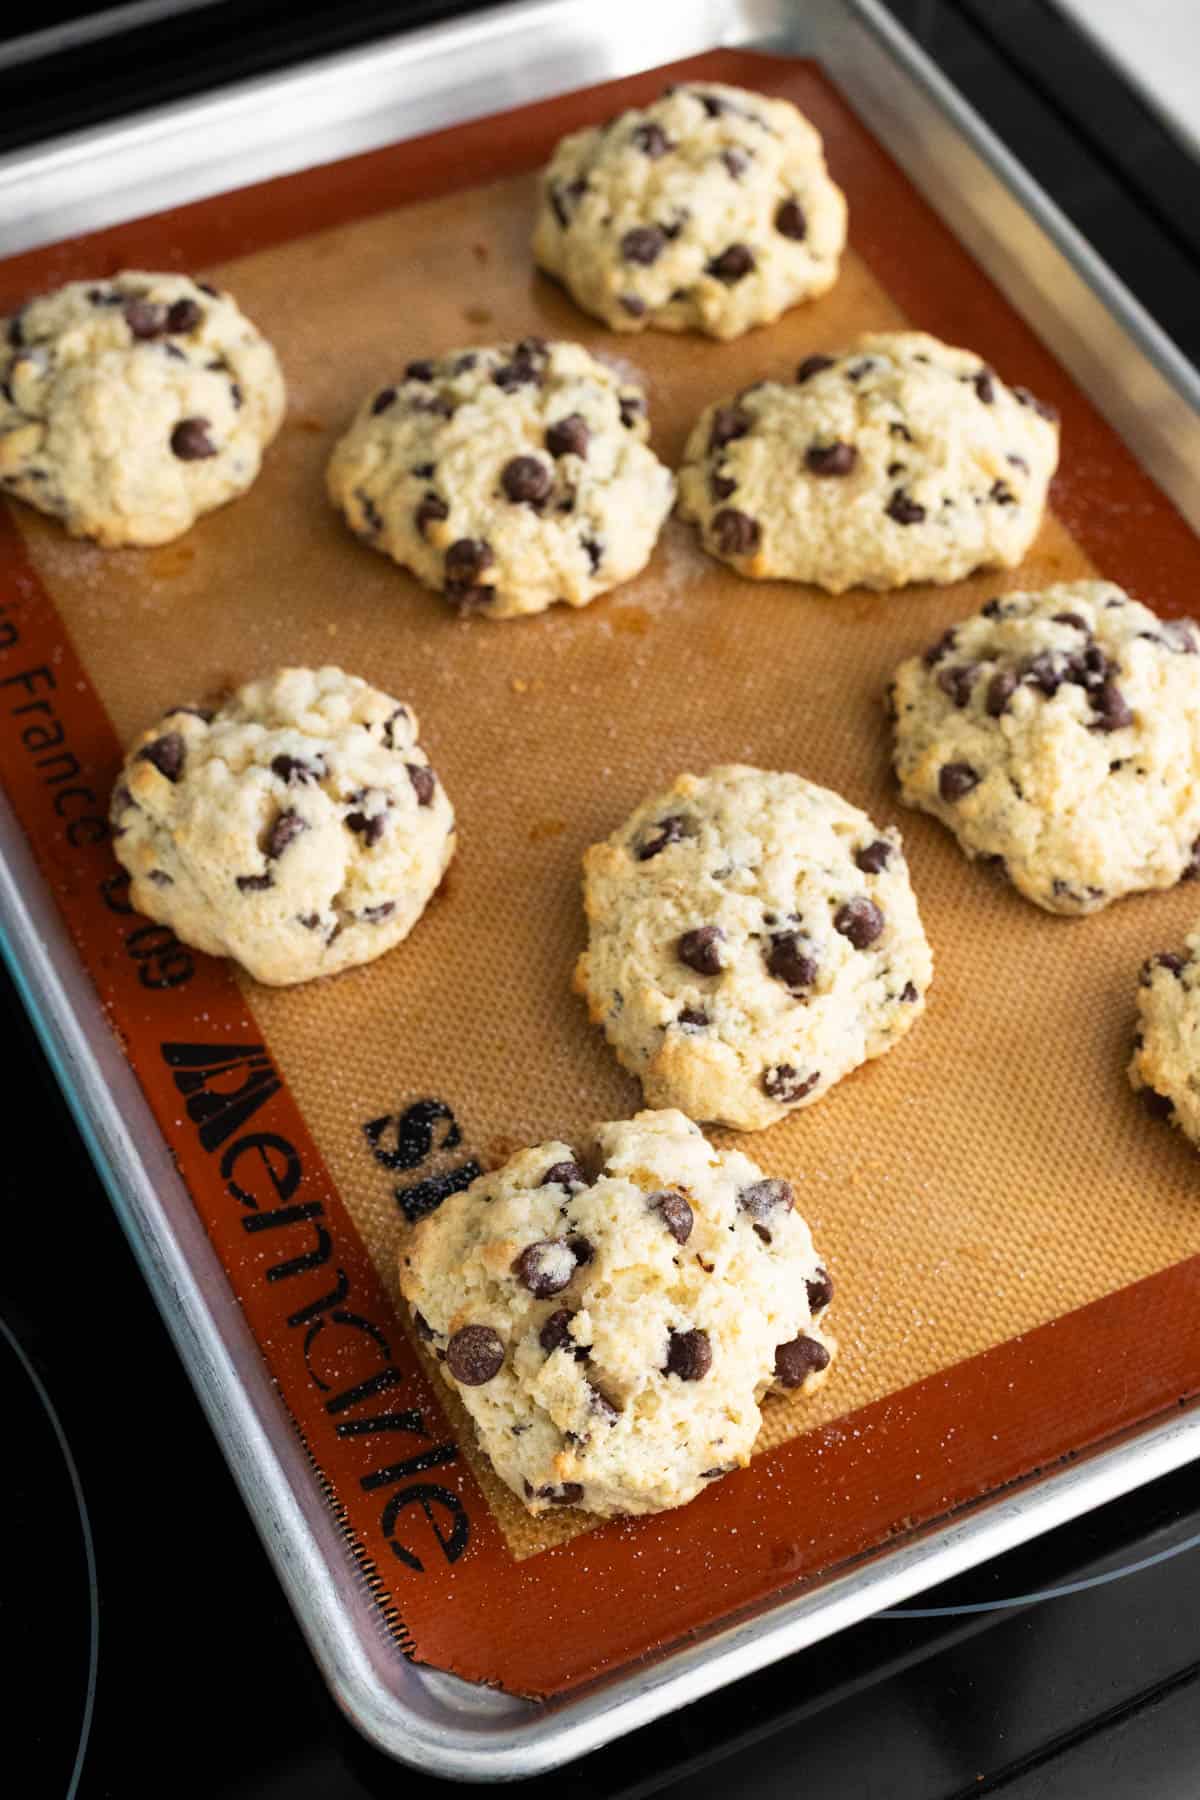
Line a large rimmed baking sheet with a silicone mat or parchment paper.
Use a large spoon to scoop portions of dough and gently pat them into round disk shapes.
You'll get between 8 - 10 scones depending on your scoop size. Just try to keep them even.
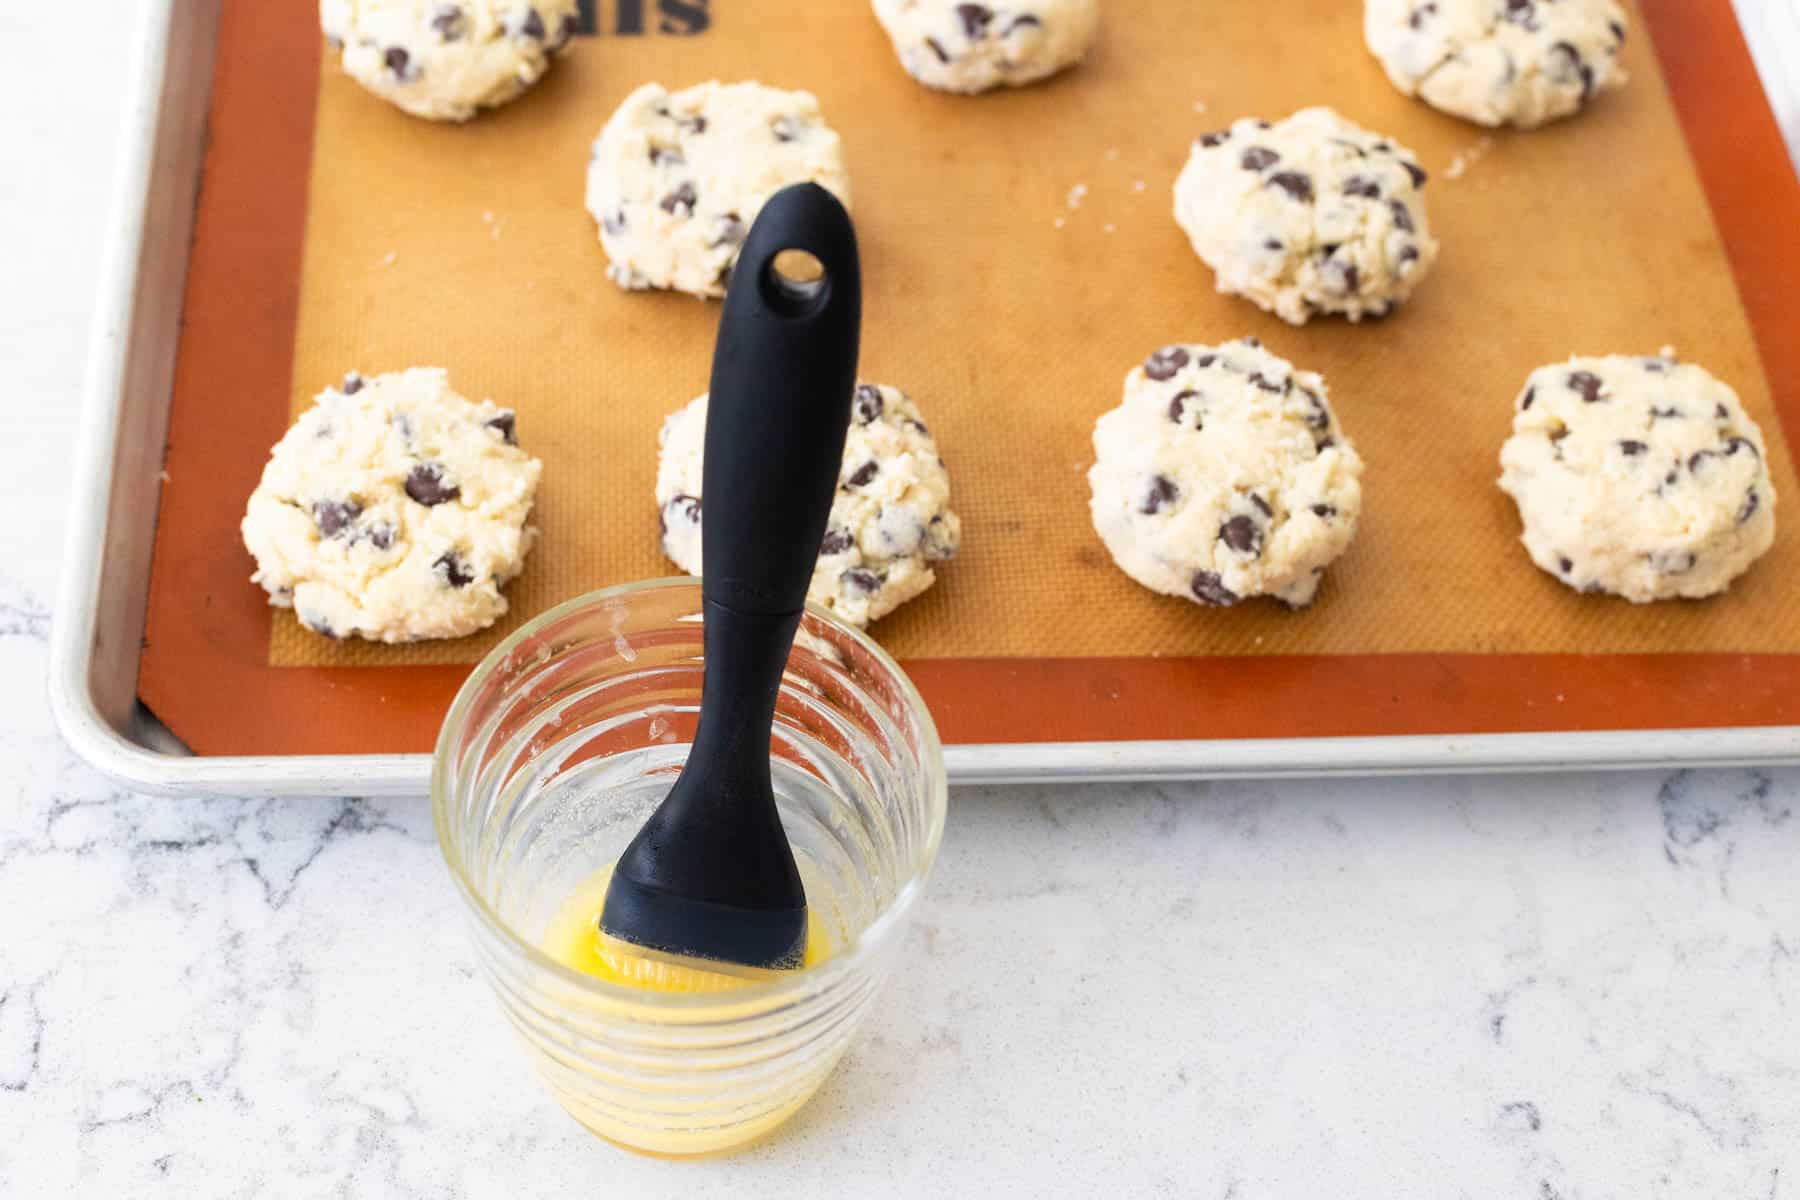
Melt the butter and brush it over the top of the scones with a pastry brush.
Sprinkle a spoonful of sugar over the top of the scones.
A Note on Scone Pans
If you happen to own a scone pan, you can absolutely use this recipe and bake the chocolate chip scones in perfect triangle shapes.
I used a mini scone pan for making my peach scones. If you're not sure what a scone pan looks like, here is the example:
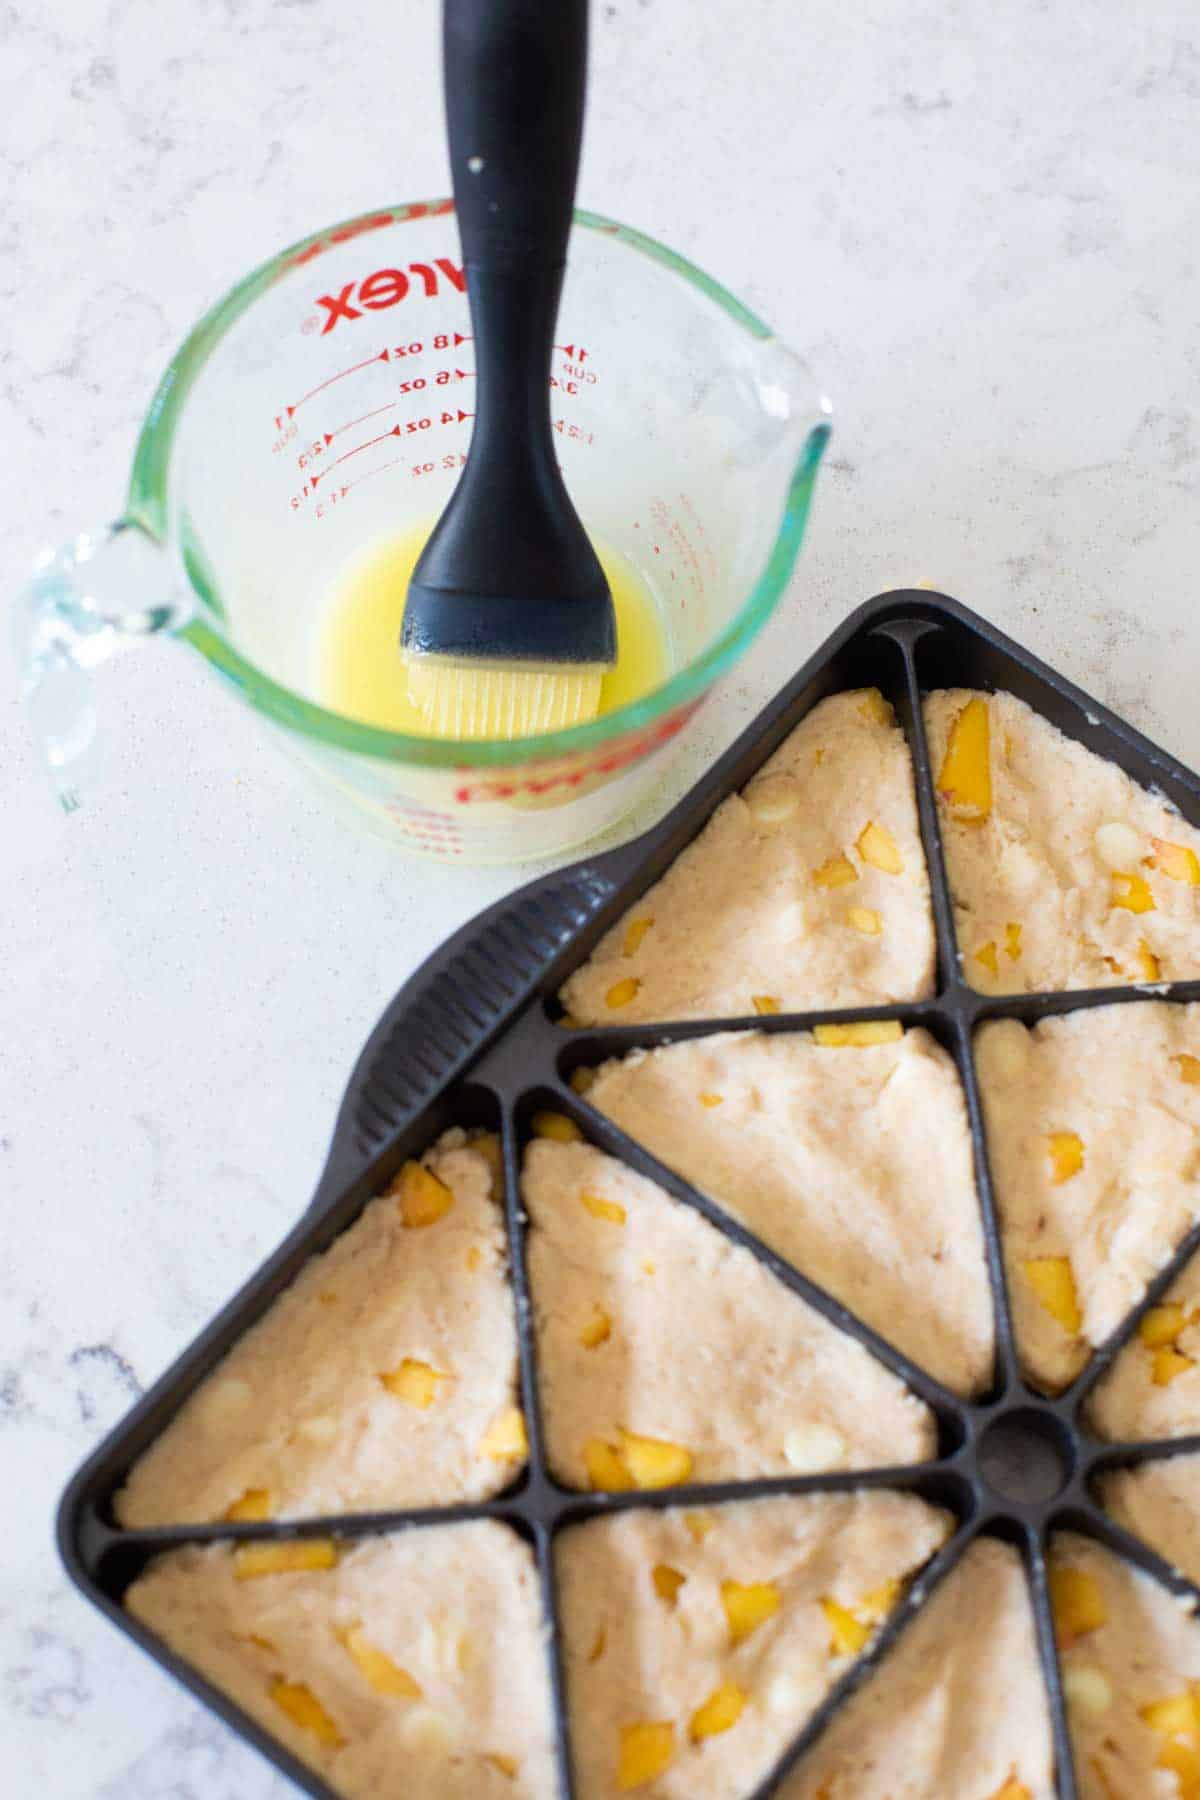
My kids and I just generally prefer the easy drop shapes of the round scones.
Not only is it one less dish to wash later but the edges of the scones get so nice and gently crispy from the melted butter when the air is able to flow around them in the oven.
In the end, the choice is all yours!
Baking Instructions
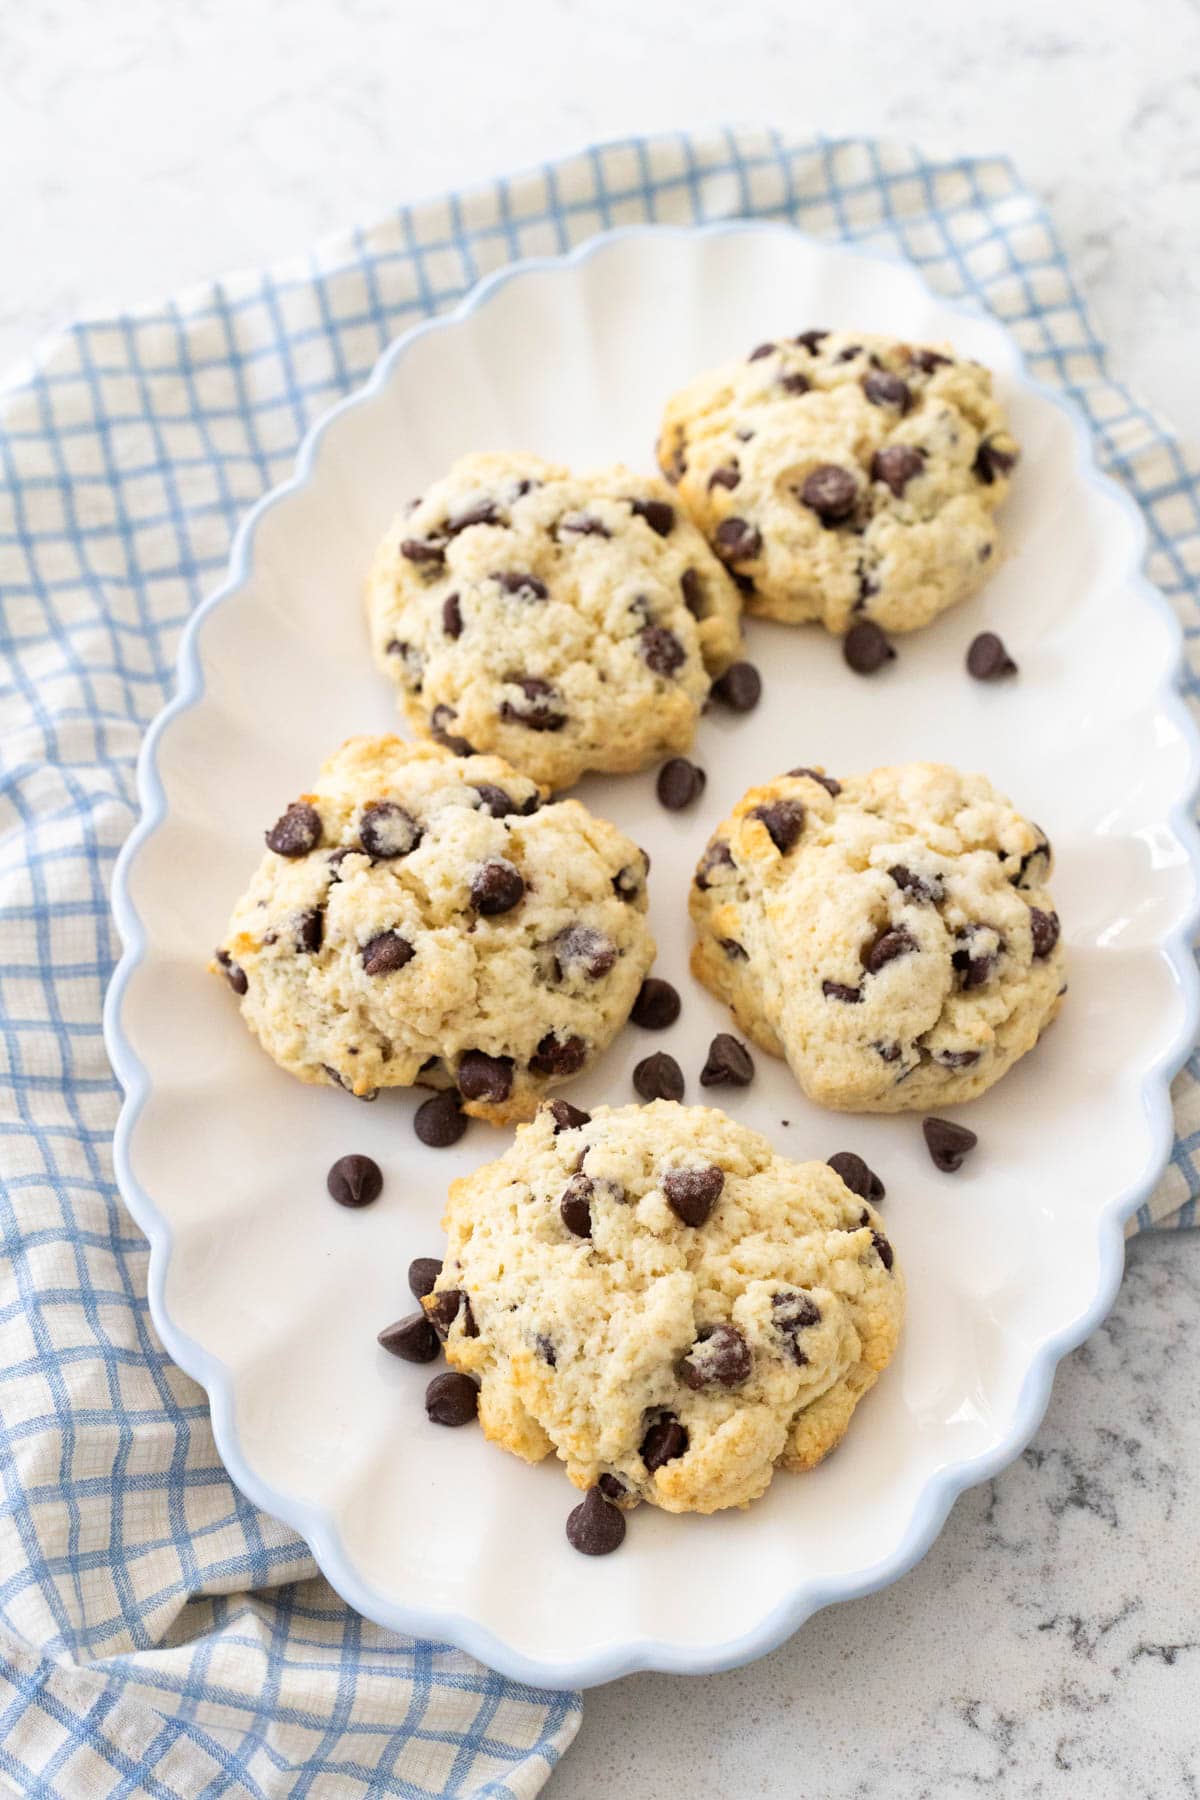
Bake the scones at 375°F for 15 minutes or until just golden brown around the edges.
Let them cool briefly on the baking sheet for a few minutes before serving so they can firm up.
Make Ahead Tips
Scones are always best the day you bake them. We love them fresh and warm from the oven.
You can prep the scones and cover with plastic wrap and store them in the fridge for up to 24 hours in advance. Then bake and serve the next day.
You can prep the scones and form them on the baking pan and flash freeze them. Once firm, transfer them to a ziptop freezer storage bag and freeze for up to 3 months.
When you're ready to bake, just pop them in the oven straight from the freezer and add a few more minutes of baking time for them to cook through.
Leftovers, if you have any, can be kept in an airtight container at room temperature for up to 2 days.
Variations
- Butterscotch Scones: For fall, swap butterscotch chips for the chocolate.
- Swap Vanilla Extract: Use vanilla instead of the almond extract for a warmer flavor.
- Add Chopped Nuts: Finely diced pecans, almonds, or walnuts add a little crunch and salty accent to the chocolate.
Serving Suggestions
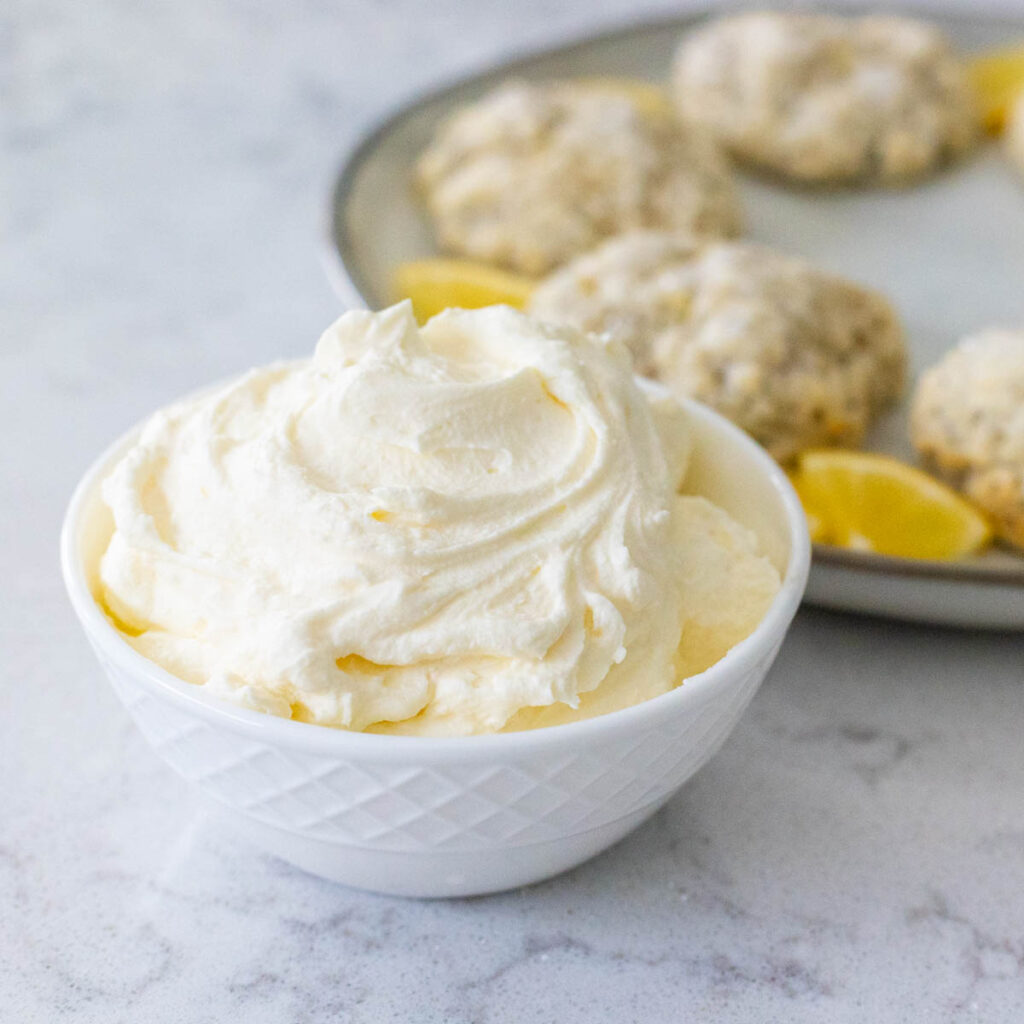
For a traditional tea time treat, serve scones with mock clotted cream! You can prep it in advance and just pull it from the fridge.
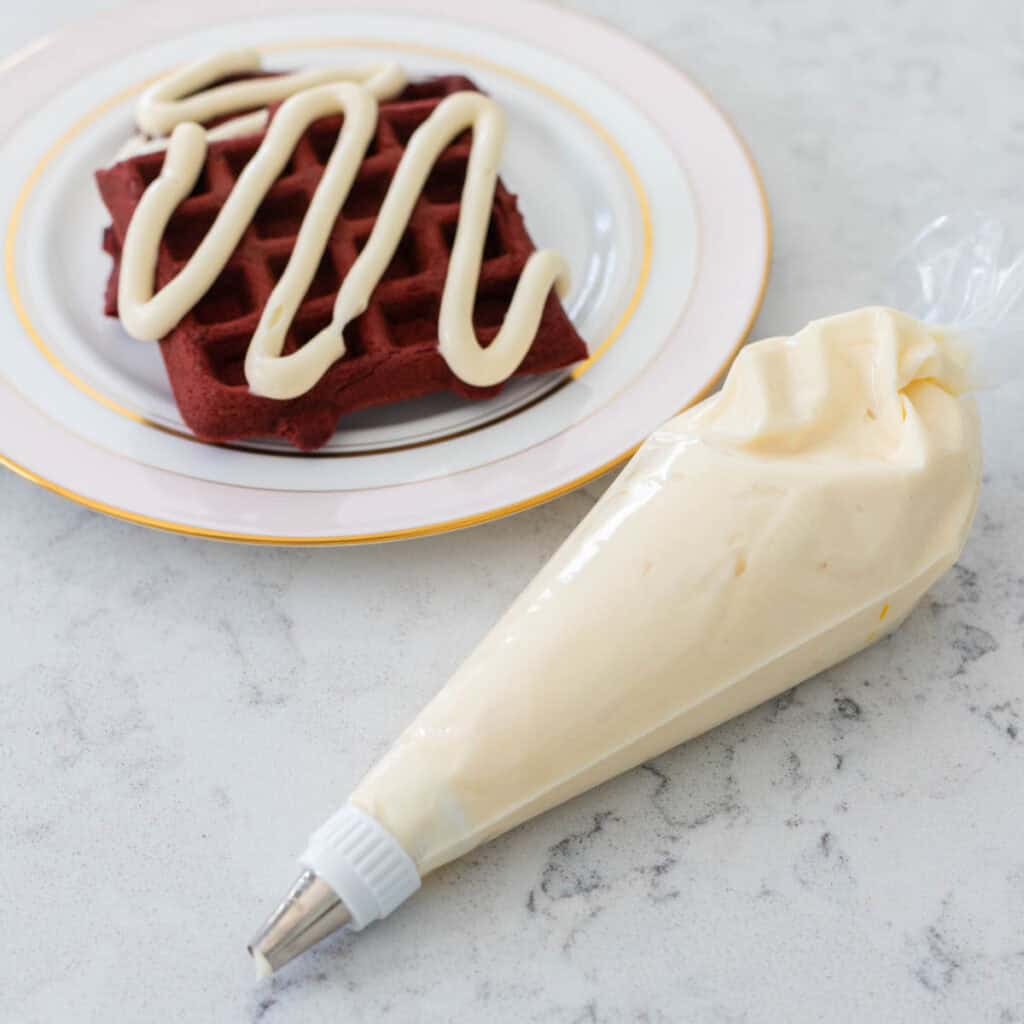
For a decadent dessert, you could ice the scones with a homemade cream cheese drizzle and serve them like tiny cakes.
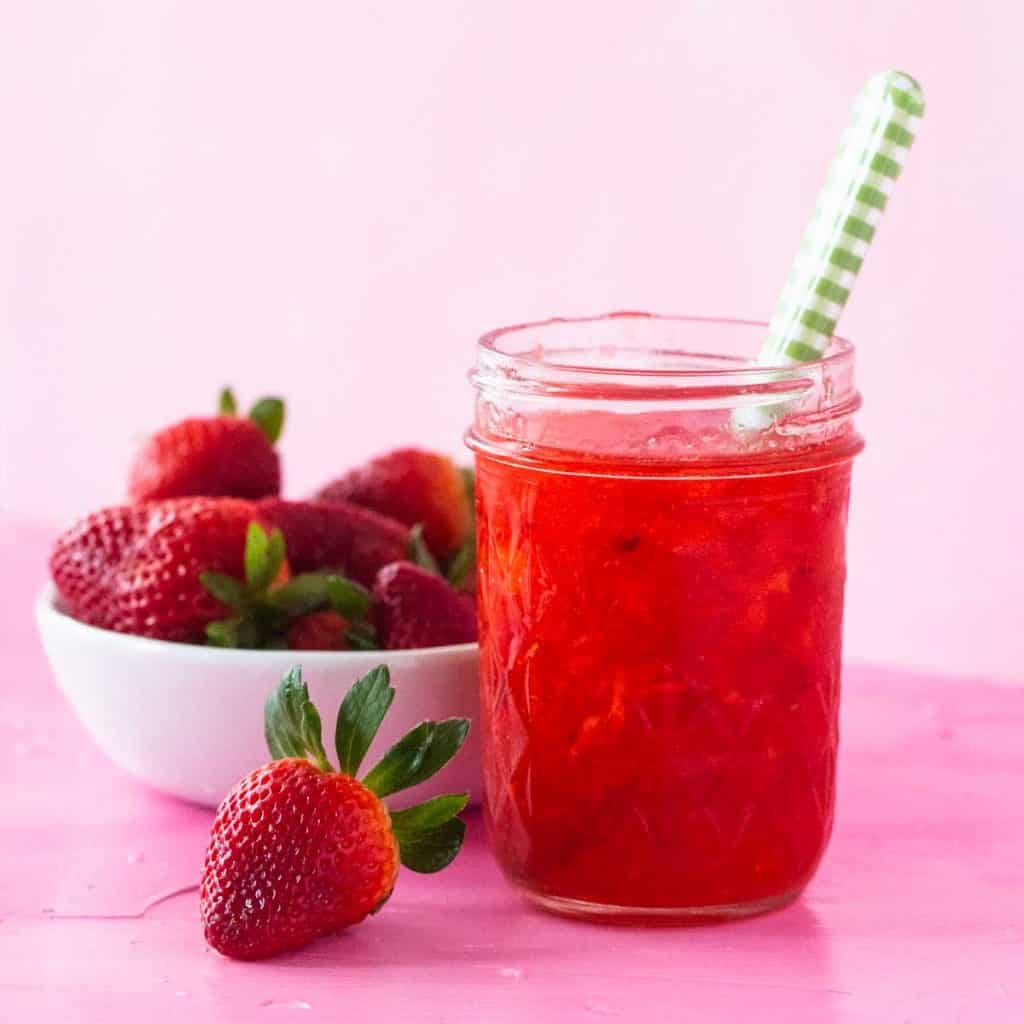
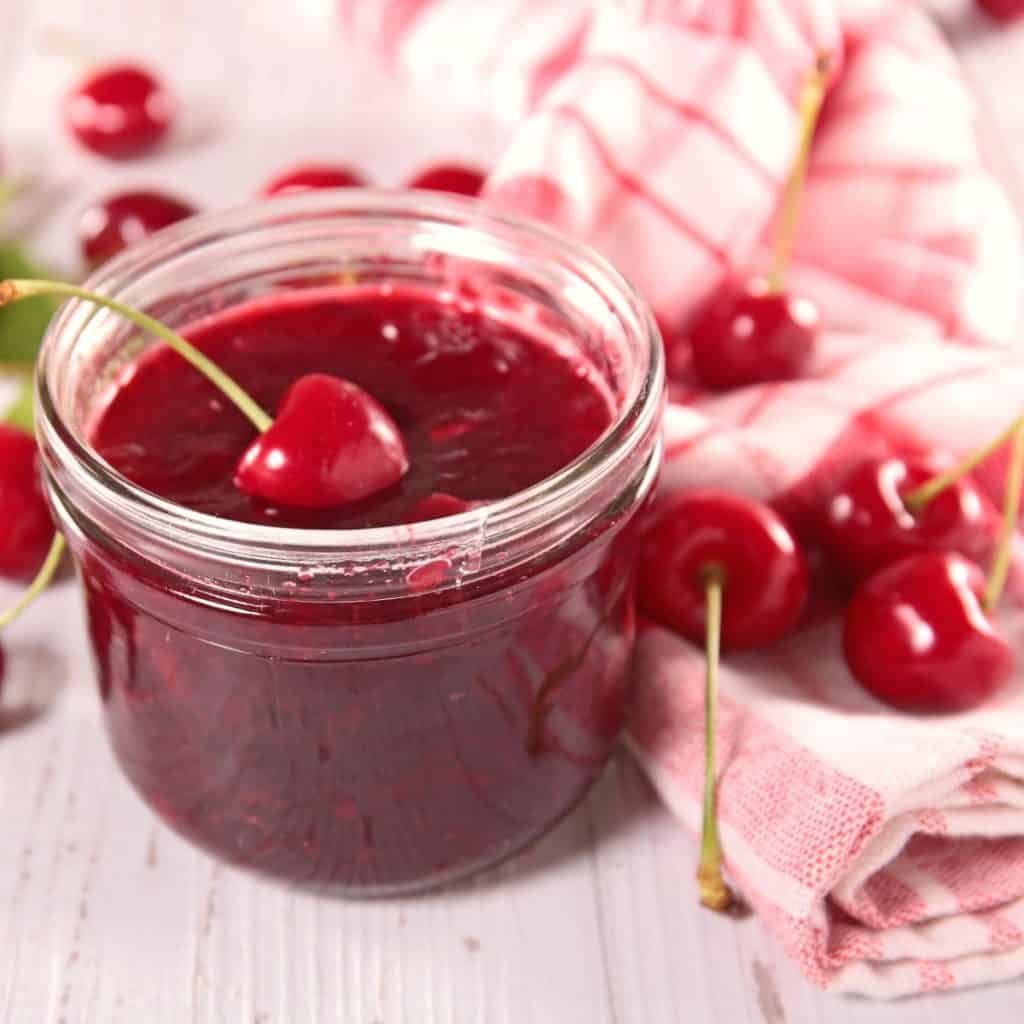
Or for a simple fruity accent, serve them with strawberry freezer jam or cherry freezer jam, both pair so well with the chocolate chips.
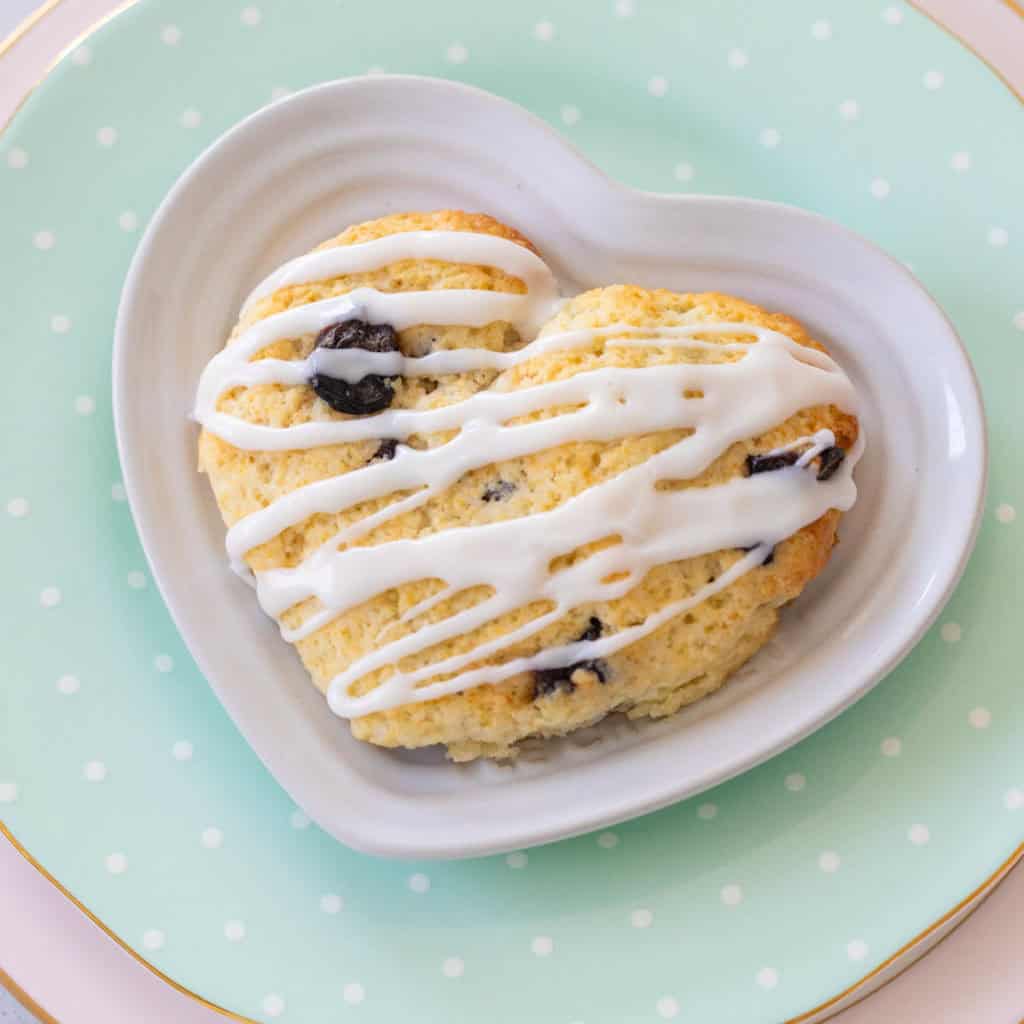
More Easy Scone Recipes
We love scones for an easy weekend breakfast treat. Here are a few more of my favorite recipes:


📖 Recipe

Chocolate Chip Scones
Ingredients
- 1 1/2 cups all-purpose flour
- 1/4 cup sugar plus another tablespoon for sprinkling over the top (optional)
- 2 teaspoons baking powder
- Pinch of salt
- 1 cup chocolate chips
- 1 cup heavy cream
- 2 tablespoon butter melted
Instructions Start Cooking
- Preheat the oven to 375°F. Line a baking sheet with parchment paper.
- Add the flour, sugar, baking powder, and salt to a medium bowl and whisk them together.
- Add the chocolate chips and toss in the flour to coat.
- Pour in the heavy cream and stir it into the flour until a dough starts to form and the dry ingredients are incorporated. You may find it easier to knead it a couple times by hand to get the last of the dry flour incorporated.
- Use a large spoon to drop rounds of dough onto the prepared baking sheet.
- Brush the tops with melted butter and sprinkle the additional sugar over the top.
- Bake the scones for 15 - 20 minutes or until lightly golden brown.
Save This Recipe to Your Recipe Box
Find this delicious recipe next time you visit by saving it to your very own recipe box on my site. All your favorites stored in one easy place!
Comments
No Comments