Buttermilk Fried Chicken in the Oven

Bake buttermilk fried chicken in the oven for a golden brown crispy coating that tastes amazing with your favorite dip for dunking.

When you need cozy comfort food, is there anything better than buttermilk fried chicken??
That classic puffy breading is seasoned to perfection and my recipe gets the perfect golden brown crunch right in the oven!
This easy recipe can be prepped ahead for easy cooking on a busy night and will be such a treat for the whole family.
Why This is the Best Recipe
Chicken is such a budget-friendly protein to serve the family, but I think this is the best buttermilk fried chicken recipe because:
- Baked in the Oven: No deep frying here. The chicken gets a golden brown fried-flavor right in the oven.
- Tender and Juicy: Buttermilk is known for adding so much flavor to marinated chicken. It also appears in the fried coating.
- Full of Flavor: A few key seasonings add so much flavor to the coating and the chicken pieces themselves.
- Prep Ahead Tips: Make your own meal kit for easy oven baked fried chicken in a pinch.
Ingredients
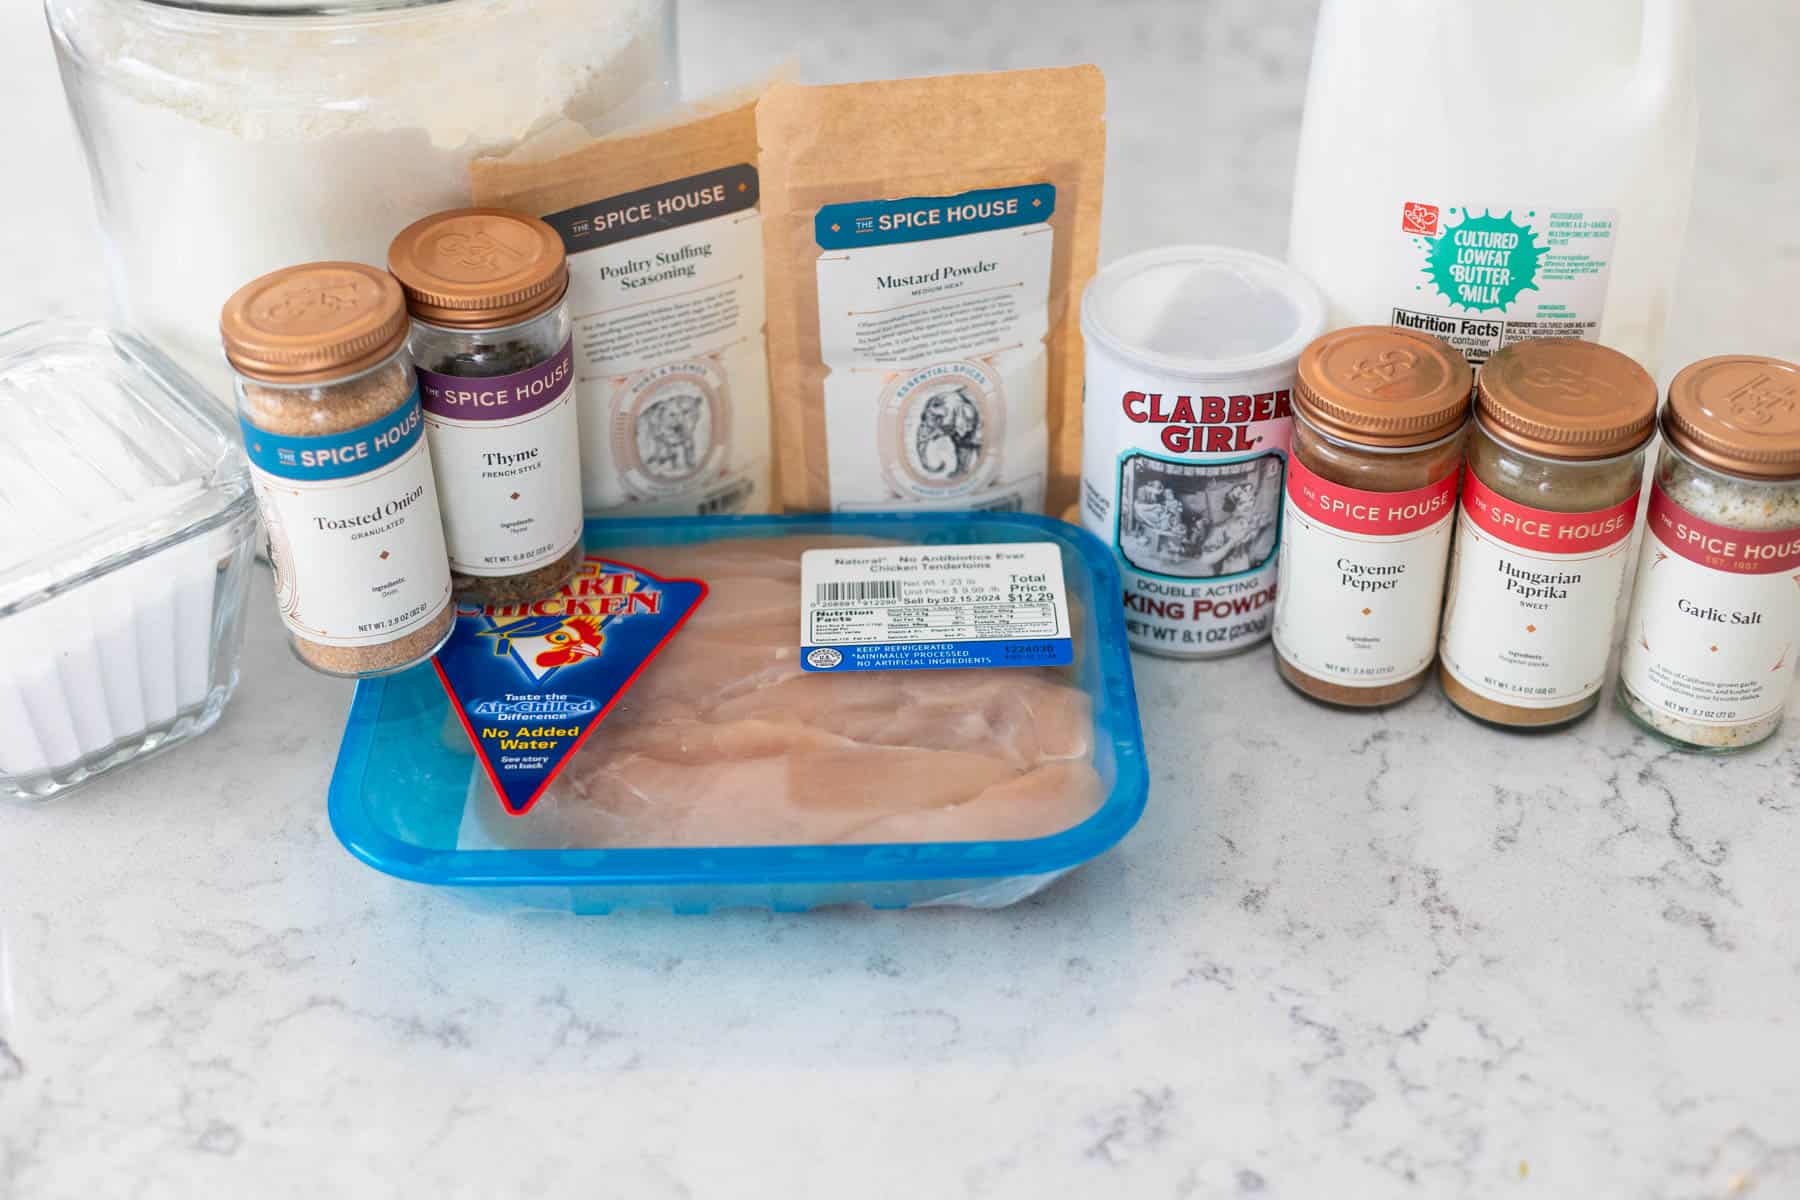
To make buttermilk fried chicken, you start with just a few basic ingredients:
- Chicken Tenderloins: These boneless, skinless chicken pieces are perfect for breading and baking in the oven. You could use chicken breast halves if you prefer but we love the ratio of chicken to coating with the tenderloins.
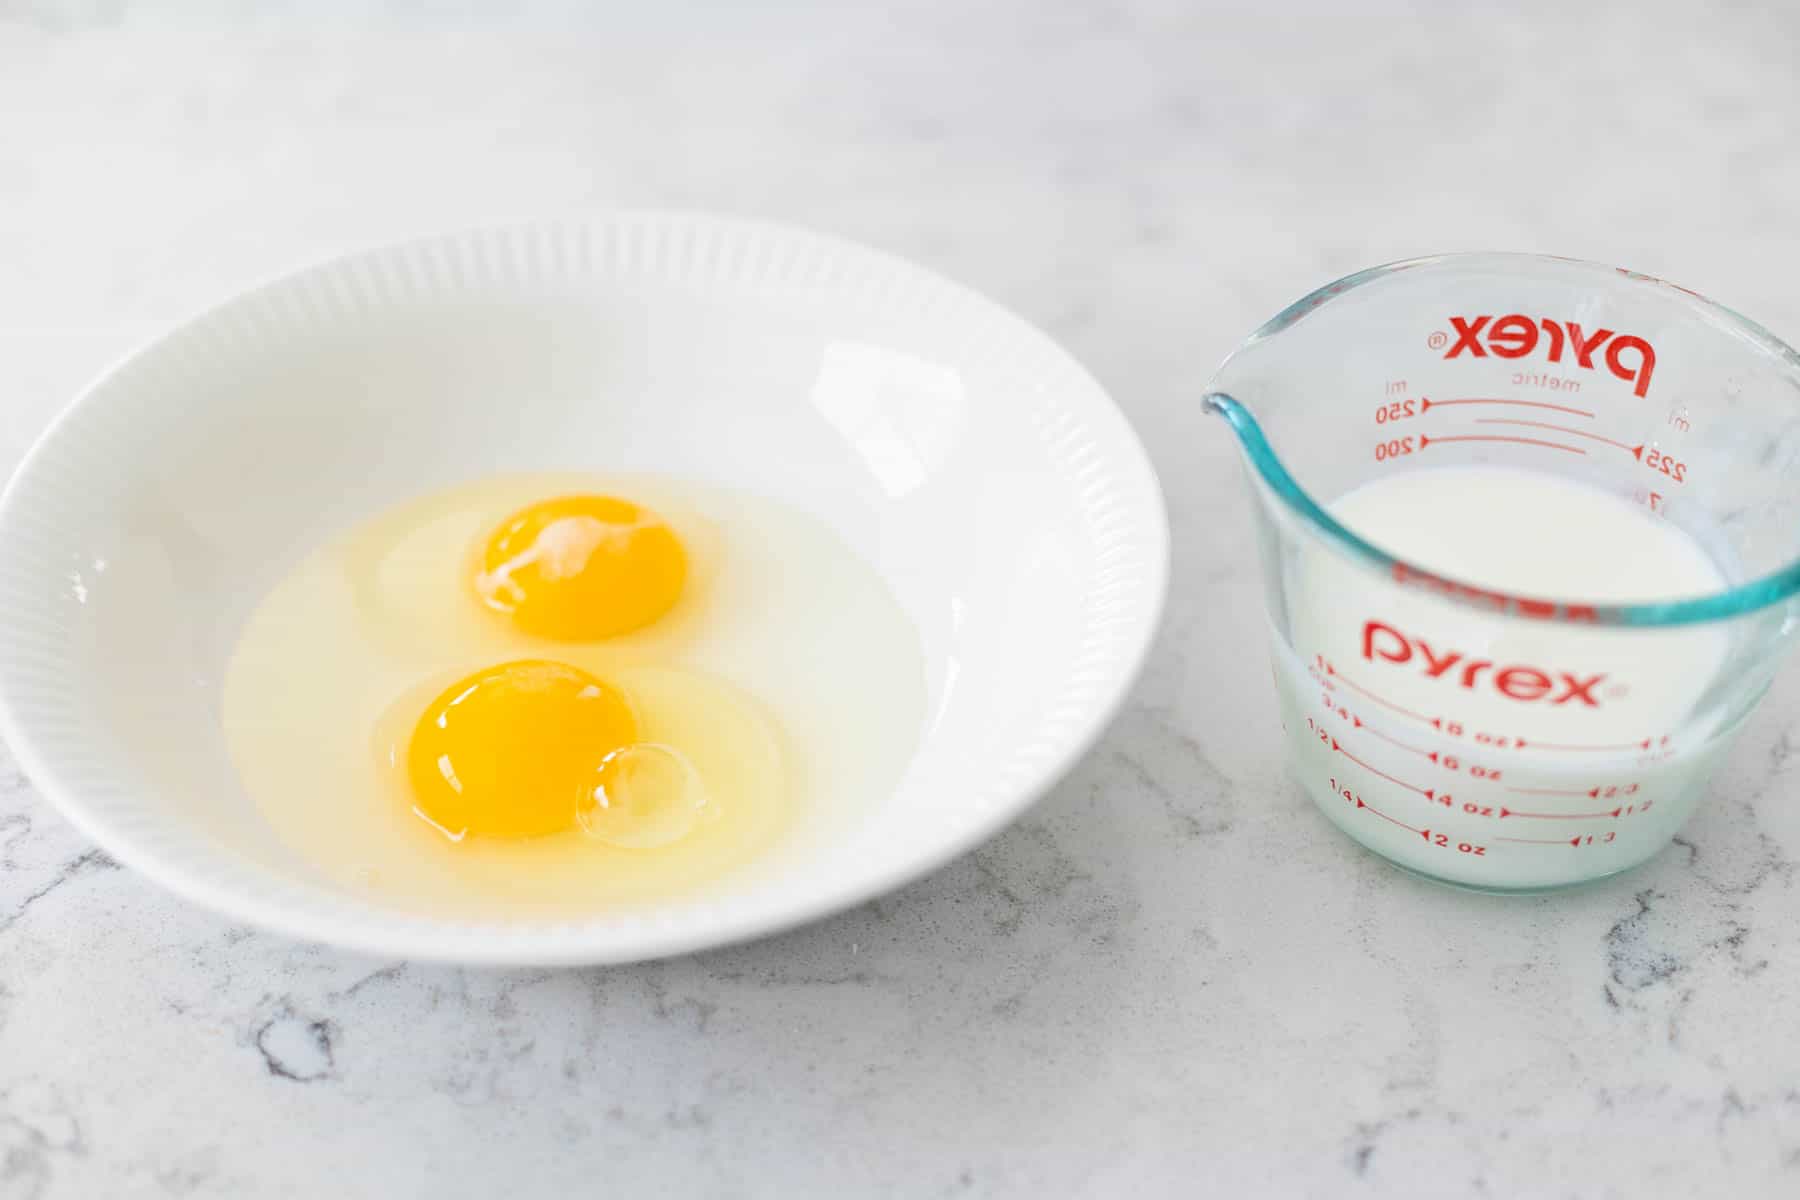
- Buttermilk: This serves as both a marinade and flavor enhancer. If you don't have buttermilk, see my easy substitution notes below.
- Flour
- Egg
- Baking Powder
- Butter: This is how we'll "fry" the baked chicken, no oil needed.
Then you'll want to season the chicken. You probably have everything you need in your pantry:
- Garlic Salt
- Dried Mustard
- Paprika
- Dried Sage: You could substitute poultry seasoning if you have it on hand.
- Thyme
- Onion Powder
- Cayenne Pepper
- Salt & Pepper
Substitute for Buttermilk
If you don't have buttermilk on hand, you can make an easy substitute by adding 1 tablespoon fresh lemon juice OR white vinegar to 1 cup of buttermilk.
Stir them together and let them sit for 5 minutes before using.
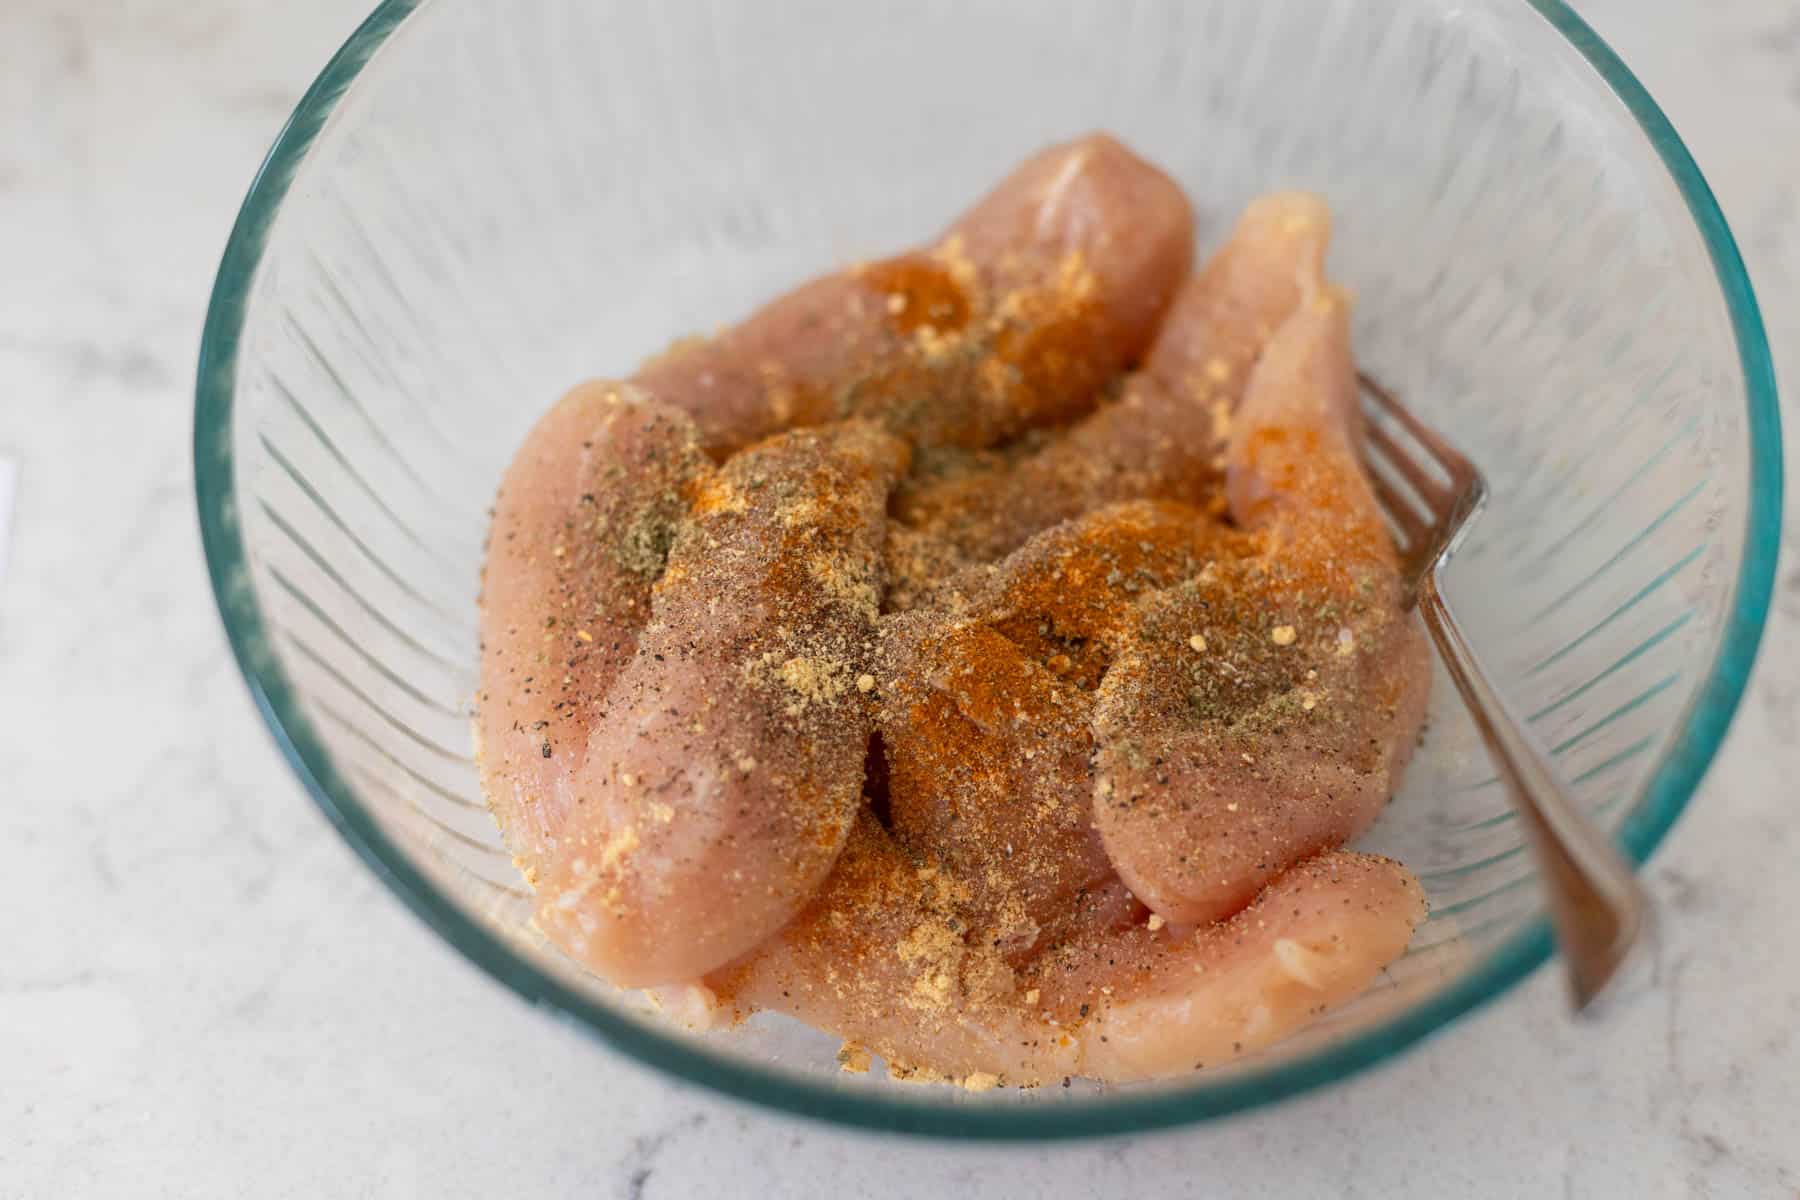
Marinate the Chicken
First we'll season the chicken tenderloins.
Add them to a mixing bowl and sprinkle the garlic salt, dried mustard, paprika, and dried sage over the top.
Turn the chicken over with a fork to make sure all sides of all the pieces are coated in seasoning.
Want to Save This for Later?
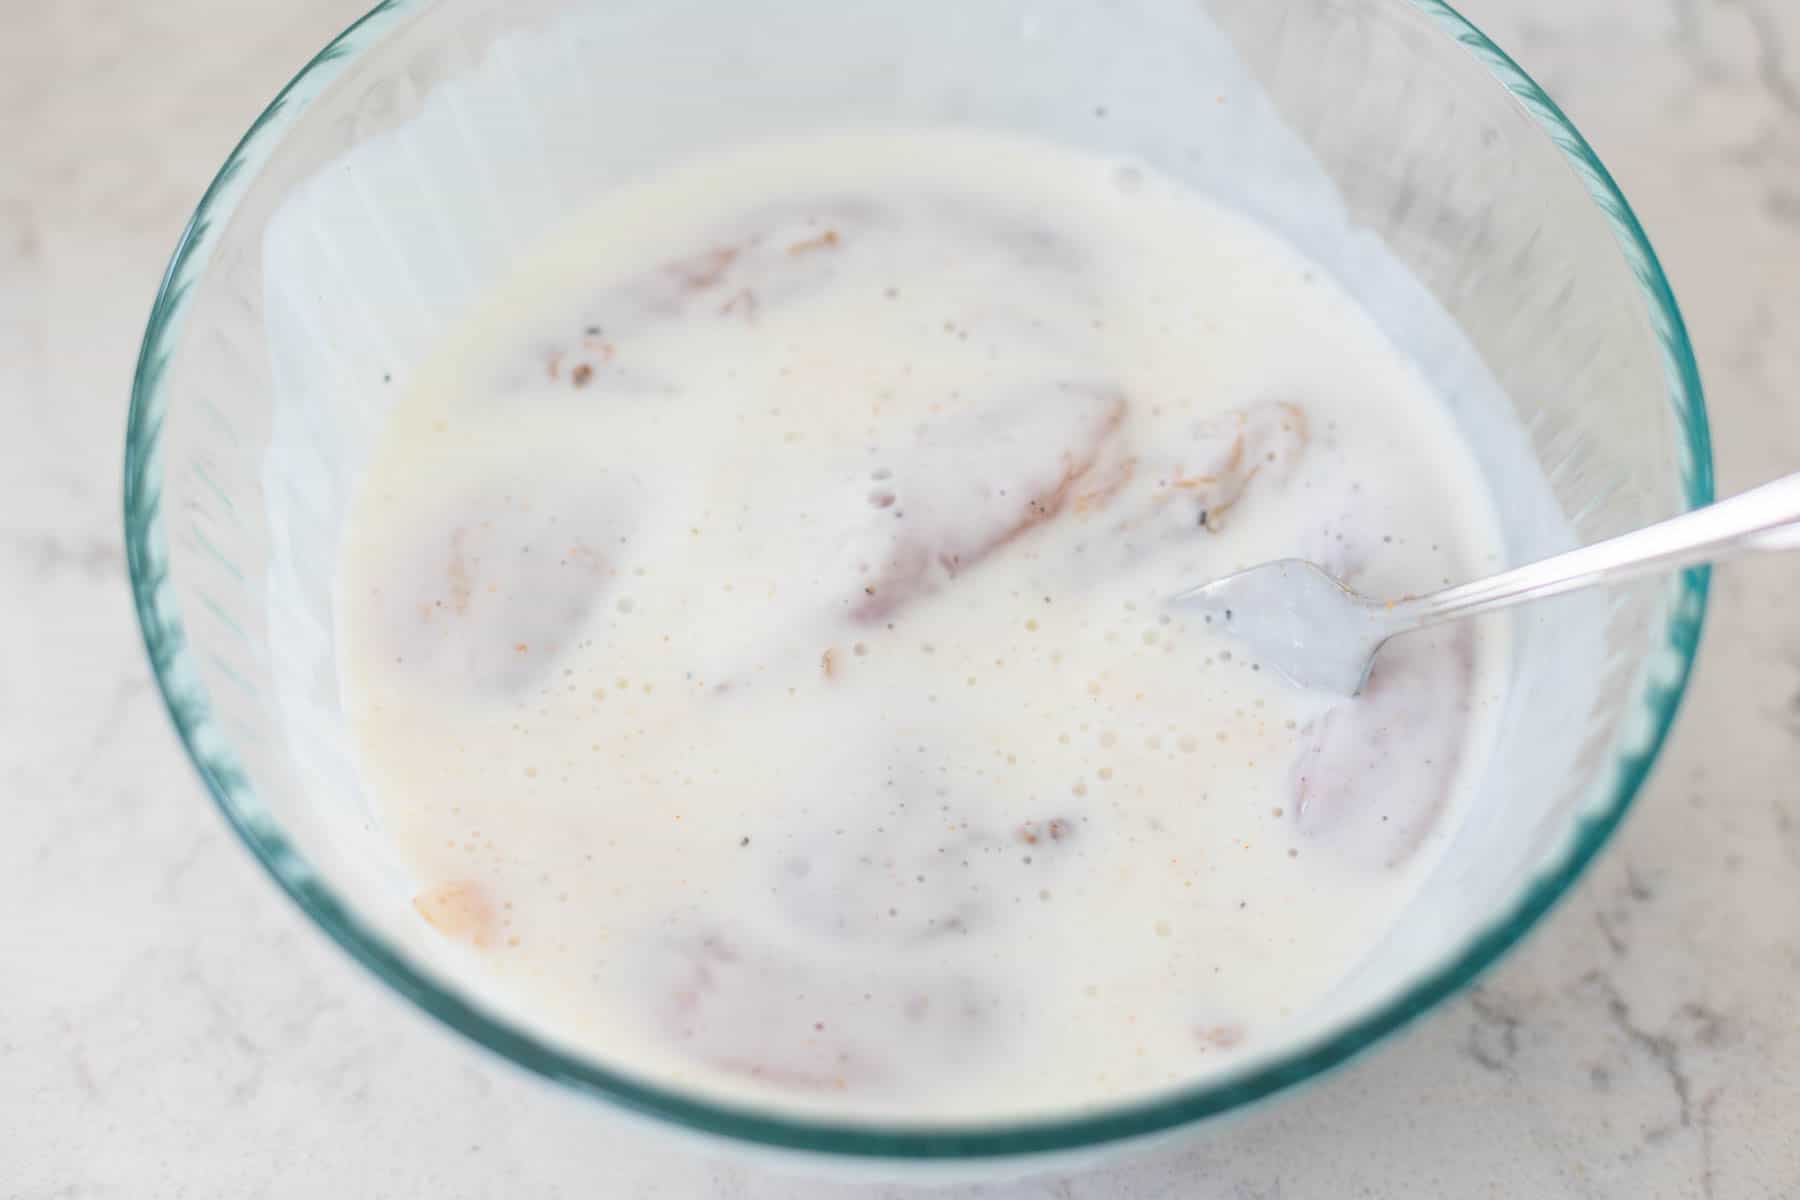
Pour in the buttermilk and gently turn to coat.
Cover the dish and refrigerate for at least one hour.
You can do this step up to 24 hours in advance if you like.
Coat the Chicken
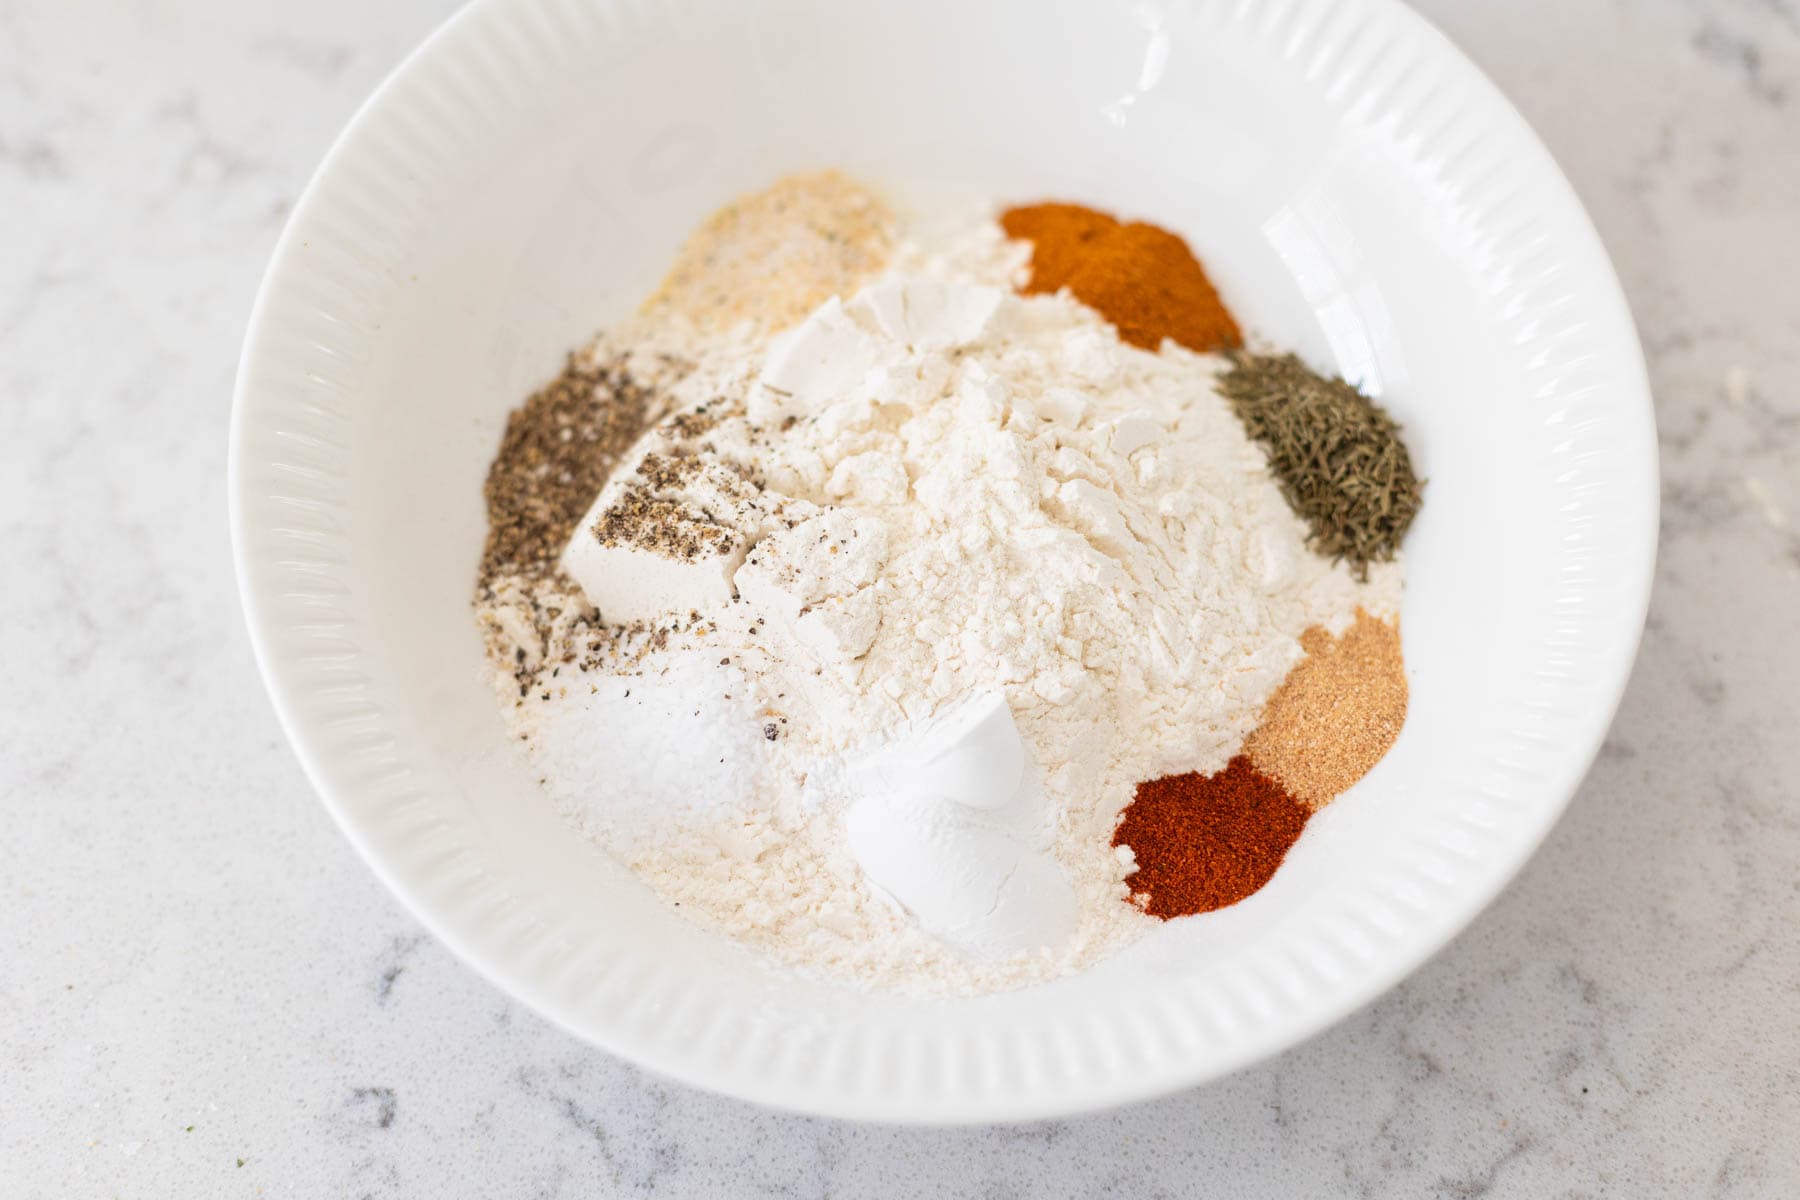
When you're ready to cook the chicken, start by preparing the dry and wet coatings.
Add the flour, baking powder, salt and pepper, garlic salt, paprika, thyme, onion powder, and cayenne pepper to a shallow dish. A pie plate would work great for this.
Whisk them together until well combined.
In a second shallow dish, add the eggs and buttermilk and whisk them together till smooth.
Set out a large baking sheet to collect the coated chicken as you work.
Then working one piece at a time, use a fork to live a tenderloin out of the buttermilk marinade. Let the excess run back into the bowl.
Place the chicken in the dry coating first. Turn to coat.
Then transfer it to the wet coating bowl. Turn to coat.
Lift the chicken from the wet coating and let the excess run back into the dish.
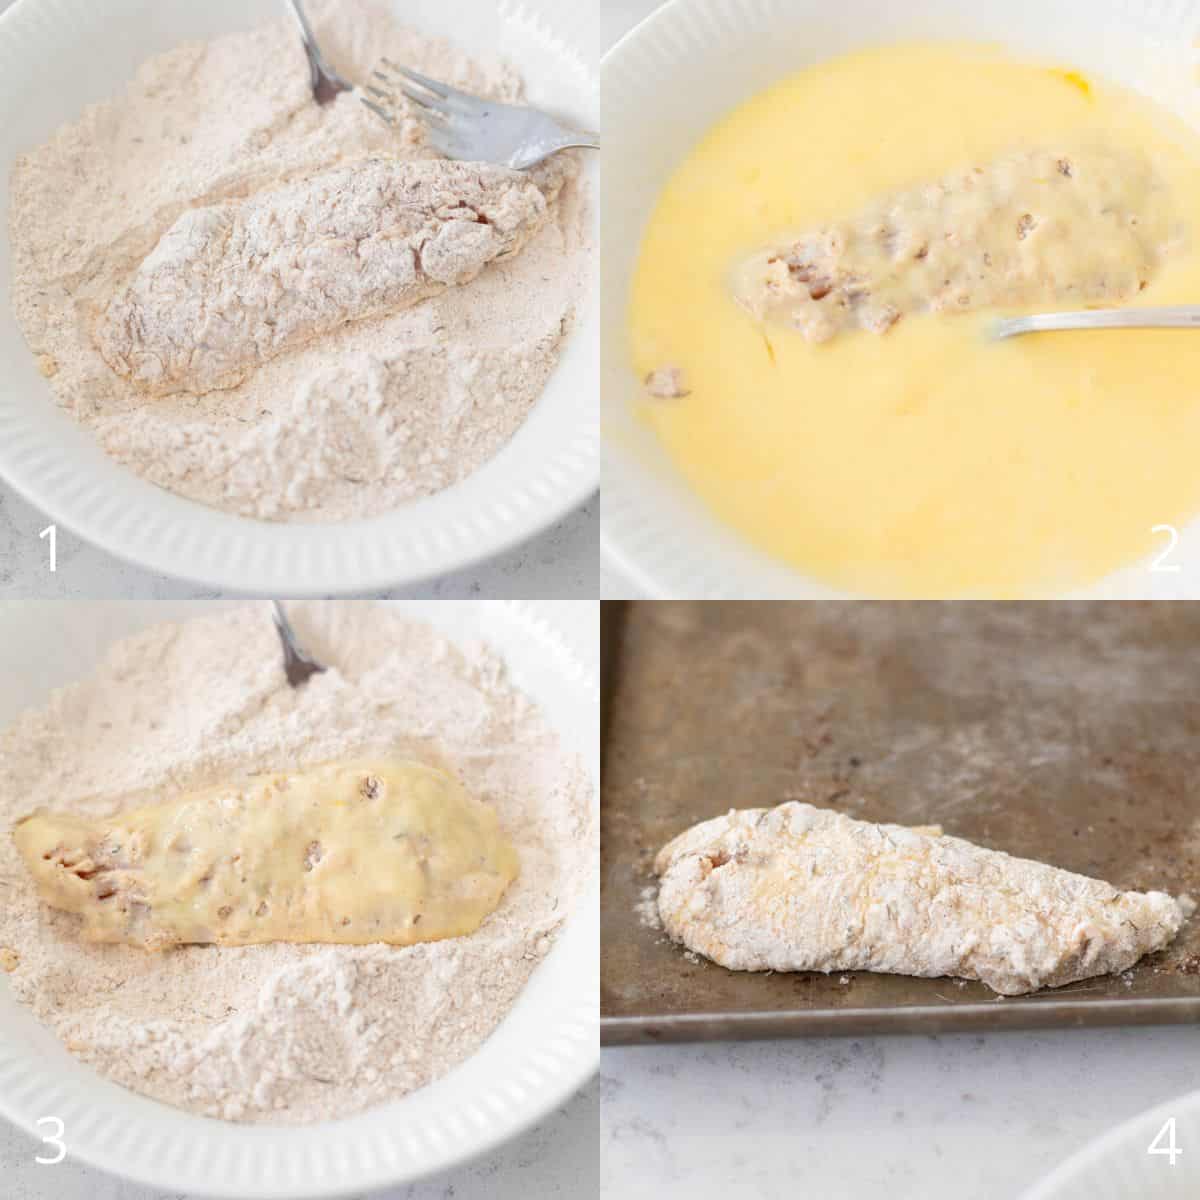
Transfer the wet chicken back to the dry coating bowl and turn one last time.
Place the coated chicken on the baking sheet and repeat the steps with all the remaining chicken tenderloins.

The Best Pan to Use
To bake the fried chicken in the oven, you will need a dark roasting pan because the dark color will reflect the heat onto the chicken to help it crisp up properly.
I have a black baking stone from Pampered Chef but it was fairly pricey. A much more affordable option would be this black baking pan or even the bottom half of a broiler pan if you have one.
Baking Instructions
Preheat the oven to 425°F with your baking pan on the center rack. You want the pan to get piping hot along with the oven.
Once the oven and pan have come to temperature, carefully place it on your stovetop using oven mitts.
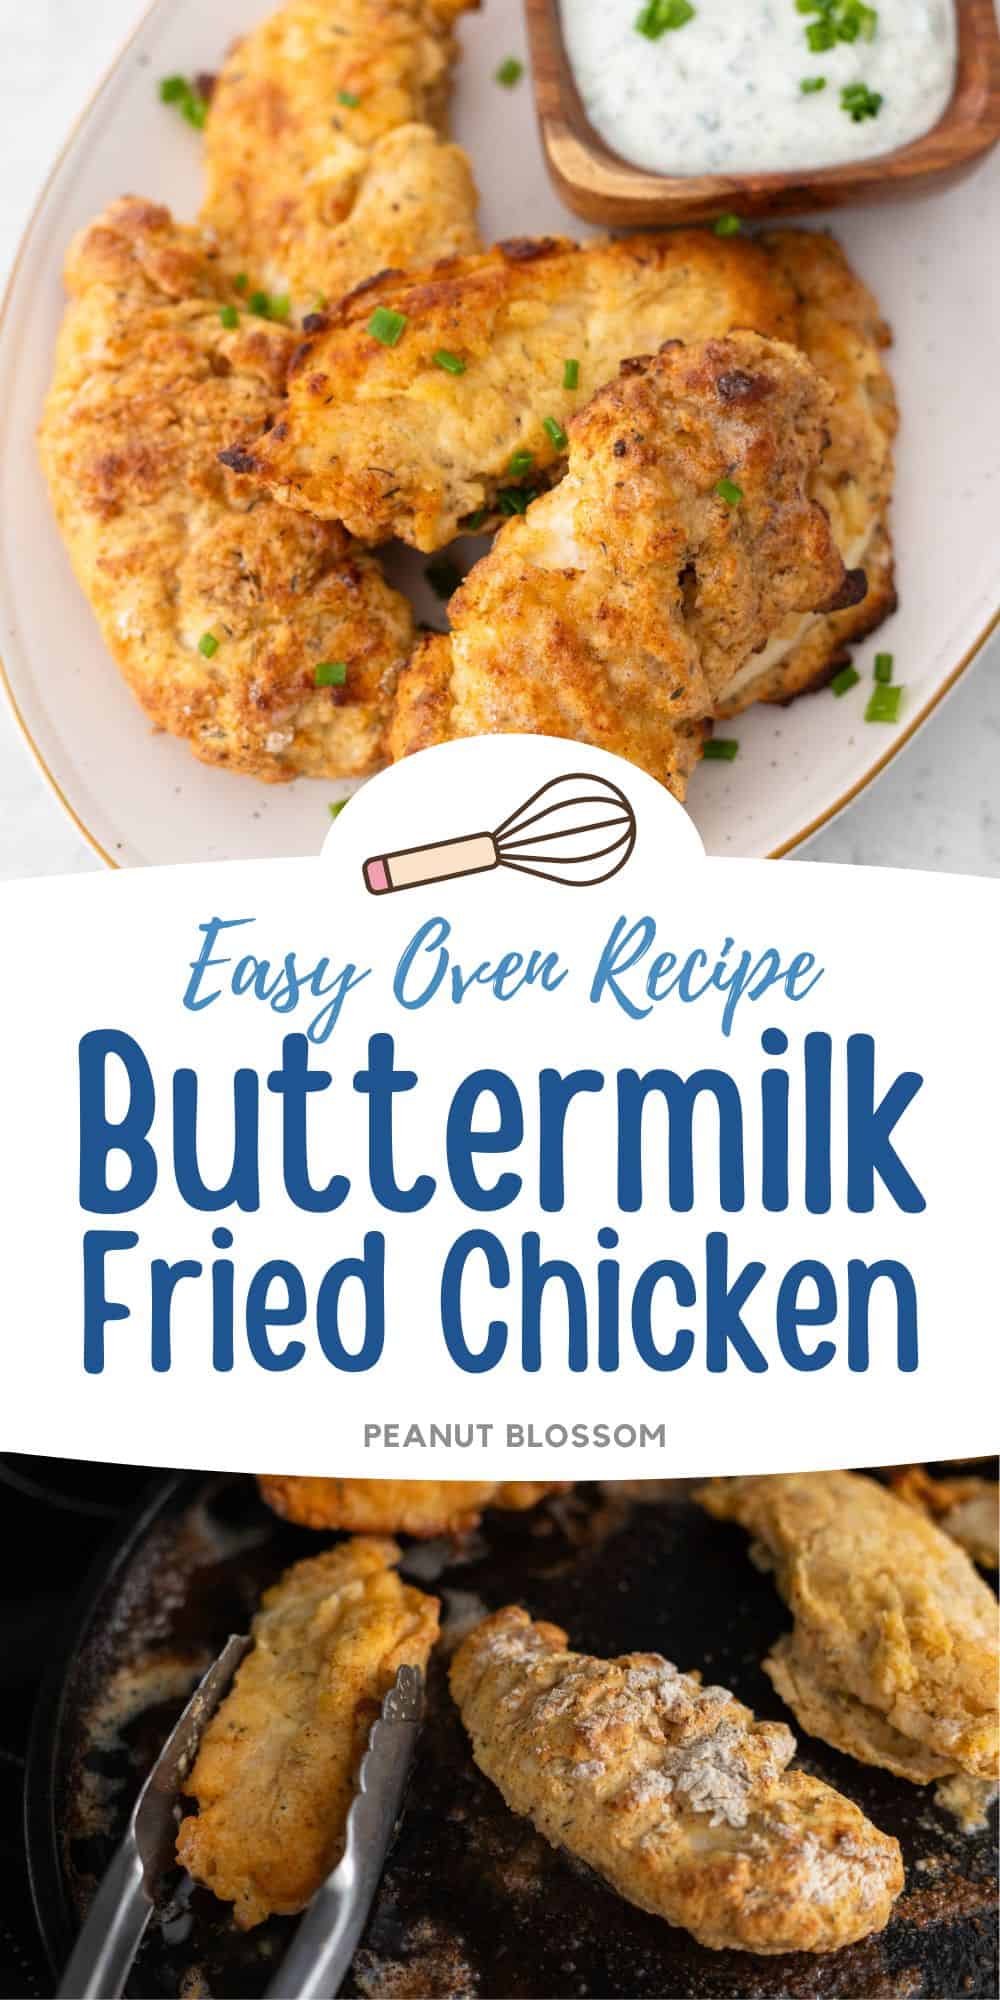
Add the butter to the baking pan, it will immediately start to melt. You can spread it around with a spatula to make sure the whole surface gets coated in melted butter.
Then carefully transfer the coated chicken to the pan. Be sure to leave spaces between each piece of chicken or the coating will bake together.
Bake the chicken for 10 - 12 minutes on the first side.
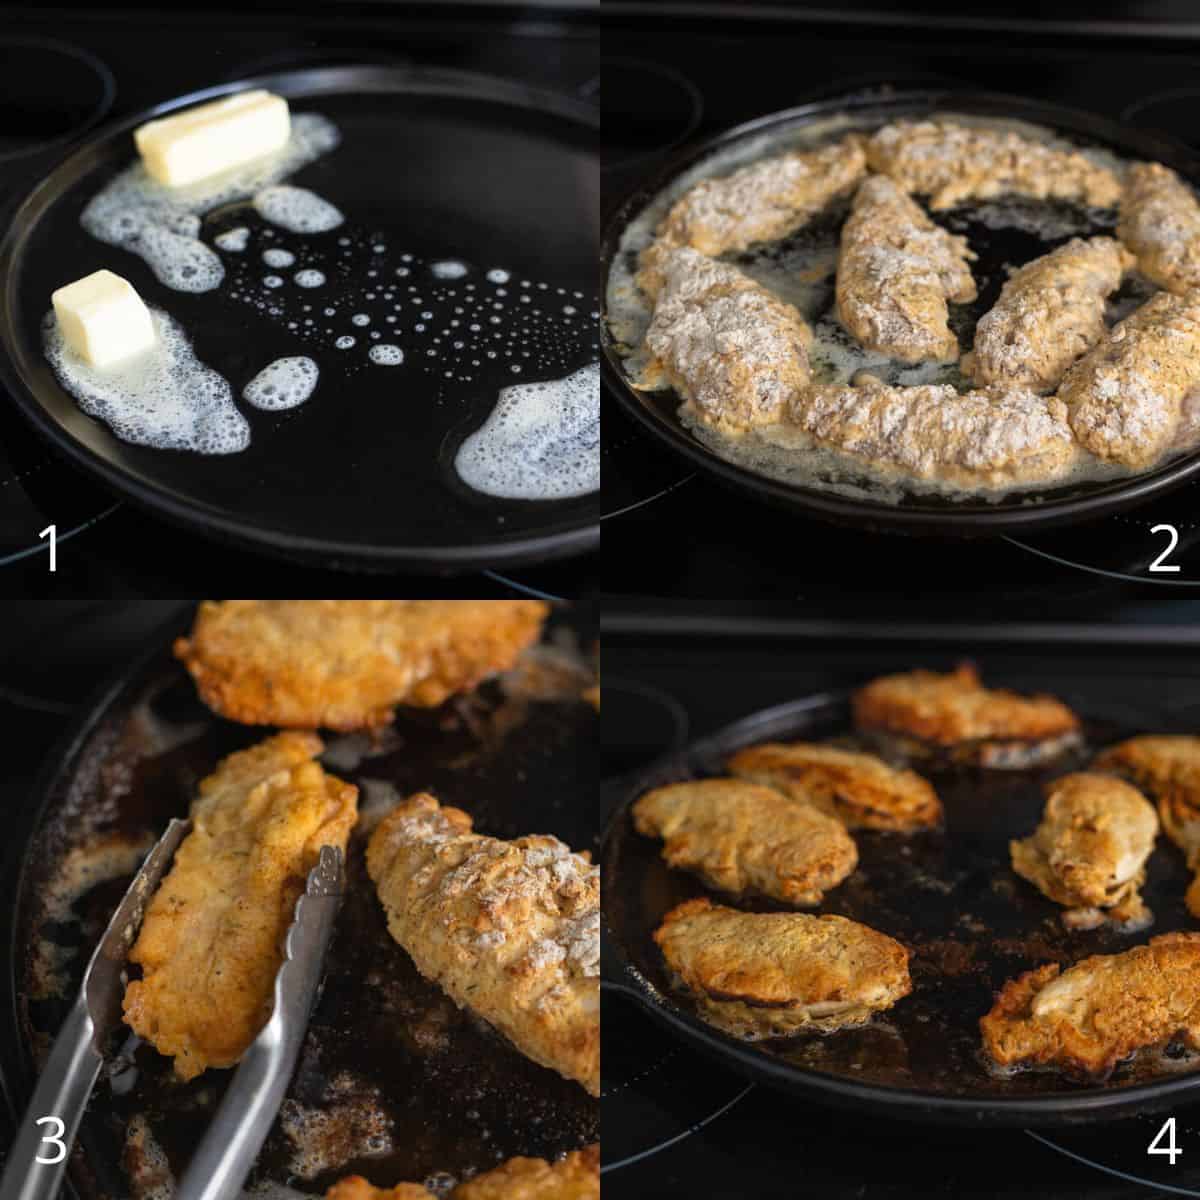
Use a pair of tongs to turn the chicken. It helps a lot to approach each piece of chicken from the sides and pinch and turn. (See photo 3 above.) You want to handle the chicken as little as possible so you don't break the coating.
Bake the chicken on the second side for 5 - 10 minutes or until the pieces are golden brown and the internal temperature reaches 170°F with an instant read thermometer.
Let the chicken sit for 2 minutes before serving so the coating can set and crisp up.
Prep Ahead Tips
Buttermilk fried chicken is best enjoyed fresh from the oven while the coating is warm and crispy.
However, you can do several things to Make Your Own Meal Kit:
- Pre-Measure the Chicken Seasonings and Freeze: Want a freezer kit? Measure the seasonings and store them in a small snack-sized storage bag. Freeze them along with the chicken.
- Pre-Measure the Seasoned Dry Coating: Whisk together the flour coating and seasonings, store in a ziptop plastic storage bag. It will be ready to go when you are.
- Pre-Season and Marinate the Chicken: Once you thaw the chicken, you can prep the chicken marinade up to 24 hours in advance.
Serving Suggestions
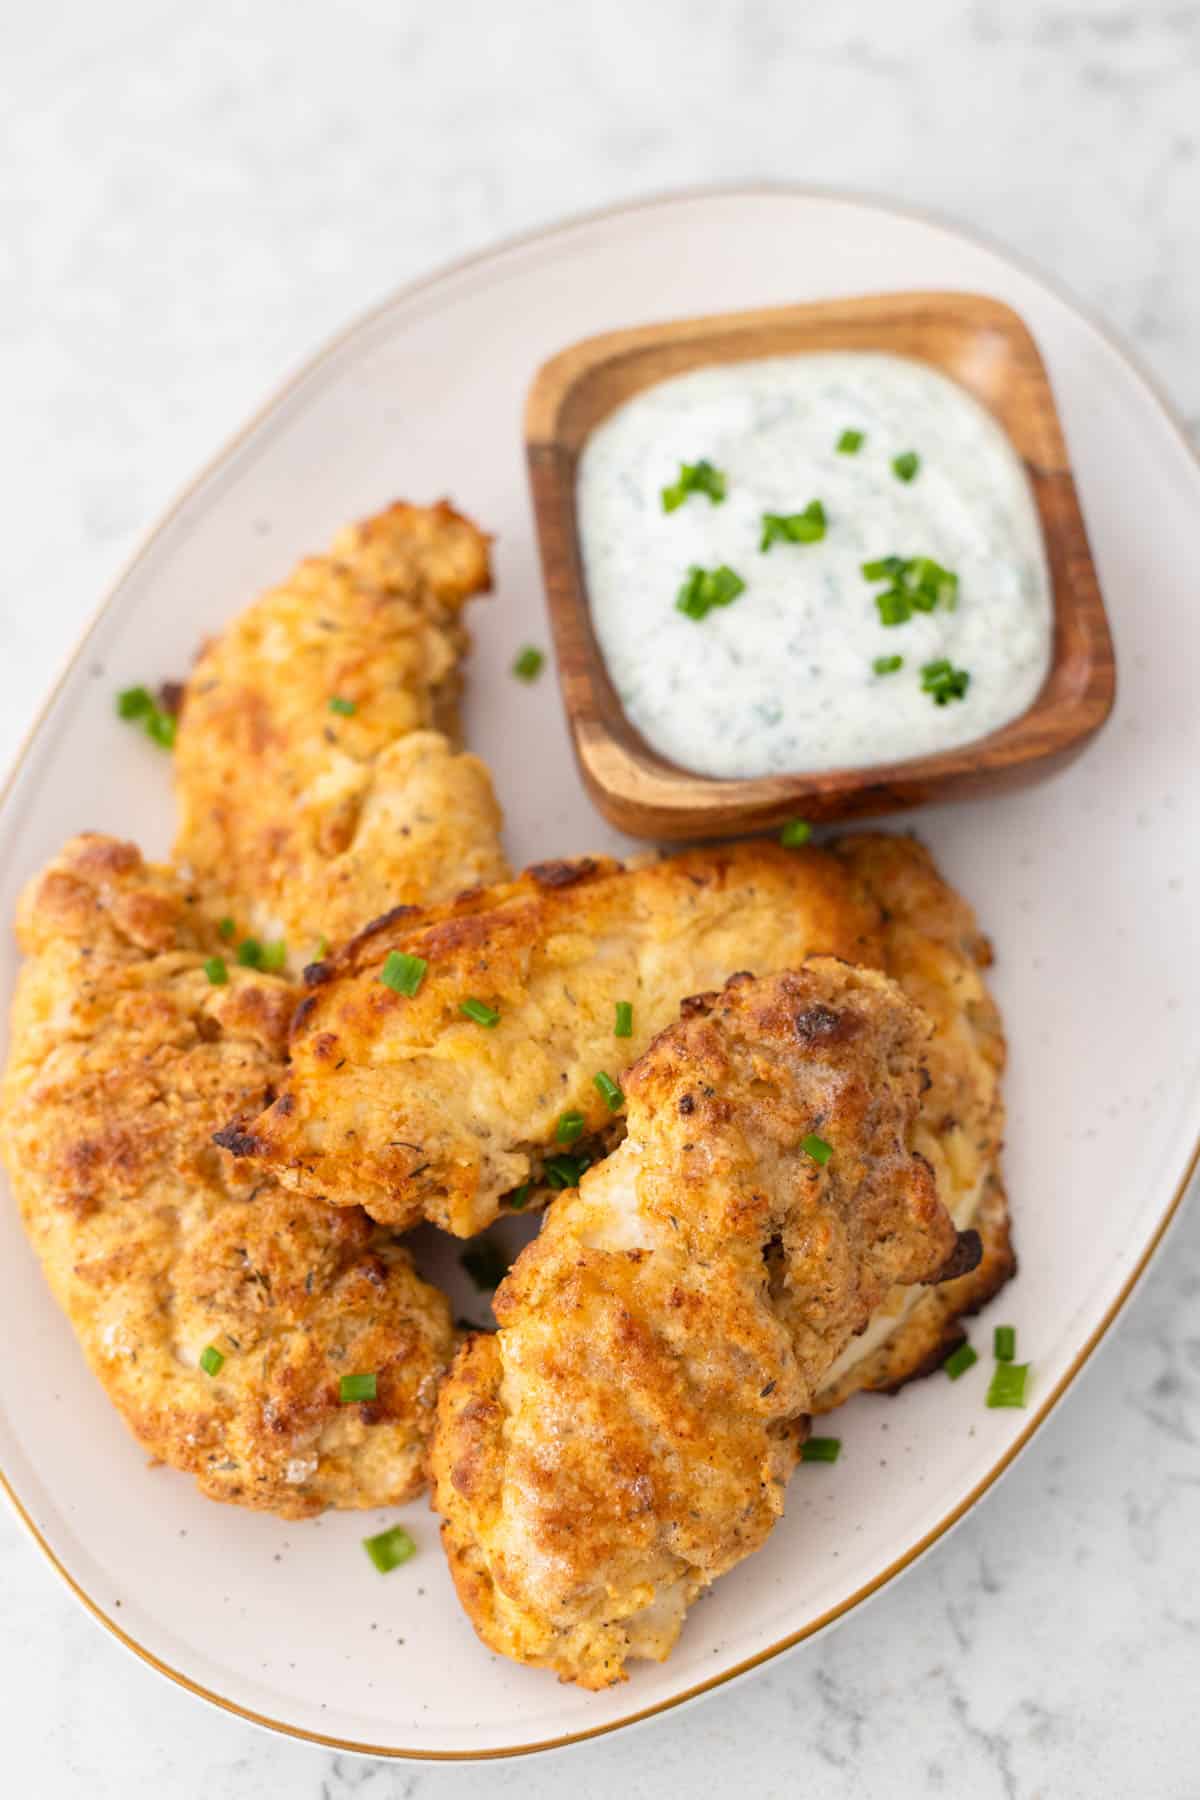
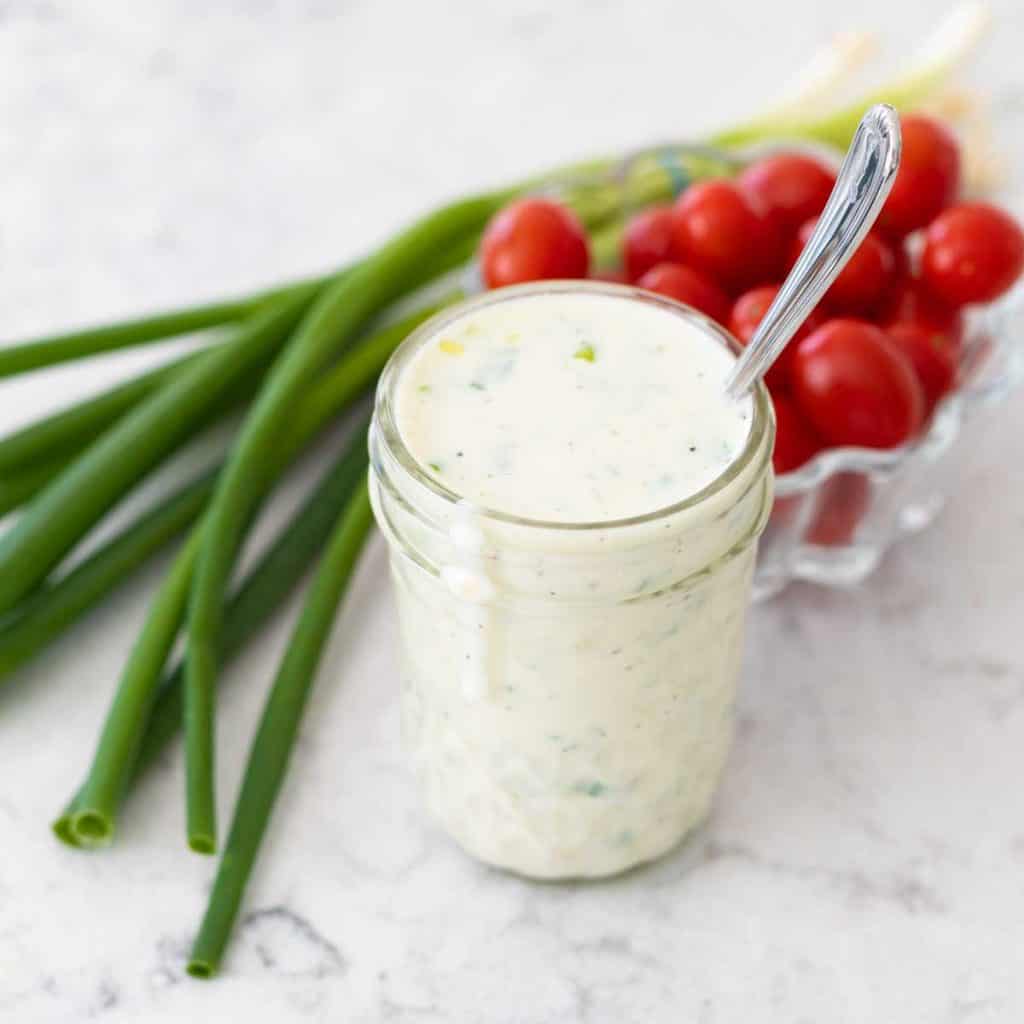
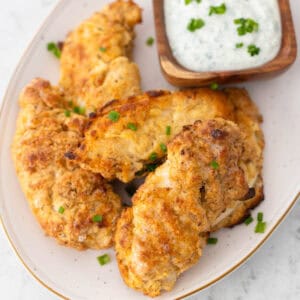
We enjoyed the buttermilk fried chicken with cups of homemade buttermilk ranch dip for a cozy family dinner.
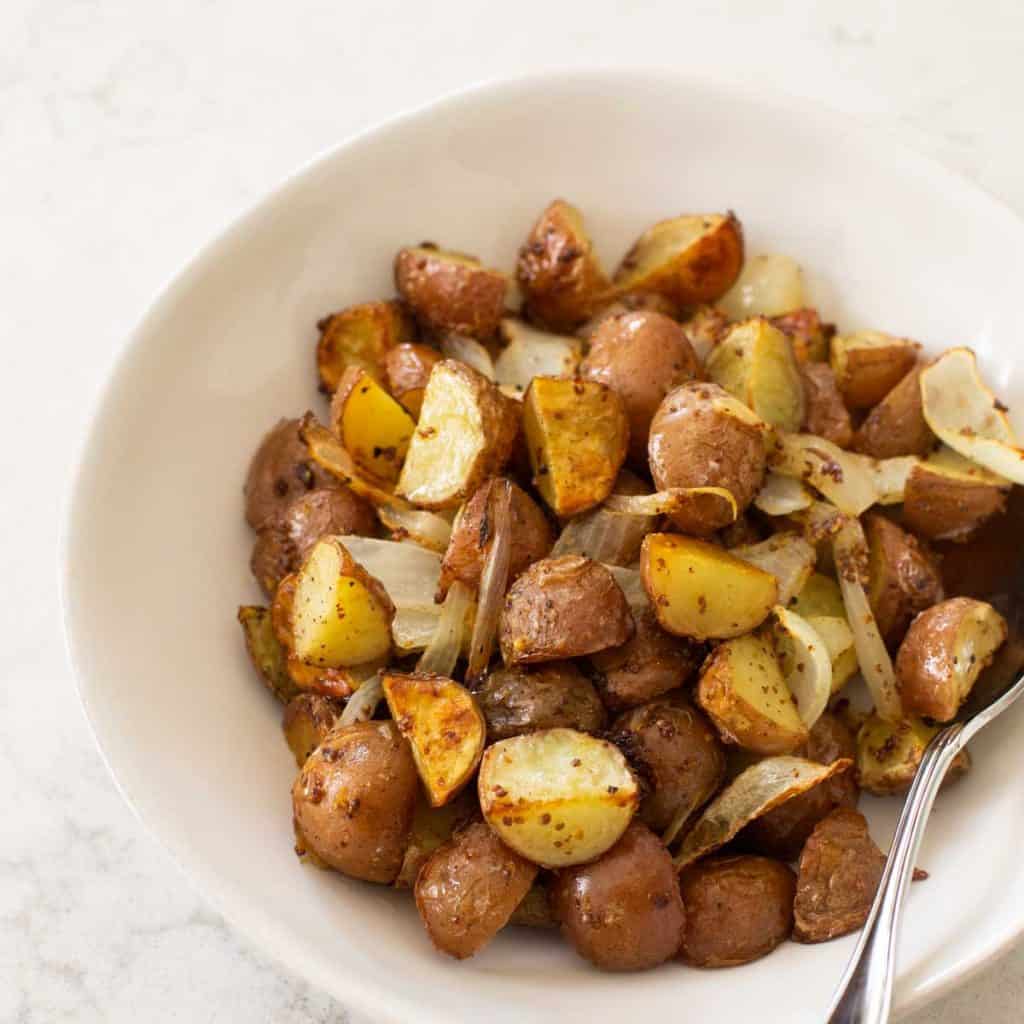
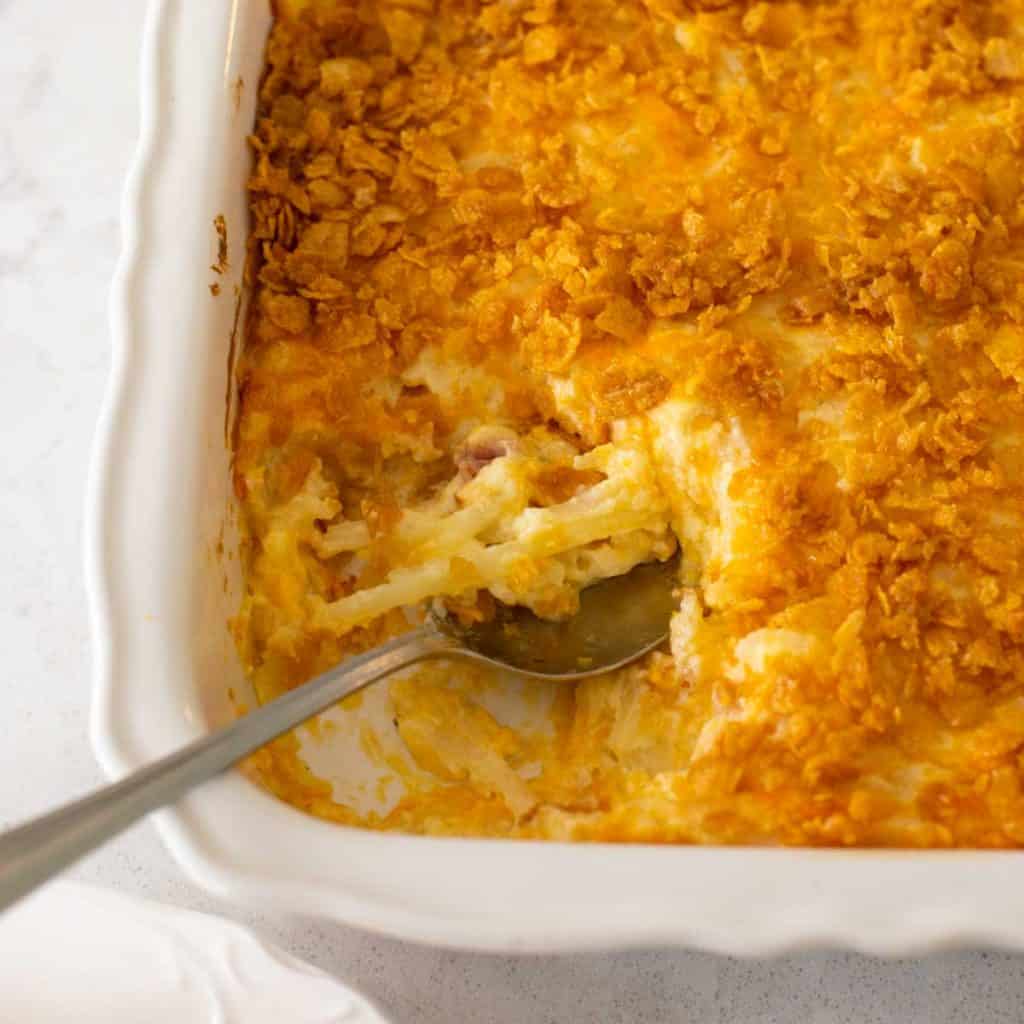
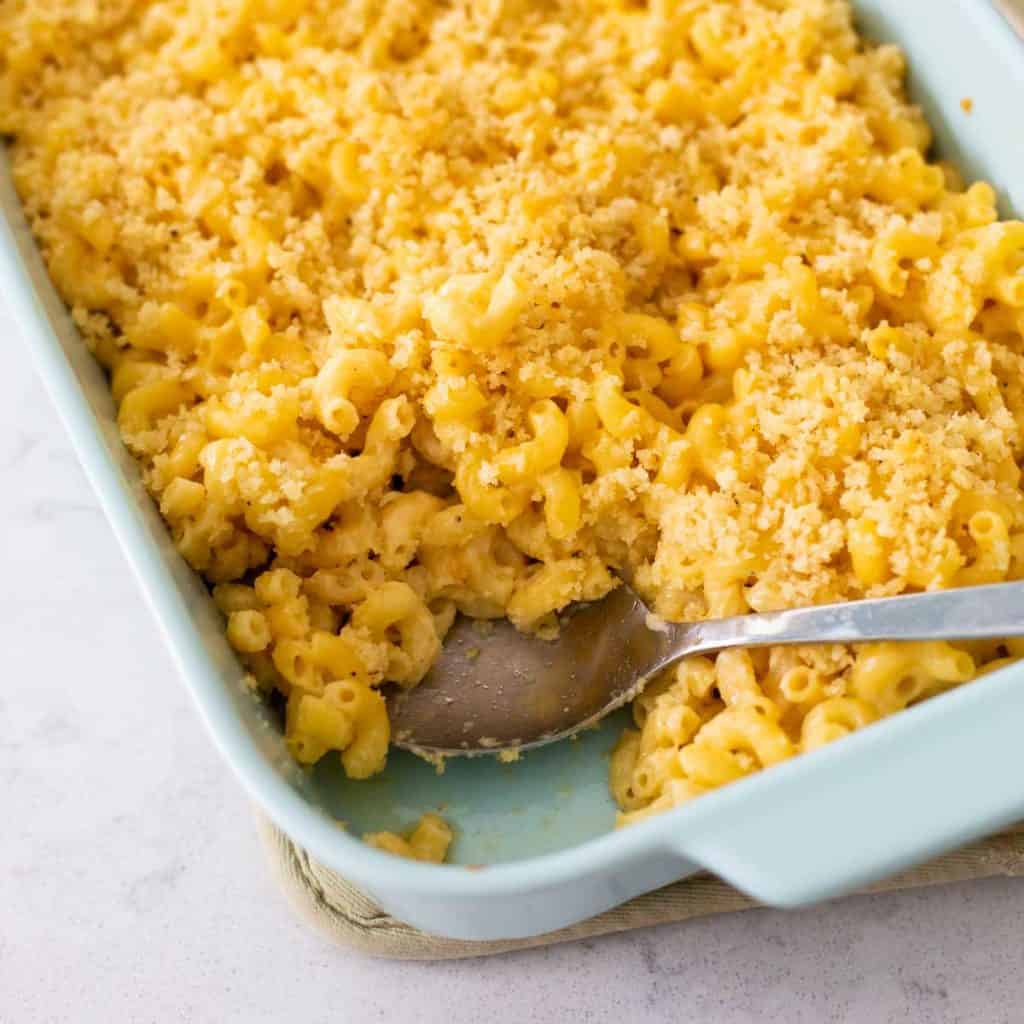
It would pair well with any of your favorite side dishes like oven roasted potatoes, cheesy cornflake potatoes, or even my make ahead mac and cheese. Or make a batch of my easy ranch potato salad if you don't want to serve cups of ranch for dipping.
I love the tangy zip of a spoon full of chow chow relish with my chicken, too.
You could always use them to make fried chicken sandwiches with this Popeyes spicy mayonnaise.
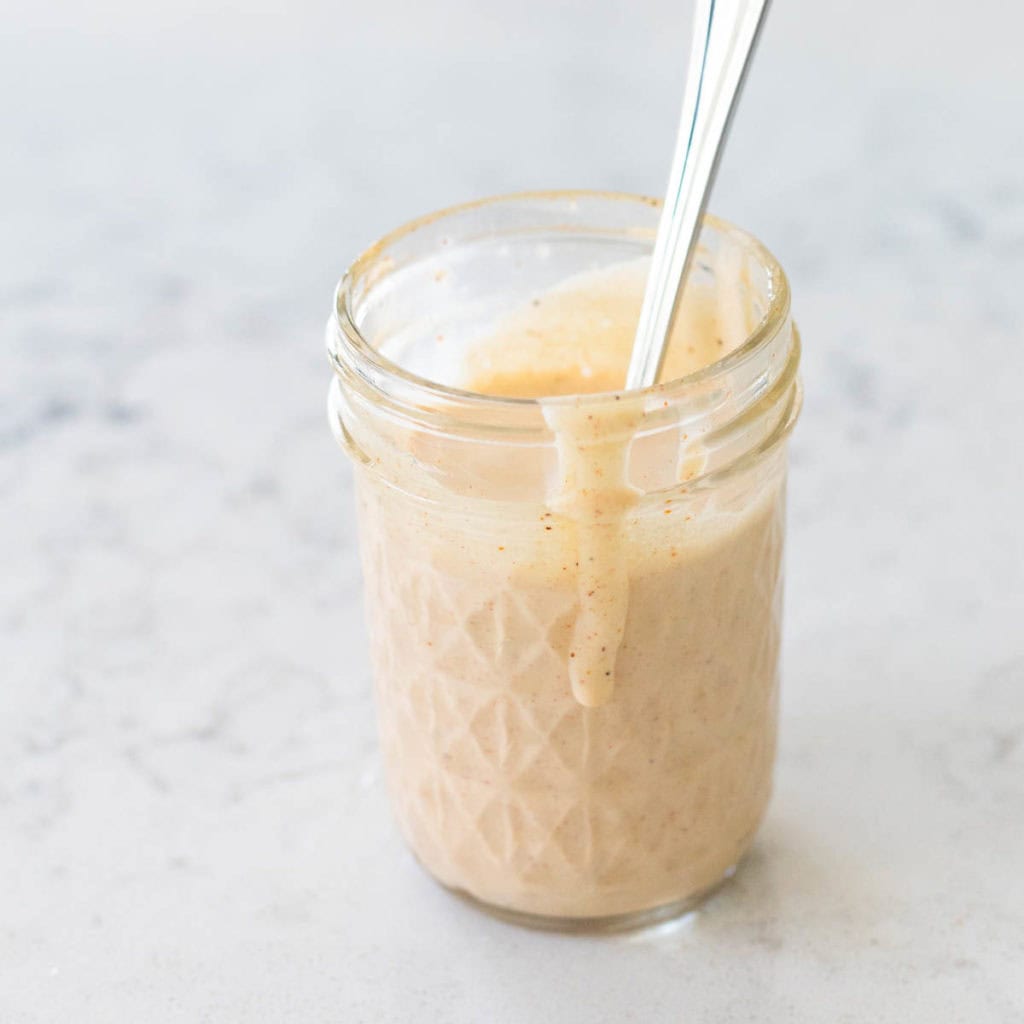
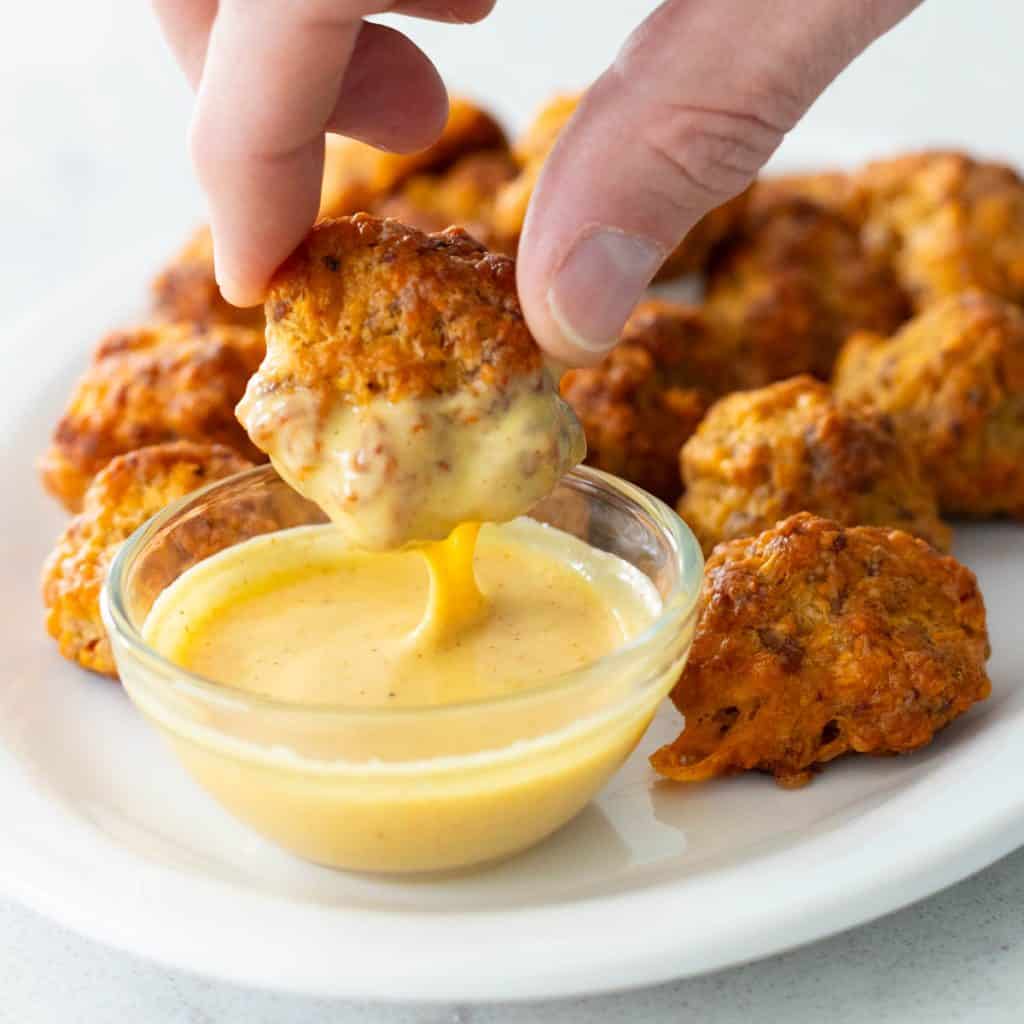
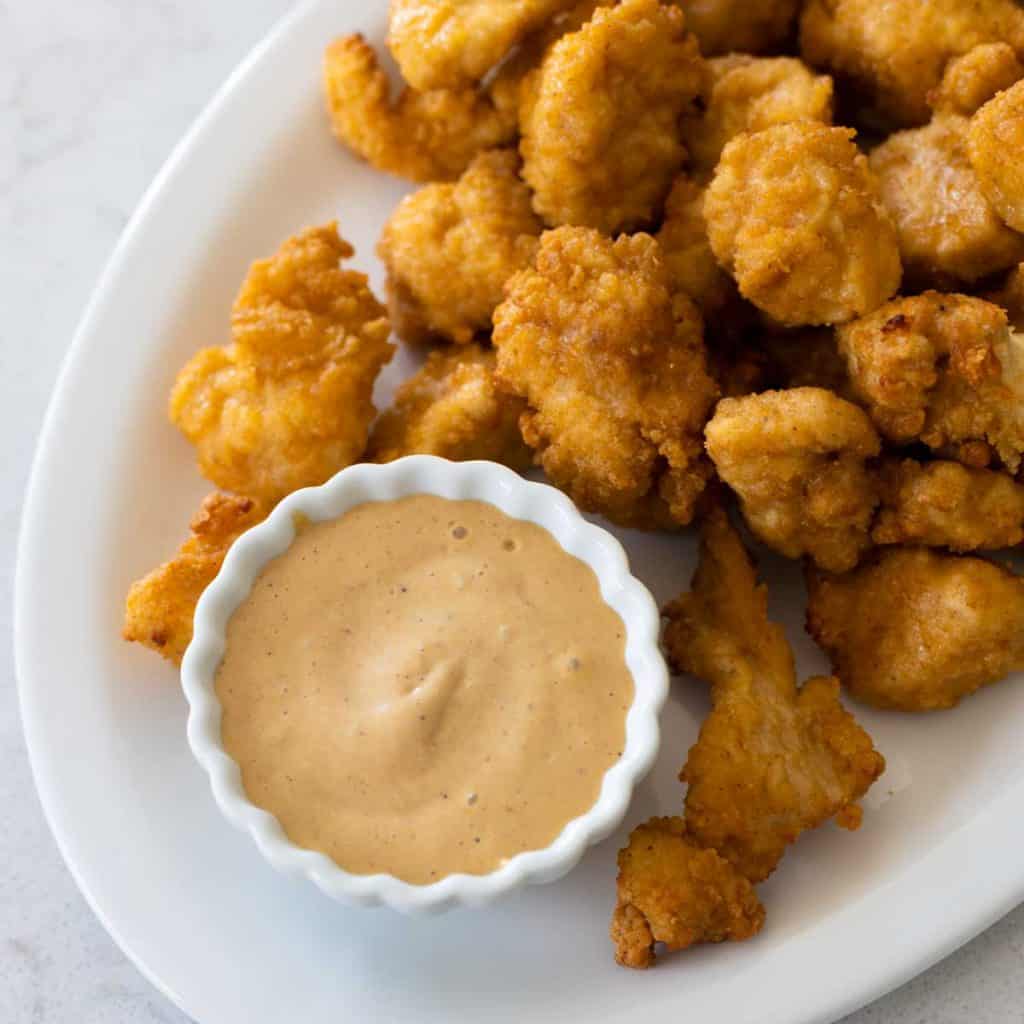
Sauces to Serve with Fried Chicken
If you don't want to serve the chicken with ranch, there are lots of options that pair really well with fried chicken:
📖 Recipe
Buttermilk Fried Chicken in the Oven
Ingredients
For the Chicken Marinade:
- 1.5 pounds boneless, skinless chicken tenderloins
- 1/2 teaspoon garlic salt
- 1/2 teaspoon pepper
- 1/2 teaspoon dried mustard
- 1/4 teaspoon paprika
- 1/4 teaspoon dried sage
- 1 cup buttermilk
For the Dry Coating:
- 1 cup flour
- 2 teaspoons baking powder
- 3/4 teaspoon salt
- 3/4 teaspoon pepper
- 3/4 teaspoon garlic salt
- 3/4 teaspoon paprika
- 3/4 teaspoon thyme
- 3/4 teaspoon onion powder
- 1/2 teaspoon cayenne pepper
For the Wet Coating:
- 2 eggs
- 2/3 cup buttermilk
For the Baking Pan:
- 6 tablespoons butter
Instructions
Marinate the Chicken:
- Place the chicken in a mixing bowl and sprinkle the dry seasonings over the top. Use a fork to toss the chicken in the seasoning and make sure all the surfaces are coated. Pour in the buttermilk and gently toss to coat. Cover the dish and marinate for at least 1 hour or up to overnight.
Coat the Chicken:
- Set out a large baking sheet, you'll store your coated chicken here as you assemble the dish.
- Add the flour, baking powder, salt, pepper, and remaining dry seasonings to a shallow dish. A pie plate works great for this. Whisk together until well combined.
- Whisk together the egg and buttermilk in a second shallow dish and place it near the dry flour mixture.
- Use a fork to lift one chicken tenderloin at a time out of the buttermilk marinade and let the excess run off. Place the chicken in the dry coating bowl with the flour and turn it over.
- Dip the chicken tenderloin into the buttermilk and egg wet coating bowl and turn to coat. Let the excess drip off.
- Place the chicken back into the dry coating bowl and turn to coat one last time. Place the prepared chicken on the baking sheet and repeat the process with the remaining chicken pieces.
Baking Instructions:
- Preheat the oven to 425°F. A dark roasting pan with a rimmed edge is the best choice for cooking this chicken. I have a black rimmed baking stone (see post above for more details) but the bottom half of a dark broiler pan would also be a great choice. Place the baking pan to preheat in the oven as it warms up.
- Once the pan and oven have come to temperature, use a pair of oven mitts to carefully place the baking pan on your stovetop. Add the butter and let the heat from the pan melt it.
- Add the prepared chicken tenderloins to the melted butter with space between each piece. Bake for 10 - 12 minutes on the first side. Use a pair of tongs to carefully turn the chicken over.
- Bake the chicken for 5 - 10 more or until the internal temperature reaches 170°F with an instant probe thermometer. Let the chicken sit for 2 minutes before serving so the coating has a chance to crisp up and set before you move it.
Save This Recipe to Your Recipe Box
Find this delicious recipe next time you visit by saving it to your very own recipe box on my site. All your favorites stored in one easy place!
Comments
No Comments