How to Make a Bunting Cake Topper
Learn how to make a paper bunting cake topper for an easy personalized way to decorate a birthday cake.
When I decided to make the Peanut's birthday cake, the only thing standing in my way was how to decorate the outside.
I just do NOT decorate with frosting. I can't write a cake message without it looking like a 2 year old did it.
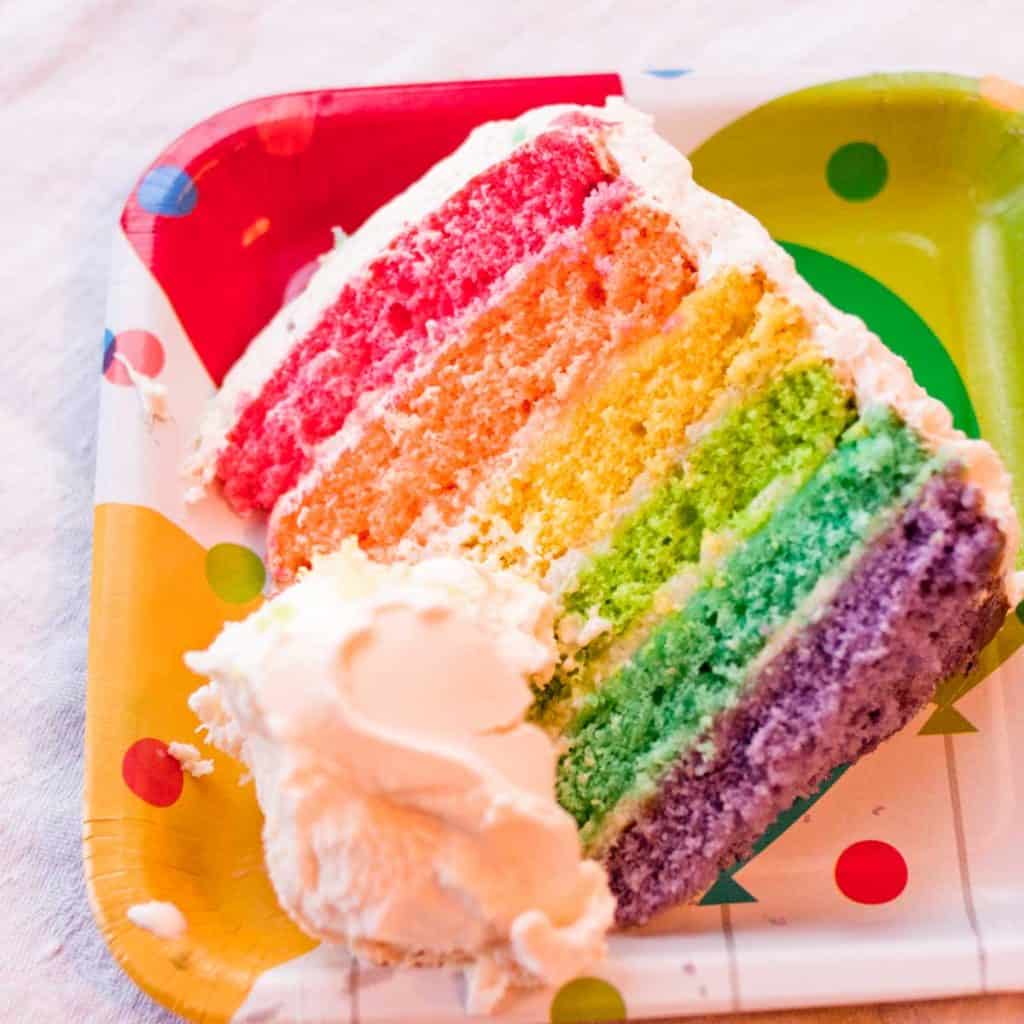
If I was going to go through all the effort to make a six layer rainbow cake, the darn thing better look good on the outside as well!
Using my favorite cake decorating tricks, I decided to make a homemade bunting cake topper to spell out "Happy Birthday" to my sweetie.
This super easy birthday craft is perfect to do in just 10 minutes!
Why This is the Best Cake Topper Craft
This adorable bunting cake topper is one of my very favorite ways to decorate a birthday cake because:
- Cheap and Easy: You probably have all the supplies at home or can find them quickly at Target or Amazon.
- Beginner Project that Wows: Even though this project is so crazy easy, it looks absolutely adorable in person. Your birthday celebrant will be tickled pink.
- Personalized and Flexible: Want to make a cake bunting for a graduation? For a retirement party? For a First Communion? You can make a customized cake topper for any special event!
Supplies You Need
I had everything in my craft supplies at home, but the shopping list is super short:
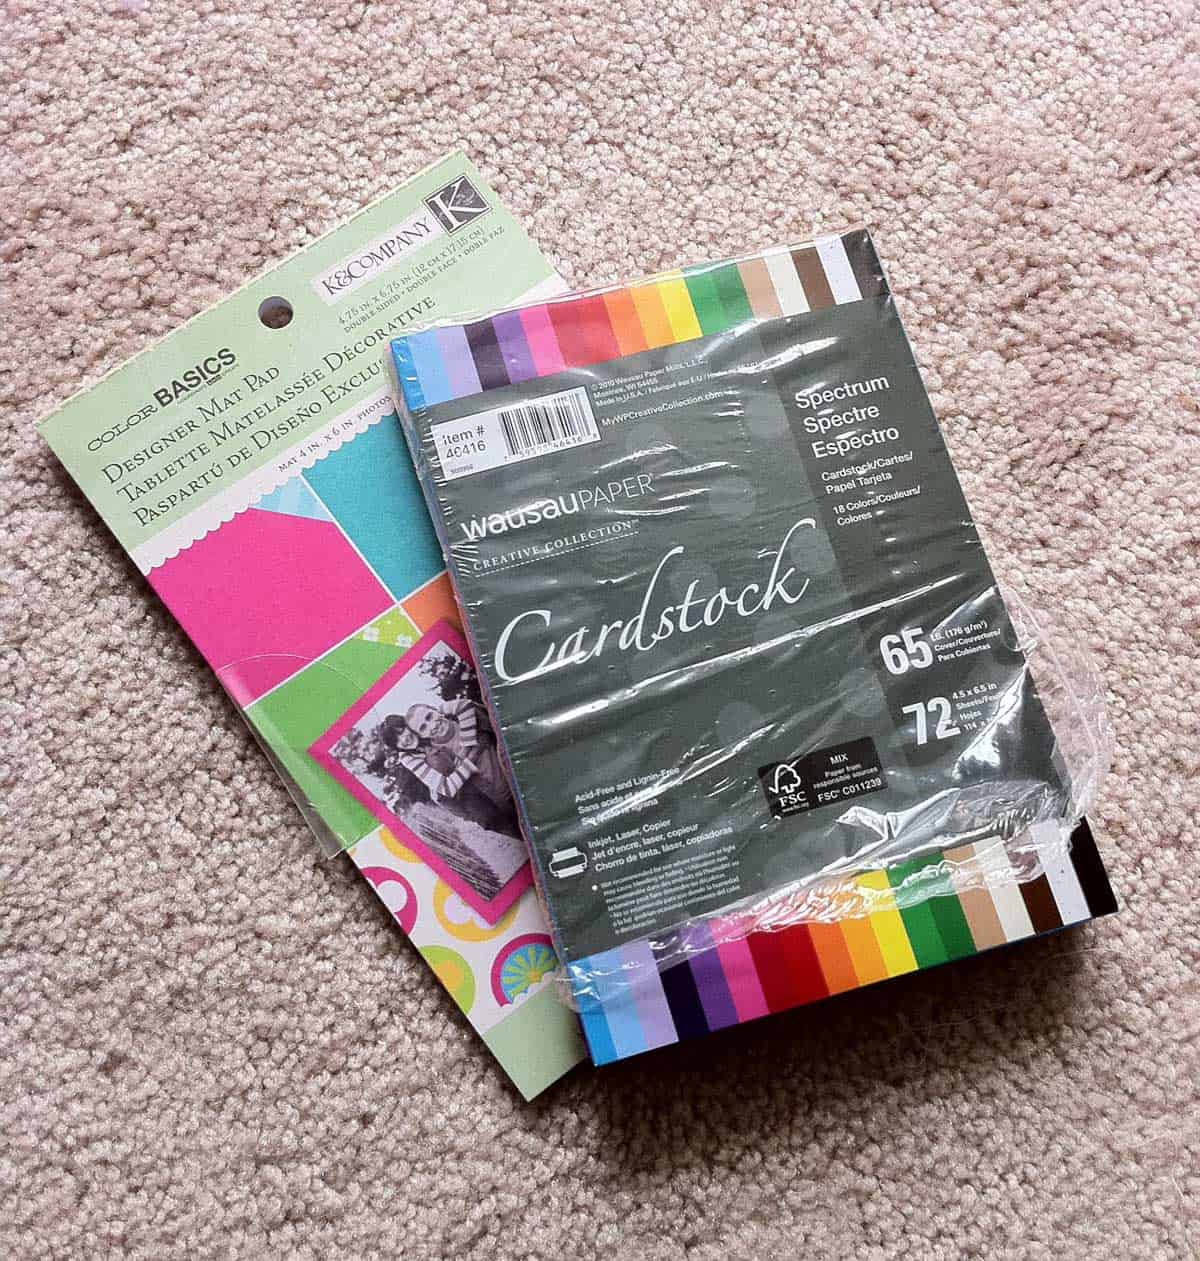
- Colorful Paper: Match your party theme! Solids or patterns are both great.
- ABC Letter Stickers: Make them plain or glittery or metallic, so many ways to customize your banner.
- Tape: I used Scotch, it gets folded and hidden inside the banner, you'll never see it.
- Thin Ribbon or Baker's Twine: To hang the bunting.
- Skewer Sticks: These must be food safe since they will touch your cake. Wooden kabob sticks are a safe bet or colorful drinking straws could work, too.
- Scissors
Note: I used pre-cut 4x6 scrapbook cardstock that just happened to be in the color palette I was looking for.
You could honestly use whatever you have on hand but it should be a decent weight. Wrapping paper, for instance, would likely be too thin and would tear/curl.
How to Make a Cake Bunting
Fold your paper of choice in half. For my 4x6 sheet of cardstock, I folded it lengthwise like this:

Cut little flag shapes so that the top edge of the flag falls on the folded line of paper and the pointy part of the triangle faces away from the fold like this:

Want to Save This for Later?
I'm usually a crazy perfectionist about something like this but I honestly just started cutting.
My flags were all slightly different sizes and I actually think it turned out nicer, less overly uniform.
Just be sure you're cutting flags that are large enough for your ABC stickers.
Lay your ribbon or twine out.
Line up your little flags in the order you want them to be and apply the stickers to spell out your message.
Place each flag over the ribbon and tape shut.
I used a tiny rolled up piece of Scotch tape but whatever adhesive you've got on hand would work just fine.

How to Measure the Bunting
I spelled out my entire message on one long length of ribbon.
I left lots of room in between the words and waited until it was time to decorate the cake to cut them apart.
I also found it helpful to slightly tuck in the corners of the each flag to its neighbors. It helped the words "stick" together rather than slide around on the ribbon.
I just eyeballed the spacing by holding up my skewer sticks to see how far apart I could have them on the cake.
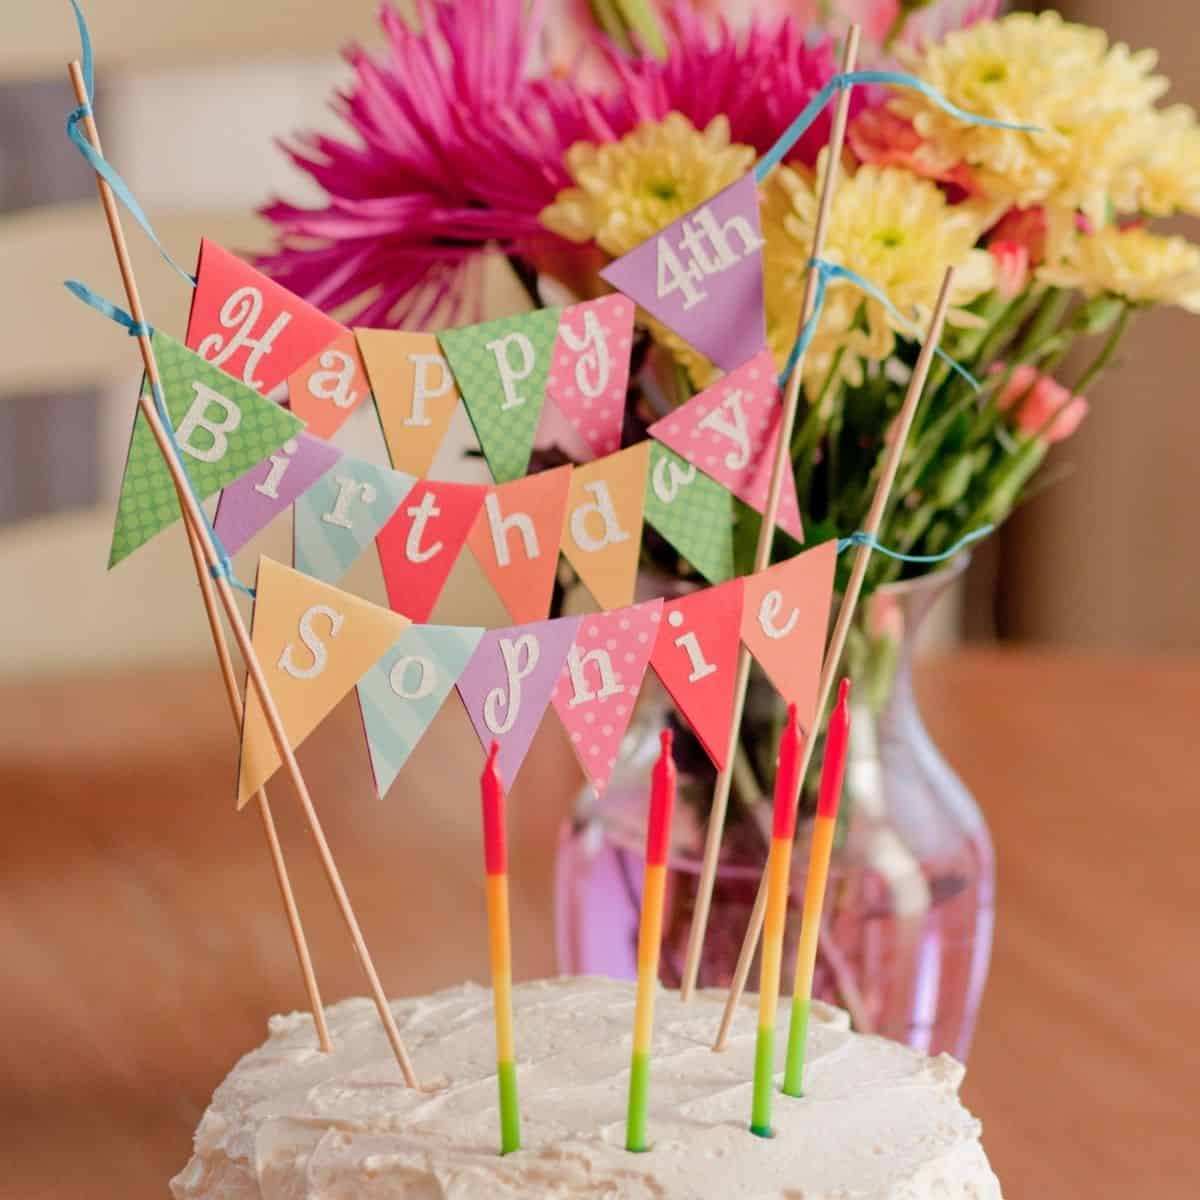
I used 2 sets of skewers to make the 3 rows of the Peanut's birthday message.
"Happy 4th" & "Birthday" are two rows on the same set of skewers with her name on its own set in front.

Birthday Candle Safety Note
Although it is tricky to tell from my photo, I assure you the candles are a good distance from the paper toppers.
I wasn't even a little worried about lighting them or having her blow them out.
Just maybe keep that in mind if your cake is a little smaller.
You wouldn't want your birthday cake to go up in flames if the paper flags are too close to the lit birthday candles.
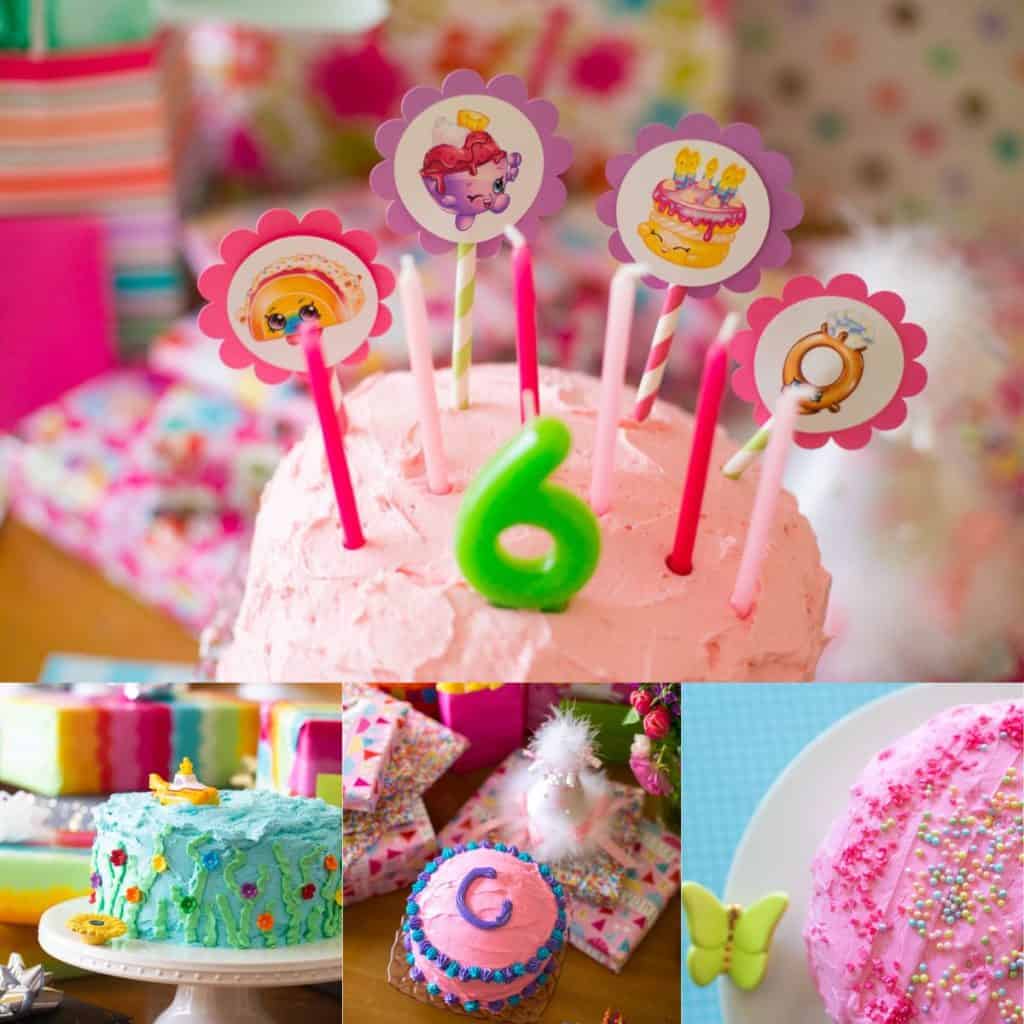
Birthday Cake Decorating
This adorable bunting cake topper would go well on top of my rainbow layer cake and is just one of the easy ways to decorate a cake!


How to Make a Bunting Cake Topper
SUPPLIES
- Colorful cardstock: solids or patterns
- Letter stickers
- Tape: any kind but I used Scotch
- Thin ribbon or striped twine
- Wooden skewers: must be food-safe
Instructions
- Take a piece of cardstock and fold it in half with the right sides (the pretty side if there's a pattern) facing out.
- Use a scissors to trim a pennant triangle shape with the fold of the paper forming the base of the triangle and the tips pointing down from the fold.
- Make enough triangles to spell the message you want for your cake topper with one triangle per letter. Place the letter stickers on the triangles to spell out your message.
- Lay 12-inch strip of ribbon or twine down on the table. Slide the triangles over the ribbon so that the ribbon is nestled inside the fold of the paper. Use tape to close the pennants and seal them onto the ribbon.
- Tie one end of the ribbon onto one ribbon skewer, repeat with the other side and the second skewer. Slide the pennants of the bunting into position, leaving a space between words as needed.
- Stick the skewers into the cake top and serve.
Notes
HELPFUL TOOLS
Save This Idea to Your Files
Find this creative idea next time you come by saving it to your very own file folder on my site! It will be here waiting for you on your next visit:
We did this for my daughter; it was so much more meaningful than something store-bought. So simple.
This is great. I am totally an instruction follower; pictures of said instructions are sacred. You should check out " snap guide" if you have a smart phone, it is an AMAZING app!