3 Ingredient Brownie Pops
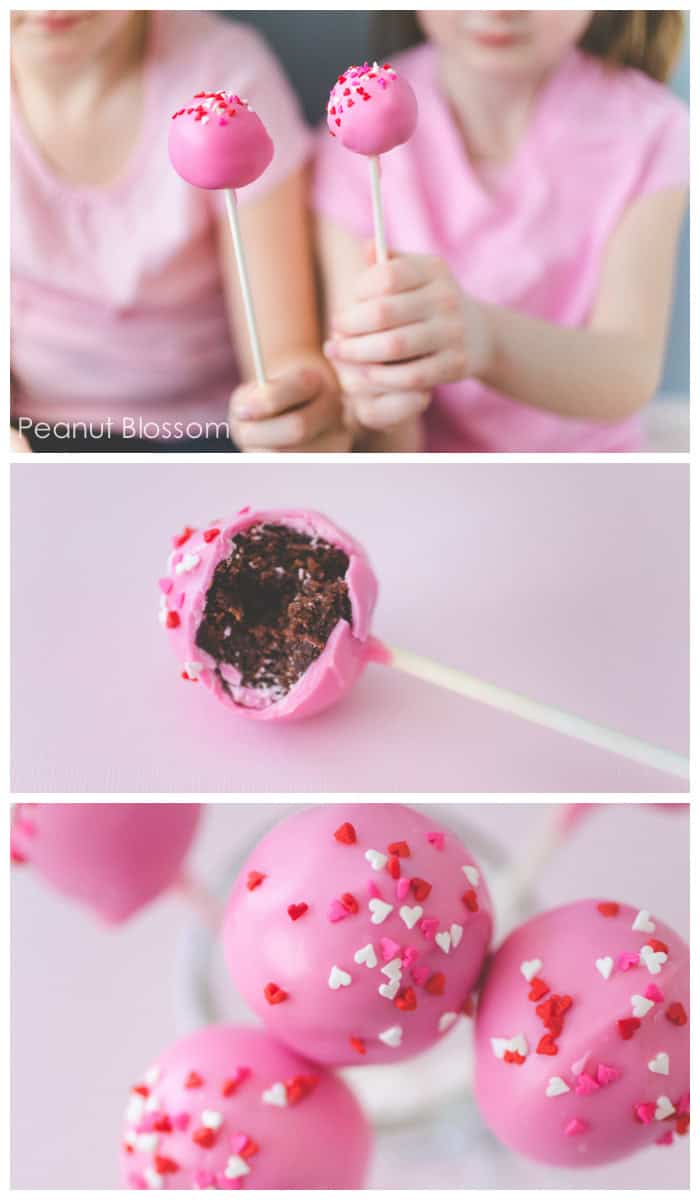
These easy three-ingredient brownie pops are great for young bakers to make for Valentine's Day. Swap the candy colors to match any other holiday or special party you're celebrating.
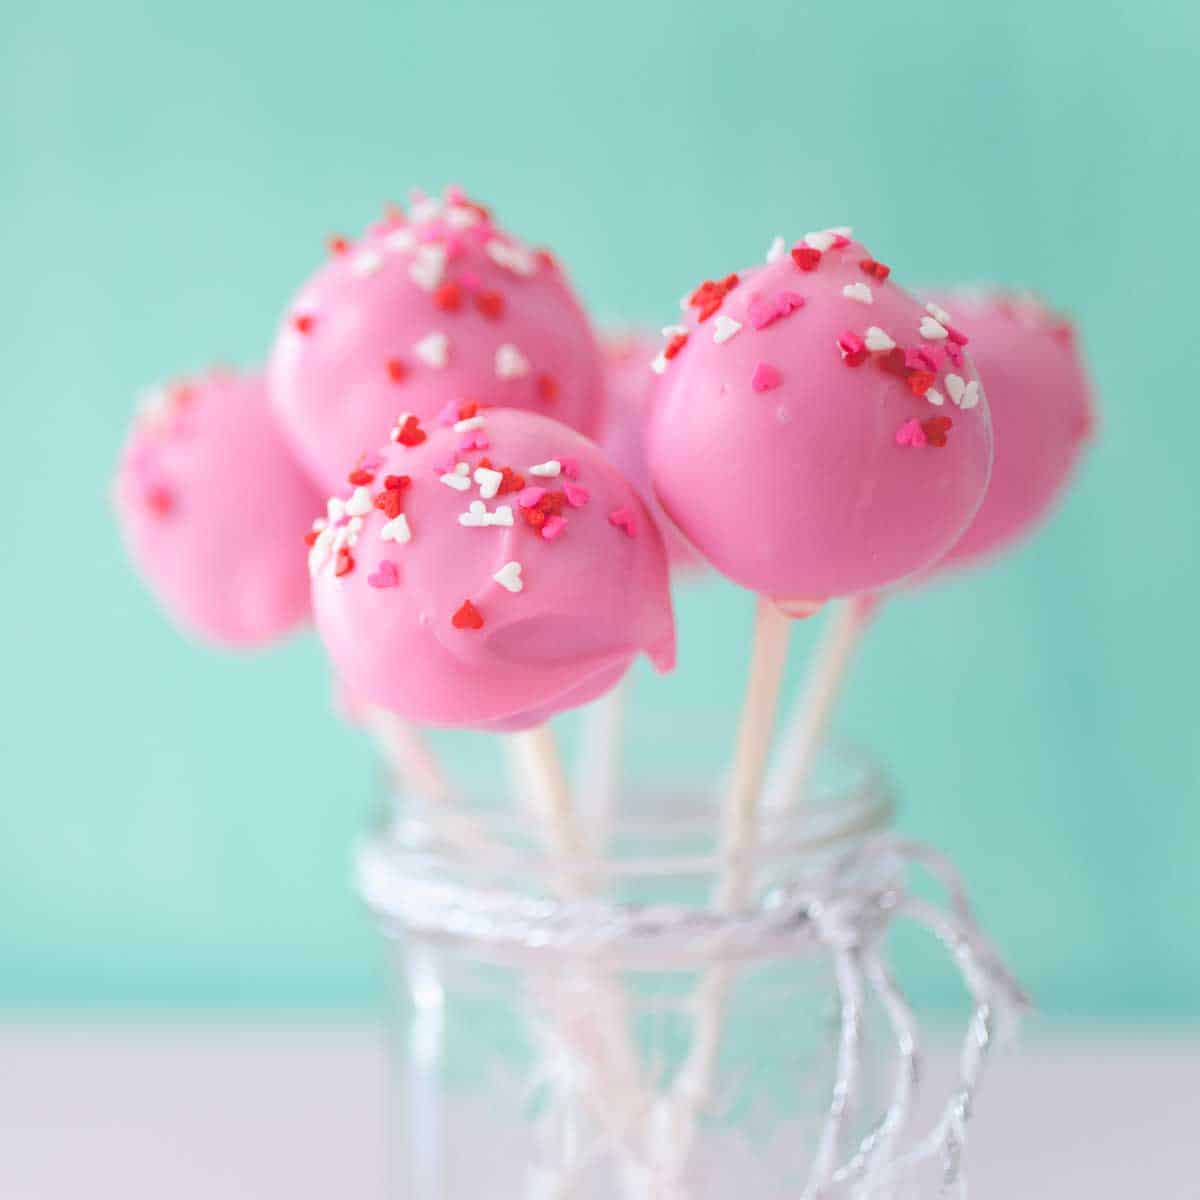
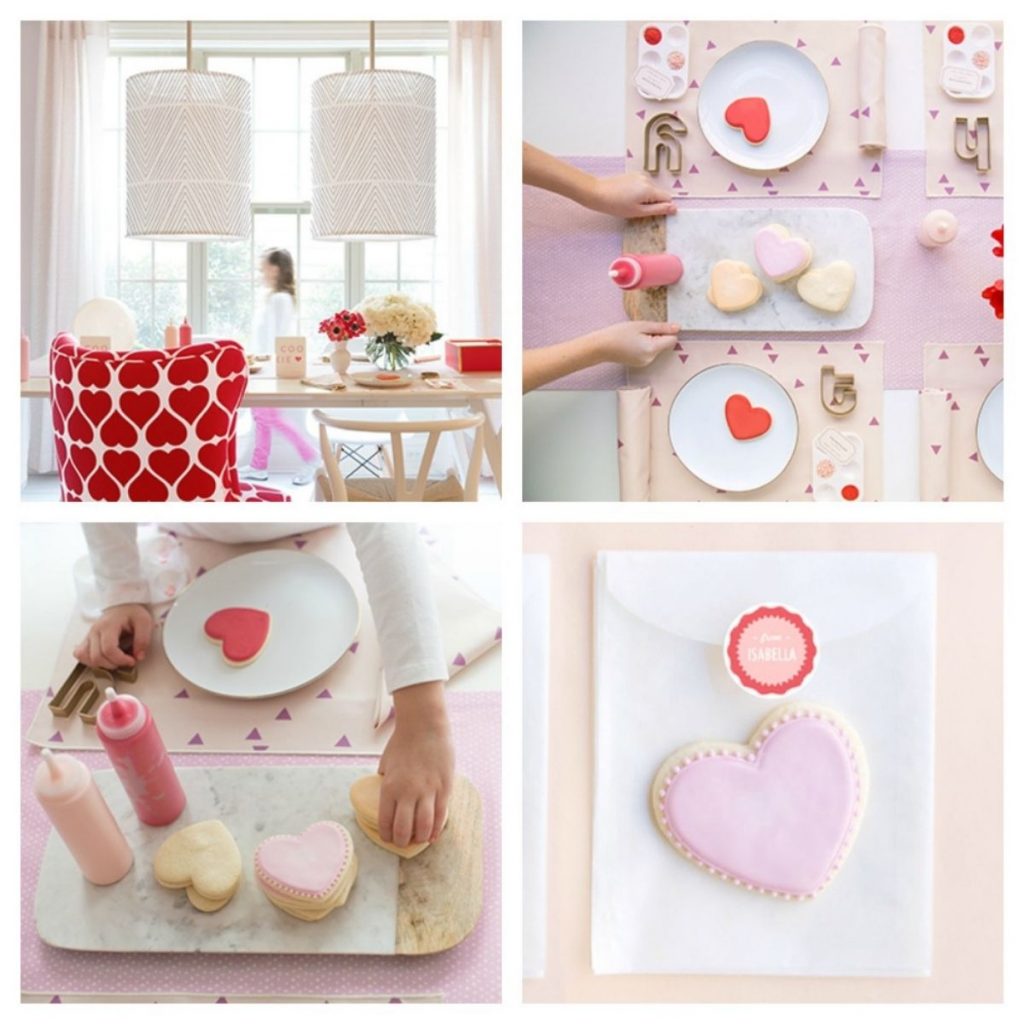
When I was a kid, I remember my mom always having an adorable table all decorated and set with fancy cupcakes at our place for Valentine's Day. Such simple gestures made the holiday feel so special.
Now that it's my turn, I love making simple sweet treats for my little ladies for Valentine's Day.
My girls have been obsessed with the cake pops at our local coffee shop. I've always thought they looked like too much work, but I wanted to surprise them with something I knew they'd really love.
I looked up how to make brownie pops and the method is so much easier than I ever would have guessed!
Ingredients
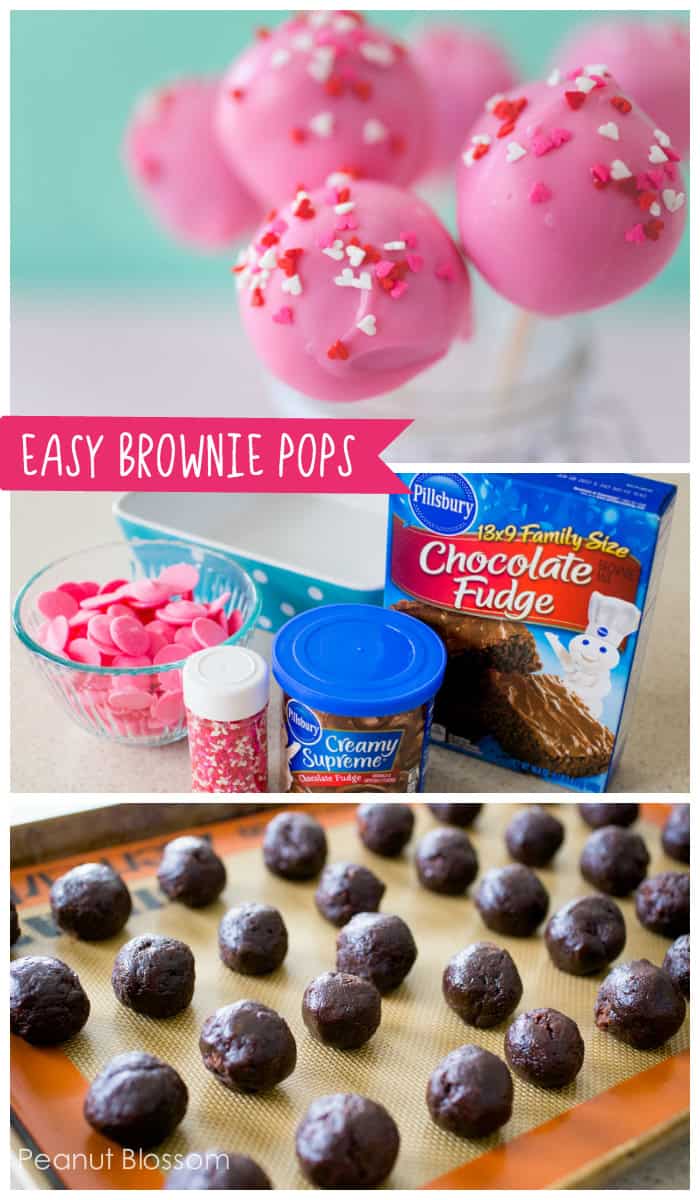
The list of supplies is super easy! All you need to make these easy brownie cake pops is:
- a simple boxed mix of chocolate fudge brownie mix
- 1 canister of creamy chocolate fudge frosting
- a bag of bright pink melting chips
- sweet little heart-shaped sprinkles
Decide Your Serving Method First
There are two easy ways to serve a brownie pop.
You'll want to decide before you begin which way you want to serve them since it will affect how you make them and the supplies you need.
1. On a Stick
You can serve them cake pop-style on a lollipop stick. This is my girls' favorite way to eat them.
You'll need a package of white bakers' lollipop sticks and several jars or glasses to hold the cake pops up as they set.
2. Truffle Style
You can skip the lollipop stick and simply call them "brownie truffles." The assembly is much easier and you can serve them in pretty mini cupcake wrappers or these adorable heart-shaped reusable muffin tin liners.
Want to Save This for Later?
How to Mix the Brownie Balls
To make the brownie pops, you simply bake up the pan of brownies according to the box instructions.
I did it in an 8x8 baking dish to decrease the surface area of the crunchy edges and give me as much of the cakey middle part as possible.
When the brownies have cooled enough to handle, run a knife around the edge of the pan and release the whole brownie into a large mixing bowl.
I highly recommend trimming the 4 corners to remove the crunchiest bit of the edge.
Then spoon in about half of the container of pre-made frosting and mix together with the brownies until completely combined.
It's ok to use your hands and get in there, sometimes that's easier than a spoon.
Use a tablespoon to scoop the dough and then roll portions just smaller than golf ball-sized balls of brownie dough.
Line them up on a baking sheet lined with parchment or a silicone baking mat.
Place them in the freezer to completely chill and harden.
Cake Pop Serving Note: I don't recommend freezing them completely if you plan to use the pop sticks, you won't be able to insert them! Simply chill them for 30 - 40 minutes.
How to Coat in Pink Candy Melts
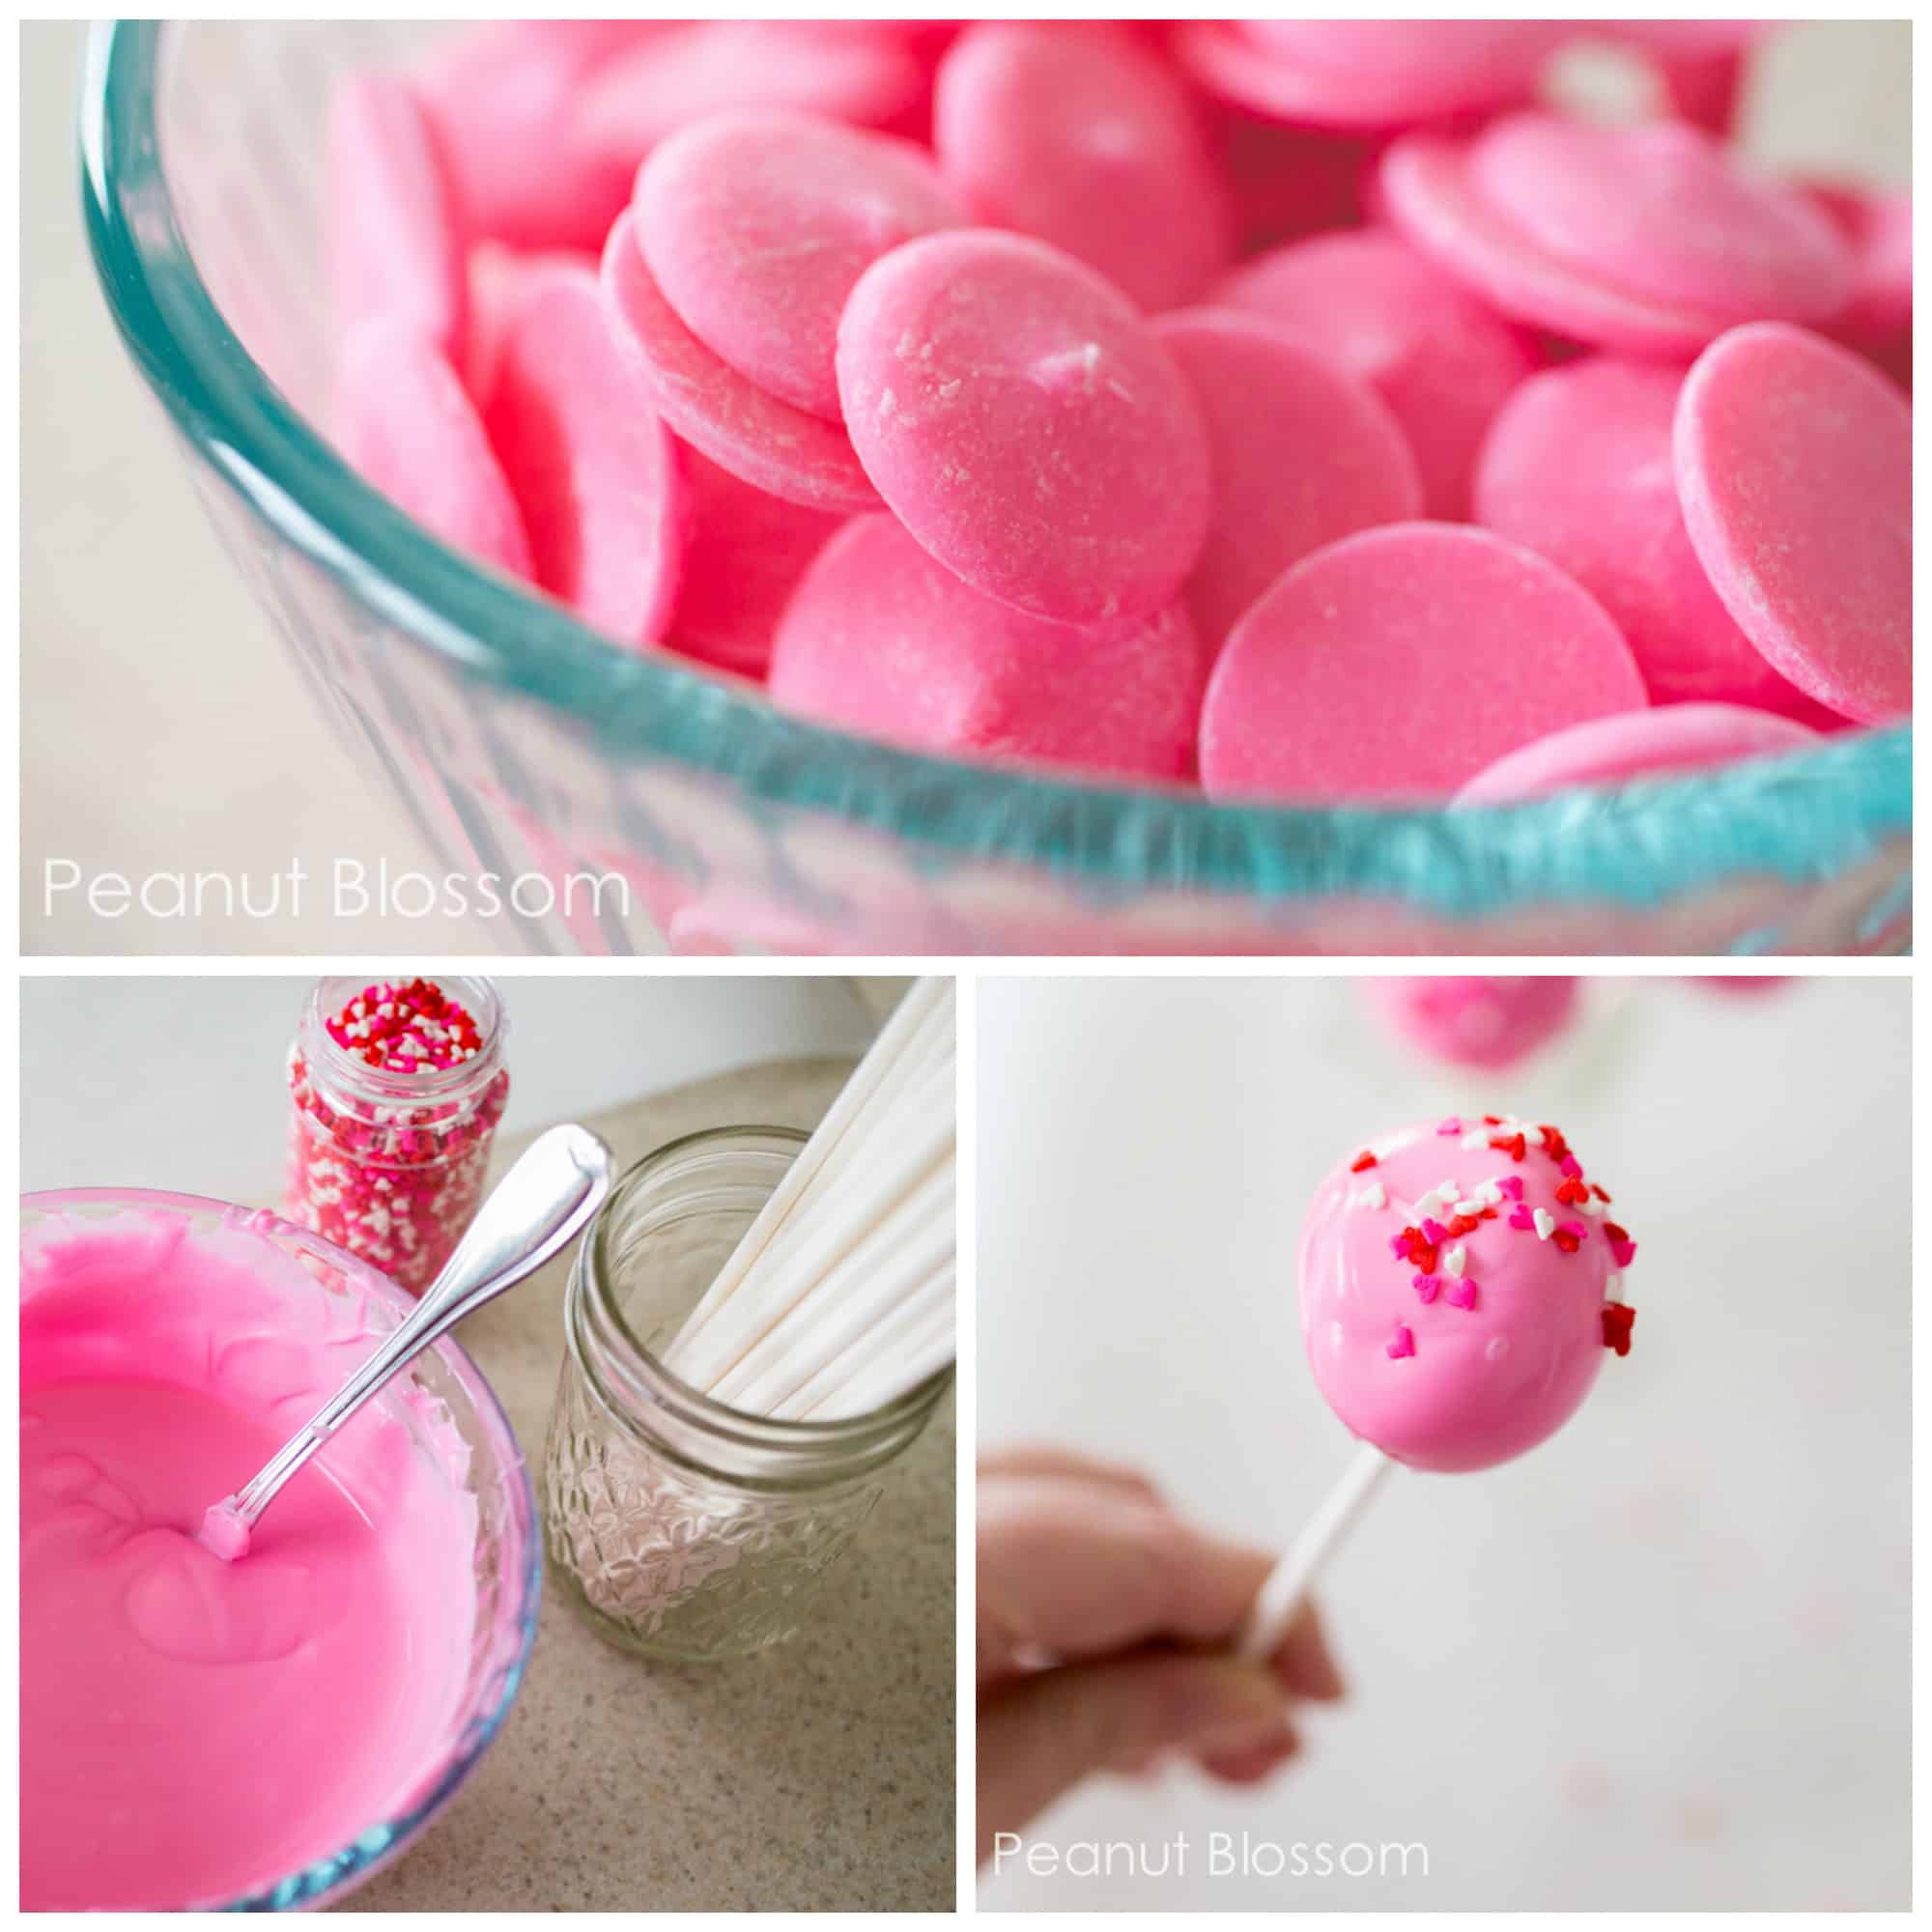
When you're ready to finish the brownie pops, place the pink melting chips in a microwave-safe bowl and heat them for 1 minute on 50% power.
Stir the chips and then heat again in 30-second increments on 50% power, mixing after each burst until smooth.
Cake Pop Assembly
Once the candy melt is smooth and ready, hold a brownie ball and gently insert the lollipop stick. If you push too hard, the brownie ball could crack.
Dip and swirl the brownie ball in the pink chocolate letting the excess run back into the bowl.
Immediately sprinkle with sprinkled hearts for garnish while the candy is still wet or they won't stick.
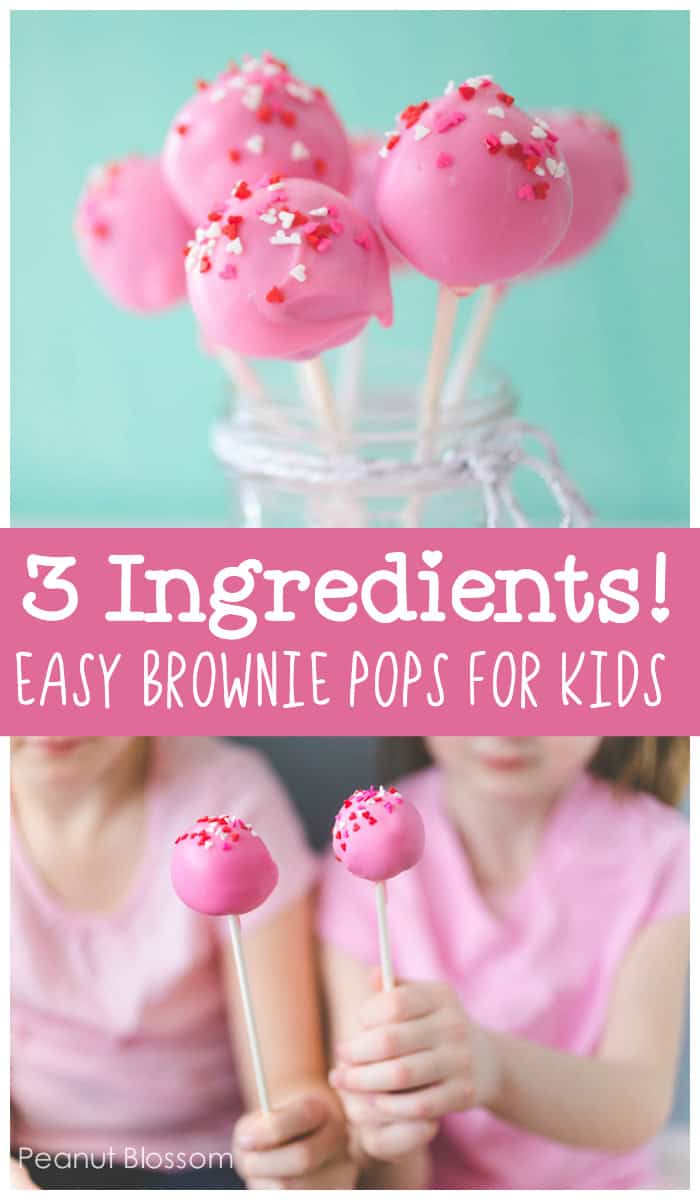
Place the coated brownie pops upright in a mason jar or glass to hold them steady until they dry and harden. This helps the round ball keep it's shape.
Truffle Ball Assembly:
Once the candy melt is smooth and ready, carefully roll a brownie ball in the bowl of melted chocolate with a fork.
Use the fork to lift the brownie ball and let the excess candy melt drain back into the bowl.
Place the coated brownie ball on a baking sheet lined with parchment and immediately sprinkle with sprinkled hearts for garnish while the candy is still wet or they won't stick.
Your truffles will have a flat bottom, but this helps keep the pretty sprinkled tops upright when you display them.
Tips for Baking with Kids
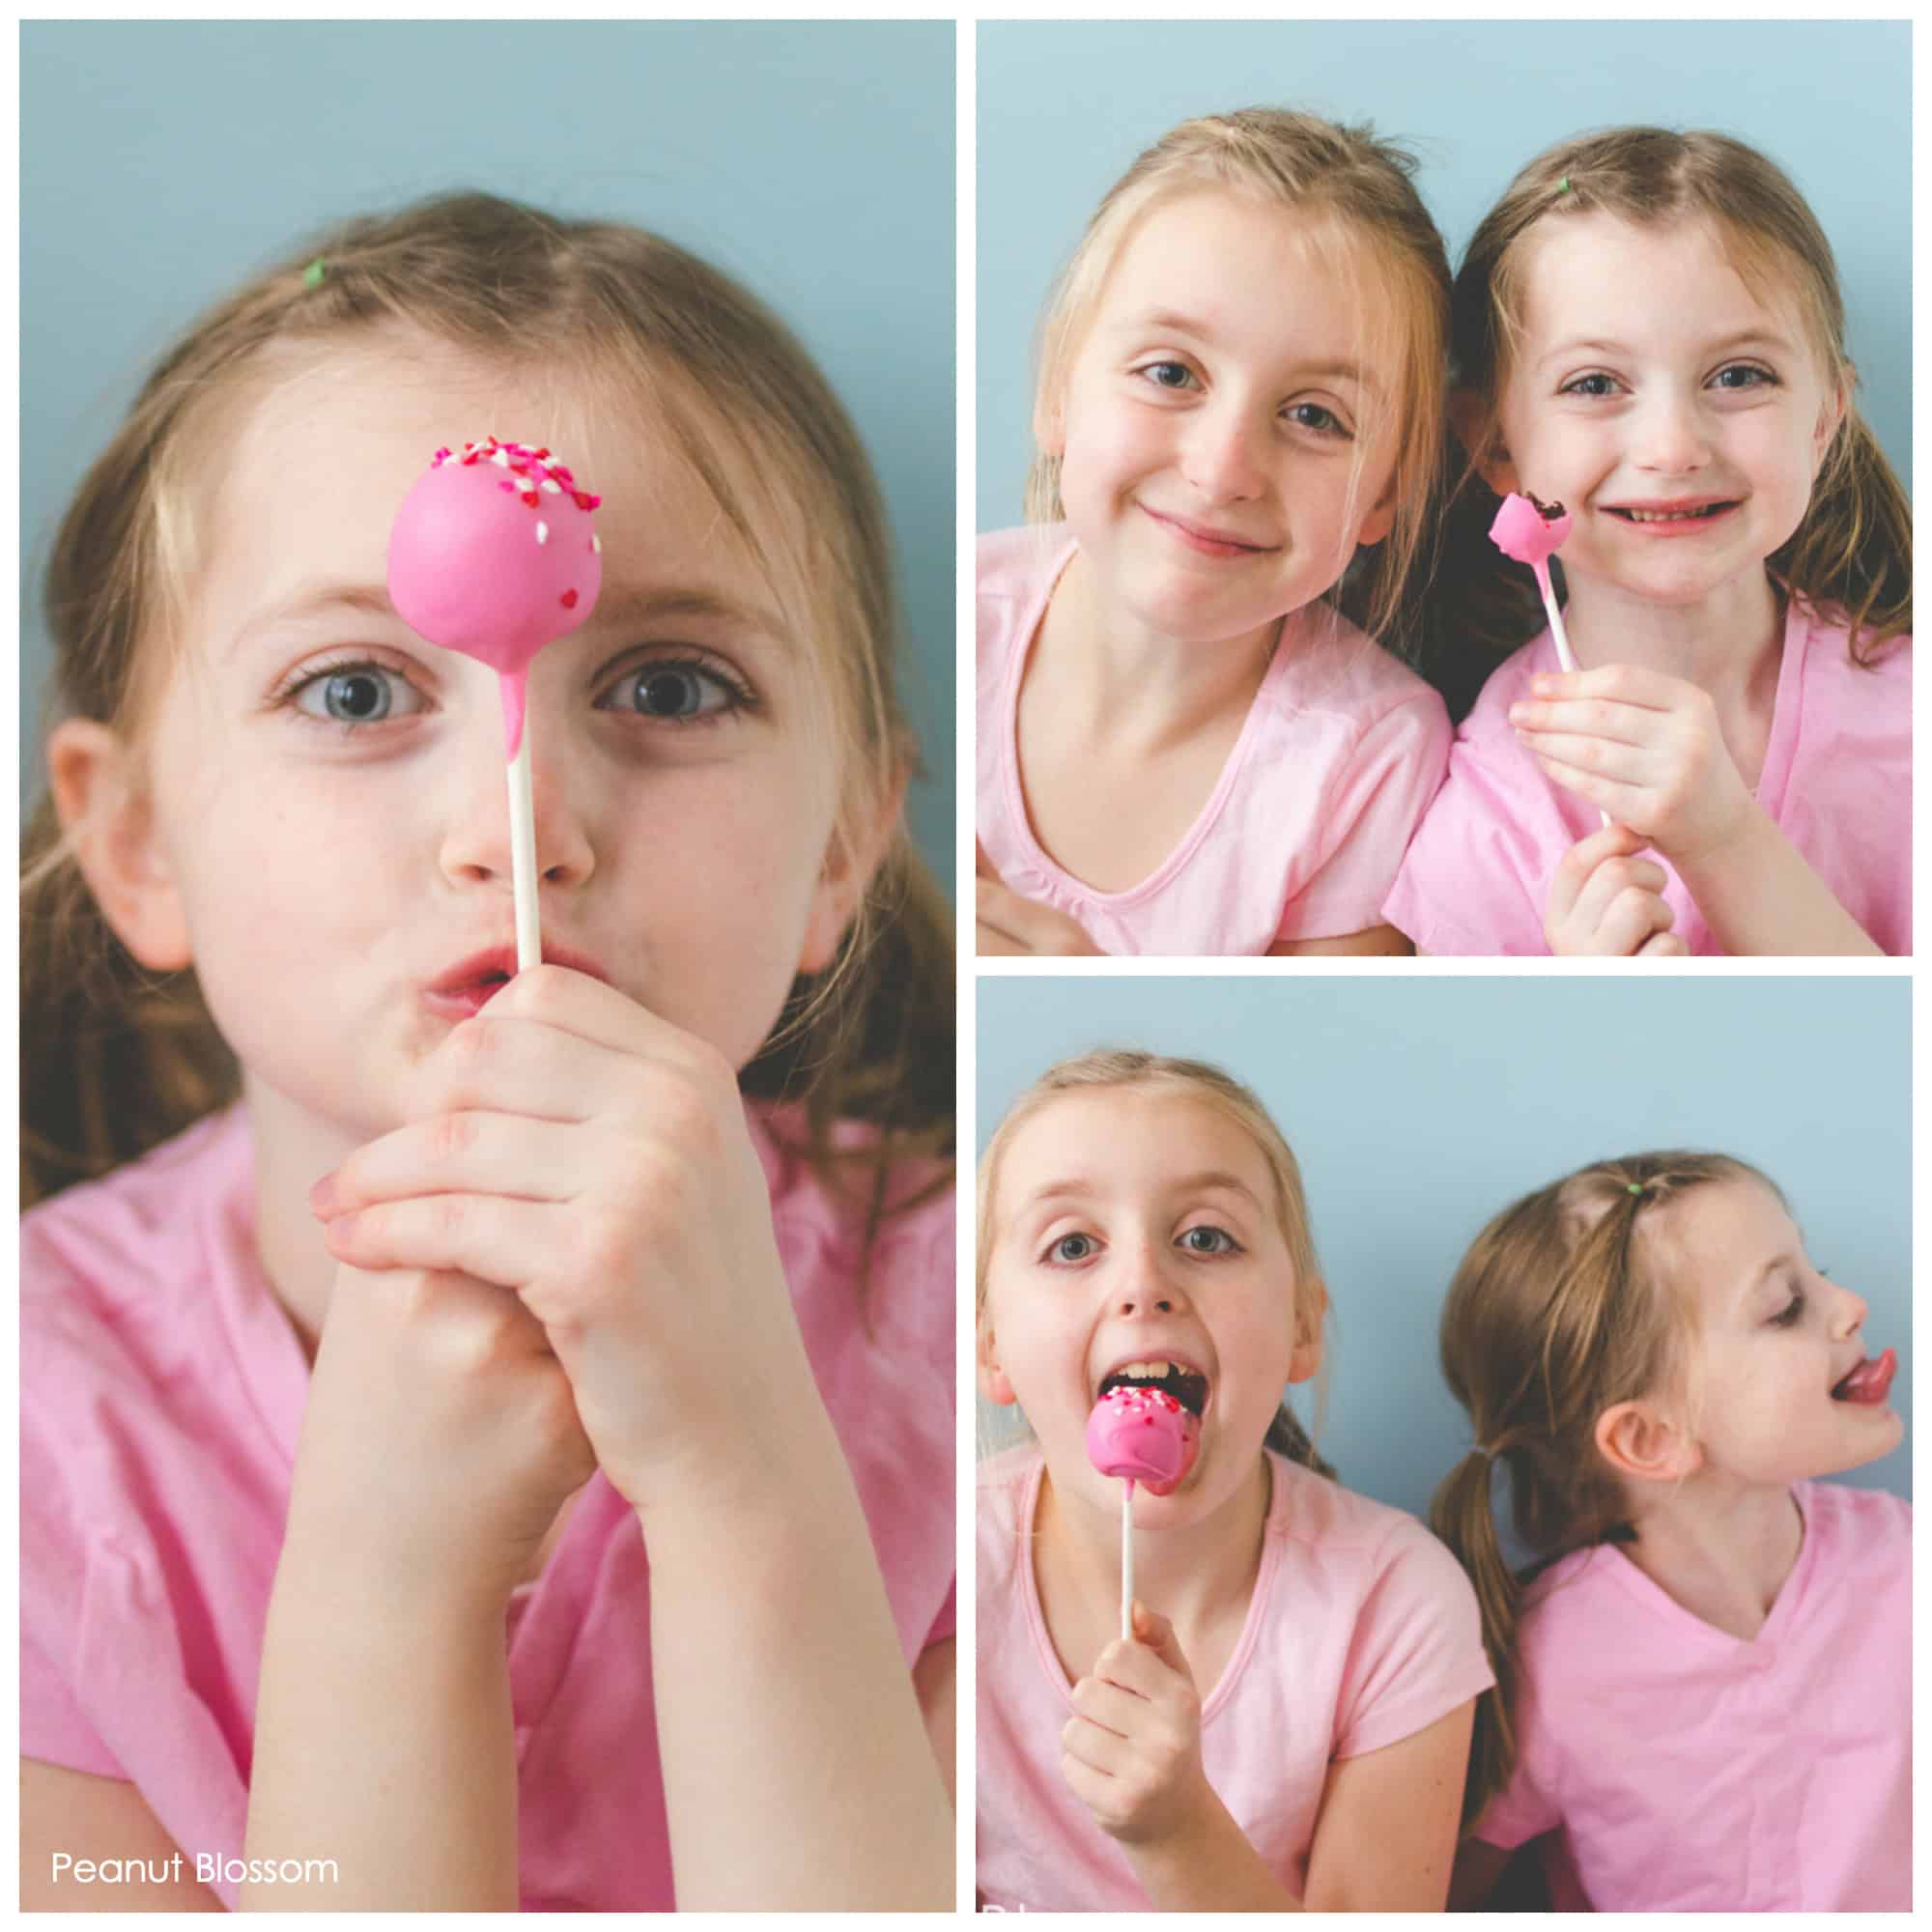
The girls were SO excited to come home to find these treats already waiting for them but they'd be a super fun recipe to bake with your kids, too!
Tasks Your Kids Can Do:
- Roll the Brownie Balls: Kids of all ages will love using their hands to roll the brownie balls. It's like edible play-dough!
- Dip the Brownie Pops: Older kids can be trusted to help dip the brownie pops but just make sure the candy melt isn't too hot first. It's ok to make some of the brownies into pops and others into truffles if one method ends up being easier.
- Sprinkle Duty: Perfect for your youngest helpers.
Make Ahead Tips
Since I only wanted to make a few pops for the holiday for our small family, we didn't need an entire pan of brownies for the brownie pops.
I reserved many of the brownie balls for future dipping.
Freezing Tips:
Once the brownie balls are fully frozen, simply wrap them in waxed paper and seal them in a plastic zip top bag for future dipping.
I don't recommend freezing the candy-coated brownie pops, condensation can spoil the pretty candy coating when they thaw.
Variations for Other Holidays
I love how this simple recipe could be customized for any holiday all year long!
- St. Patrick's Day: green candy melts with rainbow sprinkles
- Easter: Yellow candy melts with flower-shaped sprinkles
- 4th of July: White candy melts with red, white, and blue sprinkles
- Halloween: Orange candy melts with black sprinkles
- Christmas: Red candy melts with festive holiday sprinkles
- New Year's Eve: White candy melts with silver sparkly sprinkles
If you love this easy recipe for kids to celebrate Valentine's Day, you really don't want to miss my latest cookbook:
The Ultimate Kids' Baking Book has 60 fun and festive recipes for kids to bake all year round. You can get your copy here.
📖 Recipe
Easy Brownie Pops
Ingredients
- 1 box mix chocolate fudge brownies baked according to directions on package
- 1 canister of creamy chocolate fudge frosting
- 1 bag of pink melting chips
- Optional: Sprinkles
Instructions
- Bake the Brownies:Bake the brownies according to the directions on the box. Be sure to use an 8x8-inch baking dish to bake the brownies so you reduce the ratio of crunchy edges to middle. These will make a thicker brownie with more cake-like consistency in the middle.
- Cool the brownies completely before assembling the brownie pops or the frosting will melt.
Assemble the brownie balls:
- In a large mixing bowl, break up the pan of brownies, removing any especially crunchy edge pieces that won't crumble easily.
- Spoon half the container of chocolate frosting into the bowl and mix in with the brownie crumbs. You may find your hands easier to use than a spoon.
- Use a tablespoon to scoop up portions of brownie mixture and roll them into golf ball sized portions. Line them up on a baking sheet lined with wax paper.
- Once all the balls are rolled, place them in the freezer to chill and firm up.
- DO NOT FREEZE COMPLETELY or you won't be able to insert the pop sticks.
Coat the brownie pops:
- Place the pink melting chips in a microwave-safe bowl and heat on 50% power for 1 minute. Stir the chips and then heat again in 30-second increments on 50% power. Mix vigorously between each burst, the chips will melt and become more smooth with stirring.
- Insert a pop stick into a brownie ball and dip and swirl it in the melted candy. Let the excess run back into the bowl.
- Sprinkle immediately with sprinkles if desired.
- You can place the brownie pop in a large glass or mason jar so it stands upright until it dries and the candy hardens.
Recipe Notes
Save This Recipe to Your Recipe Box
Find this delicious recipe next time you visit by saving it to your very own recipe box on my site. All your favorites stored in one easy place!


How far in advance can you make these before serving?