
Kinder’s Turkey Brine Kit: Review and Tips


Learn how to use the Kinder’s turkey brine kit to make the most delicious roasted turkey you’ve ever had for Thanksgiving, Christmas or a fantastic Sunday family dinner any time of year.
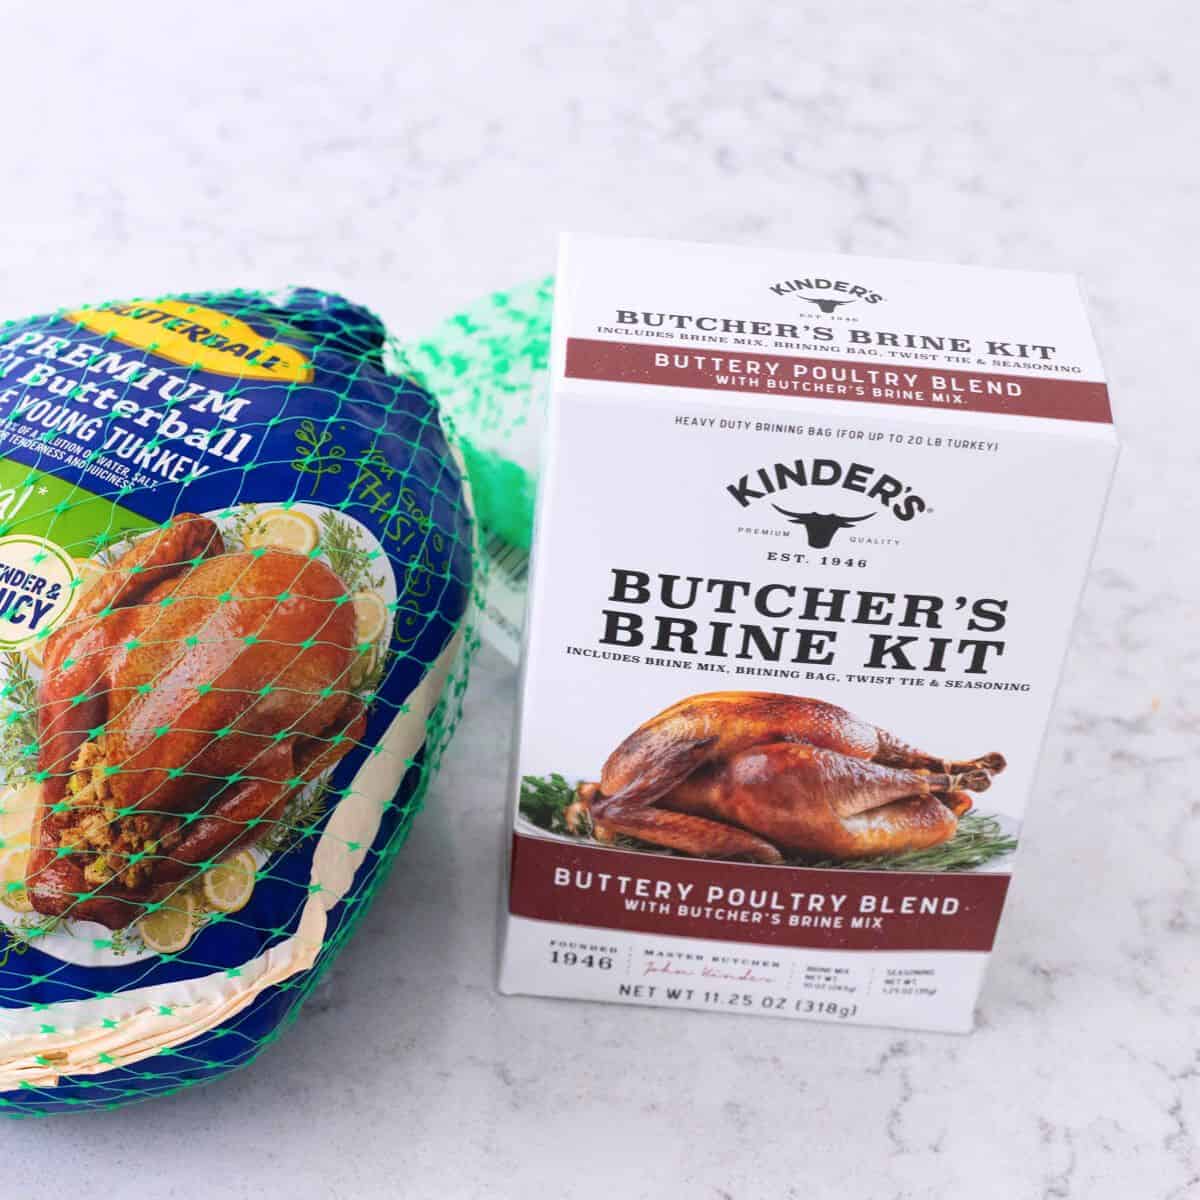
I’ve been using our Crockpot turkey breast recipe for the last several holiday dinners because it is so easy to prep.
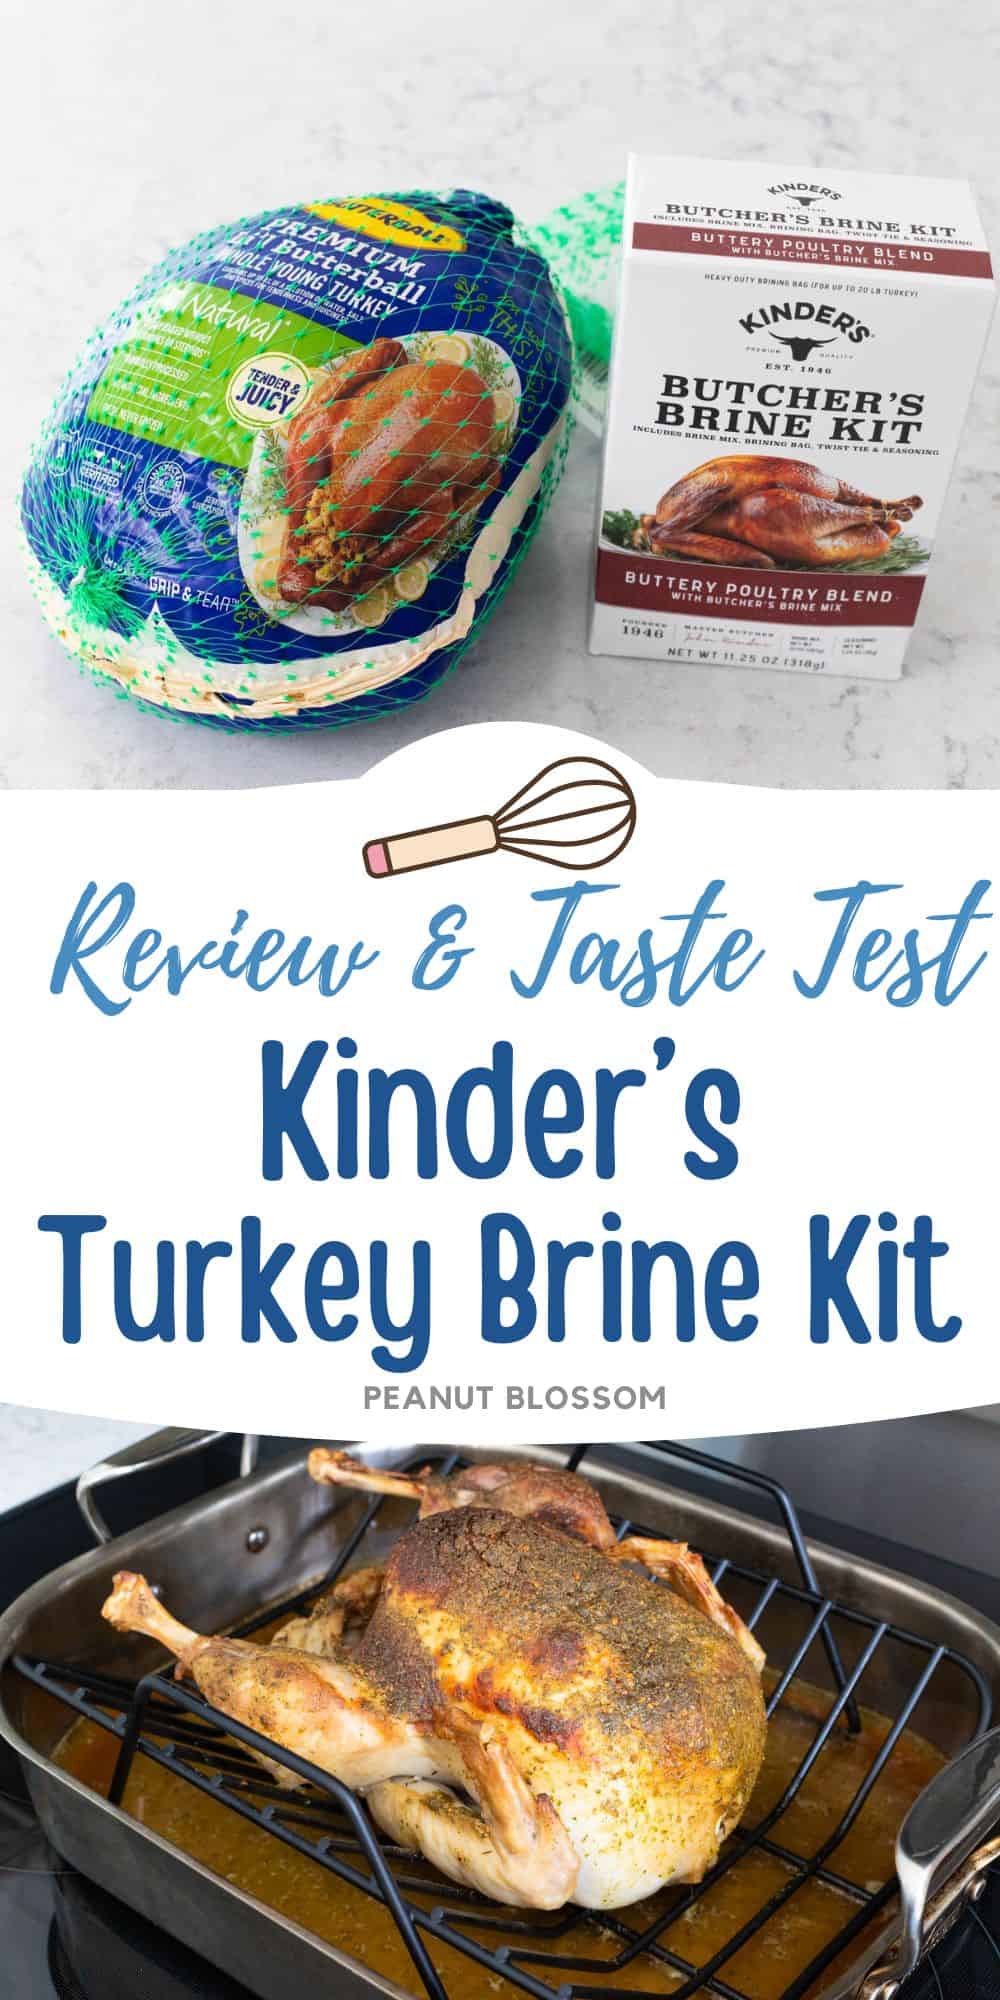
However, I got suckered into buying a Kinder’s seasoning sampler pack from Costco during our last shopping trip and they’ve been so delicious that I couldn’t resist picking up the Kinder’s turkey brine kit when I spotted it on sale at our grocery store.
My mom told me to never try a new recipe ON Thanksgiving, so I grabbed a “tiny” 7-pound fresh turkey breast to test things out for fun ahead of the holiday next week.
We had so much fun testing this recipe well before the holiday stress sets in. What I didn’t expect was that the final turkey would be the most delicious one I ever had!
This process was so easy, as long as you follow the strategic timeline and have room in your fridge for the turkey to chill out for a few days.
And for reference, this post is not sponsored in any way by Kinder’s. They have no idea who I am, we just love to play in the kitchen and I was utterly enamored with their 4-part turkey brining instruction video series. We just had to try it out!
Our Taste Test Notes
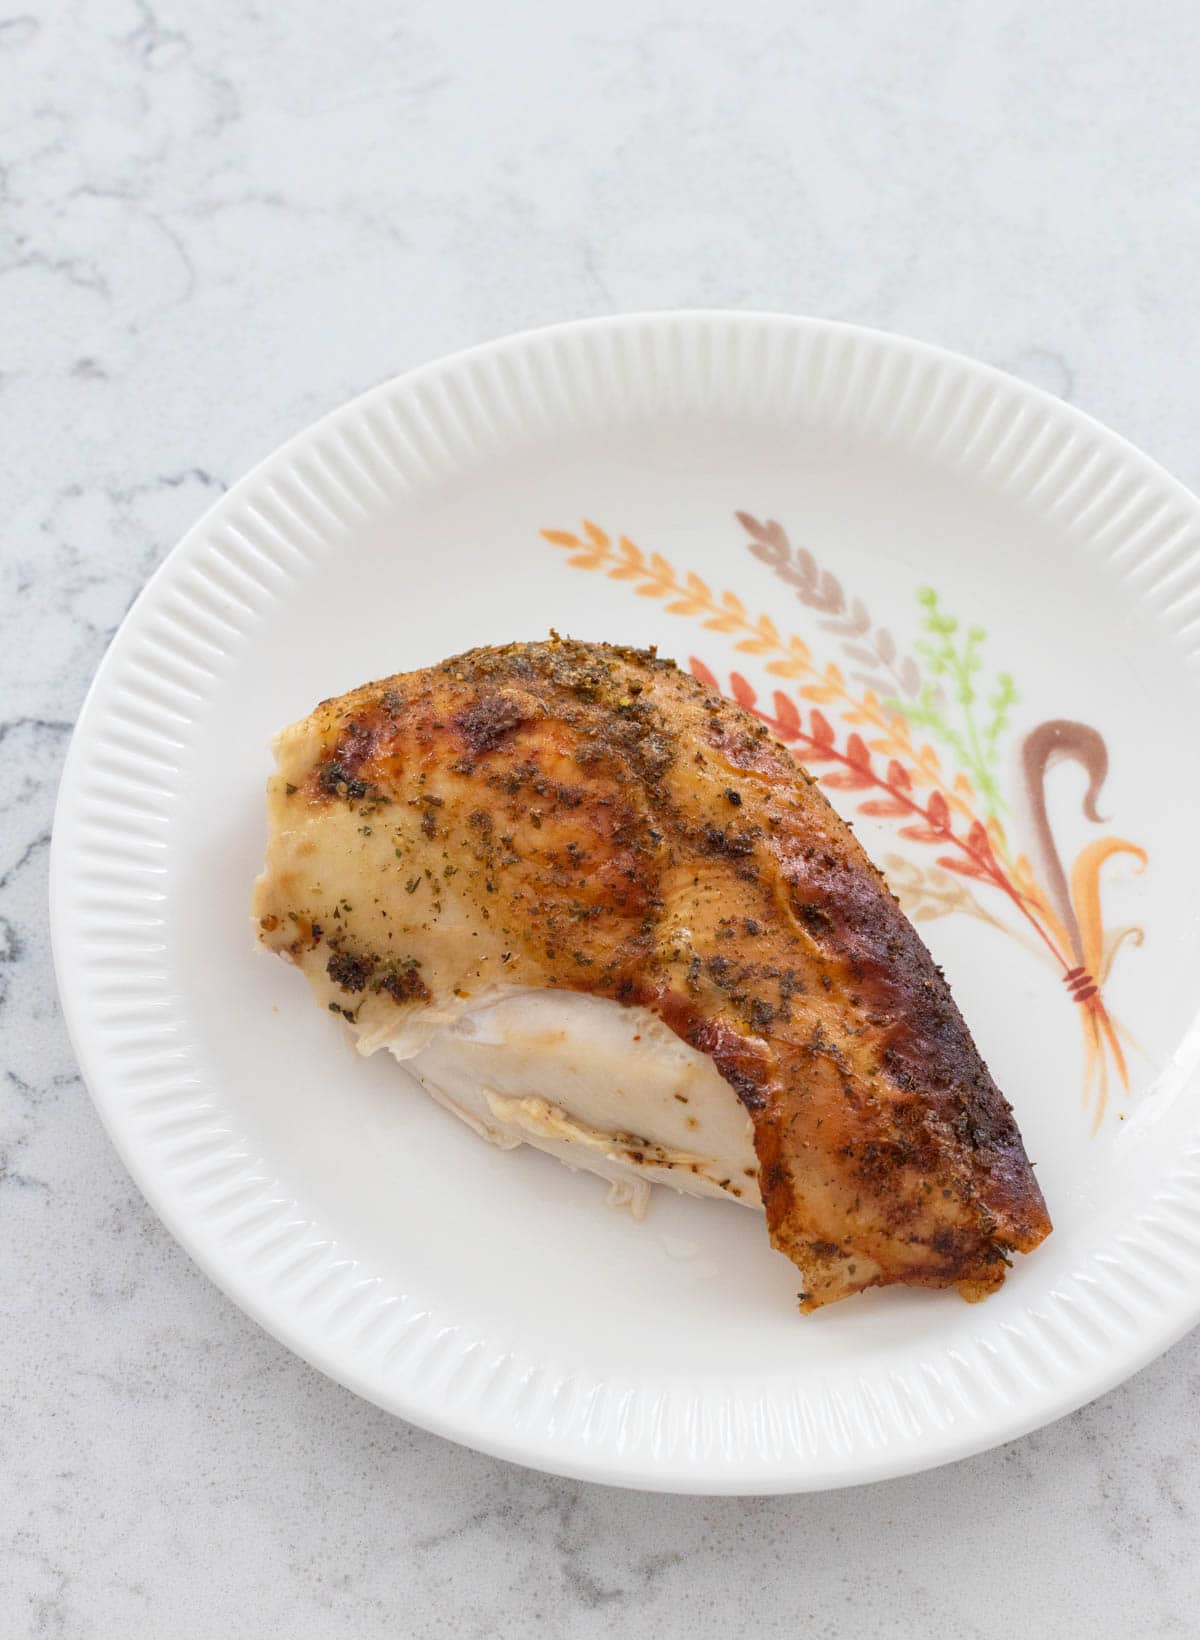
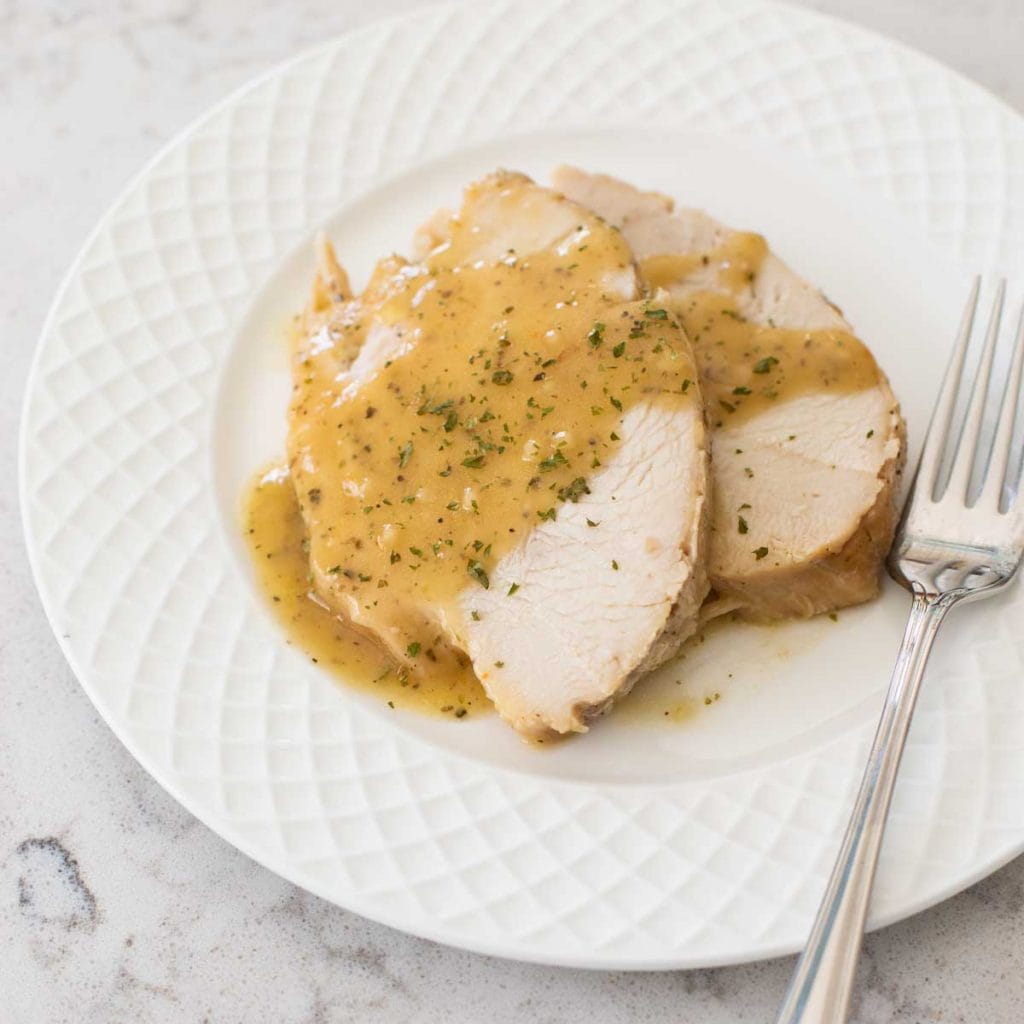
Remember, we roasted a tester turkey that was almost no bigger than a chicken. Here’s the small roasted turkey breast from one half of the turkey:
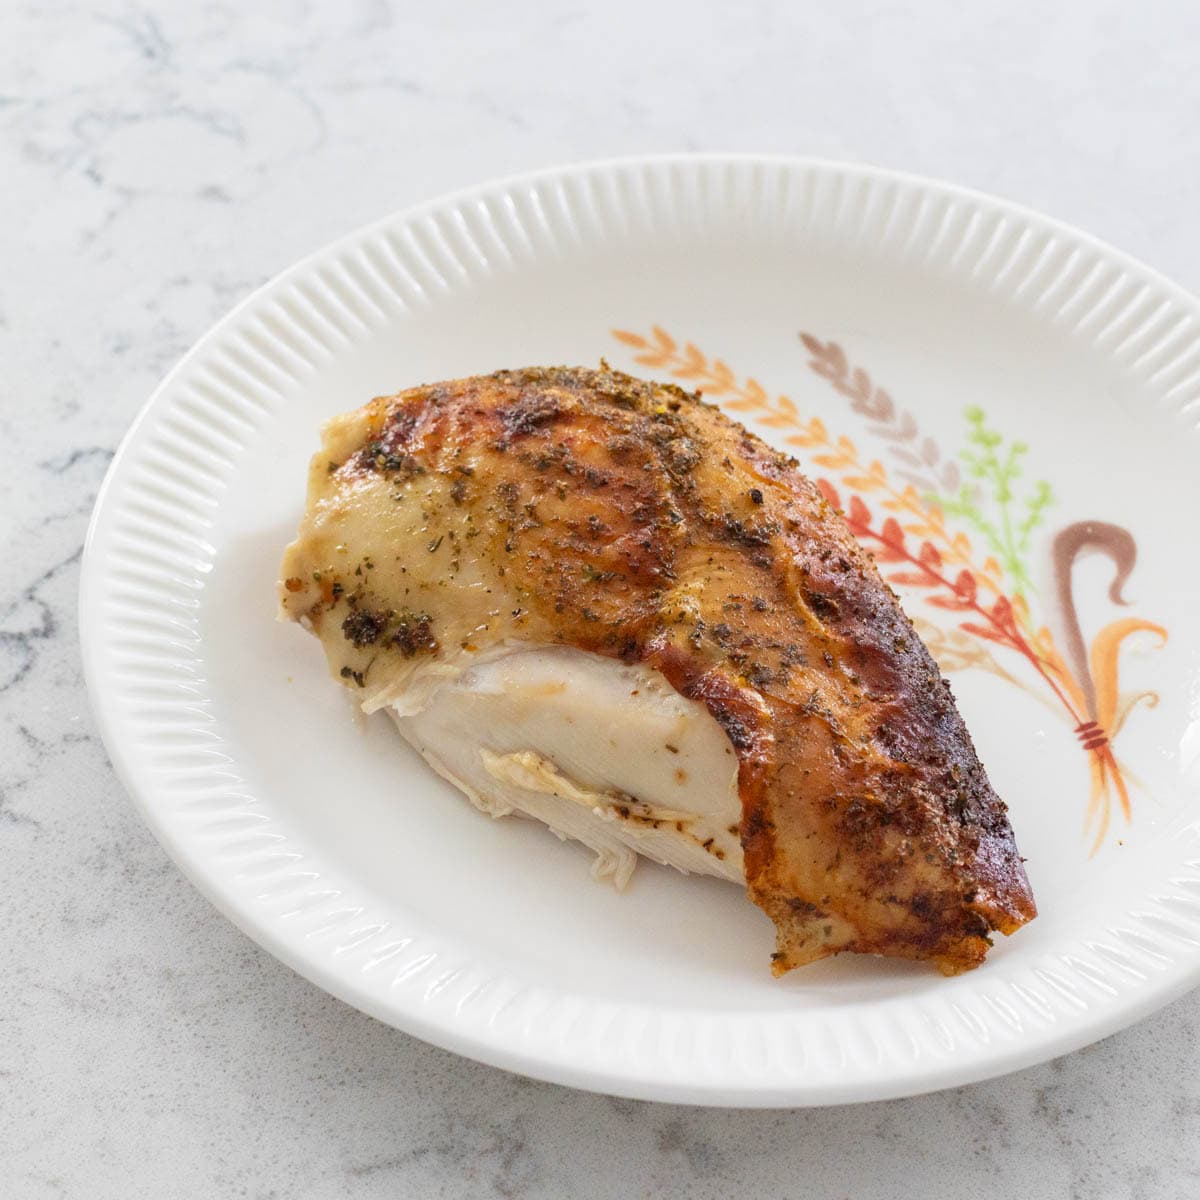
I’ll be very honest: As much as I love our herb roasted turkey and our easy Crockpot boneless turkey breasts, this turkey brine recipe and roasted turkey ended up being the most delicious turkey I’ve ever tried.
My husband usually helps in the turkey prep department, but I was able to do this entire recipe myself, including wrangling that whole bird.
THE PROS: The meat is well seasoned all the way through, it roasts up tender and juicy, and it basically cooks completely hands-off. If you’re looking for an absolutely delicious turkey you’ll want to cook all year round and not just at Thanksgiving, this is it.
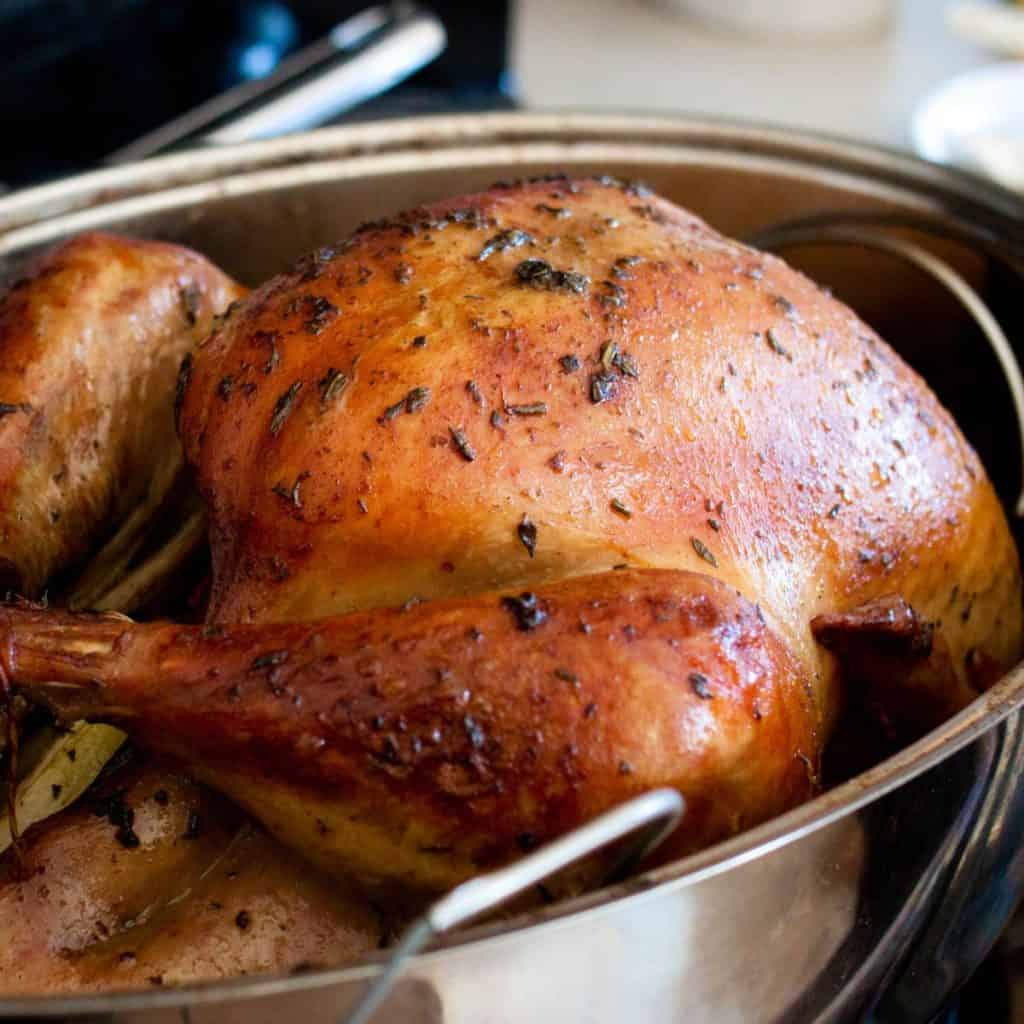
THE CONS: The final roasted turkey did not look like the golden brown masterpiece in their tutorial videos. I followed their instructions right down to every note but the seasoning stayed clumped on top since we did not baste it once it went in the oven. If you’re looking for a photo-worthy centerpiece, this is not it.
What is in the Turkey Brine Kit
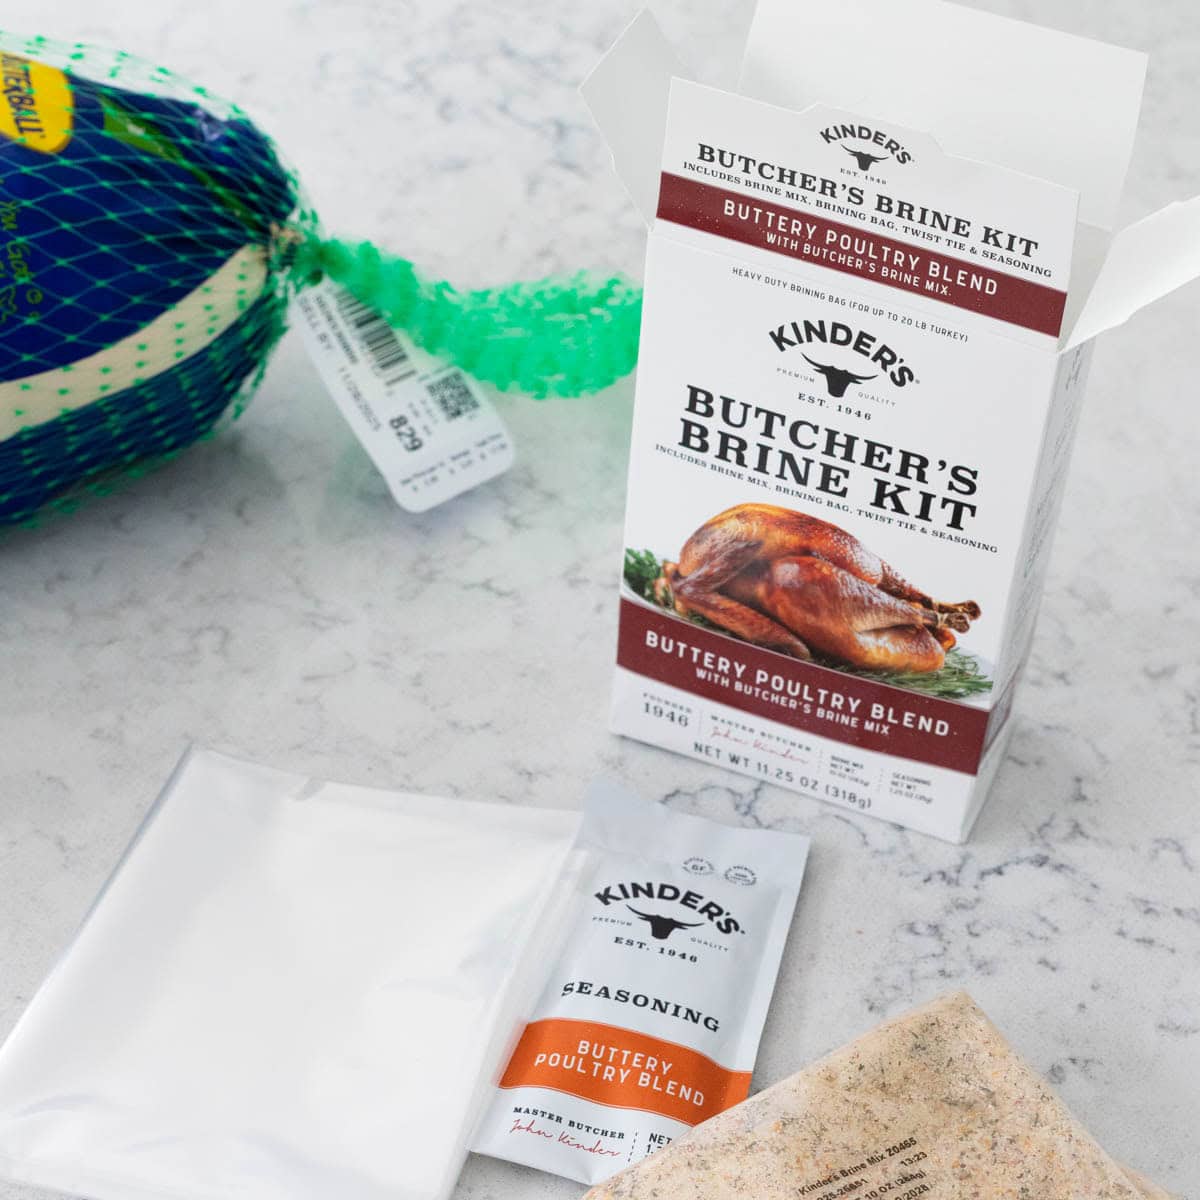
The Kinder’s Turkey Brine Kit comes with:
- Turkey Brine Seasonings Packet
- Turkey Brining Bag & Twist Tie
- Turkey Seasoning Packet for Using on Roasting Day
Ingredients You’ll Need
In addition to the turkey kit, you will need:
- A Whole Turkey
- 8 Cups of Ice
- Butter
- Stock: I used chicken, but you could use turkey
Tools You’ll Need
In addition to the brining kit, here are the helpful tools you’ll need:
- A Large Pot: You want one that fits your turkey with lots of room to spare for the brining liquid. I used my deepest stock pot. Double check your turkey fits inside before you begin.
- Roasting Pan with Rack: I used the All-Clad Roasting pan. You just need one big enough for your bird.
- Remote Probe Thermometer: The key in roasting is to not open the door until the turkey is done. To do this properly, you’ll need an oven-safe remote probe thermometer. They do not need to be expensive, we use this affordable model.
- Cooking Gloves: You’re going to get pretty personal with this turkey. If you’re squeamish like me, these plastic disposable cooking gloves are so helpful.
- Basting Brush: To evenly coat the melted butter over the turkey before it is roasting, I recommend this wide one.
- A Second Refrigerator: Brining the turkey takes a couple days and eats up a lot of your fridge space. I’m lucky enough to have a spare garage fridge. If you don’t have one, just plan your storage needs accordingly.
Defrost Your Turkey
You need to start with a completely defrosted turkey. Do not try to brine a frozen turkey.
The brining time depends on the size of your turkey and you don’t want to over-brine it by letting the turkey sit in the brine for as many days as it takes to thaw.
So thaw your turkey in the fridge for 24 hours for every 4 pounds before starting.
Brining Timeline
Brining a turkey has 3 phases:
- Brining: This happens in 12 or less hours.
- Drying: This requires 2 days in the fridge.
- Roasting: This happen in a few hours.
Brining Time:
If your turkey is less than 12 pounds, you will only brine it for 6 hours.
If your turkey is over 12 pounds, you will brine it for 12 hours.
Sample Brining Schedule:
Our test turkey was 7 pounds so it only needed 6 hours to brine.
I prepared the brine at noon on Day 1 and then let the turkey rest in the brine until just after 6pm. I drained it from the brine, patted it dry, and then transferred it to a clean, dry pot and placed it in the fridge.
The turkey aired out in the fridge for Days 2 and 3.
I roasted it on Day 4.
Want to Save This for Later?
Prepare Your Pot
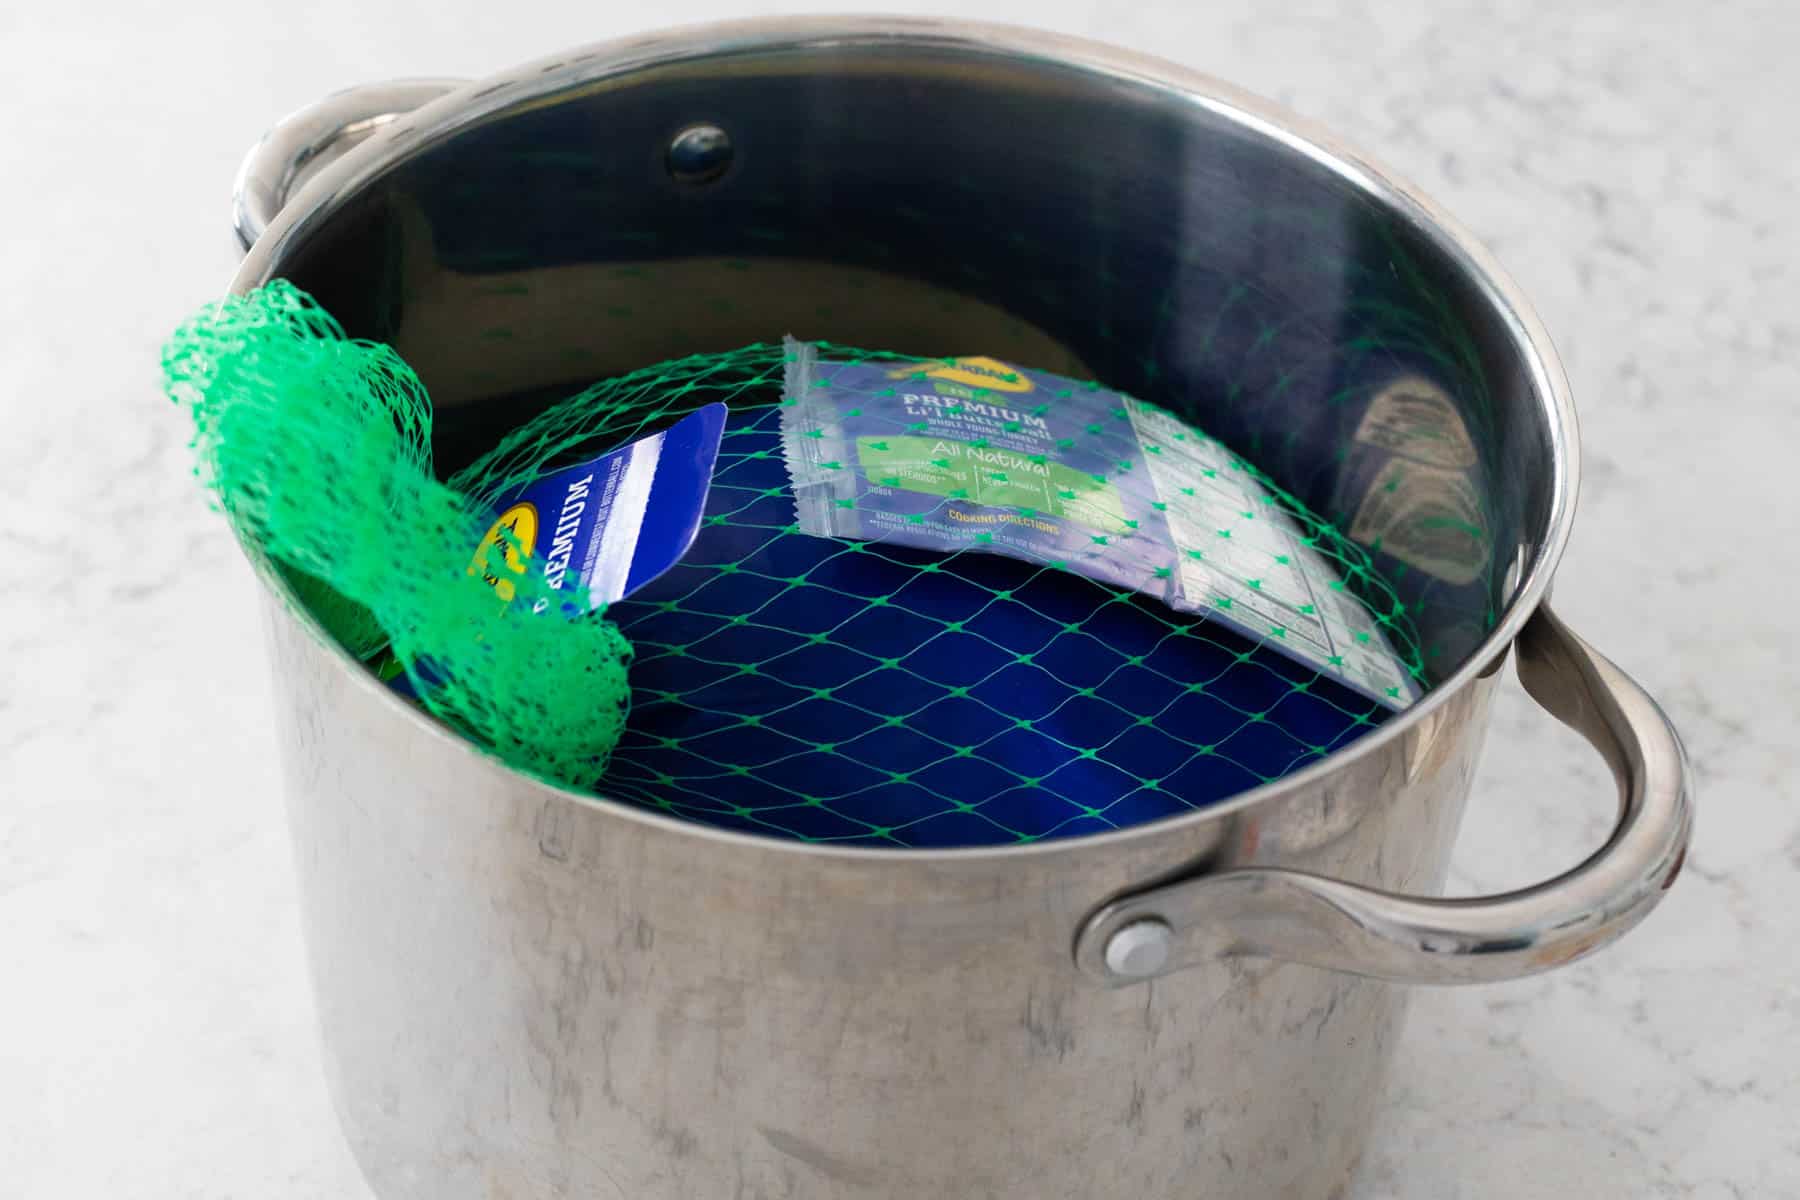
Before you brine the turkey, find a deep pot that will fit both the turkey and the brine.
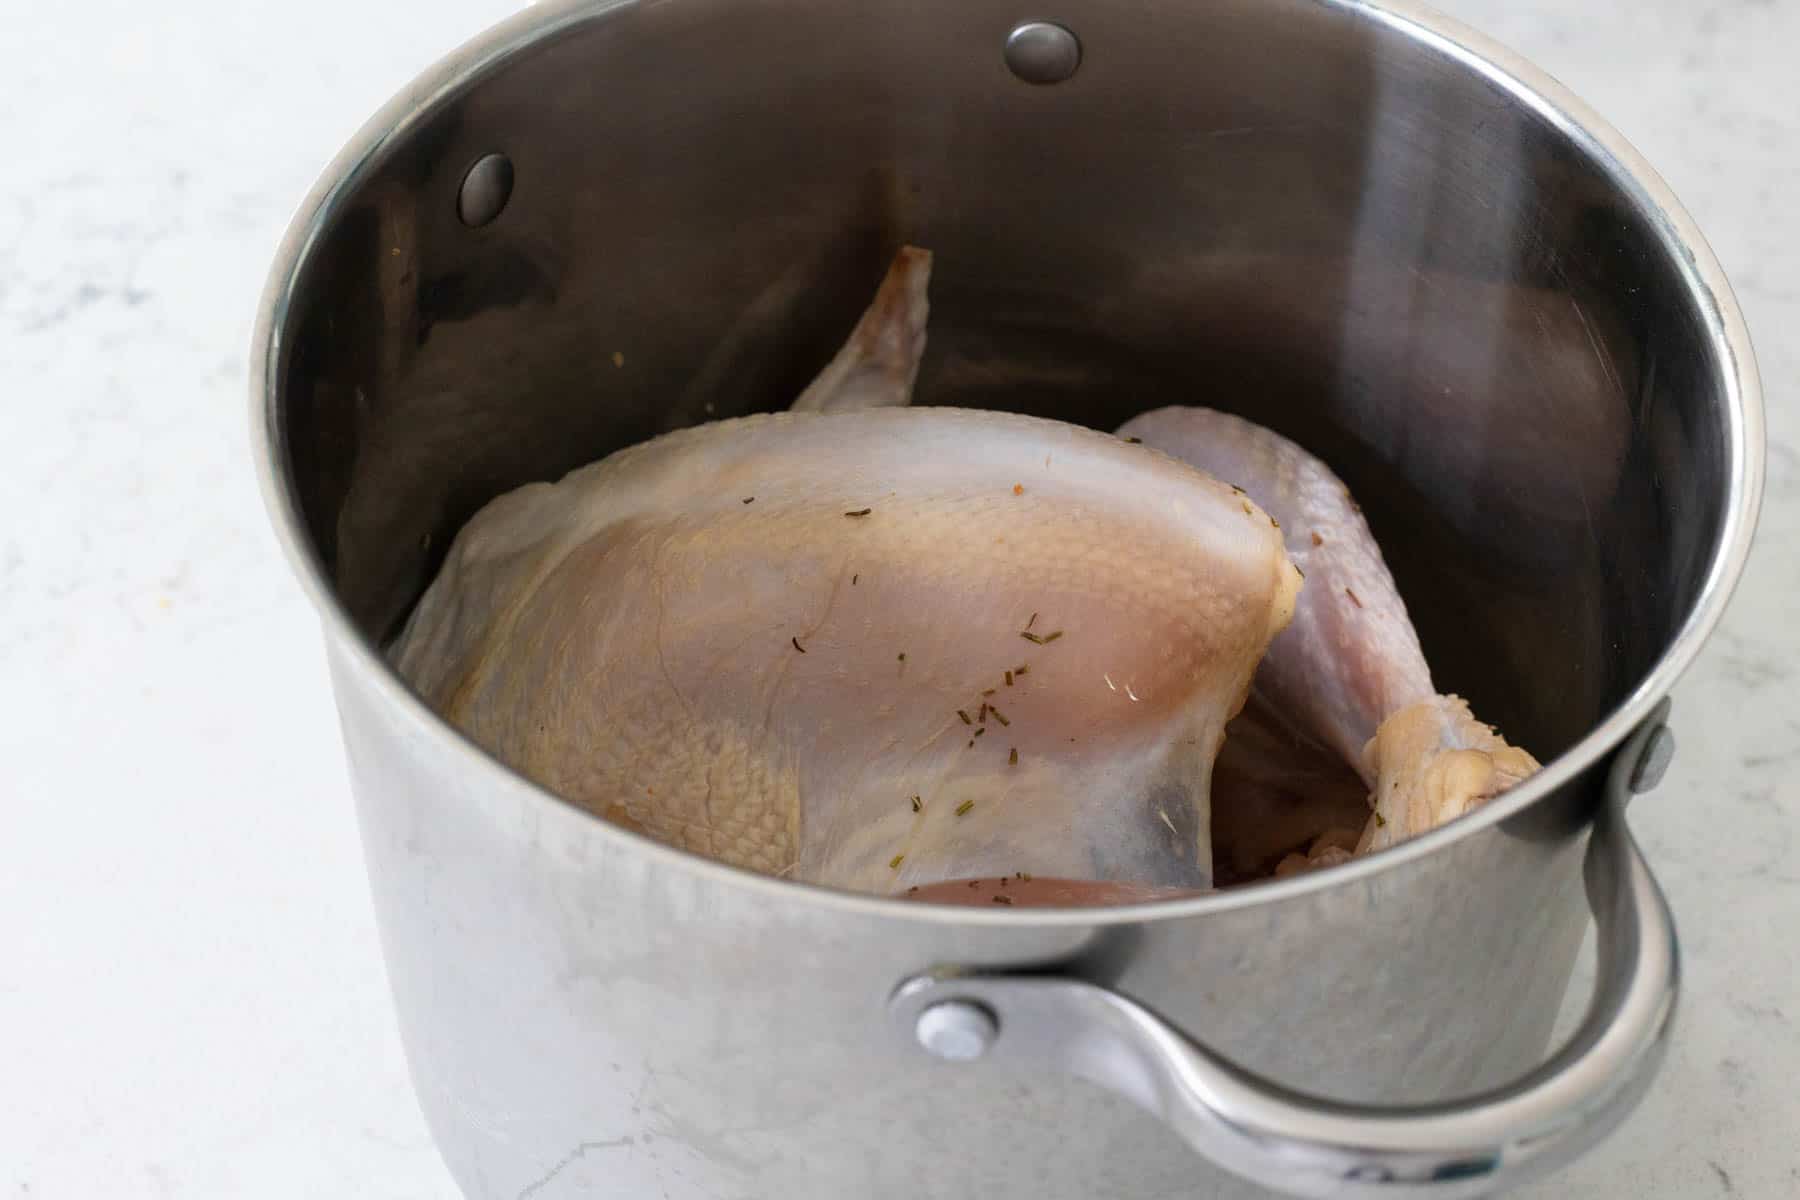
I tested one pot and even though the turkey fit, I knew there wasn’t enough volume left for the brine:
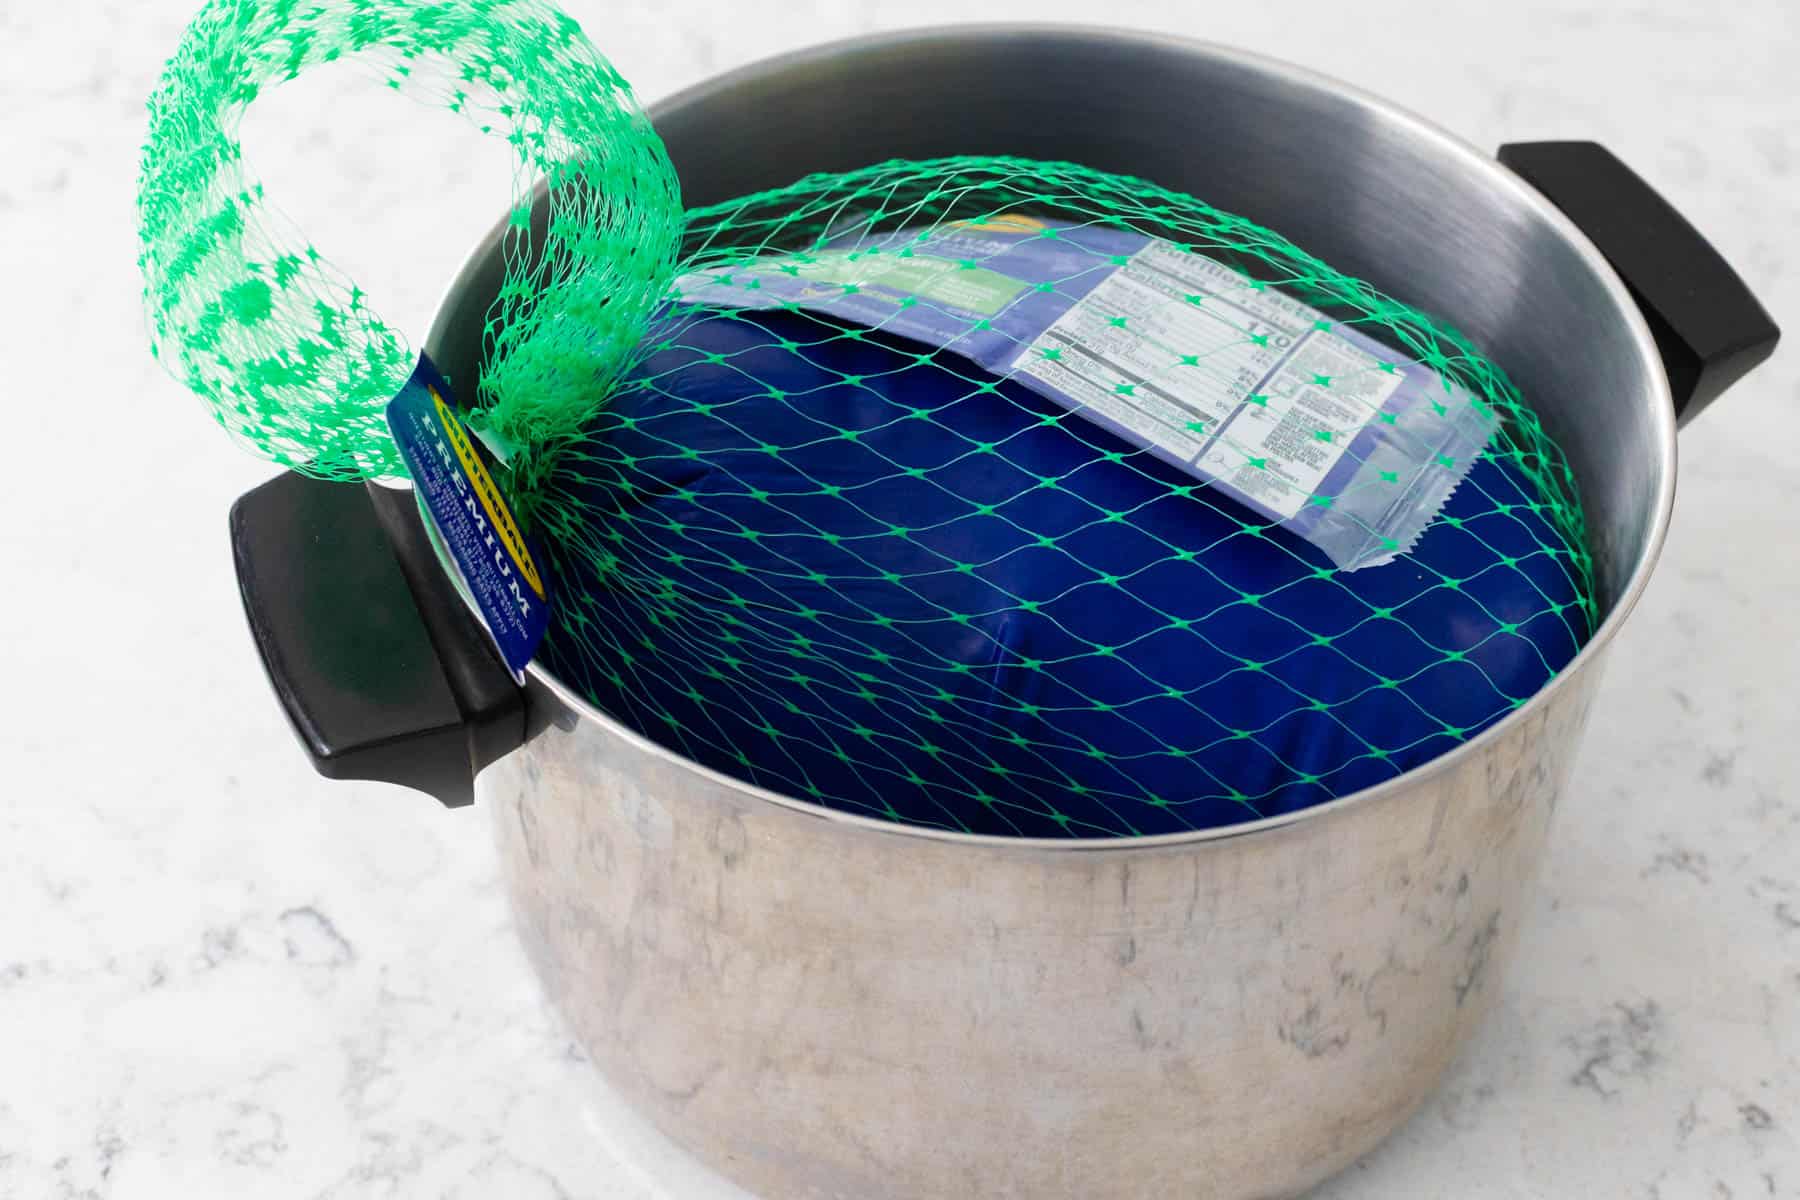
I chose my biggest, deepest soup pot and it worked perfectly:
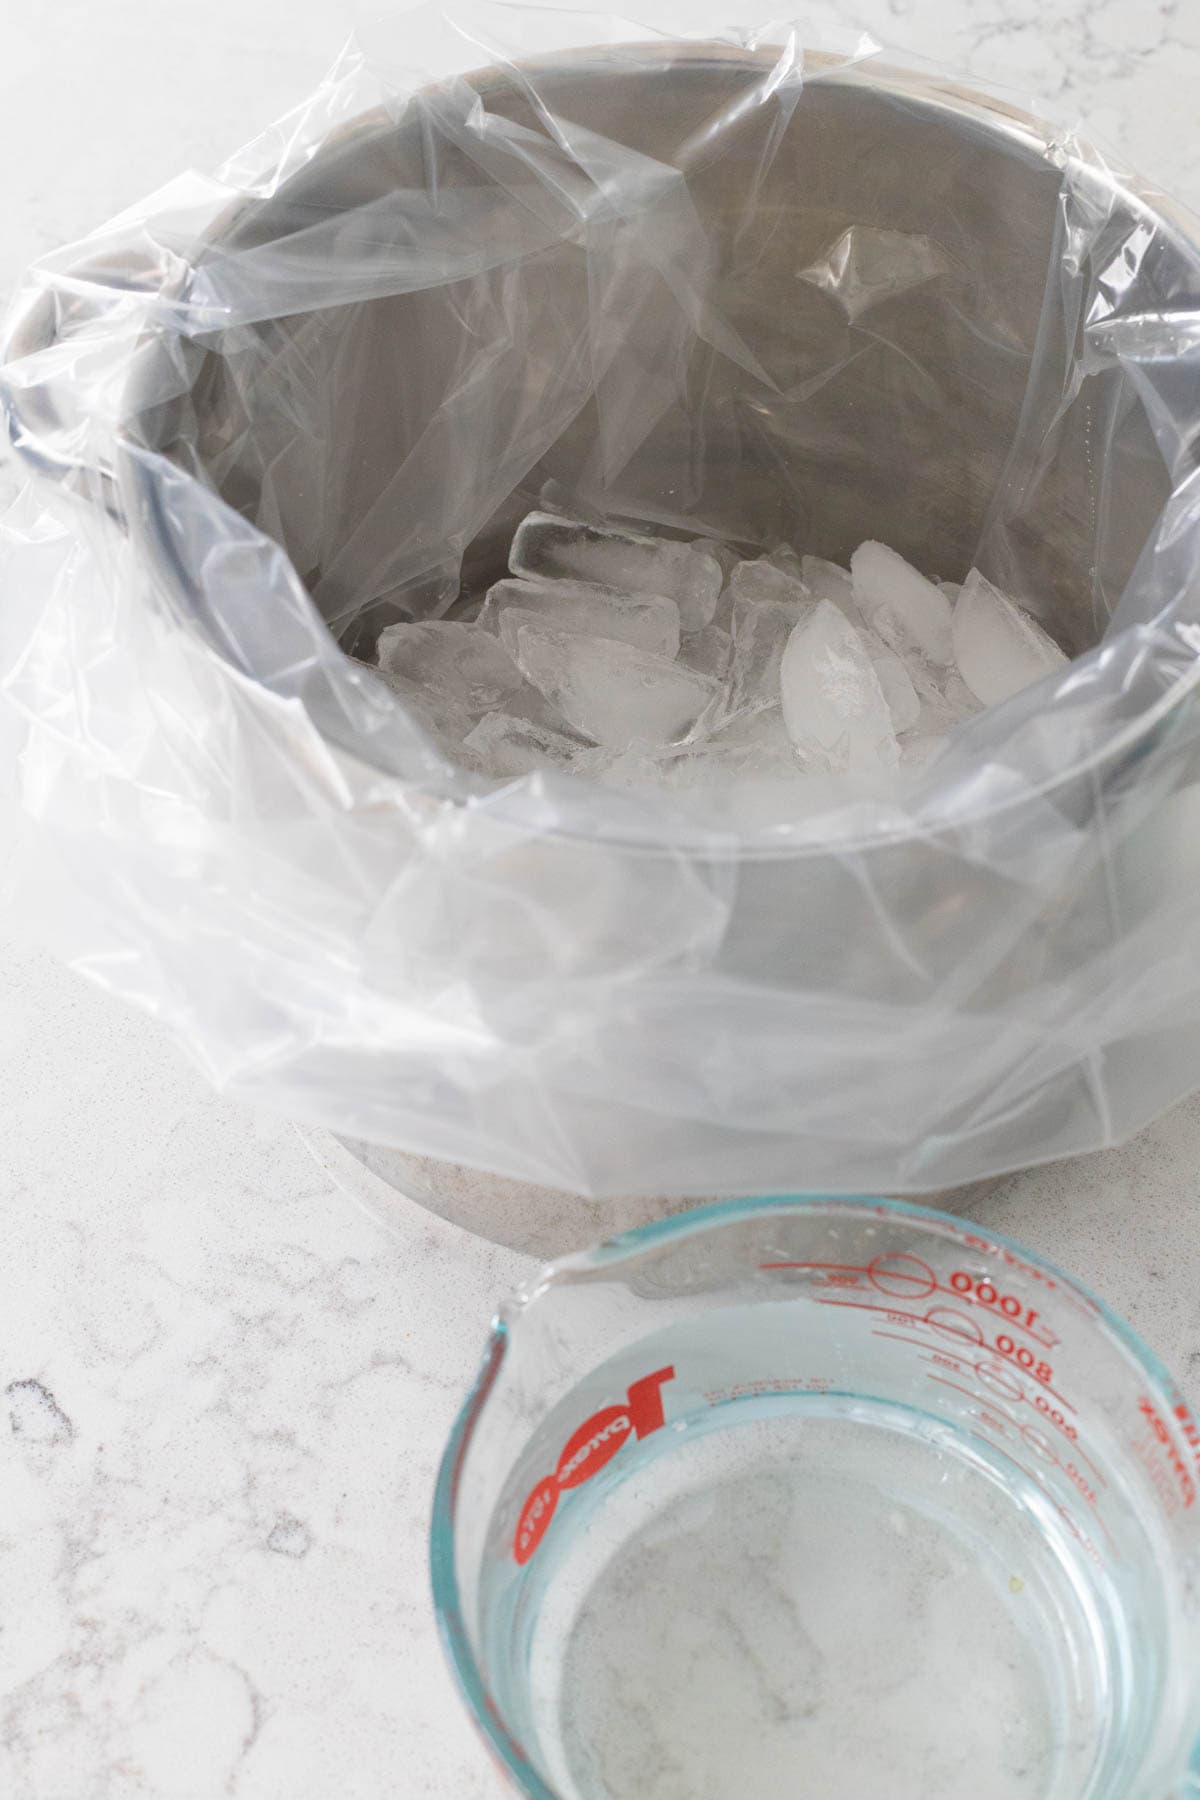
Place the empty brining bag in the pot and fold the excess bag over the edges of the pot to hold it in place.
How to Prepare the Brine
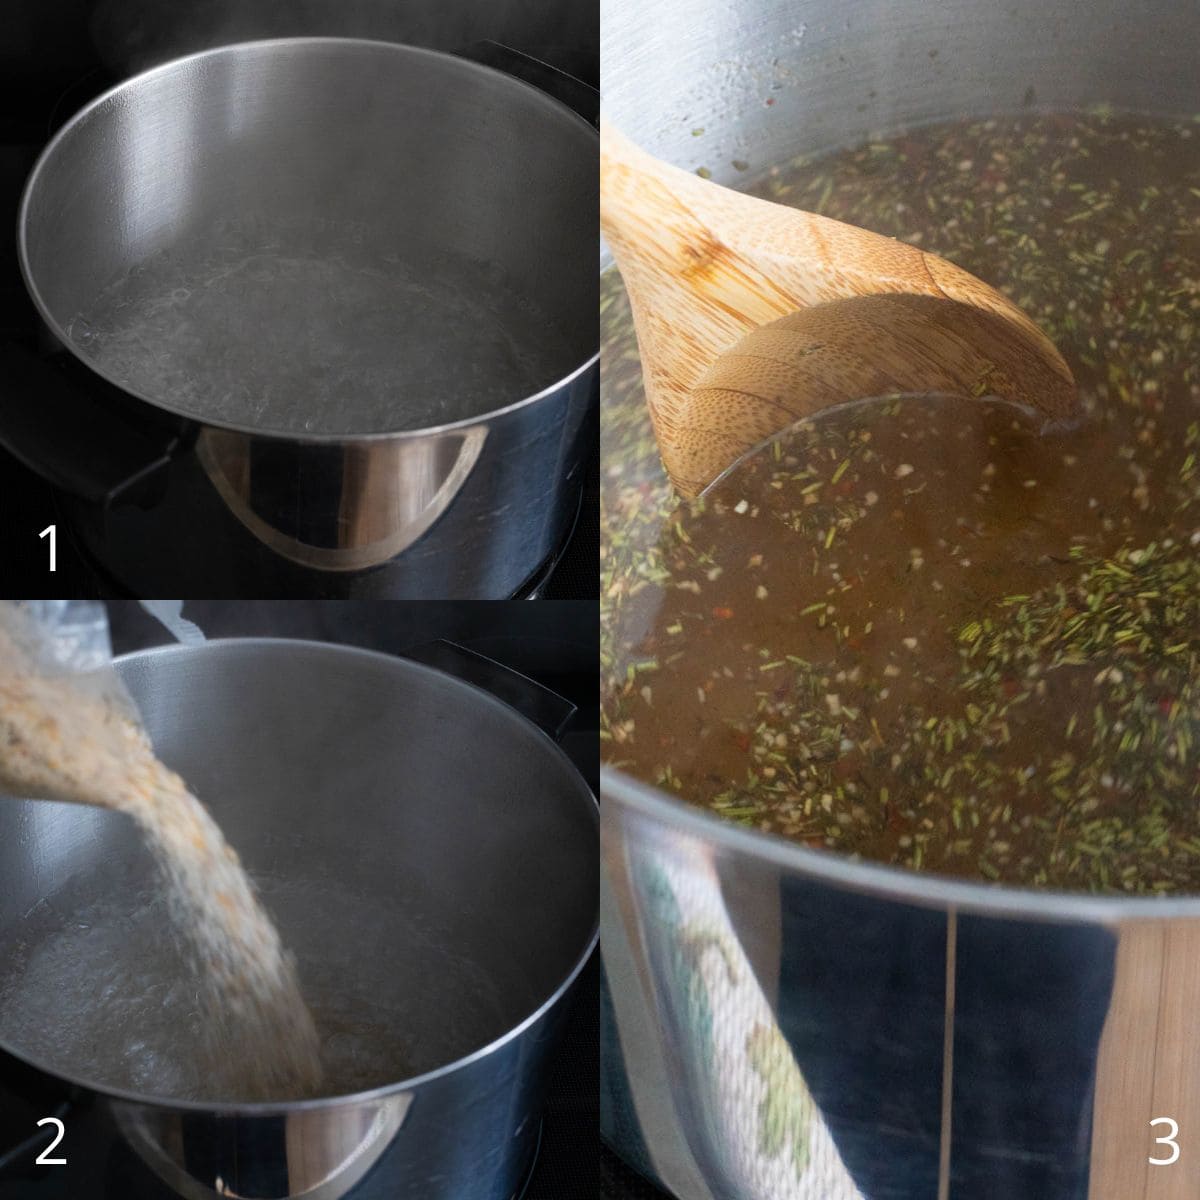
Bring 8 cups of water to a boil in a large saucepan. Remove it from the heat and stir in the turkey brine seasonings that comes in the clear pouch. Stir until all the salt has dissolved.
Place the 8 cups of ice in the prepared pot with the brining bag. Pour 8 cups of COLD water in with the ice.
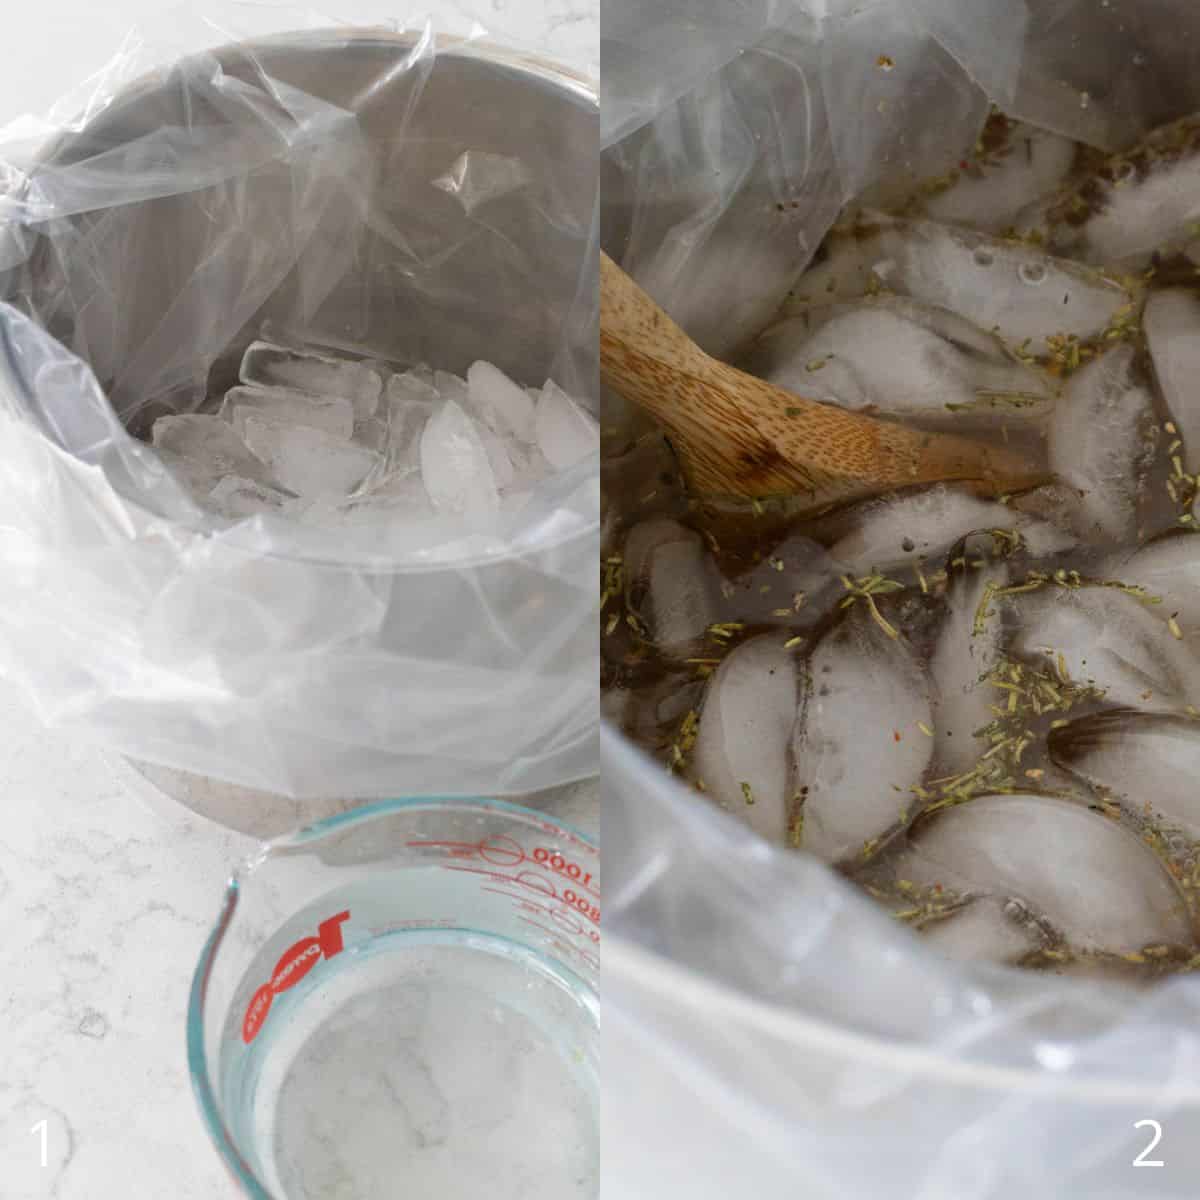
Pour the brine water into the pot and stir until the ice has dissolved and the water is cool.
Prepare the Turkey
Remove the packaging from the turkey and discard. Drain it of the packing juices.
Remove the giblets and neck.
Remove the trussing, if there is any, from around the legs.
Place the turkey, breast side down, into the brining pot.
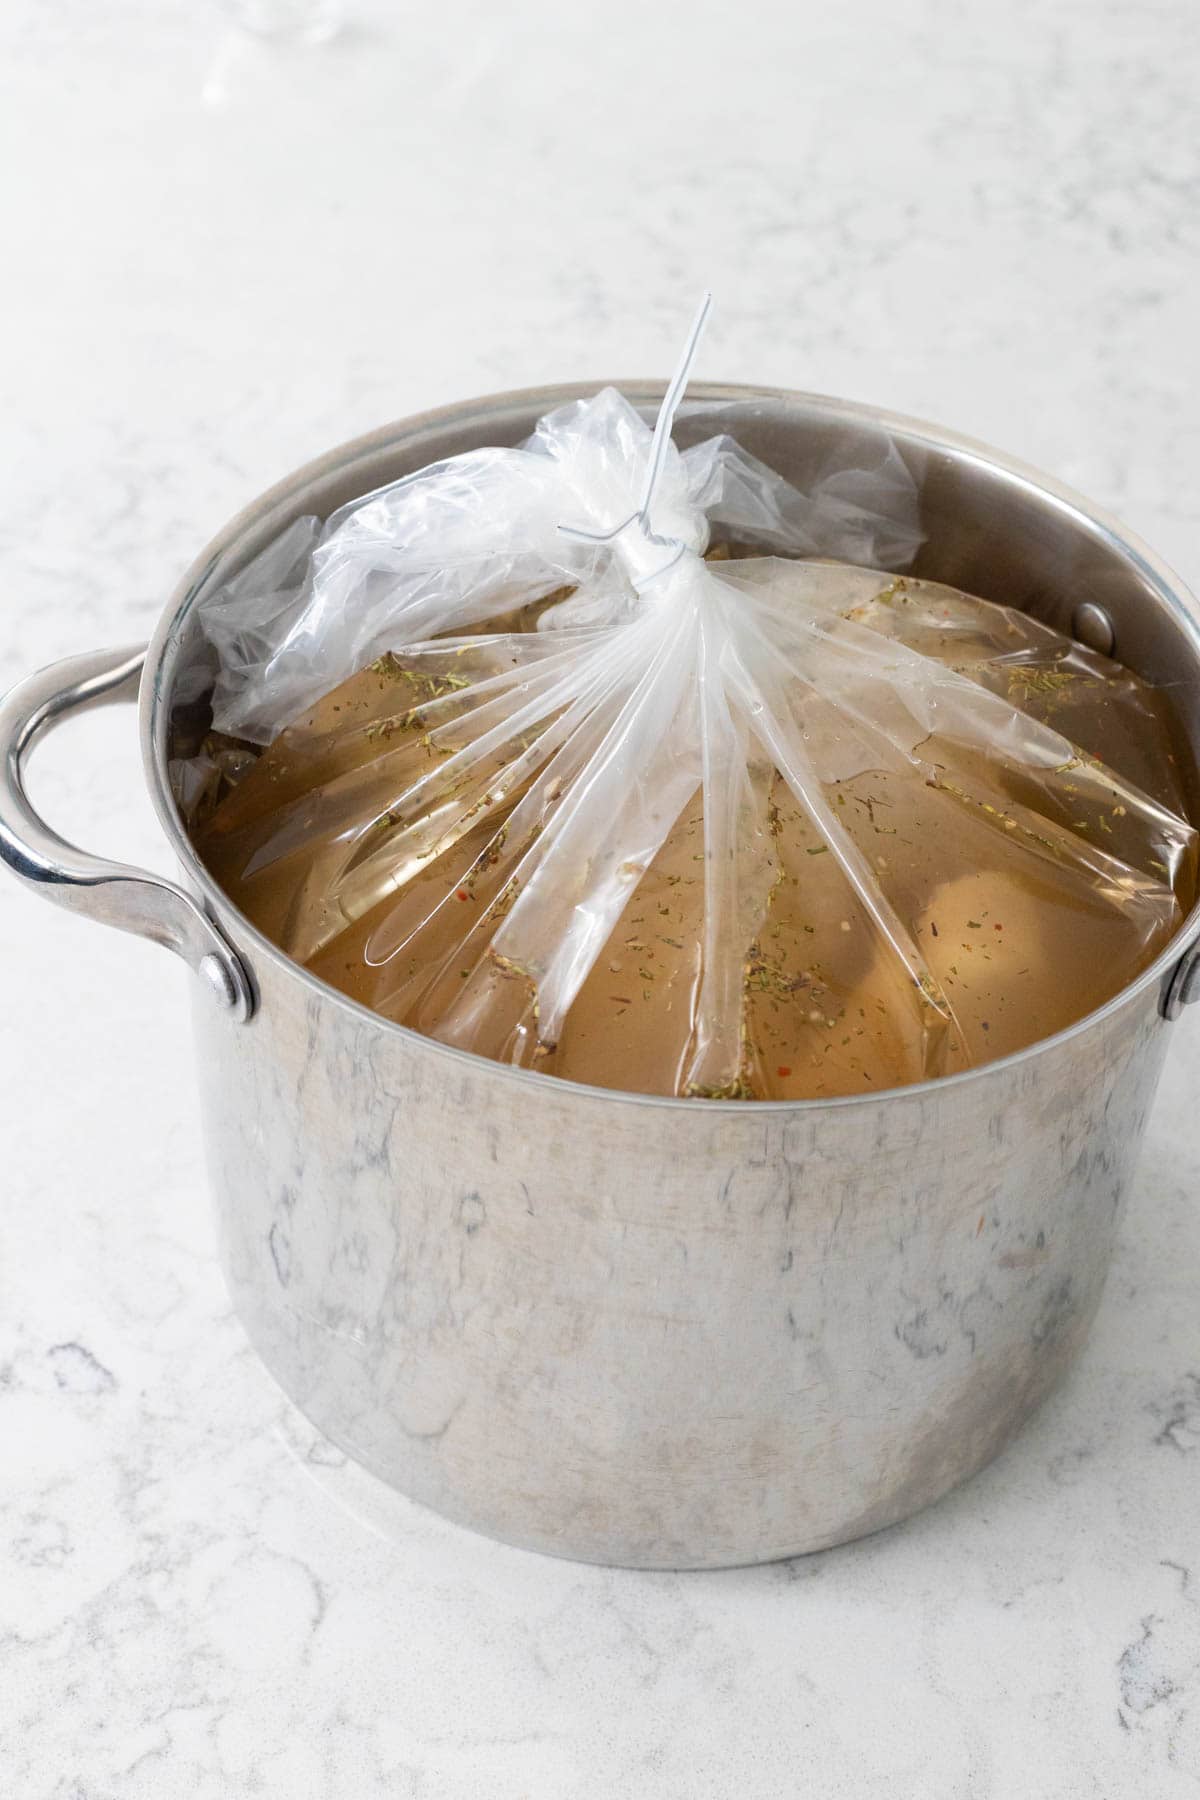
Gather up the sides of the bag and gently twist closed, pressing the air out as you go. Use the twist tie to seal the bag and tuck the length down the inside of the pot just in case it leaks.
Place the brining pot in your fridge for the length of time needed for your size turkey.
Dry the Turkey
The very best tip from the Kinder’s turkey brining kit is to let your brined turkey rest, completely uncovered, in the fridge for up to 2 days before cooking it.
This lets the turkey air out, both inside and out, so that the butter and seasonings can coat the bird and give you the best chance at a golden brown masterpiece.
So once our 7 pound turkey finished brining at 6pm, I drained it, patted it dry as best I could with paper towels, and then placed it in a clean, dry pot. I placed the pot in the fridge and let it air out for 2 days.
Roasting Instructions
When you’re ready to cook the turkey, preheat your oven to 325°F.
Place your roasting pan with rack on the counter. Transfer your turkey, breast side up, on the rack.
Melt the butter and brush it over the entire surface of the turkey including the legs and thighs.
Open the final seasoning packet that came with the Kinder’s turkey brine kit and sprinkle it over the top. Pat the seasonings into the surface of the turkey.
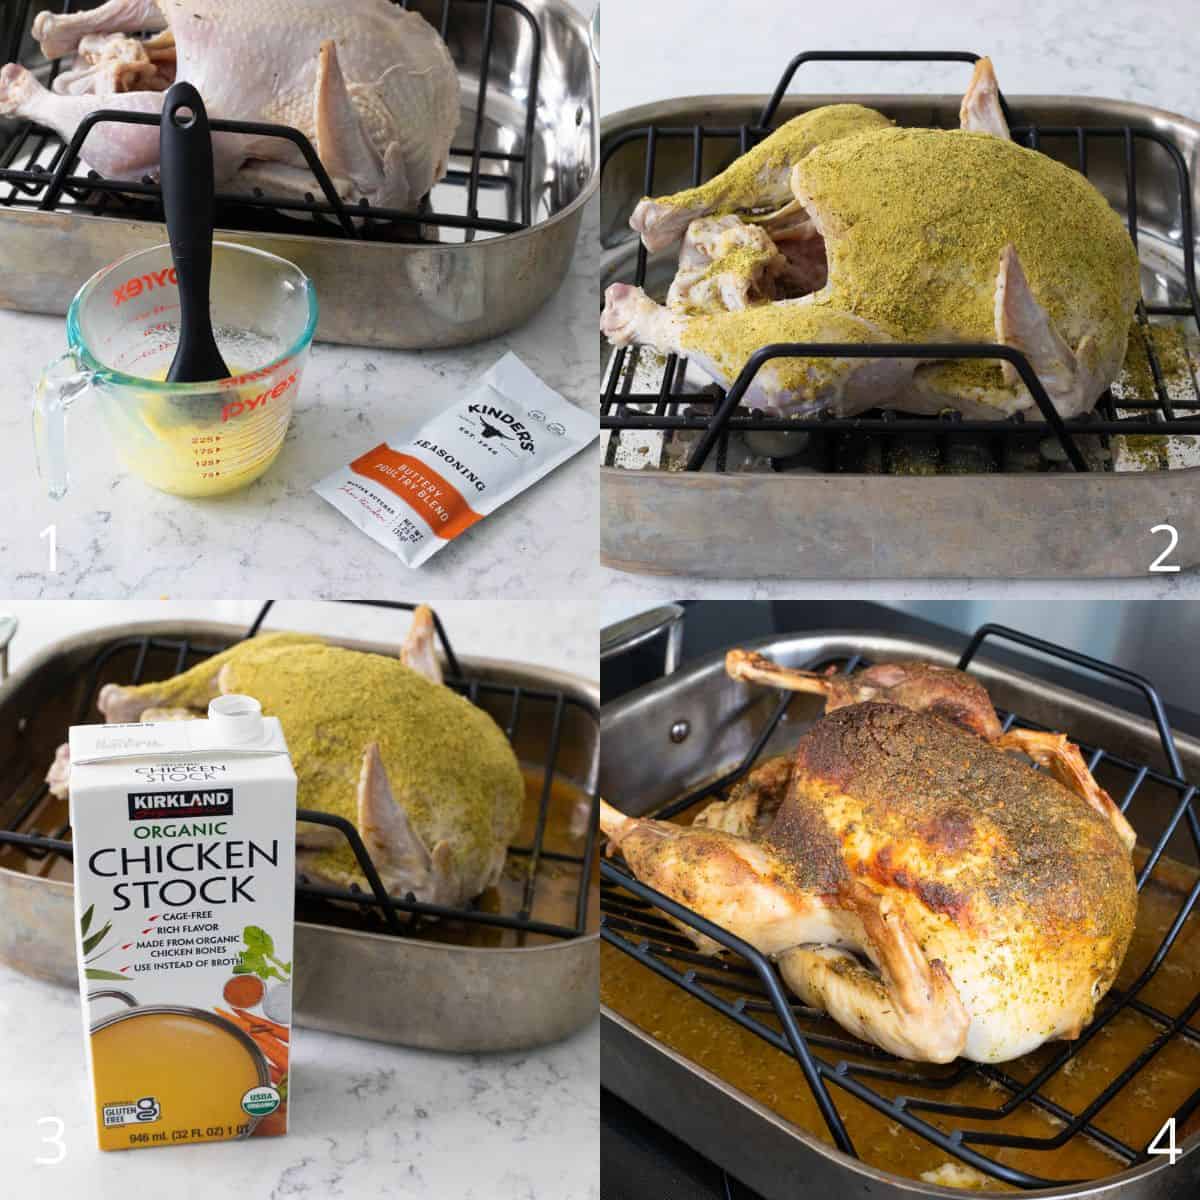
Pour the boxed stock into the bottom of the roasting pan. This helps to prevent the turkey drippings from burning on the bottom as the turkey roasts, which helps keep things tasty for your gravy later.
Place the remote thermometer probe into the thickest part of the turkey breast and set the alarm for 165°F.
Place the turkey in the oven and shut the door. Do not open the door unless absolutely necessary. Do not baste it, don’t rotate it, just let it hang out and do its thing.
If the top is looking too dark when you check it through the window, you can quickly open the oven to cover it loosely with aluminum foil to prevent more browning while it finishes cooking. That is really the only reason you might disturb the bird.
Let the cooked turkey rest for 10 minutes before carving and serving.
Serving Suggestions
When I tell you this was the most delicious roasted turkey I’ve ever had, I mean that this recipe is not just for Thanksgiving.
While it would be a perfect prep-ahead turkey that you can easily throw in the oven on Thanksgiving morning, it is also easy enough to become a treasured Sunday night family dinner recipe any time of year!
I will absolutely be roasting up another brined turkey for my college-aged daughter when she comes home for winter break. Next time I’m buying a BIG ONE, not just a little 7 pound tester turkey.

Kinder’s Turkey Brine Roasted Turkey
Ingredients
- 1 Kinder's Turkey Brine Kit
- 1 whole turkey fresh or thawed, under 20 pounds
- 4 – 8 tablespoons butter I used 4 tablespoons for a 7 pound turkey, adjust as needed for your turkey weight
- 4 cups turkey or chicken stock
Instructions Start Cooking
Brining Day:
- If your turkey is less than 12 pounds, you will only brine it for 6 hours.If your turkey is over 12 pounds, you will brine it for 12 hours. This can be done overnight.
- Place the turkey brining bag in a pot that is large enough to hold the turkey with room to spare for the brining liquid. I used my deepest soup stock pot. Place the brining bag in the pot and fold the edges of the bag up over the sides of the pot to hold it in place.
- Bring 8 cups of water to a boil in a large saucepan and then remove it from the heat. Add the clear pouch of turkey brine seasoning to the water and stir until the salt has dissolved.
- Place 8 cups of ice and 8 cups of cold water in the brining bag. Pour in the brining liquid and stir until the ice has melted and the water is cool.
- Remove the turkey from the packaging. Let the packing liquid drain off and remove the neck and giblets. Remove the plastic trussing from around the legs if it has it.
- Place the turkey, breast side down, in the brining liquid. Pull up the edges of the brining bag and gently twist to close, pressing the air out as you go. Use the twist tie to seal the bag and then tuck the top edge on the inside of the pot just in case it leaks. Place the pot in the fridge to let the turkey rest in the brine.
- When the time is up, remove the turkey from the brine and pat it dry as best you can with some paper towels. Place it in a clean, dry pot or container and let it sit in the fridge, uncovered, for up to 2 days to dry out.
Roasting Day:
- Preheat the oven to 325°F. Place your roasting pan with rack on the counter.
- Bring the turkey in from the fridge. Transfer it to the roasting pan, breast side up.
- Melt the butter and brush it over the entire top of the turkey, including the legs and thighs. Sprinkle the reserved seasoning packet from the brining kit evenly over the top of the turkey and gently rub it in a bit. Place a remote thermometer probe in the thickest part of the breast. Pour the chicken or turkey stock into the bottom of the roasting pan, not over the top of the bird. You don't want to "rinse" off the seasonings.
- Place the turkey in the oven and shut the door. Do not disturb the turkey as it roasts, there is no need to baste. Let it bake until it reaches 165°F. The time will depend on the size of your turkey. Let the turkey cool for at least 10 minutes before carving.
Recipe Notes
Thaw Your Turkey
You need to start with a completely thawed turkey so you don’t over-brine the bird. Plan to let your frozen turkey thaw in the fridge for 24 hours per every 4 pounds of meat before starting the brine.Save This Recipe to Your Recipe Box
Find this delicious recipe next time you visit by saving it to your very own recipe box on my site. All your favorites stored in one easy place!
About Tiffany
Tiffany is a home-cooking enthusiast, three-time cookbook author, and creator of the sites Peanut Blossom, Peanut Blossom Book Club, and Don’t Just Fly. She believes that family dinner can be manageable, fun, and — most importantly — tasty. She lives in Charlotte, North Carolina, with her husband and two daughters and can often be found baking a loaf of bread with her beloved bread machine, reading a good book, or planning her family’s next adventure.
Turkey was way too salty I have always brined my turkey I rinsed the brine off and dried it maybe the packed of seasoning had too much salt it was very tender and juicy just too salty
Hi Mary,
Thanks for the feedback. Out of curiosity, how big was your turkey and how long did you brine it for? I wonder if that made a difference, too?
Tiffany