How to Bake Pizza Dough

If you took the time to make a homemade pizza dough in your bread maker, you want to learn how to bake it perfectly. This post covers which tool bakes better: a pizza stone vs. a pizza pan and everything else you need to know to get that perfect pizza.
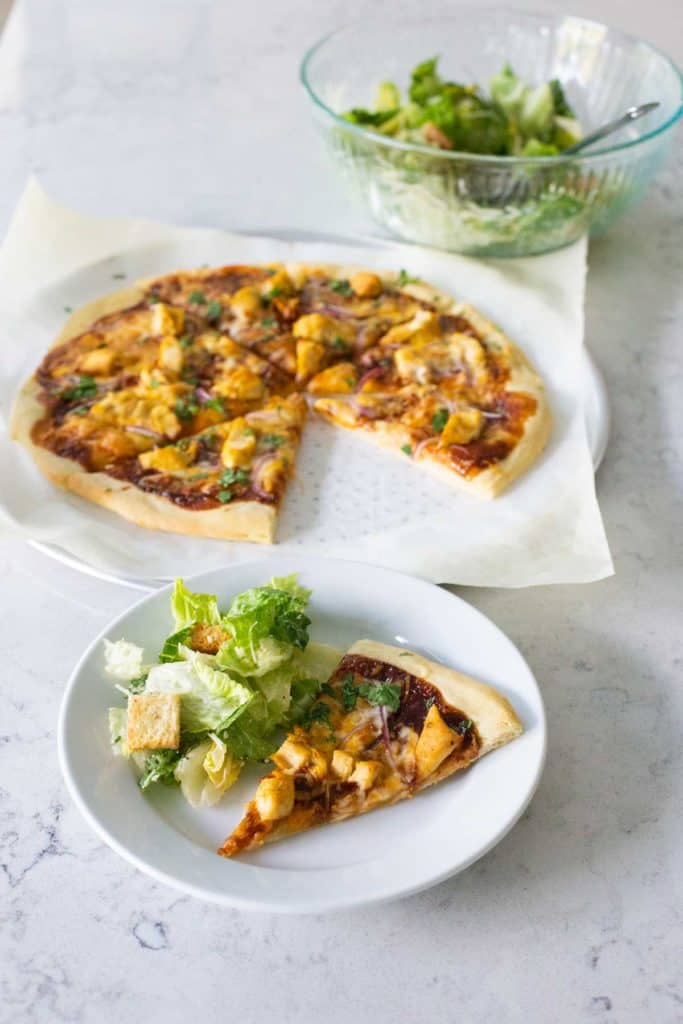
Once you learn just how easy it is to bake a homemade pizza right at home, you'll be tempted to never order delivery again.
With a little prep work, and I truly do mean LITTLE, and just a tiny bit of planning, pizza night can be a stress-free, fun way to spend an evening with your family and friends.
Our favorite pizza dough recipe makes enough for 2 12-inch pizzas. You can bake them both in one night or save half the dough for another time.
Either way, the final step in the pizza making process requires the perfect tips for baking the final topped pizza.
Best Pizza Dough Recipes
These instructions for baking homemade pizza were written for you to have the greatest success with my homemade pizzas.
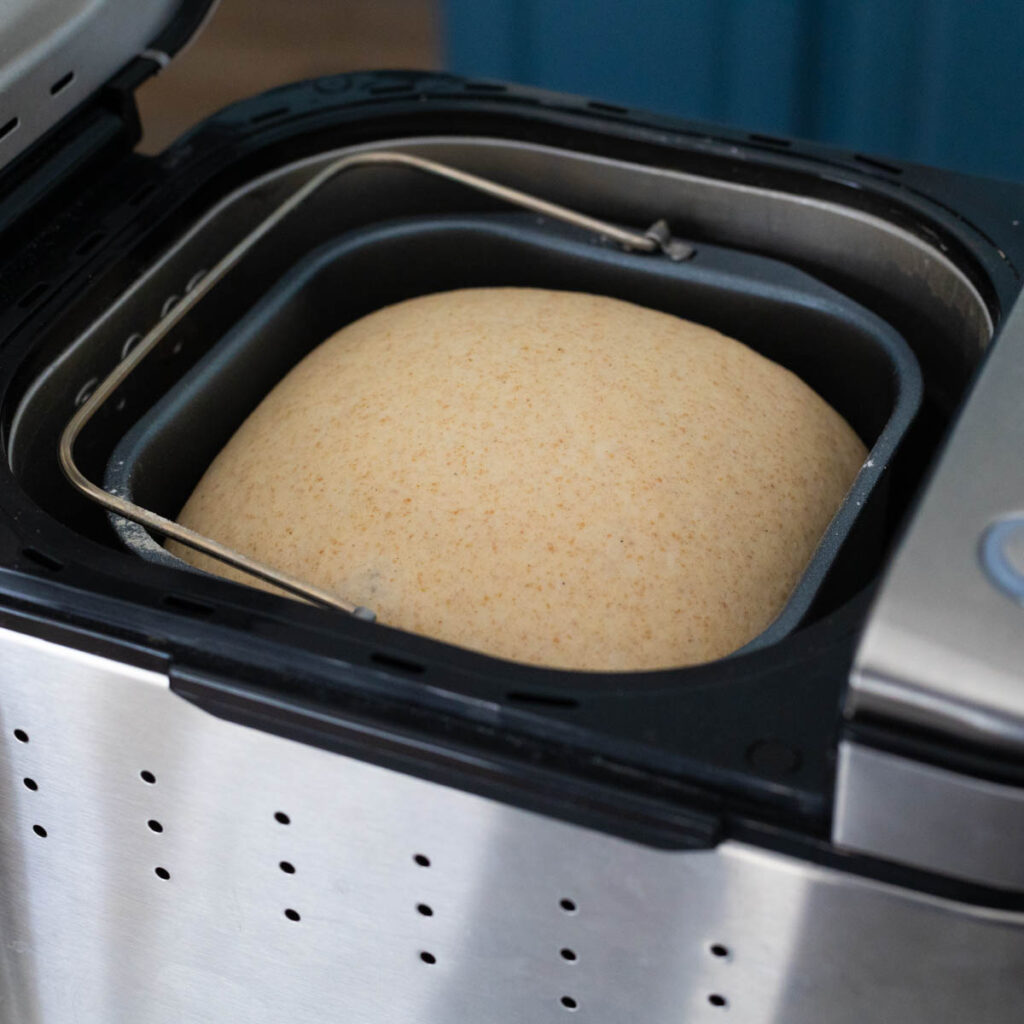
Most of my pizza recipes start with a homemade dough. I mix and match between my bread maker pizza dough, this awesome whole wheat pizza dough, and my new favorite sourdough discard pizza dough.
Want to Save This for Later?
Tools You Need to Bake Pizza
Gas or electric: whatever your home oven is, you're good to go. The remaining list of tools is very short:
- Parchment paper
- A pizza stone
- A metal pizza pan or baking sheet
- A pizza wheel for cutting your slices
Pizza Stone vs. Pizza Pan
We tested baking homemade pizza on both a hot pizza stone and on a traditional metal pizza pan in our oven.
To keep the variables even we:
- Used the exact same batch of pizza dough recipe
- Used the exact same pizza toppings
- Baked the pizzas one at a time, one right after the other so we could taste test them side-by-side
Which one won??
Hands DOWN the winner was the hot pizza stone. It gave the pizza crust the perfectly crisp bottom that lets you hold up a slice without it drooping everywhere and lets the toppings fall all over.
The metal pan still did the job, but the bottom of the crust was noticeably softer and didn't have that satisfying crisp-crunch bite.
BUT, the stone can only remain the winner if you use it properly . . .
Preheat the Pizza Stone
Place a pizza stone on the center rack and preheat your oven to 450°F.
It is crucial that the stone has a chance to heat up for at least 30 minutes. If your oven is faster to finish preheating, just let it continue to run at that hot temp so the stone can absorb the heat.
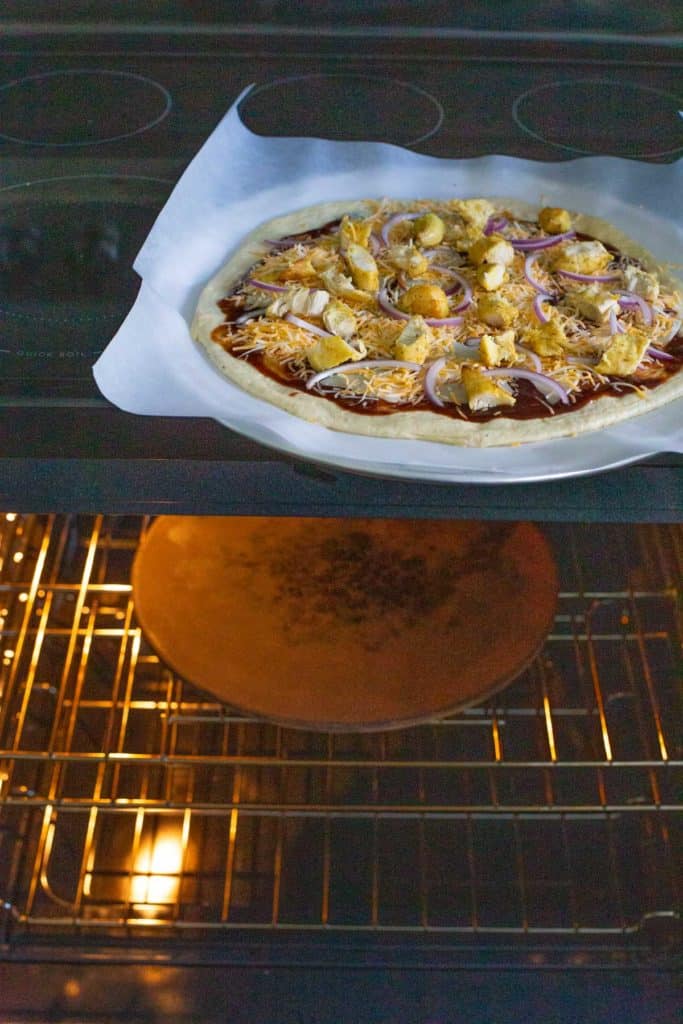
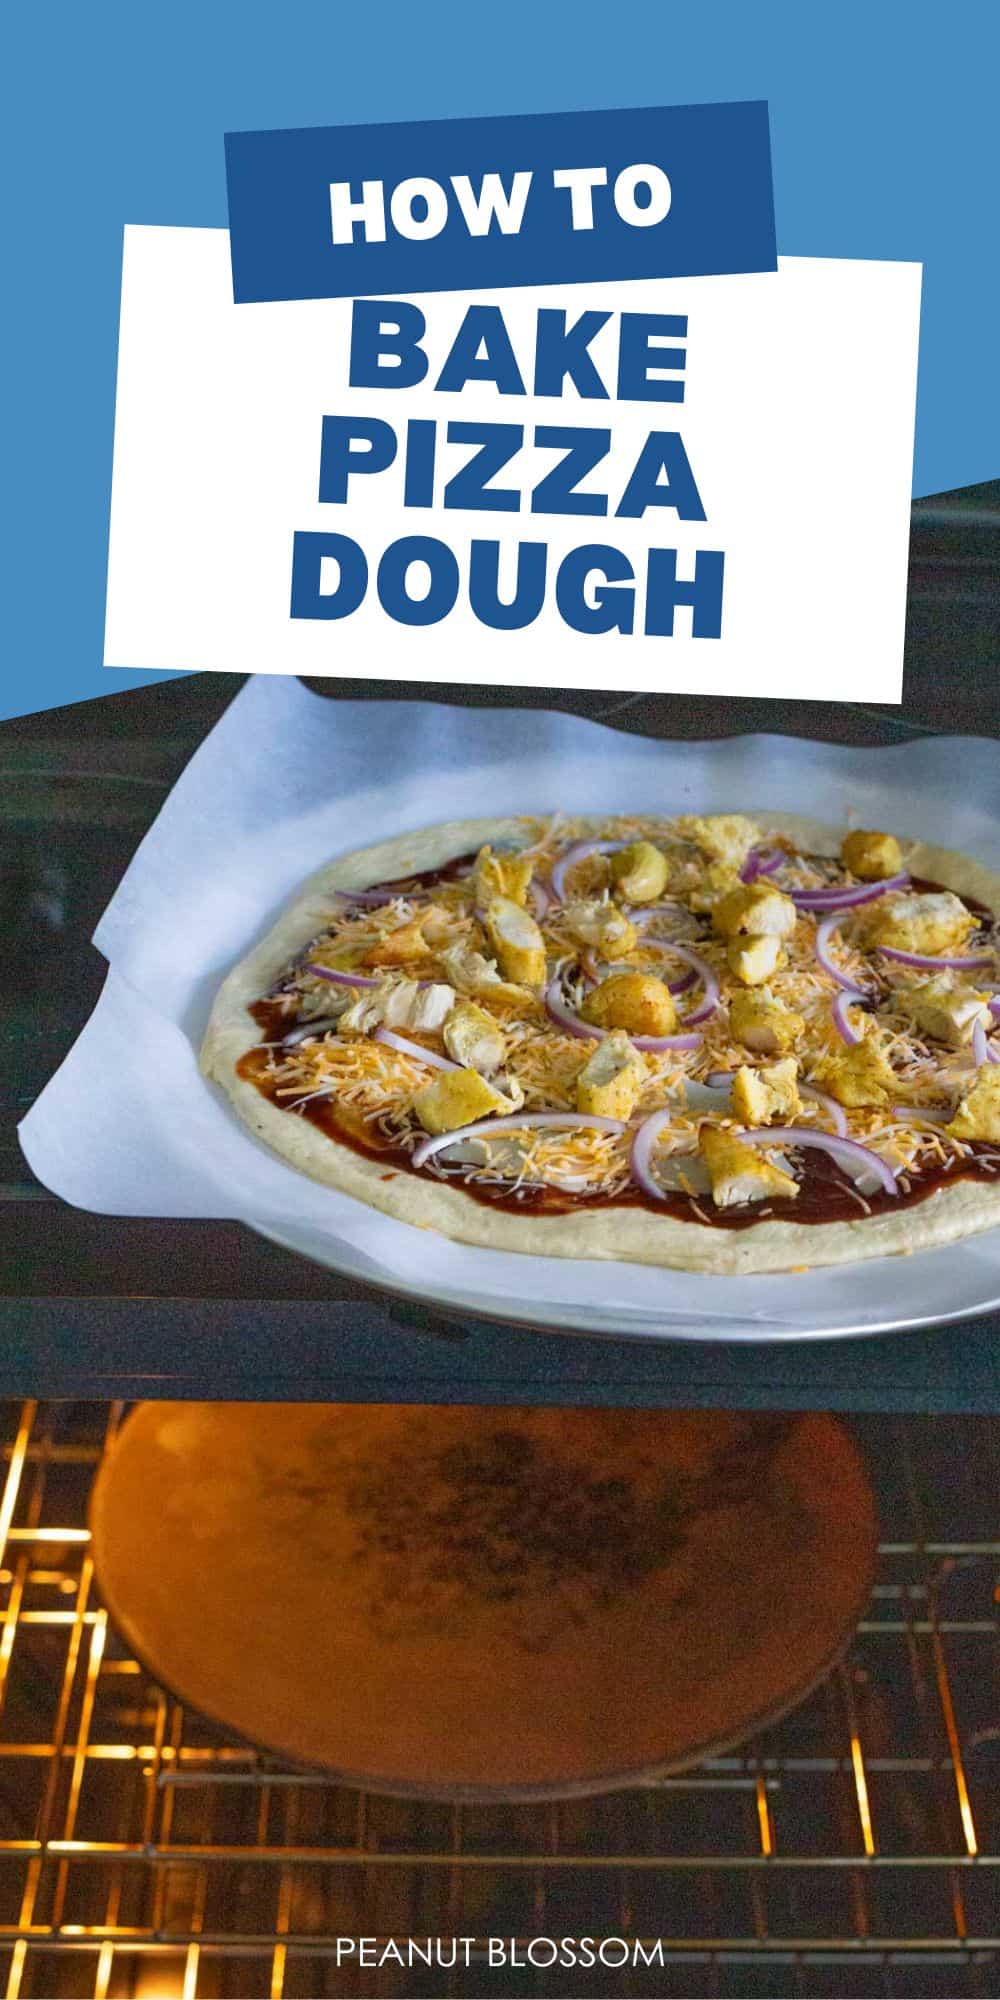
Transfer the Pizza to the Oven
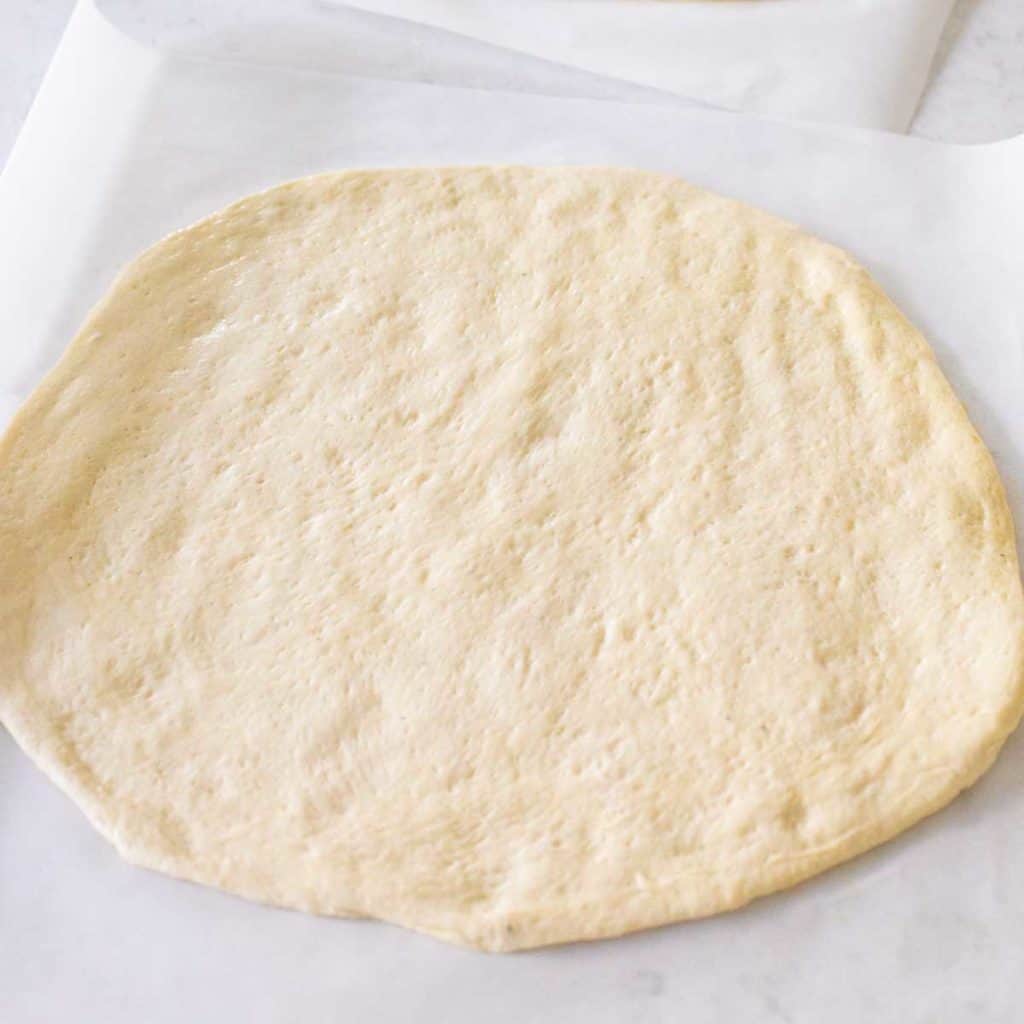
If you've followed my instructions for how to roll the pizza dough and started with this fresh pizza dough recipe, your pizza should now be sitting on a piece of parchment and fully topped and ready for baking.
But here's the tricky bit: fresh made pizza dough is super floppy. It's not at all like prepared pizza crusts from the grocery store.
If you try to pick up the pizza to put it in the oven, you'll find that it will bend and flop everywhere, causing your toppings to fly all around the kitchen. Or worse: fall into the bottom of your oven and burn.
If you want everything to stay right where you placed it on the pizza top, you need to carefully follow these transfer steps:
- Slide a metal pan underneath the parchment paper holding the pizza:
I love working with lightweight metal pizza pans for moving our pizzas around the kitchen. They may not be great for baking ON but they are perfect transfer and cutting surfaces.
Use the metal pan to lift the pizza from the counter and carry it towards the oven. - Open the oven door and place one edge of the metal pan on the edge of the pizza stone:
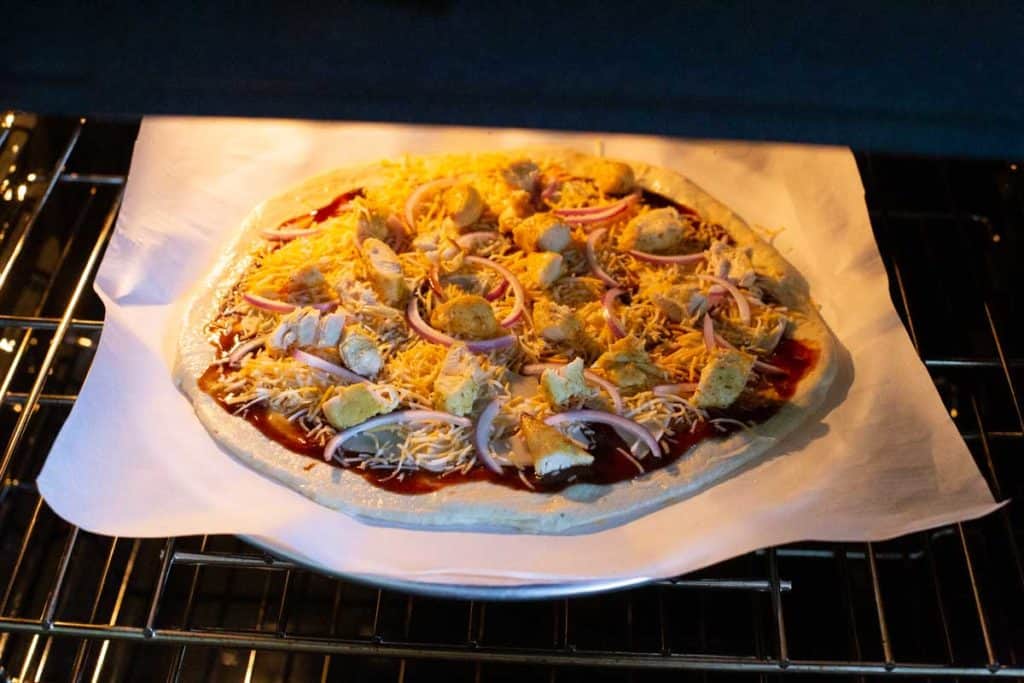
This helps get your pizza close enough to slide onto the stone and ensures you don't accidentally drop it into the oven. - Pull one edge of the parchment to slide the pizza onto the stone:
The pizza stays on the parchment the entire time it bakes. The handles of the paper just help you tug it into place. - Remove the metal pan and shut the oven:
Once the pizza is on the stone, simply leave the pan on the stovetop. You'll need it again when the pizza is done. - Use the pan to remove the pizza from the oven:
When the pizza is done baking, slide the metal pan under the parchment paper edge and tug the parchment and pizza onto the metal pan, lift and remove it all from the oven.
LEAVE THE STONE IN THE OVEN. It is super-hot and would be easy to cause terrible burns if someone bumped into it on your stove top.
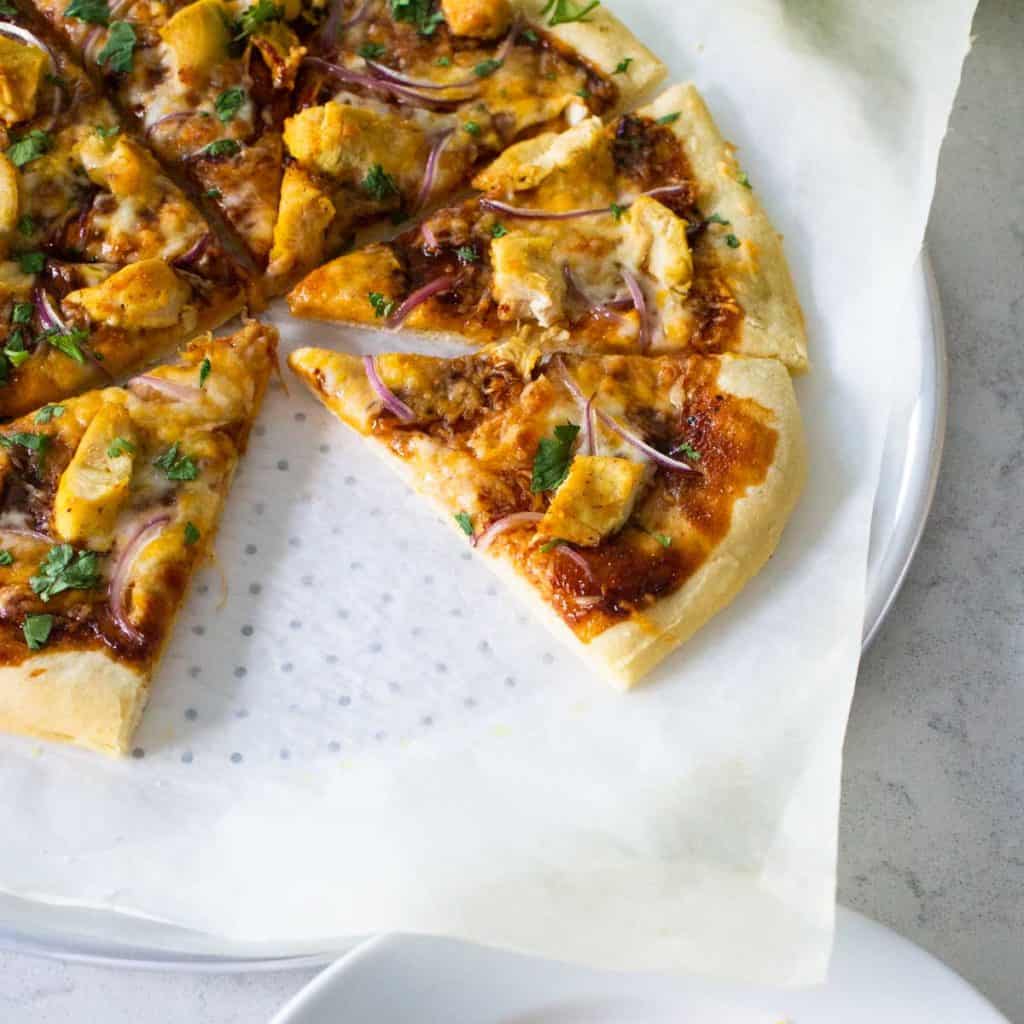
Baking Times for Pizza
At 450°F, our pizza dough bakes in 12 - 16 minutes, depending on the toppings.
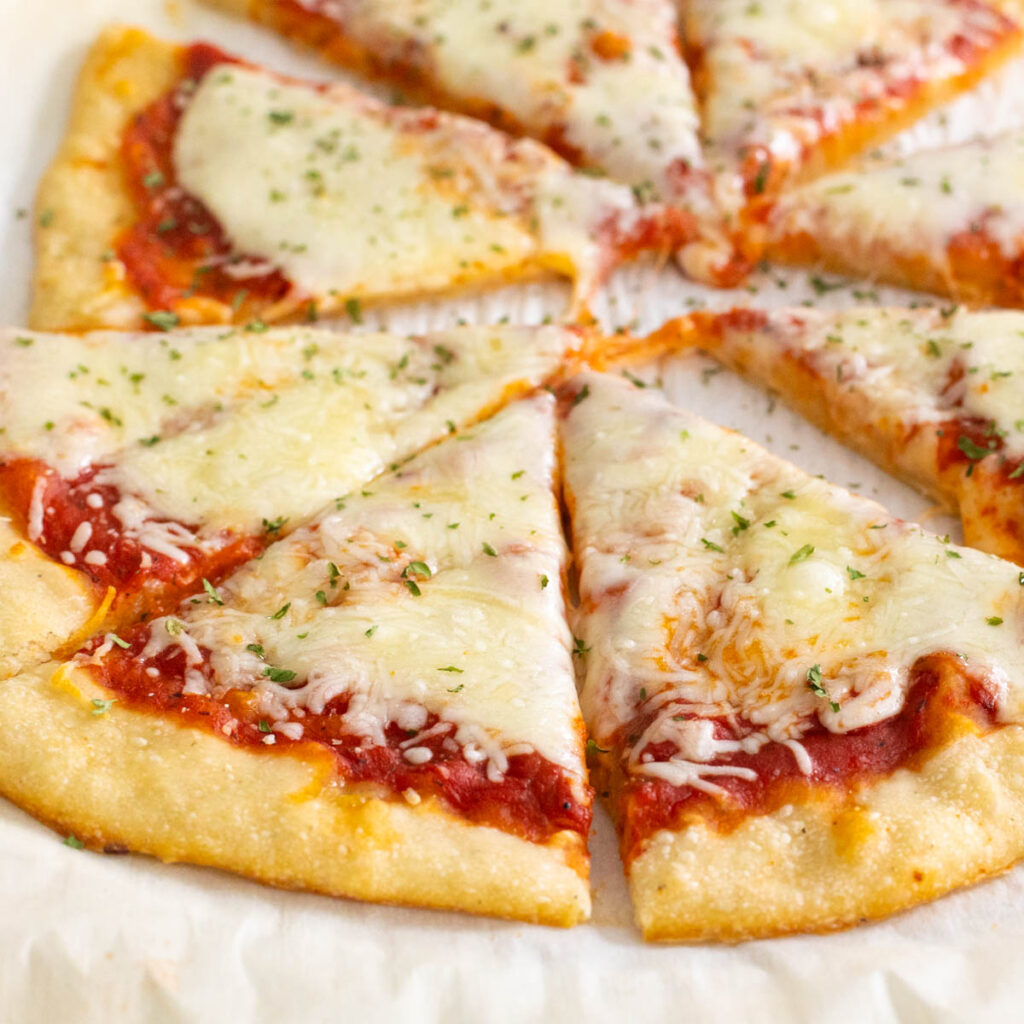
The outer crust should be golden brown and the toppings should be hot and bubbly, the cheese should be nicely melted.
Recipe FAQ
There is absolutely no need to do this to your stone for this recipe. Since we used parchment paper to move the pizza on and off the hot stone, there's no chance of the pizza crust sticking to the hot stone.
Yes, absolutely. If you try to bake the pizza on a cold pizza stone, it will not give you a crispy bottom crust and you may as well have just used your metal pan.
We have both a pizza pan with and one without holes. Since the pizza doesn't actually cook on either one, it doesn't really matter to this recipe. However, if you have to bake on the metal pan directly, the one with holes will allow more air to hit the bottom of the crust and should help making it a little more crispy.
Comments
No Comments