Elf on the Shelf Creative Tips
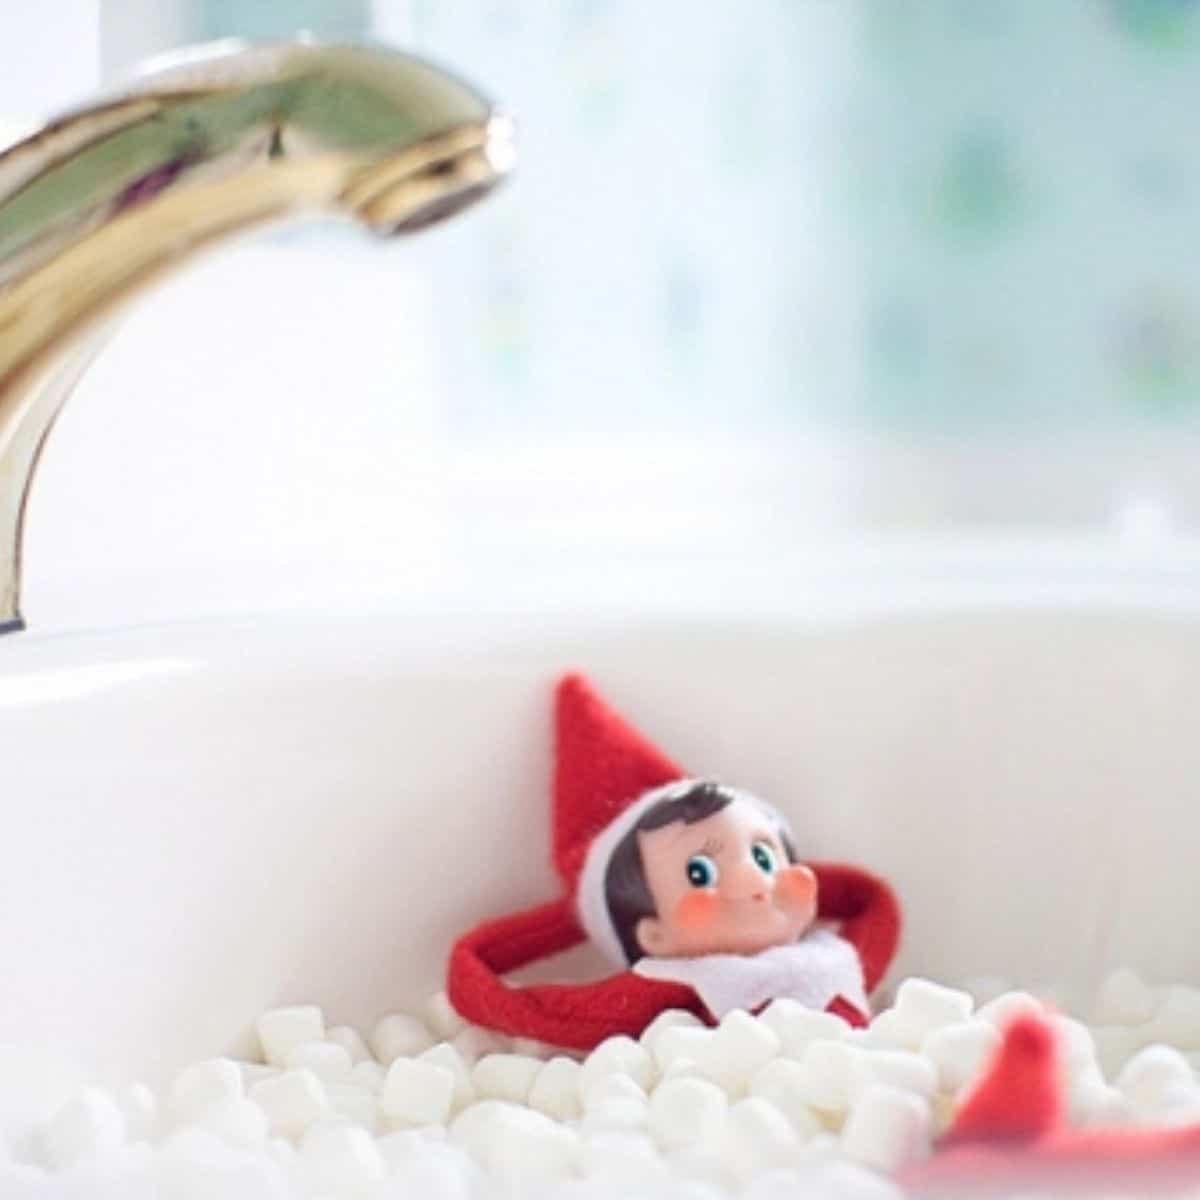
Hi again! I'm Carey Pace, a mom who loves imagination, creativity, and FUN! I'm sharing an entire Elf on the Shelf season here on Peanut Blossom. If you're only just arrived, make sure you check out the previously covered IN THE AIR. Now on to post 2 of the 6! Let's talk about my very favorite category:
EMBRACING CREATIVITY!
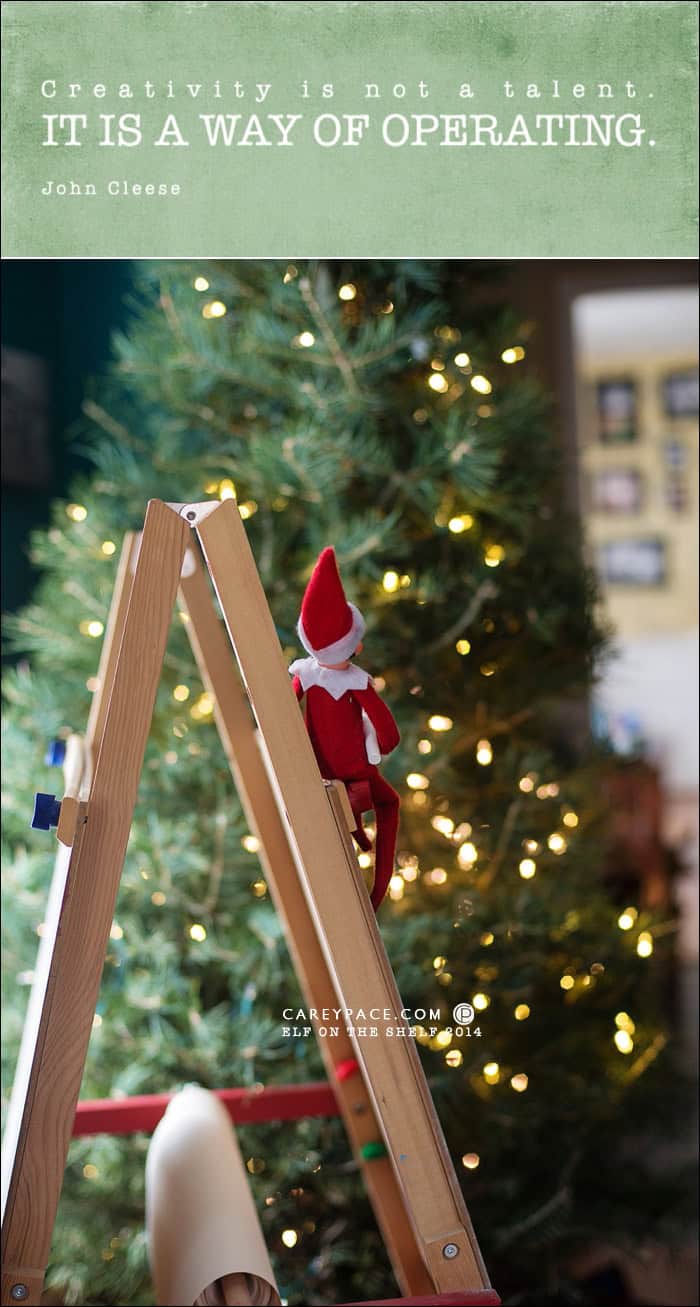
How often have I heard someone dismiss themselves with an "oh! I'm just not creative"? I don't believe this is true! Creativity isn't a gift bestowed on some of us leaving the rest bereft of its benefits. Creativity is a mindset one chooses to operate within, indulging the childlike freedom to explore possibilities, ideas, and connections. If you think you aren't creative, I encourage you to slow down and reconsider. Open your mind to the possibility that you absolutely could be!
The Elf on the Shelf is a tangible way for me to include my children in my own creativity. Jolly is influencing my kids' concepts of how to use ordinary materials already in our home to think outside the box and to have fun! Truly, the FUN I have with our Elf is a huge part of why I do this. It does take time and effort during a hectic season of the year, but when I look back on the memories all these years into it? Worth. Every. Minute.
Here are three ideas to jump start those creative juices!
MAP OF THE NORTH POLE ON A SHOWER CURTAIN
Back in 2012, Allie at No Time for Flash Cards posted about making this North Pole play mat. I'm pretty sure that is what inspired my idea to create a map of the North Pole on a Shower Curtain -- something large scale that we could continue to enjoy!
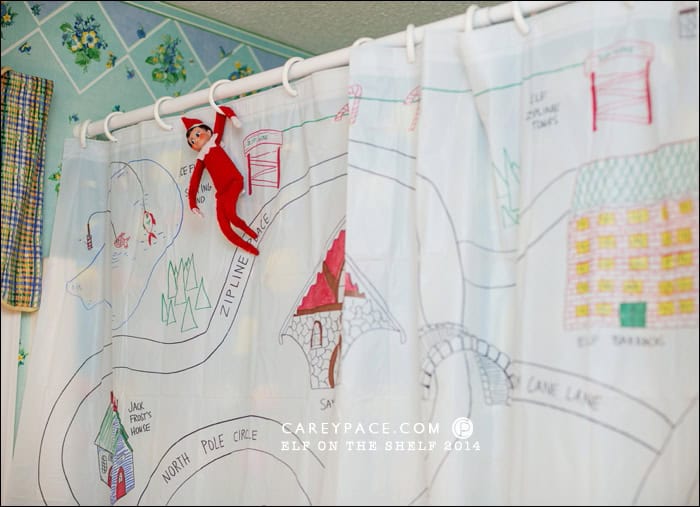
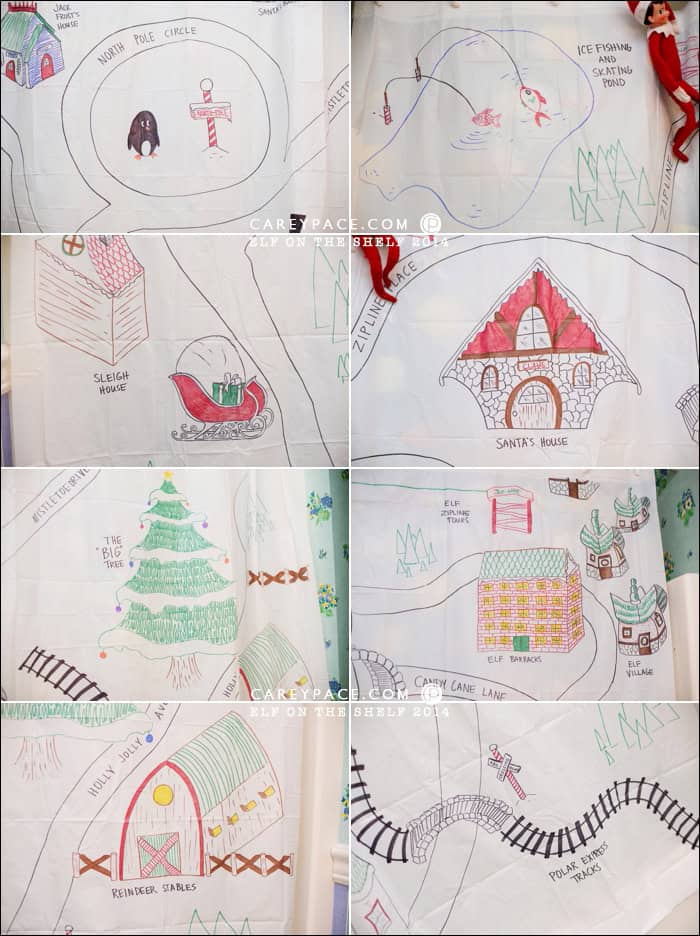
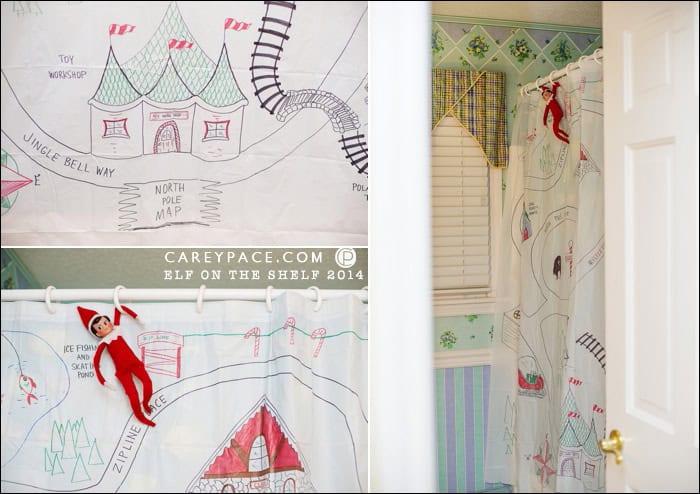
I used inspiration from these maps I found by googling: this Park Map, Hand drawn map here, and the old park map found on this post, plus a couple others. I googled for inspiration for Santa's house, the sleigh, etc. I roughly sketched out my design on a sheet of paper first.
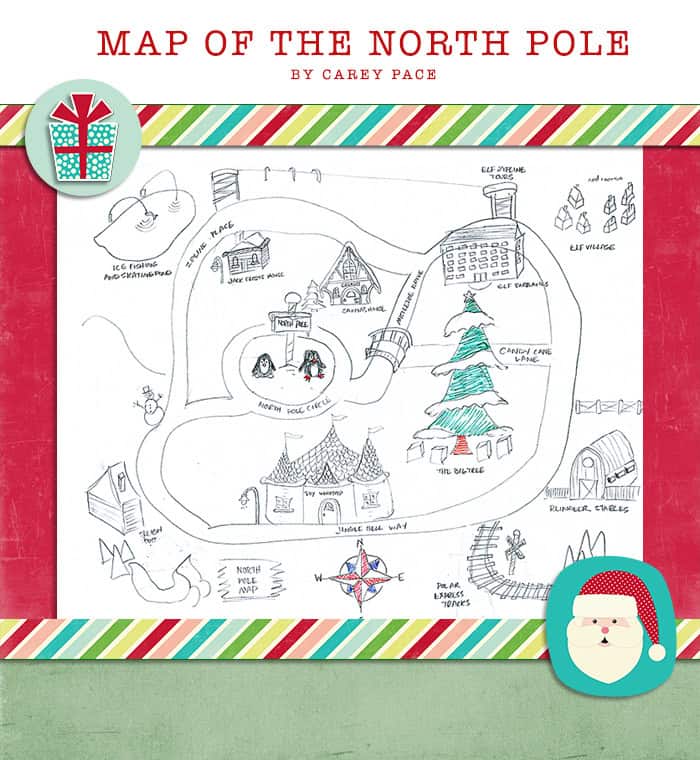
I used a standard package of colored Sharpies to draw my design on a cheap plastic/vinyl shower curtain from The Dollar Tree. That's it! I suggest doing the drawings from top to bottom so you don't accidentally smear anything while working. I spread it out in our dining room floor in the evenings after the kids went to bed. It took me several evenings -- but that may just be because I'm too much of a perfectionist.
I didn't have a wide angle lens to capture the shower curtain in action in our tiny bathroom, so I hung it up on our dining room wall so you can see the entire map. It includes Santa's house, Elf Barracks, an Elf Village, Jack Frost's house, Reindeer Stables, a Sleigh House, the Toy Workshop, an Ice fishing pond, an Elf Zipline, and even the Polar Express Tracks that lead to the center of the North Pole.
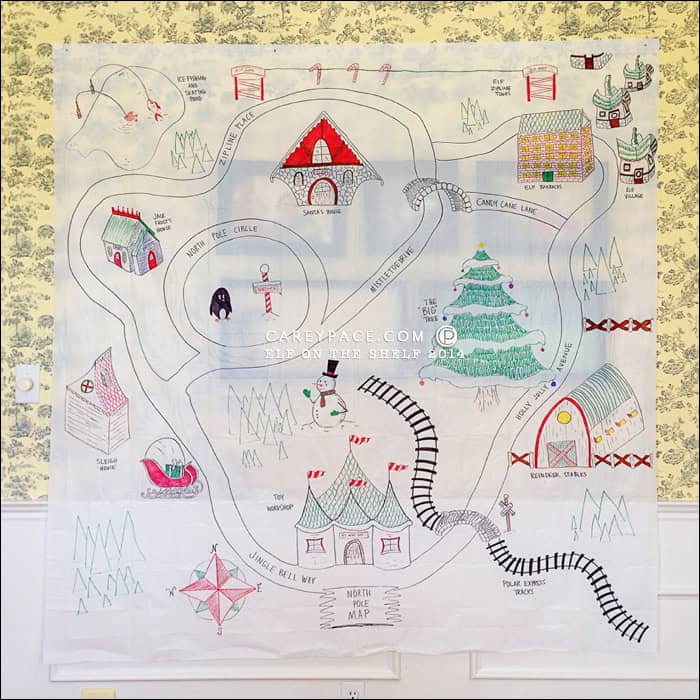
While this North Pole shower curtain Map is hands down my FAVORITE Elf on the Shelf antic I've done, I have one major regret: the cheap shower curtain. At the time, I was just trying to keep costs for the elf adventures low. In hindsight, this is a keepsake. It turned out more amazing than I could have imagined. I wish I'd created it on something a little more rugged.
The kids LOVE it. They want to see it while they shower. If I had done it on a clear liner, they could see it either in or out of the tub. I wish I'd used this, this, or this shower curtain liner instead. I've not purchased those, but that's what I'd try if I were to redo it.
SUPER MARIO GAME SCENE ON THE WALL
My son has really enjoyed the various Super Mario video games over the last couple years, like Super Mario Galaxy and Super Mario Brothers Wii. He was Mario for Halloween in 2012, and he had asked for all of the small plush Mario characters that year for his birthday, like King Boo, Bowser Jr., and Yoshi. I knew I had to incorporate Mario in our Elf adventures somehow -- the kids had even theorized Jolly would do a Mario scene. Here we have Elf on the Shelf, MARIO style!
Want to Save This for Later?
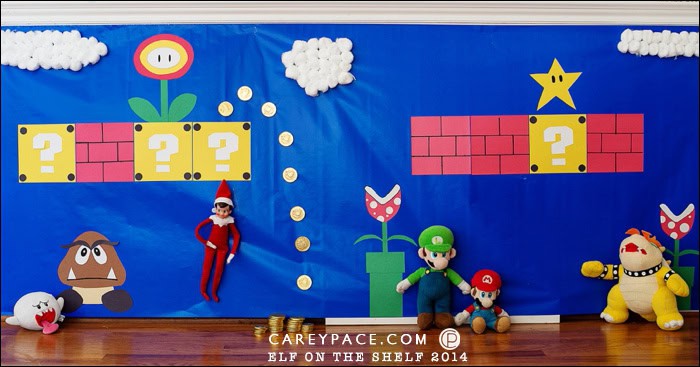
I had created this Super Mario backdrop for his birthday in 2012 using our set of Play Bricks and that was my inspiration. (Forgive this screen shot of an iPad video I took - can you believe I was so worn out from creating all these amazing Mario details that I forgot to take pictures!?!? Regret!)
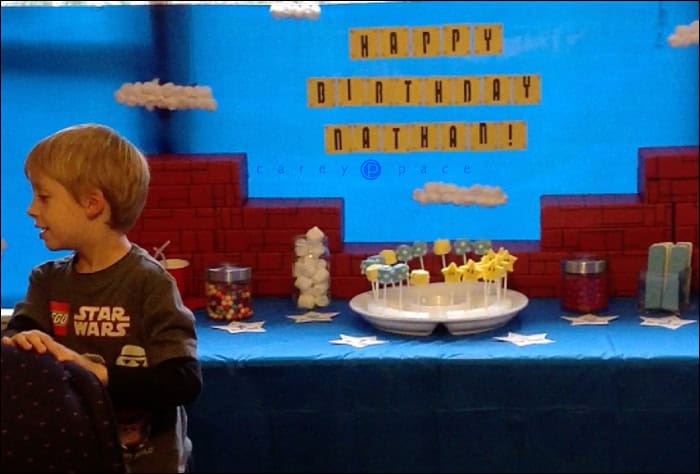
Although this looks pretty impressive, it was created with really basic materials! ANYONE can do this! I used the following:
- a roll of solid blue wrapping paper like this or this
- construction paper in red, yellow, white, green, black and brown, and scissors
- gold coin chocolate candies
- a bag or two of Jumbo cotton balls for the clouds
- a hot glue gun to attach cotton
- Scrapbook adhesive / Tape Runner or double sided tape to attach all the construction paper
- optional: small circle punches (0.5" size, 0.35" size, etc.) if you are a perfectionist who wants perfectly even sized circles for the corners of your blocks and Piranha plants
- Command Strip Decorating Clips to suspend your Elf on your scene
- Command Strip Poster Strips to attach the wrapping paper to your wall
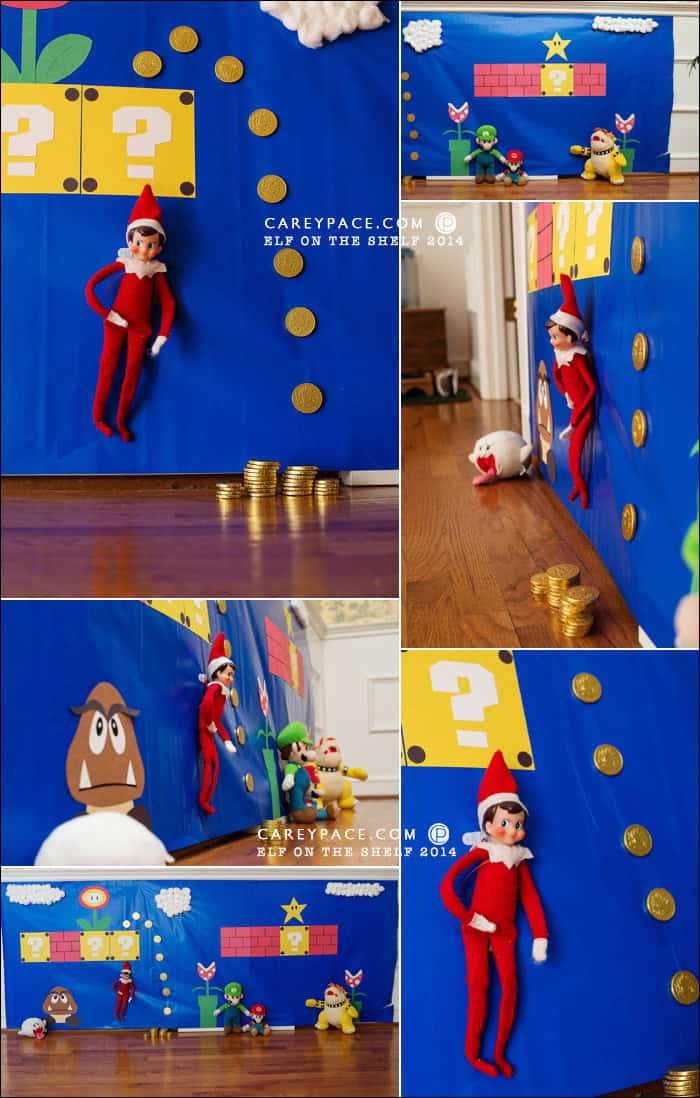
- Backdrop: I used the Command Strip Poster Strips to attach the Wrapping Paper to the wall below the chair rail in our dining room.
- Blocks: I used 9-10" squares of yellow and red construction paper for the Blocks, drawing the lines for the bricks with a sharpie marker and glueing black circles I punched out in the corners on the yellow blocks. I attached everything using a Scrapbooking Tape Runner. For the white question mark, you can print the template out located on this post here - just play with the percentage on your printer to get the right size.
- Clouds: Hot glue the cotton balls to form clouds in the sky.
- Invincibility Star: I cut out a yellow star to go above one question mark block and drew oval eyes with the Sharpie.
- Fire Flower: I cut out white, yellow and red ovals for the fire flower and drew the eyes again, as well as cut out a green stem and flower petals free hand.
- Pipes and Piranha Plants: Green construction paper rectangles for the Pipes. Red for the Piranha Flowers, white 'lips', and green stem and leaves all free handed. Punched various sized white circles for the red body.
- Goomba: Brown, and some tan manila paper, plus white and black for the Goomba, all just cut out from a free handed sketch.
- Coins: I sacrificed some of the chocolate coins by hot glueing them to the top of one of the question blocks, indicating how Jolly our Elf was jumping up and hitting that "coin box". I left a big pile in the flower at the bottom of the coin trail. (I found mine in small netted packages in the candy aisle at Walmart, but I also saw them at the registers at Hobby Lobby!)
- The Elf: I used a tiny Command Strip decorating clip to suspend Jolly, having tied a thin red ribbon around his chest but under the white collar.
- The scene: And lastly, I set out our Mario plush figures ( King Boo, Bowser Jr., and Yoshi) to go along.
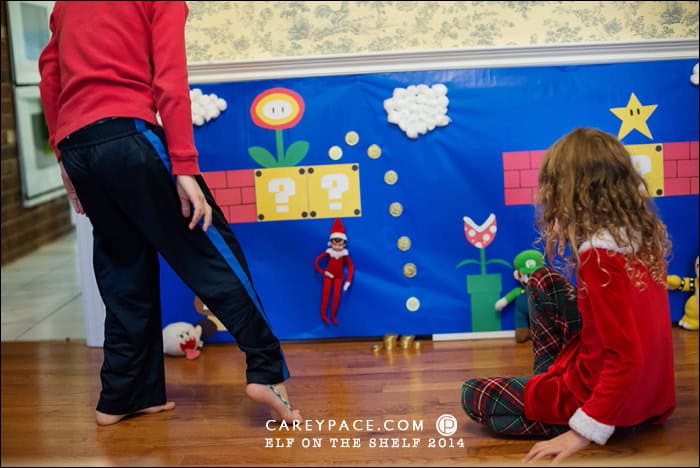
The kids thought this was AMAZING. It was worth every single moment it took to bring it together!
PHOTO MASKS ON STUFFED ANIMALS TO SOOTHE A LONELY SOUL
The kids spent a night at the grandparent's house effectively skipping an Elf day. Jolly missed them so very much! In order to pacify his longing for the kids, he created some stand-ins until the kids returned.
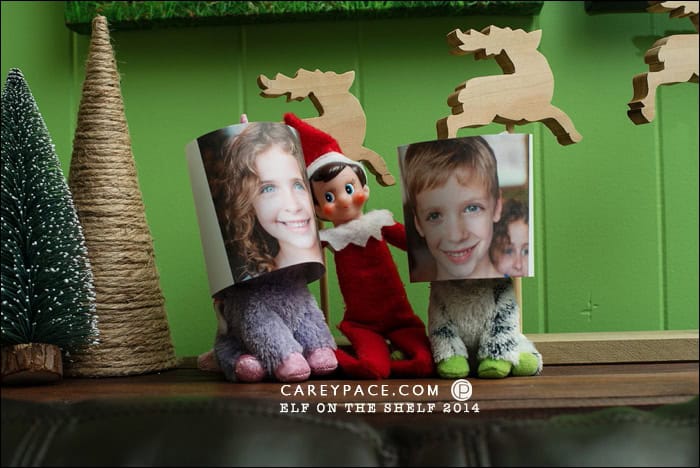
Jolly simply printed out face shots of each kid on some card stock and taped them onto two of the Ty Beanie Boo Stuffed Animals. (anybody else's kids OB SESSED with these things?)
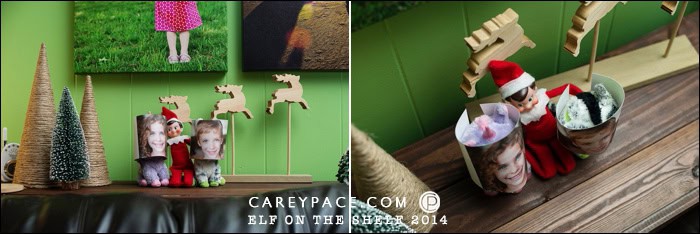
The kids got quite a giggle out of it and the note he left that told of how lonely he was without them.
Stay tuned for the next post in the series: AROUND THE HOUSE!

Carey Pace believes that beauty waits to be uncovered in the ordinary moments of everyday life. She chases creative motherhood, honesty in her writing, and images that tell stories. Her faith in Jesus inspires her to explore and share the trials and triumphs of raising children while designing magical moments along the way. She is a seeker of Light, a starter of projects, a reader of books, a lover of food and flavor, and an encourager to others. She and her husband Shawn reside in Tennessee with her son and daughter.
You can find Carey's writing and photography on Facebook, her blog, Instagram, and Pinterest.

I adore that shower curtain! I may just have to use this idea for 2015! Thank you.