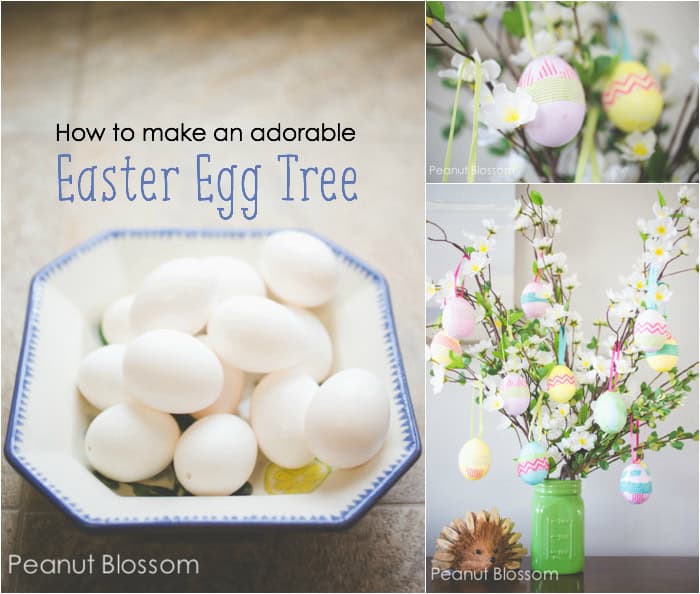
How to Make an Easter Egg Tree

Have you seen this adorable Easter egg tree on Country Living? Get all the details on how to make your own sweet Easter tree here:
It's no secret that I adore the holidays. Each and every one of them.
My fondest childhood memories revolve around how my mom would decorate our home with touches of each season. She had a special knack for finding the sweetest, classiest holiday decor ever.
I've been slowly trying to do the same for my kids and I'm always on the lookout for new ideas and sources of inspiration.
With spring in full bloom, I desperately wanted some homemade Easter decorations to spruce up the living room.
Where I Got the Idea
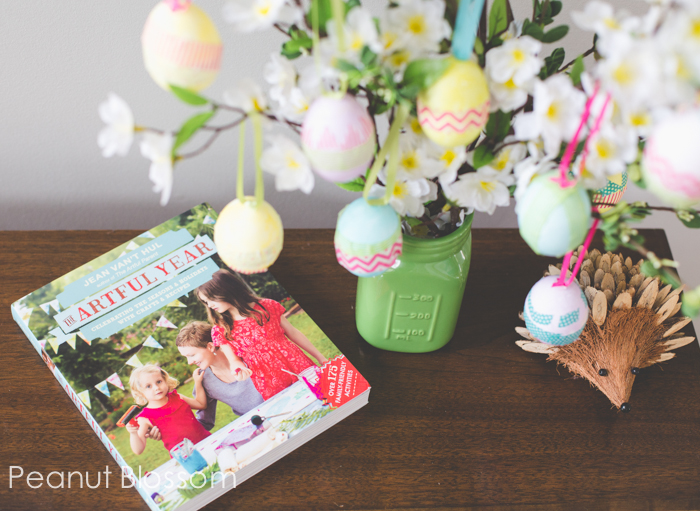
When I heard about my friend Jean from The Artful Parent's new book, The Artful Year, I jumped in line to check it out.
The very first project that caught my eye is this adorable Easter egg tree on our piano:
Want to Save This for Later?
The book is broken down by season so that you can easily jump to the crafts and recipes that fit exactly what you're looking for right now but so many of the ideas could be tweaked to fit the holiday you are trying to celebrate. I love how versatile so many of the suggestions are for families.
My favorite part of The Artful Year is how it is filled with sweet images of Jean and her family working on the various projects throughout the book. You truly feel as though she is welcoming you into her own home to celebrate the change of seasons right along with her kids.
I gravitated immediately to the several pages of Easter egg decorating ideas. When I found her suggestion for making an Easter egg tree, I knew I found the winning project to test out.
I have always wanted an Easter egg tree but they are usually really pricey at the stores I've seen them displayed. By the time you get the tree and all the ornaments, it adds up quickly.
Supplies You'll Need
We made our tree with eggs that were about to expire in our fridge and a handful of materials I already had on hand over the course of one afternoon.
We could have gone on a nature hike for the proper stick to use as branches, but we're having an especially wet Spring and I was anxious to get our eggs displayed.
For the cost of a few sprigs of silk flowers (on sale 50% off at Michael's) and a $3 mason jar, we were in business.
Here's the full Supply List for You
- Real Eggs: You can hand blow the eggs and decorate them or use plastic eggs if you want to make this with really little kids.
- Colorful Ribbon
- Hot Glue Gun
- A Branch from your yard (or silk flower stems like mine)
- A Bucket, basket, or jar weighted with pebbles for stability to hold your "tree"
How to Make an Easter Egg Tree
The steps are very easy:
- Blow and Decorate Your Eggs
- Attach the Ribbons for Hanging
- Stabilize the Branch in a Container
Make the Blown Eggs
Carefully prick a hole in the top and bottom of each egg and blow the yolks out into a bowl.
I used a needlepoint needle and held the egg firmly in one hand while gently working the needle in with the other hand.
Gently wash the egg in a warm water and vinegar combo, rinse and blow out the water to clean.
Let the eggs thoroughly dry before decorating.
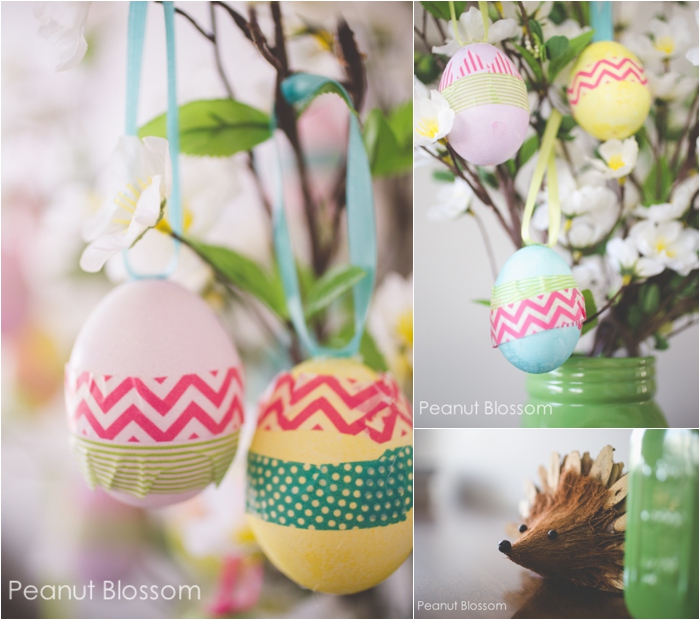
We dyed ours, let them dry, and accented with colorful bits of washi tape.
Attach the Ribbons
Using the hot glue gun, attach ribbon loops for hangers.
I trimmed a length of ribbon and just glued each end to the top of the egg.
When everything is cooled, dry and secure, they are ready to hang on your branches and display.
Secure the Branch
Place your branch or silk flower stem into your bucket, basket, or jar.
It helps to have some marbles, small stones, or other weight to keep the base stable.
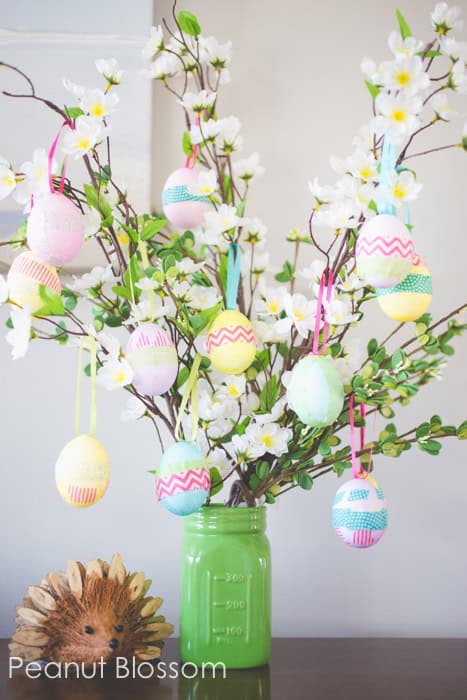
Then simply hang your pretty eggs all over the branches like this:
Keeping it Fun with the Kids
We did our project in stages and then did other things while we waited for the eggs to dry between the steps.
There was plenty of time to make a quick carrot cake for dessert.
I baked just a simple 8x8 carrot cake perfect for a little weeknight treat.
By the end of the day our new Easter egg tree was proudly displayed on top of our piano.
My girls are so proud of their hand in it and it is just the pretty touch our living room needed!
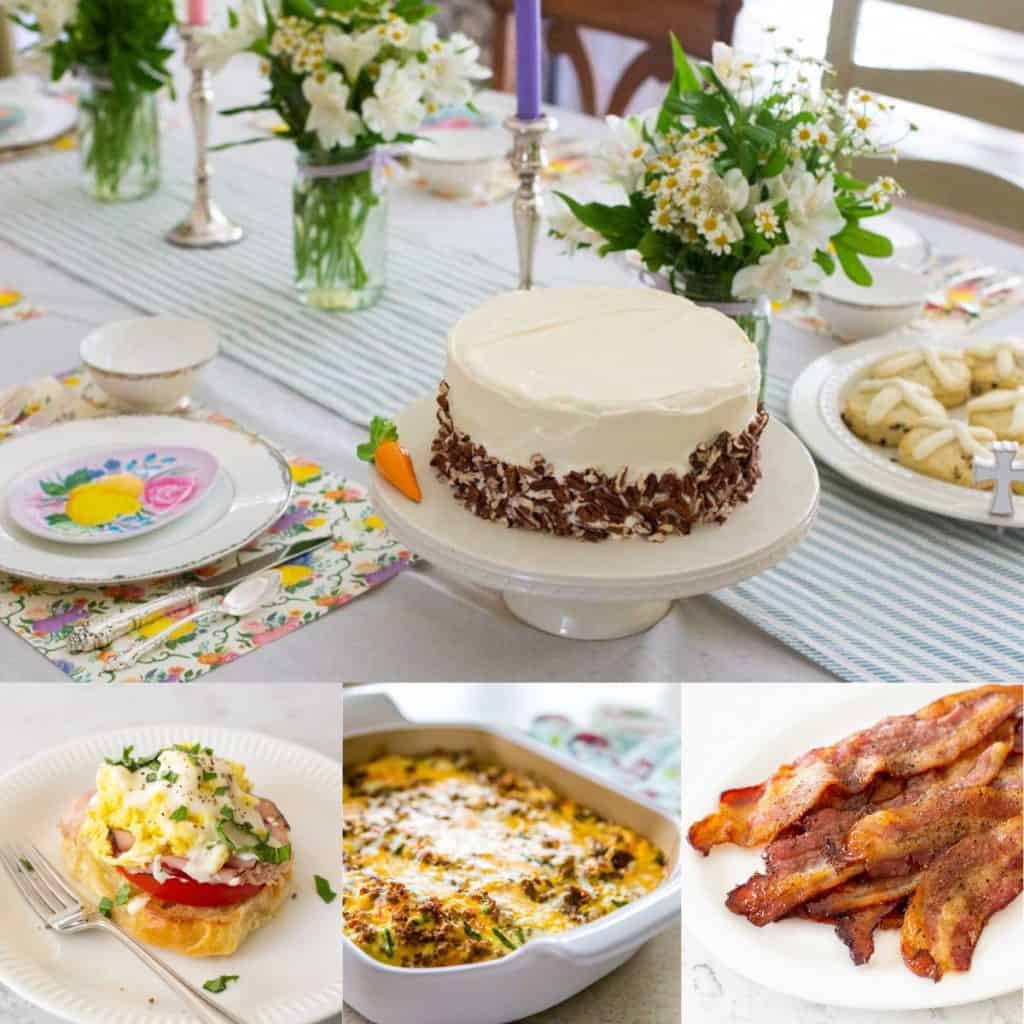
Plan Your Easter Menu
Getting ready for Easter? Don't miss my favorite Easter recipes:


Very good nice blog