Easy Watercolor Heart Painting
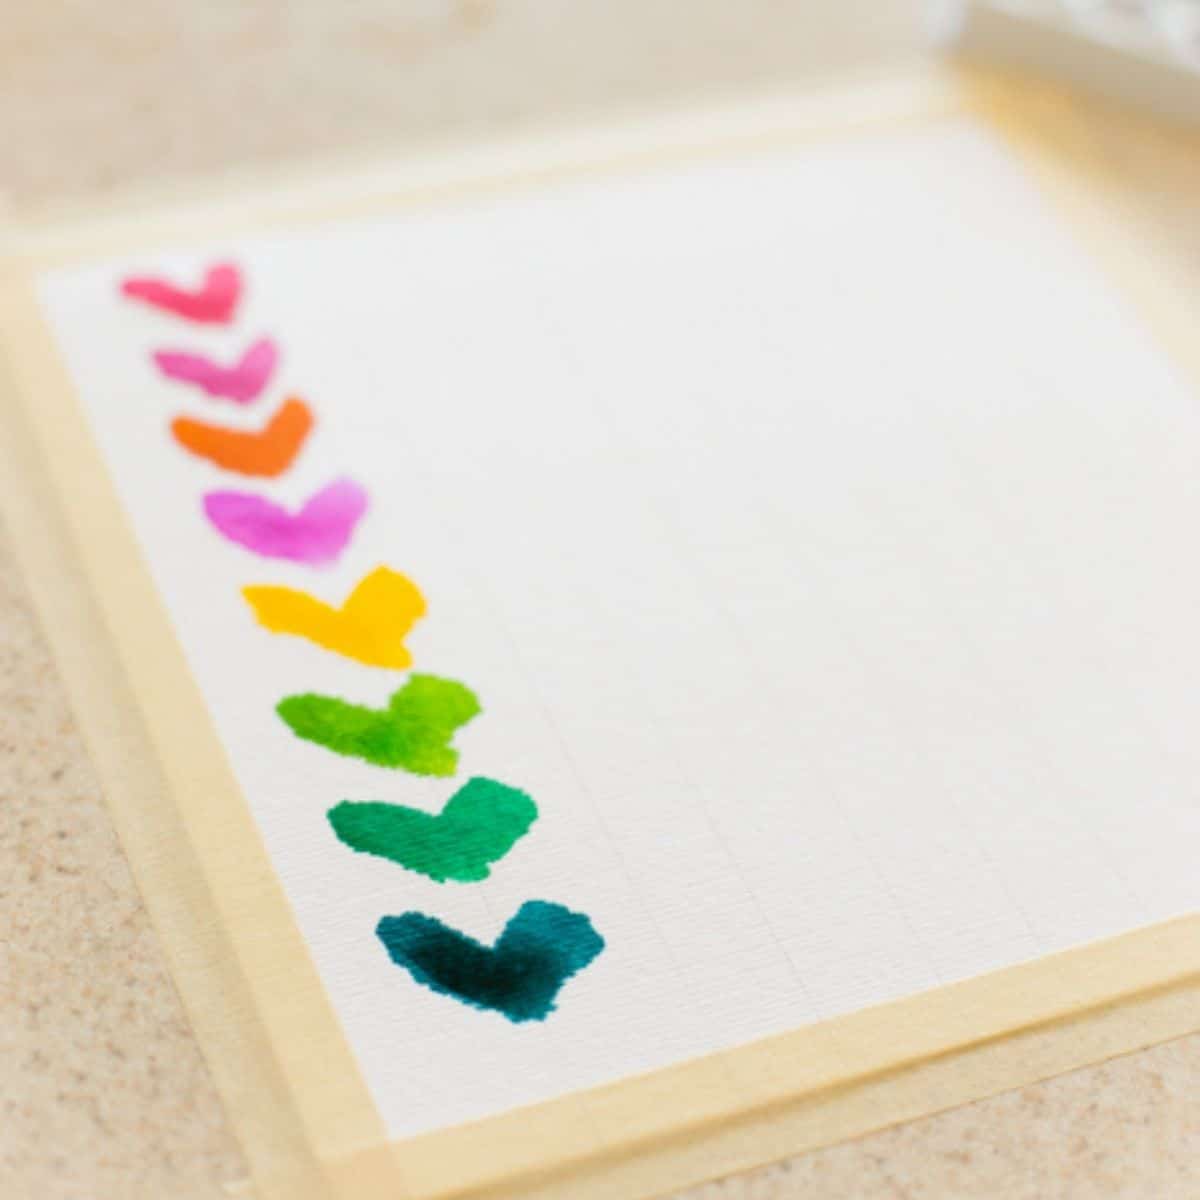
This adorable watercolor paint hearts project is perfect for kids to make gorgeous gifts for their families.
Holiday decorations with personal meaning are the most wonderful decorations of all. When our Christmas tree disappears with its display of sentimental homemade ornaments packed carefully away for next year, the house feels cold and empty to me. I miss being surrounded by all those memories.
I decided to slowly build up other sweet and happy decorations for other holidays so I have fun reminders of the kids in our home all year long.
While the kids usually come home from school with their offerings, I'm talking specifically about things I know I'll love to display for years to come.
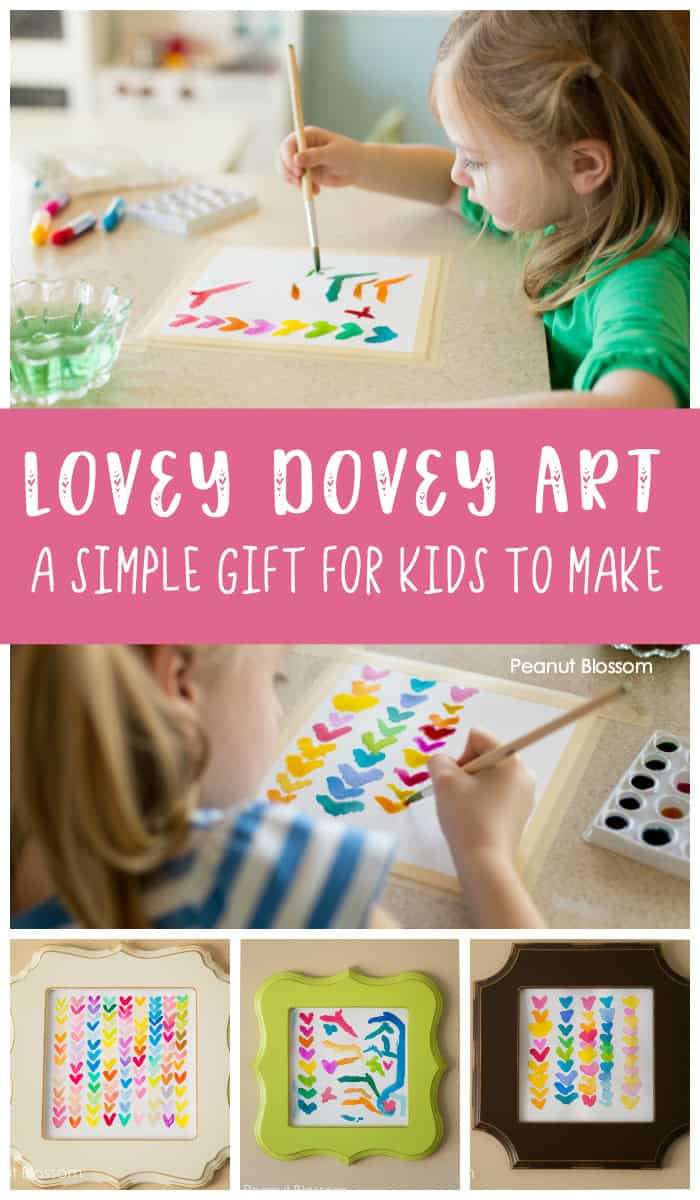
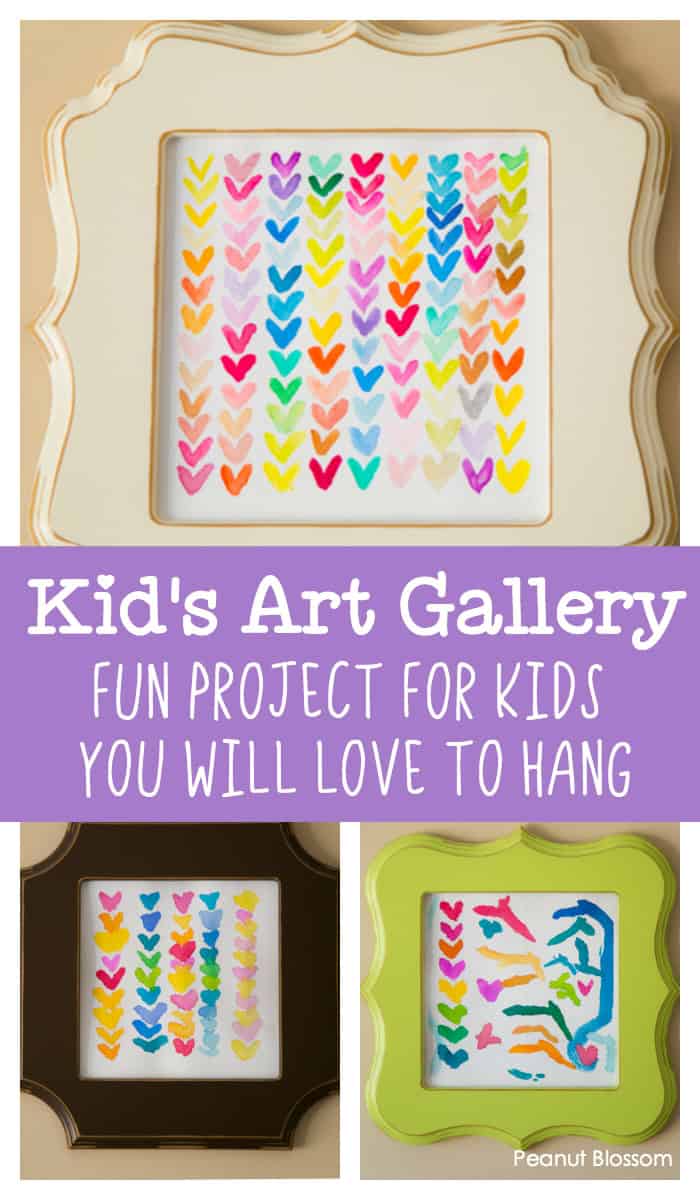
One year's contribution to Valentine's Day was a trio of color-theory watercolor paintings I did with my girls. I ended up loving them so much, they take up permanent residence in our wall gallery all year.
If you're looking for more sweet Valentine's crafts to make with kids, don't miss:
- This cutie pie paper garland tutorial: Uses their handprints!
- Sweet heart-themed crafts for kids for non-crafty moms

How to Paint Watercolor Hearts
Before you being, make sure you have everything you need:
Supply List
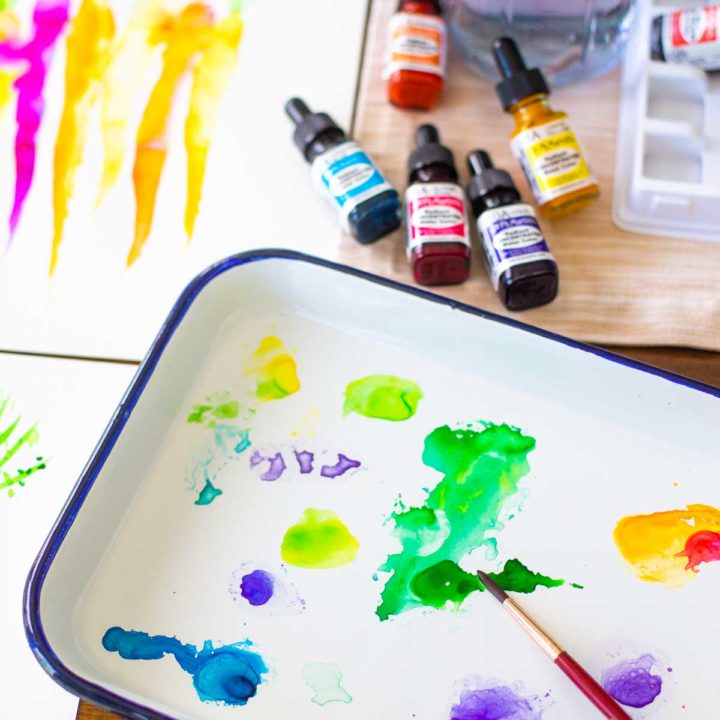
- Watercolor paints: We used bottles of liquid watercolor paint like these. but this would be a perfect, more traditional set, too.
- Heavy duty watercolor paper: I used 8x8 inch sheets because they fit in the frames I intended to use.
- Medium size paintbrush: We love this kid-friendly paintbrush set right here.
- Pencil
- Ruler
- Masking tape
- Rinsing bowl of water
- Napkins or paper towels for dabbing the water
Before You Start
While my girls are given plenty of opportunities for free painting and art they can make all decisions on themselves, this was definitely a more structured project for us.
Before we started, I gave them a specific set of instructions with a little bit of wiggle room for them to play on their own.
Feel free to use these instructions as a loose set of guidelines and use as much or as little instruction with your kids as you like!
Step 1: Prepare the Watercolor Paper
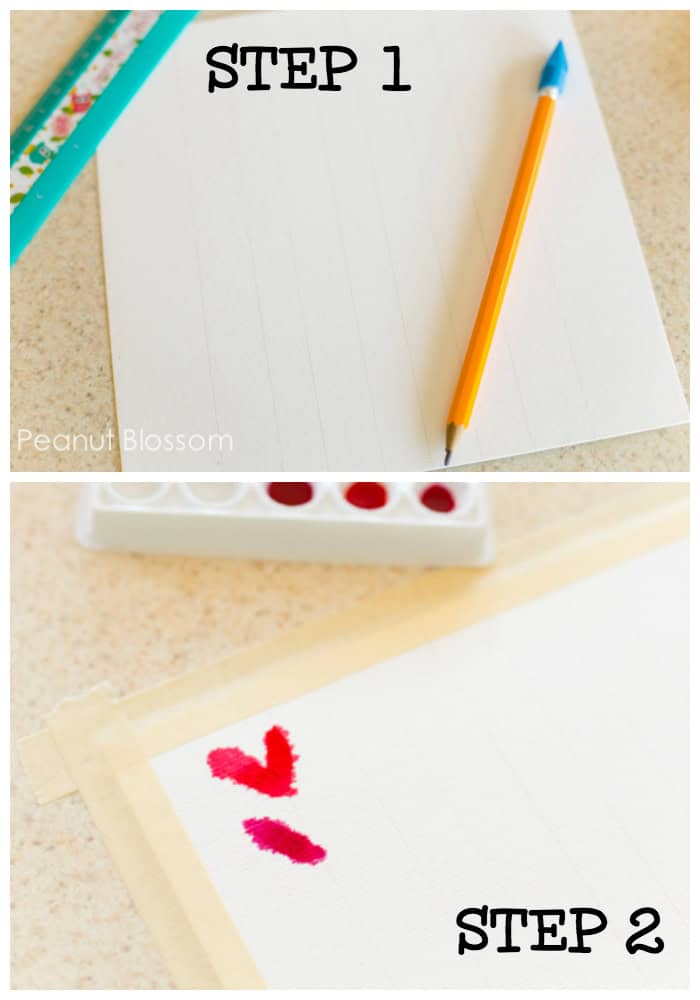
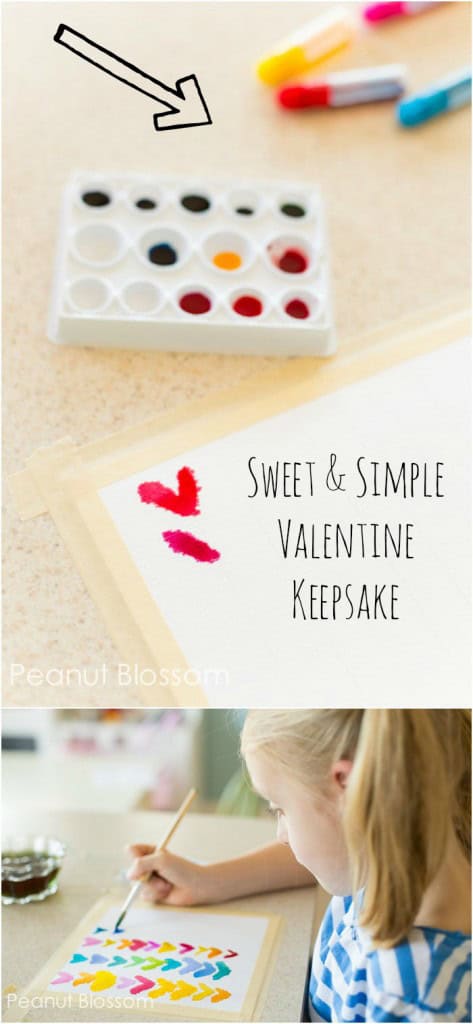
Using the pencil and ruler, gently trace parallel vertical lines on your paper to form each column of the rainbow hearts. The center of each heart will line up on your pencil line so start your first line far enough away from the border.
These lines will guide your little artists so that their rows are neat. You can easily erase them later after the paint has dried if you use a light hand.
Use the masking tape to secure all 4 edges of the paper to your working surface. This gives the paper support and steadies the canvas but it also serves to create a neat border on the edge. That way your kids don't need to worry about their work page moving all around as they try to paint the rainbow hearts.
Step 2: Prepare the Watercolor Paint
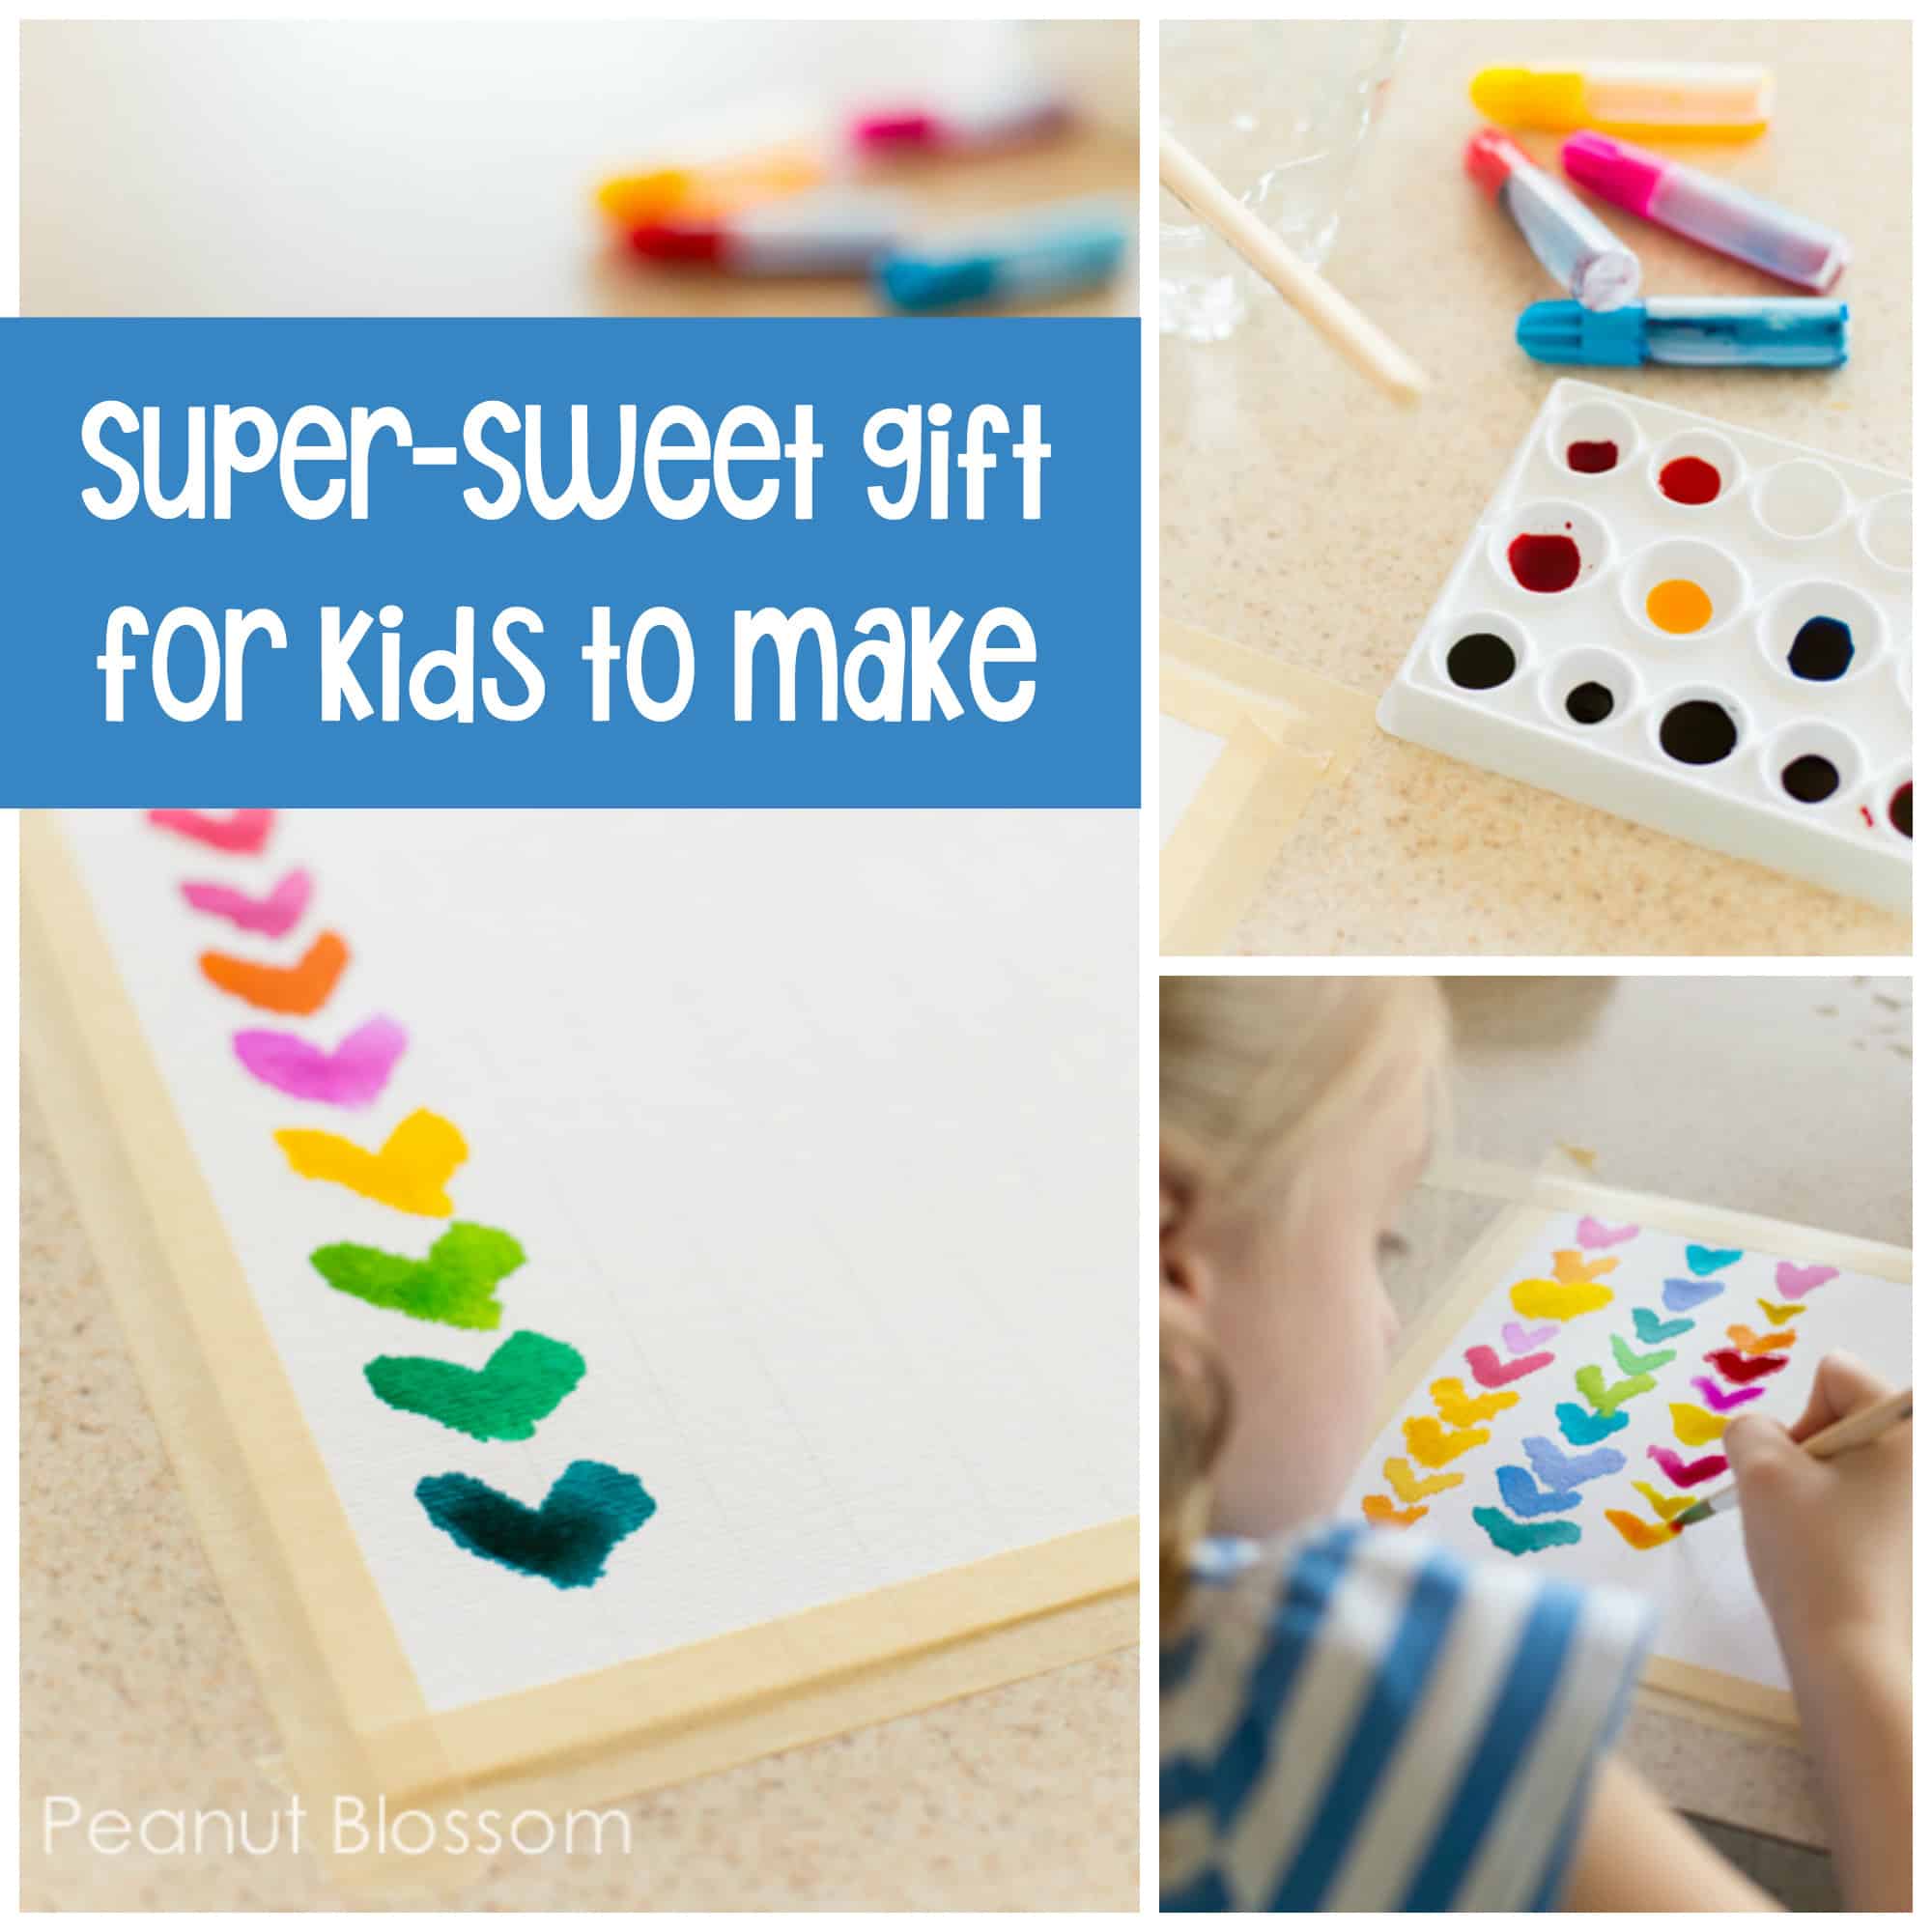
You will want to decide your color palette for the project. Are you doing a specific theme to match your home? A fun rainbow like we did? Decide together what you'd like to create and then arrange just the colors you need.
We used a simple paint palette to mix and match the rainbow paints we needed. My girls help me to mix them by adding just the right drops of color to each well. We counted the drops together and organized the colors in groups of warm and cool.
Step 3: Paint the Watercolor Hearts
The only rule I gave my girls is that the first row of hearts had to be in a neat row. Then I encouraged them to finish the project as they wanted. I love seeing the difference between the 3-year-old's attempts at finishing the hearts on her own and the 6-year-old's. (Mommy painted the one in the white scalloped frame because all design elements are better in odd numbers!)
Each heart is just two simple downstrokes: one on each side of the pencil guidelines meeting in the middle. That is how we kept everything even and centered.
Variations on the Rainbow Hearts
I chose to let my girls pick each color they wanted to use next but this project would be perfect for learning about all elements of color. You could assign new heart projects and let your kids explore:
- Working from light to dark in a single shade
- Warm vs. Cool colors
- Mixing shades between two colors
- Diluting with water to see various saturation levels of a color
The Finishing Touch
Oh! And don't forget to have your pieces signed by the artist! I gave my girls a pencil and had them write their names and I added the year and age in the corner. You think you'll remember, but it never hurts to have a little help!
More Crafty Ideas
Like this post? Pin it!:


These are beautiful! I wanted to let you know that I featured this on my blog if you want to check it out: https://amysenter.com/february-pinterest-roundup/ My daughter would love to do this!
top site huge fan of jackpotjoy from Sweden