Adorable DIY Photo Ornaments
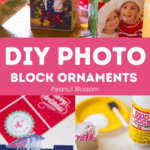
Make DIY wood block photo ornaments for a personalized Christmas gift this year. This fun holiday craft is a thoughtful way to remember your family's favorite memories from the year.
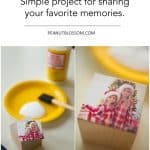
I'm always on the look out for projects that involve using printed photos because I firmly believe that if we take the time to capture the moment, it deserves to be shared somewhere outside of our hard drive.
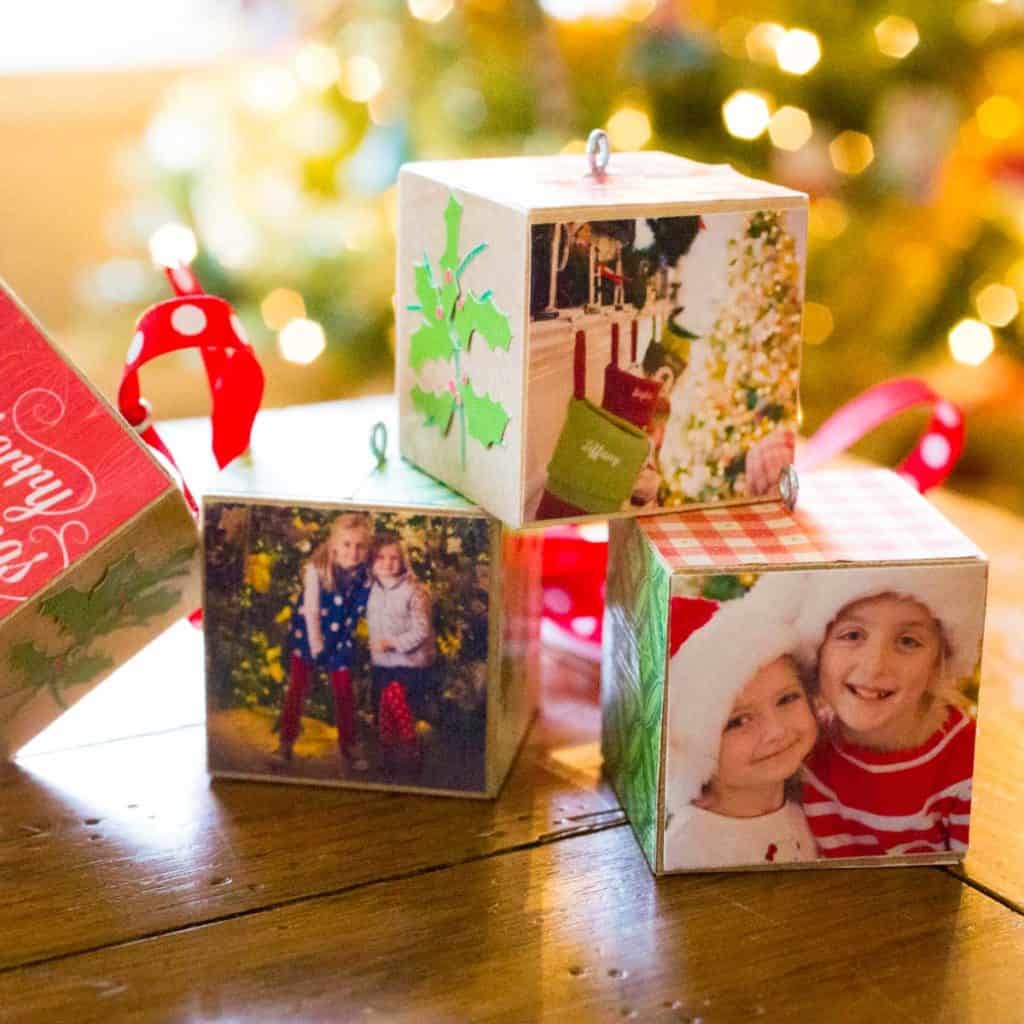
I recently found a company selling photo block ornaments where they would print your photo ON to the wooden block. They were cute, but I figured it would be a super easy craft I could do myself. Honestly now that I've tried it, I think my version is better because the photo colors are more vivid using an actual paper photo print.
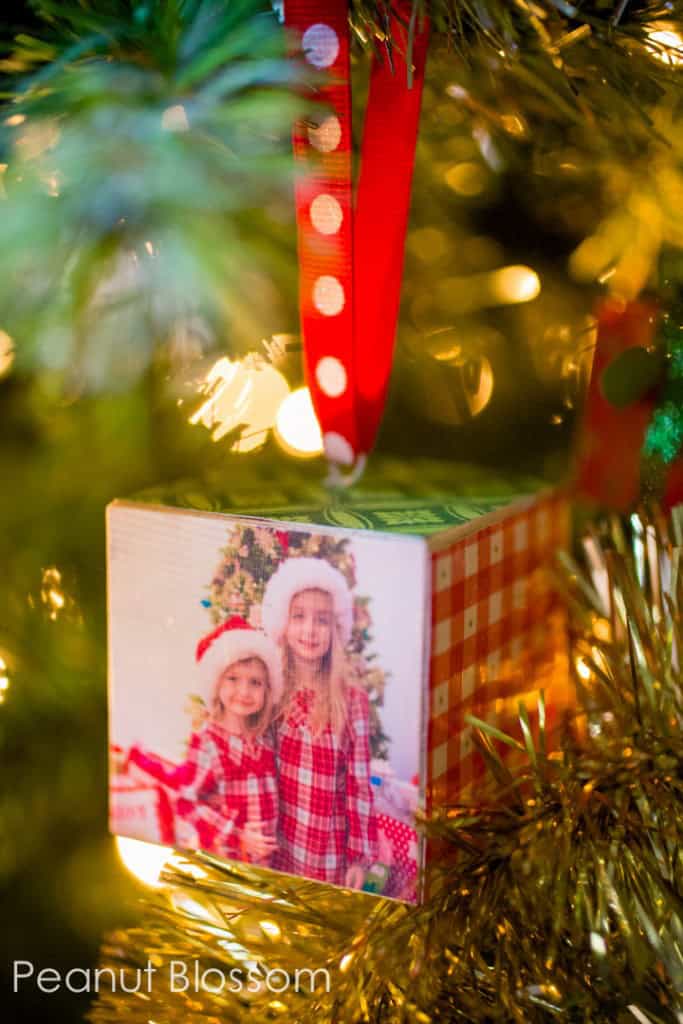
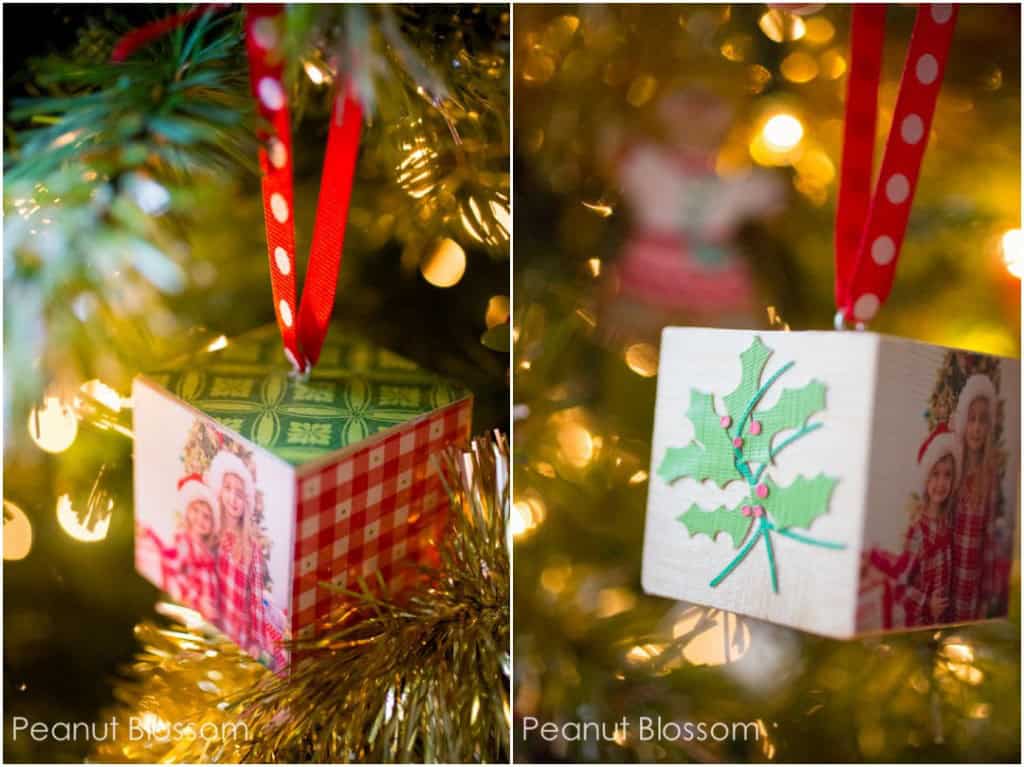
See?? Look how adorable this DIY photo ornament is on our tree:
Supplies Needed For This Project
- 2x2-inch unfinished wooden blocks
- Photos printed and sized for the space, see my free template and instructions below
- Decorative scrapbook papers or personalized caption squares using the photo template
- Paper trimmer
- Mod Podge
- Sponge brush
- Wax paper
- Screws for hanging
- Ribbon
Step 1: Choose Your Photos
I started by selecting some of my favorite holiday photos from the last couple of years.
These milestones would make for a perfect photo ornament:
- vacation photos
- graduations
- wedding celebrations
- anniversaries
Step 2: Format Photos for Printing
Measure your wooden blocks. You'll want to size your photo to fit the space. The blocks I used are 2-inch squares.
To maximize the photo paper, I used a 5x7-inch canvas with six photos arranged in two columns.
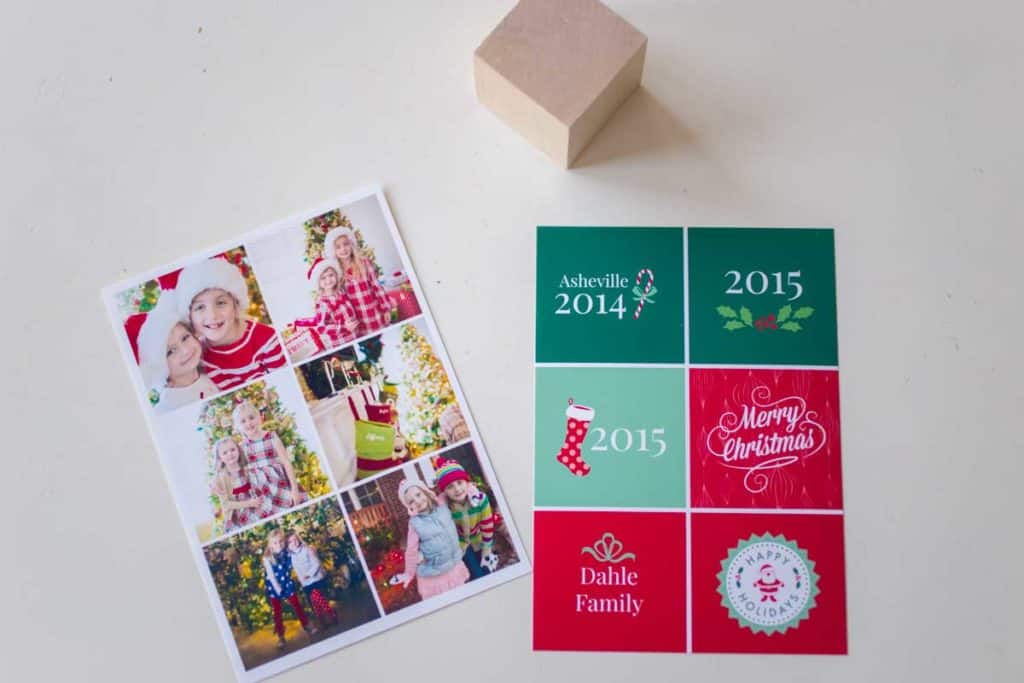
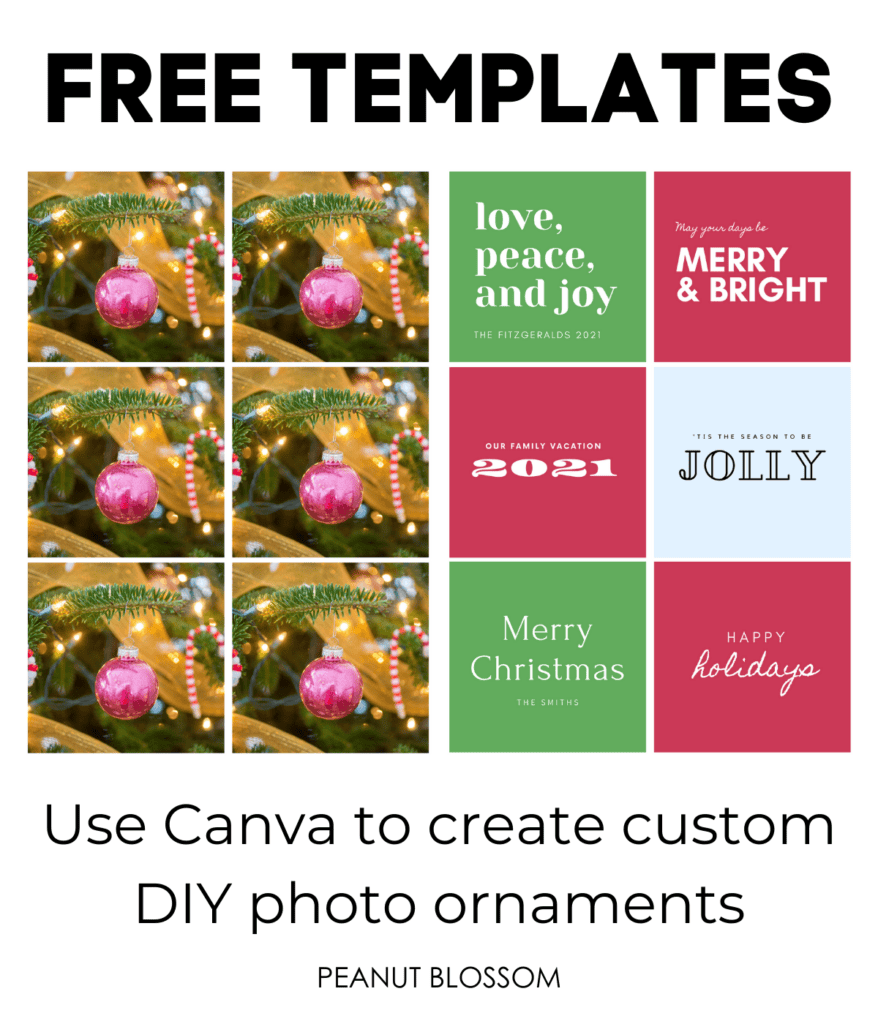
I created a FREE template you can use with Canva, a free online design program I love.
I mixed in a second sheet that will let you personalize the year, add your names, or write personalized captions to mix onto other sides of the photo cubes.
For full instructions on how to use Canva, you can watch this video where I show how to set up the files for printing:
A couple things to note:
- You can customize all the colors and captions in the file.
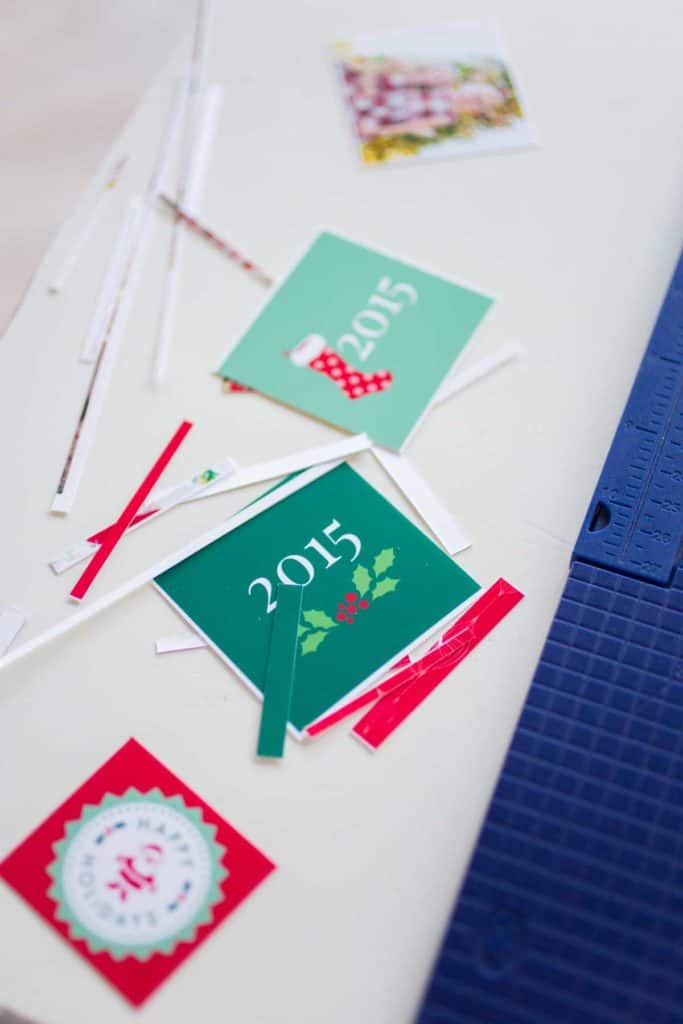
- The template squares are sized at 2.3-inches so you'll have some space for trimming your photo neatly. This helps prevent a white edge from peeking out along the trimline.
- Be sure to leave some space around the important parts of the image because you'll need to crop in a small border to make it fit on a 2-inch block.
- You can see samples of how much I trimmed from each edge in the photo below:
Once your photos and graphics are added, download the file as a .jpg so you can print it.
You can get your FREE template here.
Step 3: Print the Photos
I was able to print my files on 5x7 photo paper on my HP Envy 5660 right at home.
You could also have your photos printed locally or online at Shutterfly or Mpix.
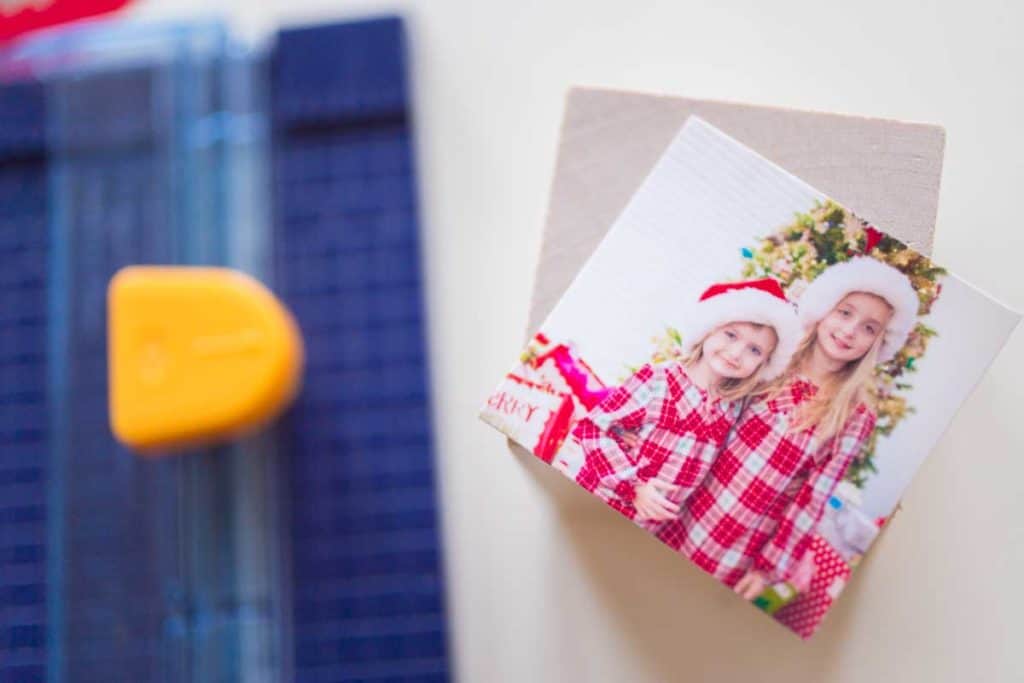
Step 4: Trim and Glue the Photos
Once the collages were printed on 5x7 photo paper, I used a paper trimmer to size them down to fit the 2x2 inch blocks perfectly.
Want to Save This for Later?
Then I dug out my Mod Podge and glued the images down onto the blocks.
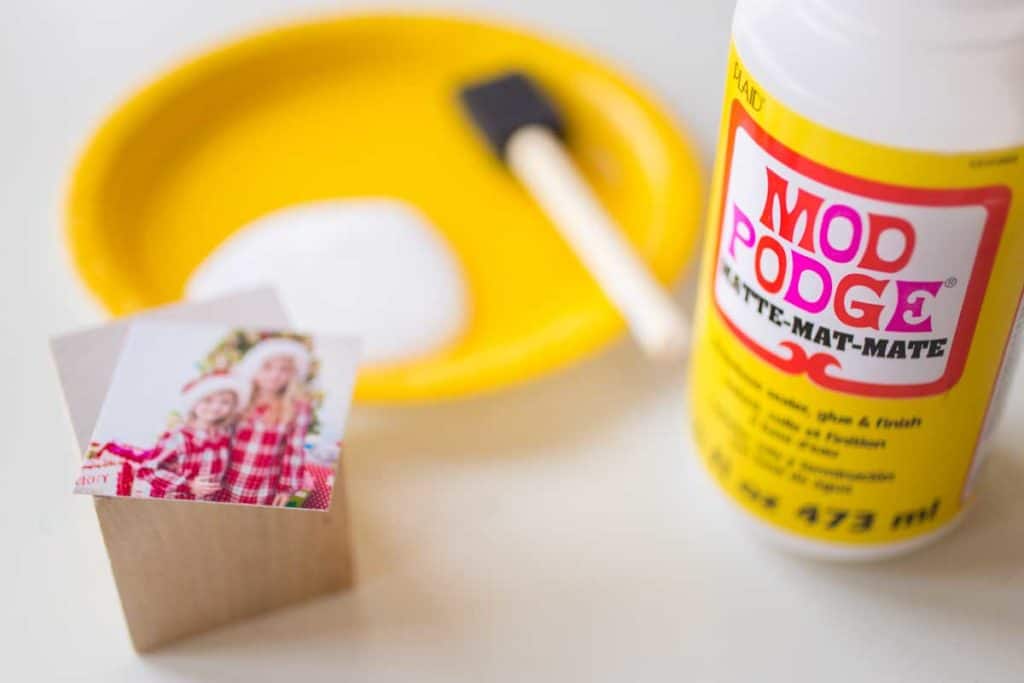
I put one layer of Mod Podge under the image to secure it and another layer OVER the image to protect it.
Important Tip: Be light-handed with your top coat but be sure it has a nice even application. I used a simple sponge brush and just made sure to have a nice even swipe across the surface.
The Mod Podge will dry mostly clear, but will give a slightly textured finish to the block. The colors still come through beautifully and I feel it makes it look a little more rustic/distressed.
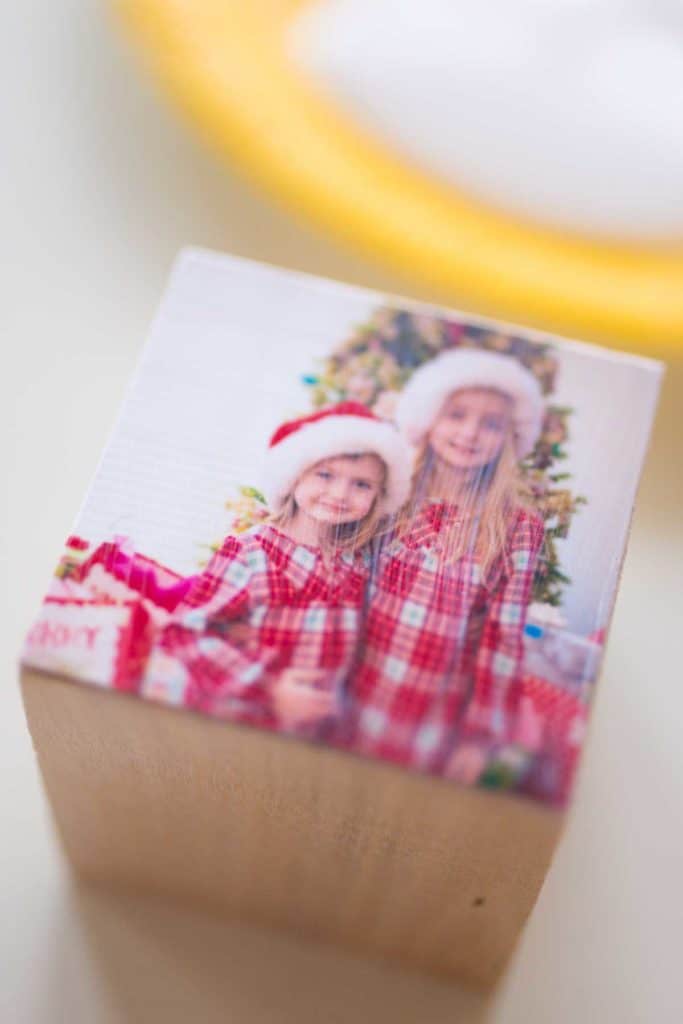
LEAVE THE TOP SQUARE BLANK:
Add a photo or pretty graphic paper to all sides of the wooden block except the top square where you'll add the screw. You'll finish that side last.
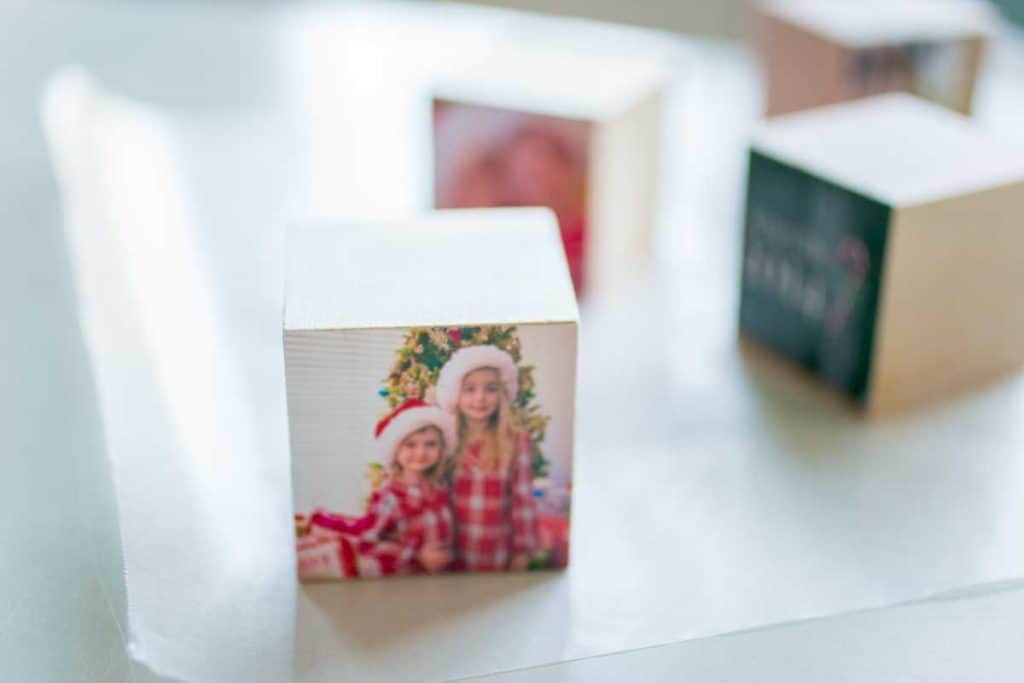
I lined up the wet blocks on wax paper to dry thoroughly overnight.
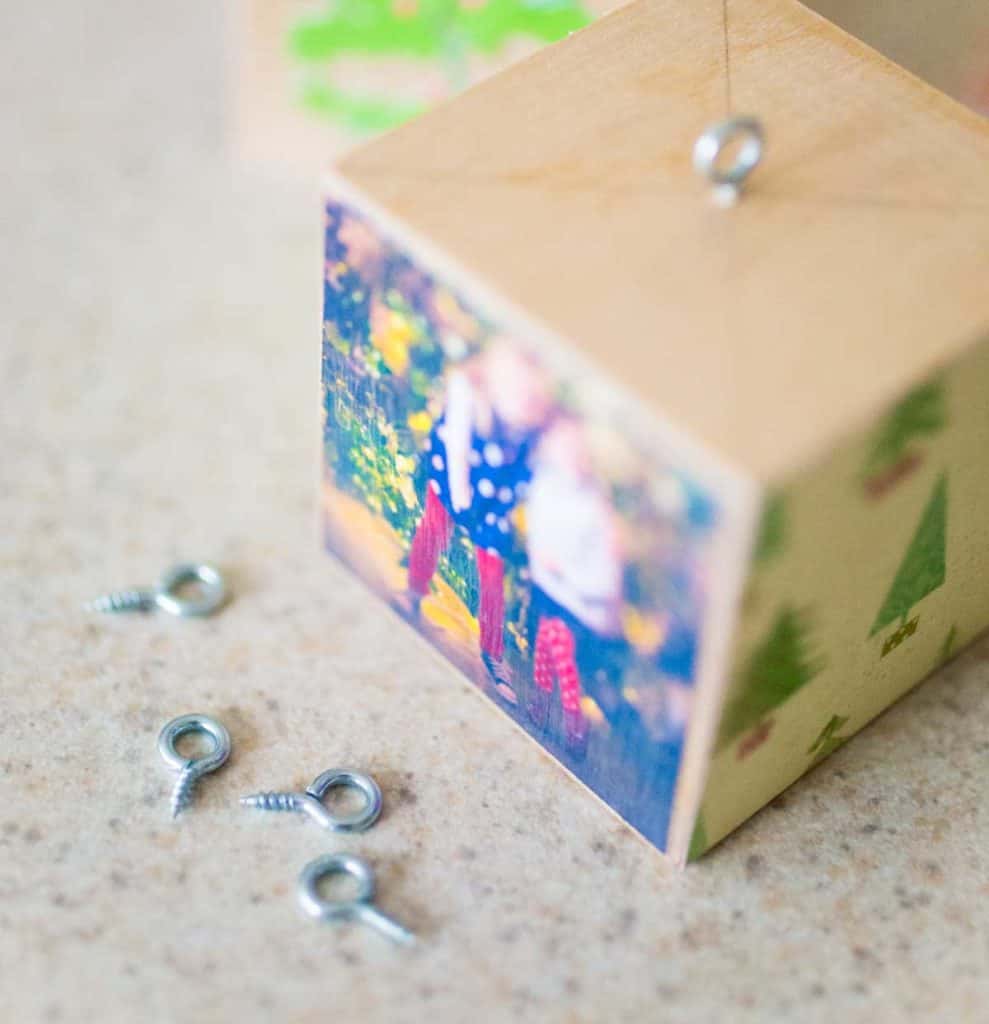
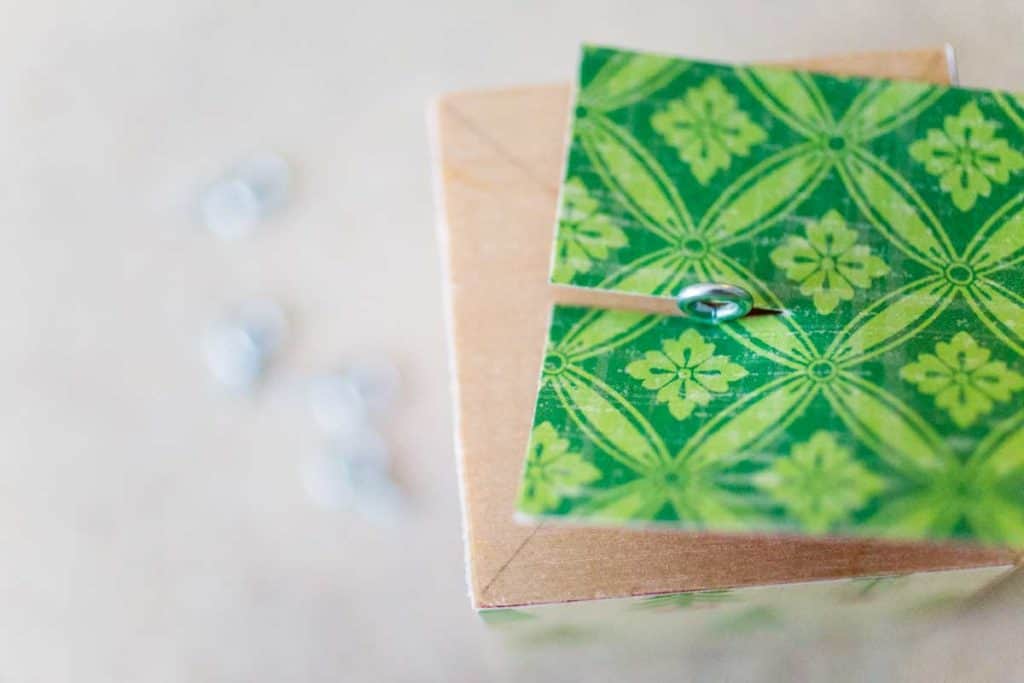
Step 5: Add the Screws and Ribbon
To hang the wooden blocks, I found simple metal screws with a loop on the end at our hardware store.
I used a pencil and ruler to mark the center of the top of the block and then just screwed them into the wood by hand.
To finish off the final side, I took one last piece of decorative paper trimmed to the right 2x2 size and simply used my scissors to cut a slit from one edge to the middle of the paper. I slipped the paper over the screw and wiggled it gently into place.
I secured the top paper with some more ModPodge and once the whole thing was dry, I slipped a festive ribbon through the loop on the screw and tied it in a knot.
You could use photo prints on all sides of the blocks or decorate the sides with stamps, cut-outs, or decorative papers of any kind.
I made some adorable paper holly berries just to have an excuse to experiment with the brand new Silhouette Cameo I snagged during Black Friday. I love the texture it gave to the ornament.
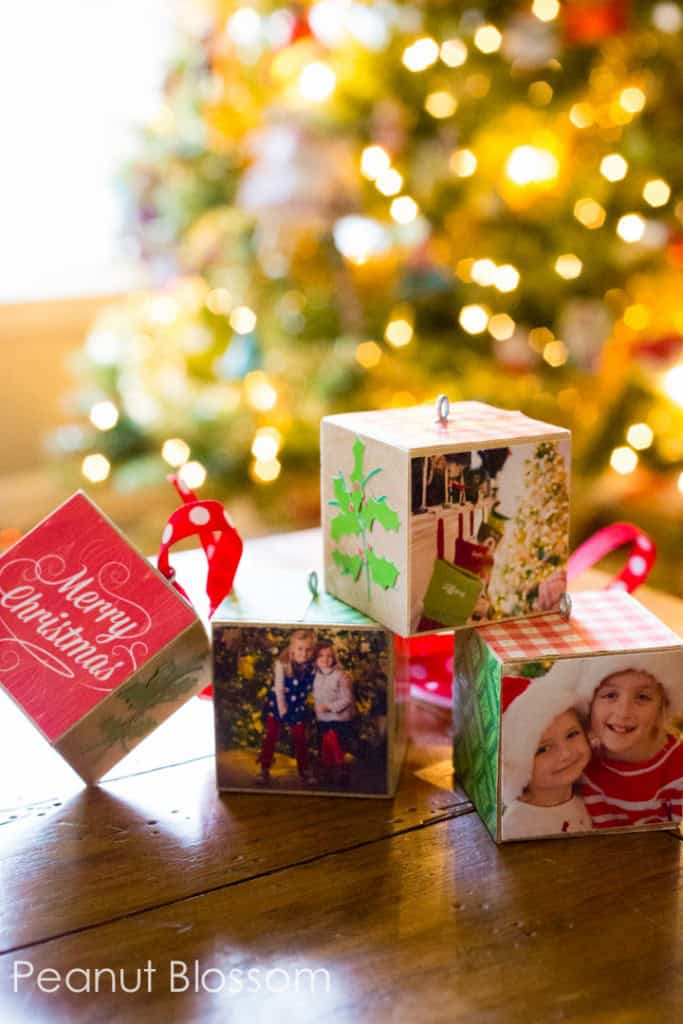
Here's the final batch, didn't they turn out cute? This would be such an easy gift to make with the kids as gifts for family members or as an annual tradition for your own tree.
I love the idea of making these! I noticed your post of several years old and I wanted to know before I go and purchase a subscription to PicMonkey that the program still supports the option to make the photos on the collage setting as you have described...do you still subscribe and can verify this? If not, is there another option to achieve the size photos that are required for this craft.
Thanks for your help!
Lori
I'm thinking I can do this with fabric. Just fussy cut 2" squares. I have way to much cat fabric I can use
Did you coat the top of the papers too?
To get the 6 photo squares in the 5x7 template on PicMonkey, I dragged a new photo and hovered it in-between the top 2 photos until a new cell appeared for me to place the photo. You can add cells in the template by dragging in new images and delete cells by clicking the X in the upper right corner of an empty cell. I just played with those options to get the 2 x 3 rows template pictured in the images above. Hope this helps!!
Thank you so much! Merry Christmas!
I love this idea but I'm having the same issue..as the two posters above.I think there might be a step missing in your instructions or Picmonkey has changed since you did this. Hoping to do this as a Christmas activity this year
Like the comment before me, I'm also curious how to get the six square option? Thank you!
I love this! Thanks for sharing, I am having a little trouble though, in pic monkey I can't seem to get the 5X7 card option to give me 6 squares? Is there an easy fix for this? Thanks in advance