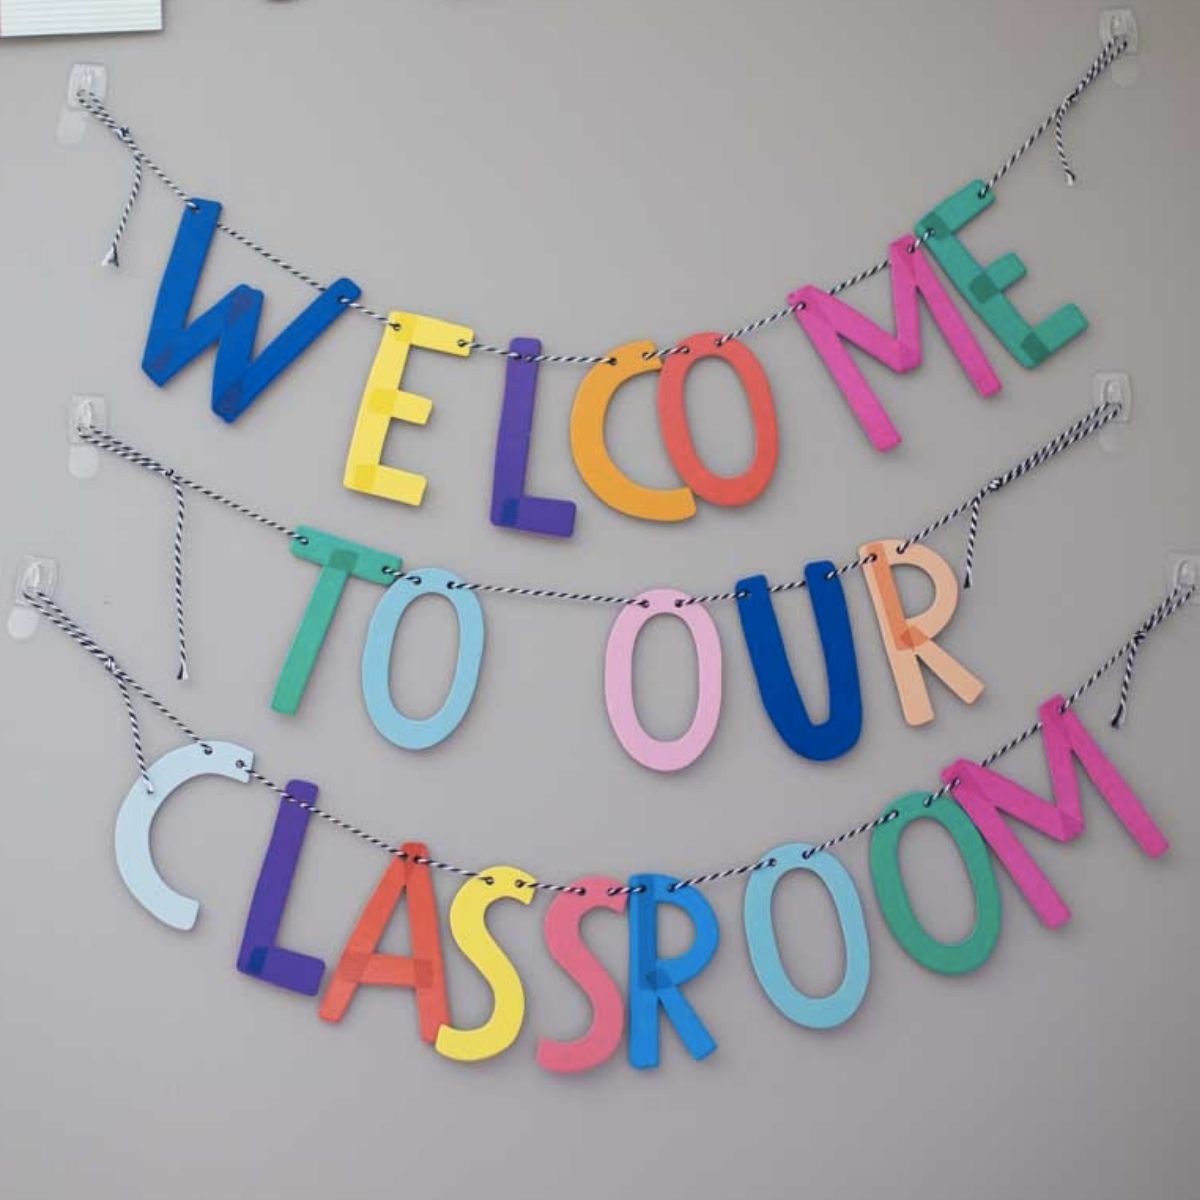
How to Get Started Homeschooling
Advice on how to get started with homeschooling even when you’ve never taught before from a first-time homeschooling mom.
Though the school year isn’t quite officially over just yet, I’m proud to admit I’ve been homeschooling Little Pea for almost an entire year.
I don’t have a teaching degree. Homeschool was never part of my greater plan. It took facing some extreme challenges with the traditional schooling route before we were thrust unexpectedly into homeschooling last year. It ended up being one of the best things I have ever done in my life.
Recently, friends and family have reached out with questions about what homeschooling looks like for our family and how we got started.
With everyone all suddenly thrust into crisis schooling at home for the remainder of the year, some friends are now giving homeschooling a fresh look and consideration for the upcoming year.
I totally get it. The control and stability that homeschooling offers families are amazing benefits. They were major contributing factors for why we chose to homeschool, too.
With a global pandemic wreaking havoc on this school year, it is completely understandable why you may be looking for a reliable way to continue your child’s education now and in the future. Homeschooling allows you to ensure a seamless path of learning that doesn’t need to be disrupted by external situations.
I’ve pulled together all the notes I would have just killed to find last summer when we made the somewhat last-minute decision to pull Little Pea from her public school. I had 3 weeks from the time the decision was made to the first day of school. For a planner like me, that felt like an insanely short timetable.
Whether you have a few days or several months to plan for homeschooling, here is the advice I would have given myself last August. I hope you find it helpful.
If you still have questions, leave them in a comment at the bottom of the post and I’ll do what I can to help!
Jump to:
- How to Get Started Homeschooling Your Kids
- What is the best curriculum to use for homeschool?
- What does a typical homeschool day look like?
- What supplies do you need for homeschooling?
- Where should I set up for homeschool in my house?
- How to organize your lessons
- How to make progress on all your lessons in the month
- How to document your work and build a portfolio of progress for your student
How to Get Started Homeschooling Your Kids
The first step to homeschooling officially is to file the appropriate paperwork with your state. The rules vary from place to place and many other people have written extensively about this element of homeschool. My advice is to just research your state’s policies and get familiar with them.
NOTE: As I write this in April 2020, a gentle reminder that right now during the global crisis, you are crisis schooling. NOT homeschooling. If you choose to teach your kids at home during this time, you do not need to officially pull them from their public schools. You can do your own level of homeschooling as you wish for the next several months and then make your official decision in the fall whether you wish to continue this path.
There’s never been a more perfect time to experiment with whether or not homeschooling could be a good choice for your family. You’re home together anyway. Just remember to factor into your decision that you are actually confined to home right now and unable to enjoy our very favorite benefit: unlimited weekday field trips and outings!
What is the best curriculum to use for homeschool?
The list of materials you actually need to homeschool is going to be far shorter than you’re thinking right now.
You won’t believe me, when you see how little you need. You’ll be tempted to buy ALL The Things. My biggest piece of advice is to start simple and then build as you go.
First, decide the core subjects you’re going to teach. You are NOT doing “public school at home,” homeschool is a completely different thing.
You do NOT need to fill 7 hours of the day with curriculum.
You do NOT need to mimic every subject taught in school.
For my 4th grade student, we decided that our Core Focus would be reading and math. That’s it.
Did we learn a lot more this year? Absolutely. But, when it comes to buying actual curriculum, those were the only two subjects that truly mattered to us.
I HIGHLY recommend finding curriculum to match each subject you plan to teach. Find the best program for that subject rather than an all-in-one kit. Start BASIC and build your resources over your first year as you learn more about how your child learns and how you teach.
The curriculum we used:
- All About Reading: I cannot possibly rave enough about this program. It has been life-changing for my struggling reader. We will use the companion Spelling curriculum on both kids once we’ve finished the Reading one with my 4th grader. You can find placement tests for the program here.
- Math-U-See: My daughter is a very visual learner. This math curriculum works a little differently than school but has been absolutely phenomenal for us. You can find the placement tests here.
- BOOKS, BOOKS, and MORE BOOKS: We filled in all the other subjects with an enormous variety of books that we bought or got from our library.
Honestly, that’s all you really need! A few official pieces of curriculum and a library card.
All About Reading and Math-U-See are just two examples of reading and math programs. There are several excellent options out there. Narrow your focus for the single-subjects and find the program that fits your needs best.
What does a typical homeschool day look like?
On a normal day, we spend 20 minutes with our reading curriculum and then another 20 minutes with our math curriculum. That is IT when it comes to traditional school-style learning.
The rest of the day is spent in a variety of educational activities: playing games, reading piles of books, online activities, field trips and meet-ups with friends, dance classes, sports practices, and more reading, reading, reading. Every day felt a little different, but the 40 minutes of book-specific curriculum time gave us a feeling of consistency and progress throughout the year.
What supplies do you need for homeschooling?
I confess, I love school supply shopping. I’ve always been a total dork about it. When we decided to homeschool, I had visions of a long list of fun supplies I’d get to buy.
Spoiler alert: You hardly need any supplies at all for homeschooling.
When I got to Target and started to really think about the things we needed, I realized we already had almost everything right at home.
Essential school supplies you’ll need:
- Pencils
- Paper: both looseleaf or notebook and printer paper
- A computer: any kind at all and it doesn’t need to be specifically the student’s. We share my laptop. No computer? A tablet or Chrome book (preferably with a web cam built in) would work just as well.
- A printer: I love my HP Envy with Instant Ink. I never have to think about running out of ink and we can print as many activity pages, worksheets, or lists as we need. When the ink runs low, refills magically appear in my mailbox. If you’d like to try out Instant Ink, you can get started with a free month here.
- 2-3 binders and lots of page protectors: These come in handy for building a portfolio of progress and keeping track of loose pieces of curriculum. I prep our reading activity sheets into a binder for easy grabbing. I bought this huge box of page protectors to keep at my desk.
- White board and markers: We made it 5 months without a whiteboard just fine, but then on a whim I purchased one a couple months ago. I regret not buying it immediately! This whiteboard is just the perfect size for Little Pea to do her long multi-step multiplication and division work on. We use it for brainstorming and doodling and lessons of all kinds. She LOVES using it with this multi-color pack of dry erase markers. Bonus, it saves a ton of paper.
- A library card: We made several trips to the library every month for fresh books.
- Art supplies: You probably have everything you need right at home. But, if you need an excuse to pick up fresh materials, we loved using crayons, markers, paints, and glue for various projects this year.
You may also want to stock up on a few of these fun homeschool accessories for your classroom space.
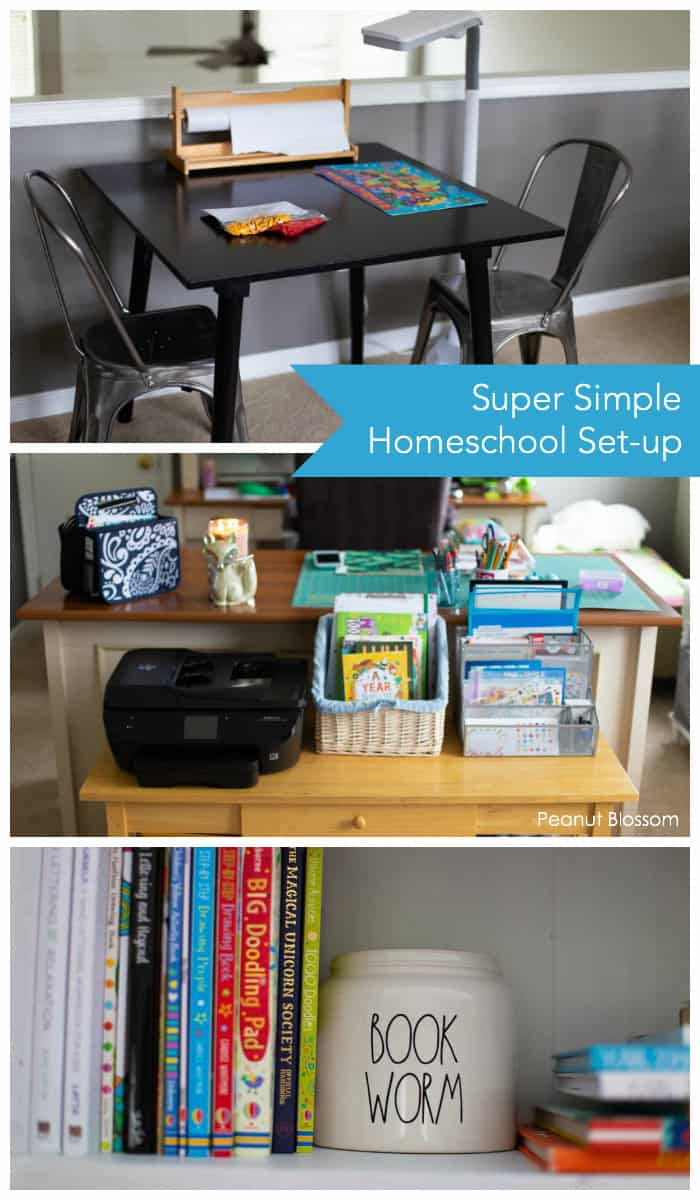
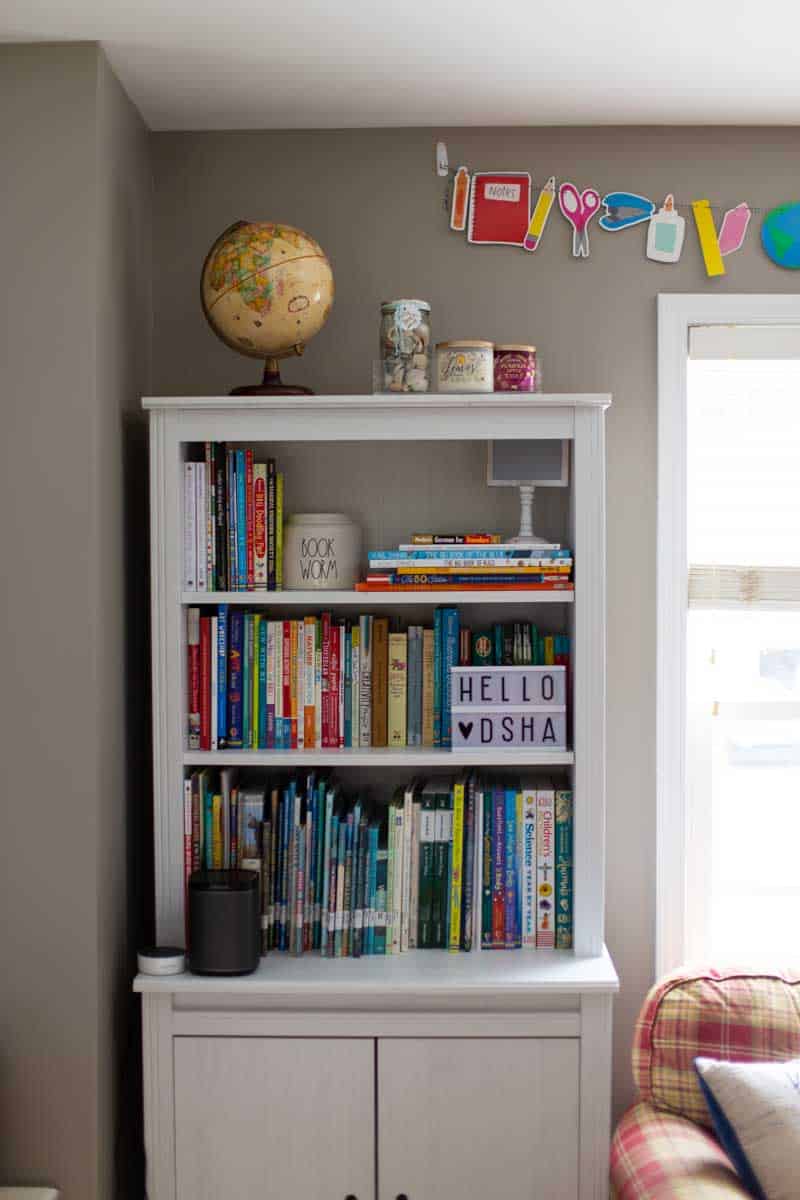
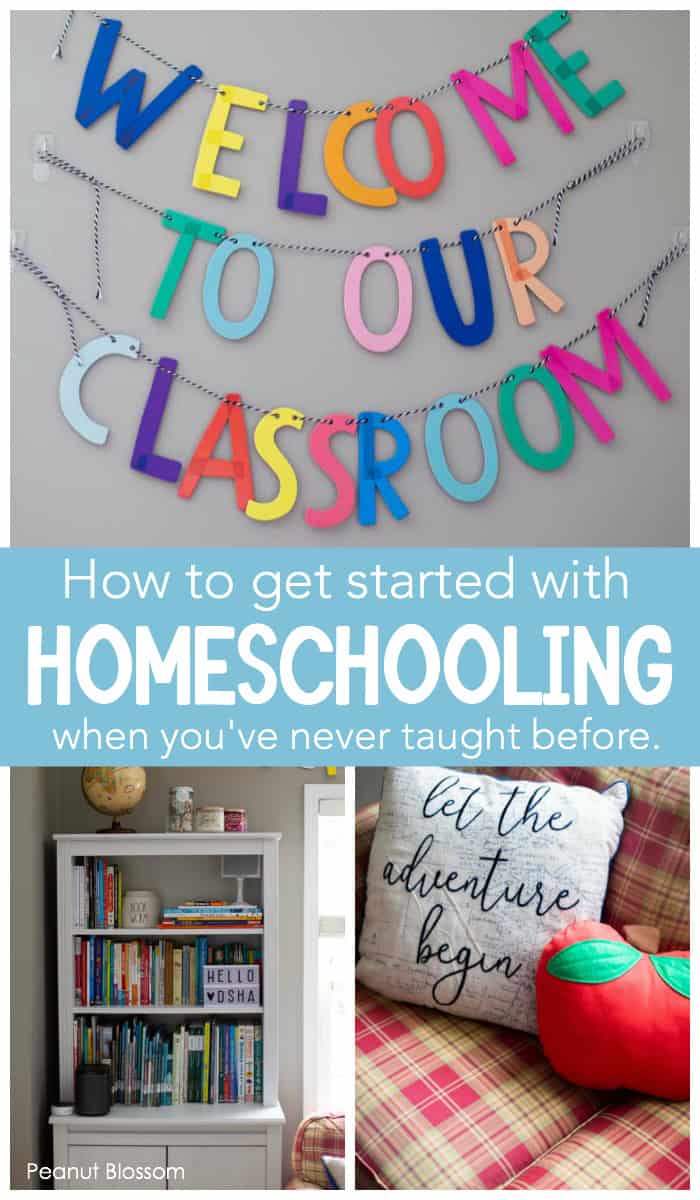
Where should I set up for homeschool in my house?
When we first started, I desperately needed to have a dedicated space for our “classroom.” I wanted to give Little Pea as much consistency for her school experience as possible.
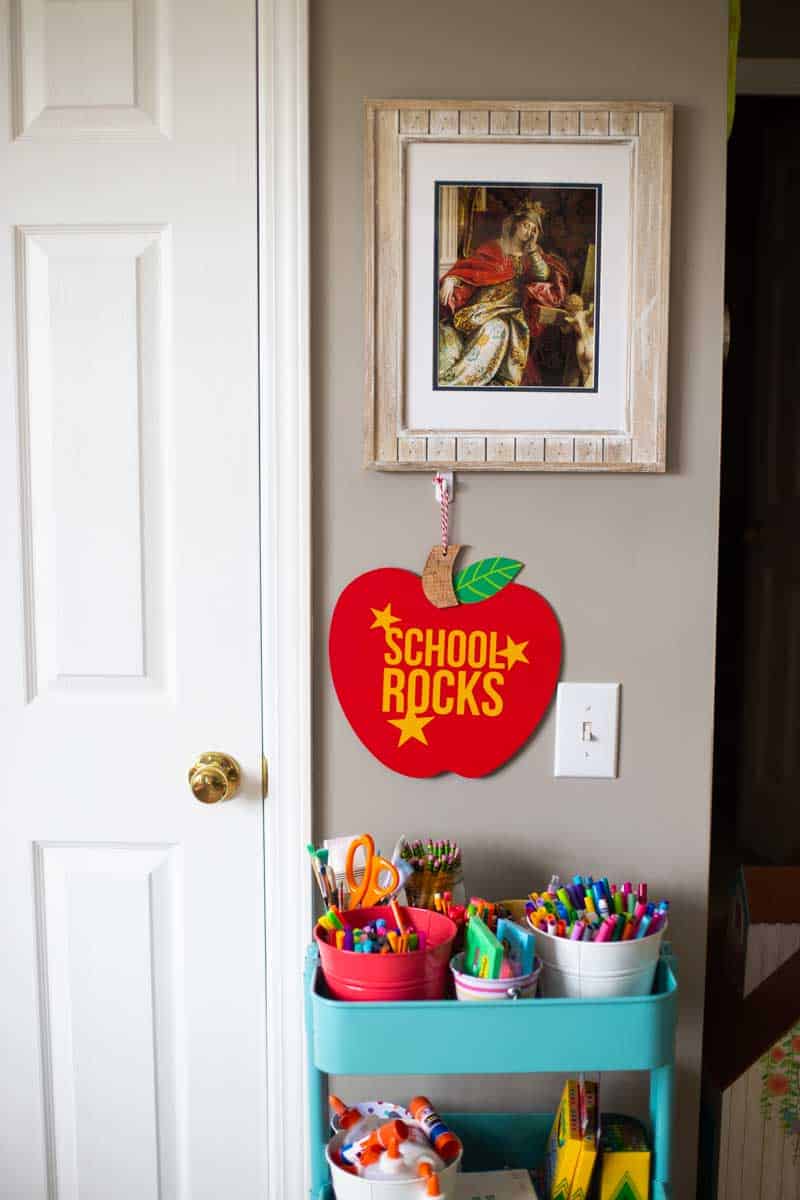
We converted my office nook in the loft of our house into a classroom by just adding a bookshelf, a small table with 2 chairs, and a few Back to School decorations I picked up in the dollar spot.
For the first several months, school happened in that space every day.
Then one morning, we were tired and in our jammies. On a whim, we decided to just try doing school at the breakfast counter in the kitchen for that “one morning.” It felt SO GOOD to mix up our routine, simply because we could.
Ever since then, school has happened at:
- the kitchen table
- the dining room
- on the couch in the living room
- at the back patio table
- on a bench at the park
- at a table in the library
- at a table in the local pastry shop
I adore our classroom space and I don’t regret the investment in time and money to set it up. BUT just know that you don’t need a dedicated place to teach. Consistent daily routines are far more helpful than a consistent location.
If you want to keep your homeschooling light and mobile, you could easily store your supplies in a portable basket, cart, or tote bag. This lets you move around the house as needed.
Some days, we’ll choose to do school wherever the sunlight is shining the most!
How to organize your lessons
This was by far the part of homeschooling that scared me most: How do I know what to teach on any given day??
I simply couldn’t wrap my head around trying to lesson plan for the very first time.
Thankfully, I was blessed enough to meet Pam Barnhill at the Great Homeschool Convention. I sat in on every session Pam spoke at that weekend and absorbed everything I could from one of my very favorite homeschool resources.
Pam introduced me to the concept of Loop Scheduling. I love it so much, I’ve incorporated a Loop Schedule into almost every element of my life, not just homeschool.
You can read all about Pam’s Loop Schedule concept here. It isn’t the only way to organize your lessons, but it is definitely the one that works best for our family.
The reading and math curriculum have very specific lesson plans for every day. I just open the book and do the next lesson it tells me to do.
For all the other subjects, I created a year long outline of the broader things I wanted to teach. I review the outline every month and break it down into smaller pieces.
How to make progress on all your lessons in the month
Before the end of every month, I make a list of things I hope to learn with Little Pea over the next 30 days. Though we only have official curriculum for reading and math, I use this time to consider all the broader subjects I want to cover.
My lesson goal sheet has categories for math, reading, science, social studies, art, music, language, physical education, executive function skills, theology, and field trips. I think carefully about each topic and add titles of books to read or places to do a field trip or special activities I want to incorporate for each category. Usually just 2 – 5 ideas per subject.
I print out that list of goals and keep it in my teaching binder. I reference it when I’m reserving books at the library or scheduling our field trips.
At review time, I’ll check off all the things we finished and then reassess whether the undone ideas are important enough to warrant being added to the next 30 days’ goal sheet. Often times, they aren’t and we just move on with new things.
I’ll also handwrite in all the new things we did that weren’t initially on the goal sheet. There are always unexpected surprises we encounter that absolutely count towards learning.
It’s crazy how much you can actually accomplish in a month but it doesn’t always look exactly like my original goals.
Here’s an example of a few of my monthly goals from my March planning sheet:
Reading:
- Continue All About Reading
- Finish Brave Writer lessons for Pie
- Read Alouds:
- Extra Yarn (Watch Author Access on Read Aloud Revival)
- Finish Harry Potter 3
- Start Dr. Dolittle
Science:
- Start ocean studies unit with Usborne Encyclopedia of the Ocean
- Research 3 animals mentioned in Dr. Dolittle
- Engineering days with Daddy
Social Studies:
- Attend weekly Social Studies class at the YMCA
- Complete 4 State-themed geography worksheets
- Start history of North Carolina notebook project
Executive Function Skills:
- Introduce Yahtzee and play once a week
- Practice typing skills two times a week
Music / Art:
- Rotate playlist of classical music for the car
- Teach a new song for the piano
- Do Picture Study of one new artist
- Attend photography club lesson
How to document your work and build a portfolio of progress for your student
Pam gave the very best advice for a paper packrat like me:
At the start of the year, start a folder for your student. At the end of the first month, add one example of work for each subject you are teaching to the folder. Be sure to include samples of handwriting and artwork.
At the end of each month, add ONE sheet per subject to the folder and throw away everything else you’ve worked on for that month (but save everything inside the folder from the previous months).
At the end of the year, choose three examples for each subject: one from the beginning of the year, the middle of the year, and the end of the year. Include handwriting samples and art. This becomes their record of progress for the year without having to maintain massive amounts of worksheets and tests.
I also add handwritten notes to my monthly goal sheets about what we accomplished. I am saving those as part of my record keeping. If I know we’re moving extra slowly on a lesson because she is struggling to master the concept, I’ll make a note. If we skip something over completely because she understood it from the first introduction, I’ll add that, too.
I highly recommend you order a copy of Pam’s brilliant Plan Your Year: Homeschool Planning for Purpose and Peace for even more suggestions on goal setting and organization for your homeschool year.
One Comment